原料
低筋面粉: 35g, 色拉油: 15g, 纯牛奶: 20g, 抹茶: 3g, 鸡蛋: 2个, 细砂糖(蛋黄中): 12g, 细砂糖(蛋清中): 24g, 柠檬汁或白醋: 适量, 淡奶油: 适量, 水果: 任选
步骤
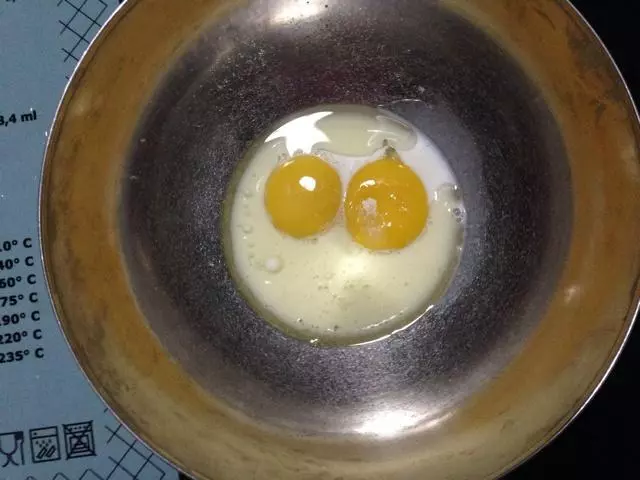
1蛋黄和蛋清分离。
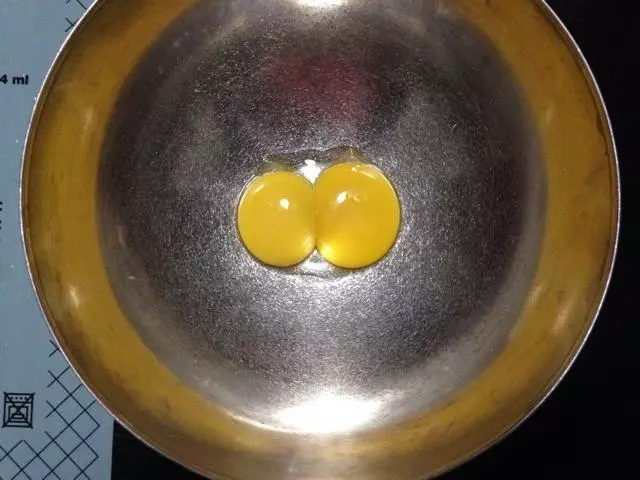
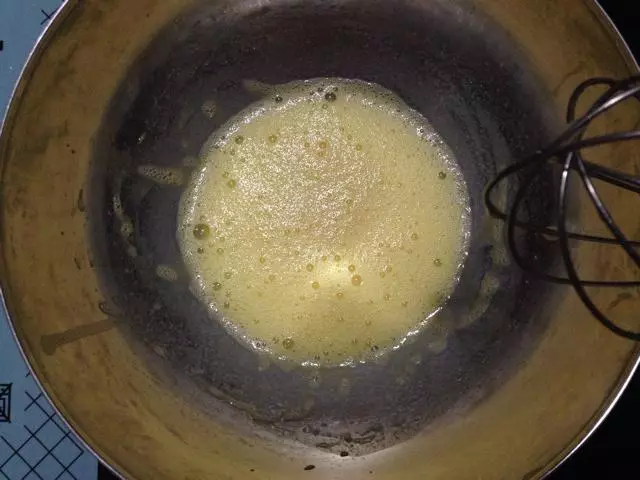
2色拉油、纯牛奶、12g细砂糖,加入蛋黄中。
3用手动打蛋器搅拌均匀。
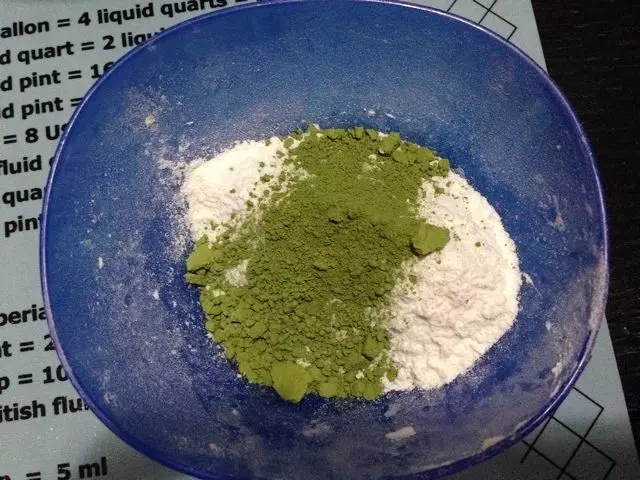
4称好低筋面粉和抹茶粉。
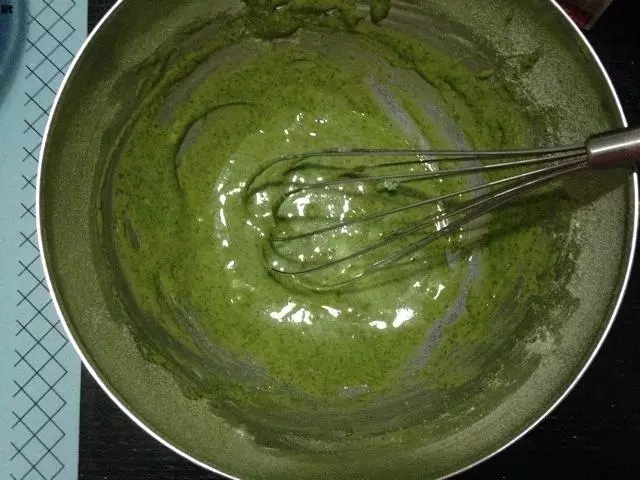
5粉筛入蛋黄糊,并搅拌均匀。
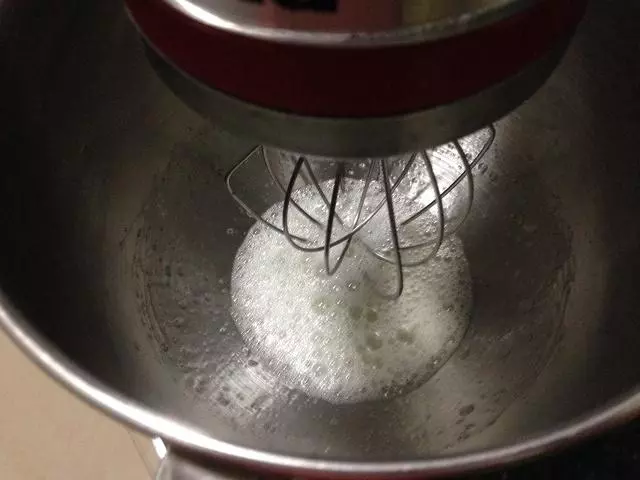
624g细砂糖分三次加入蛋白,第一次是开始打发时候加入,第二次是如图打发出泡时候加入。
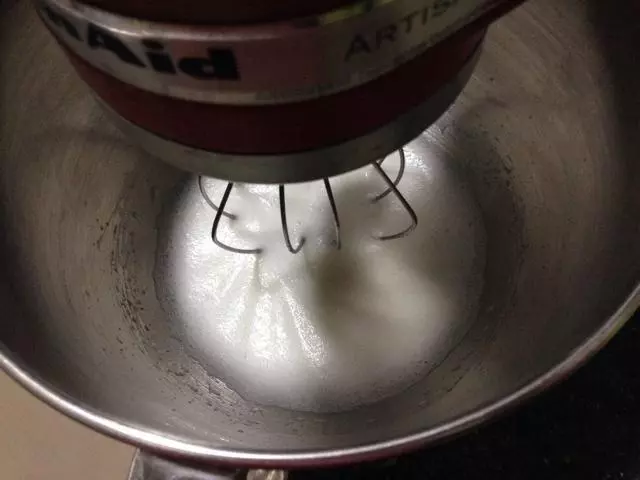
7第三次在打发出细纹时候加入细砂糖。
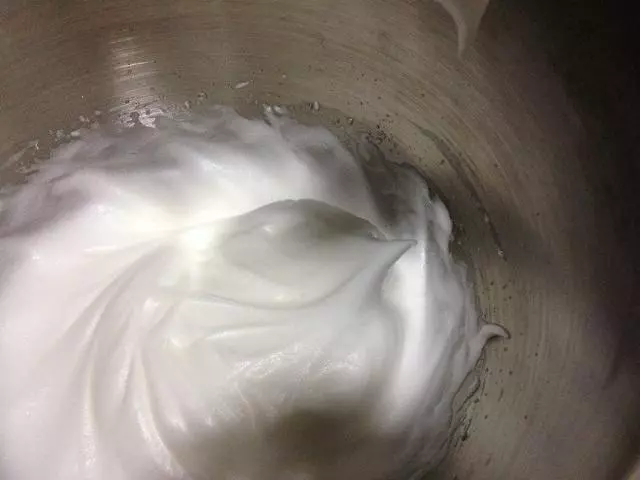
8蛋白打发到干性发泡,即能拉出短小直立的尖角。
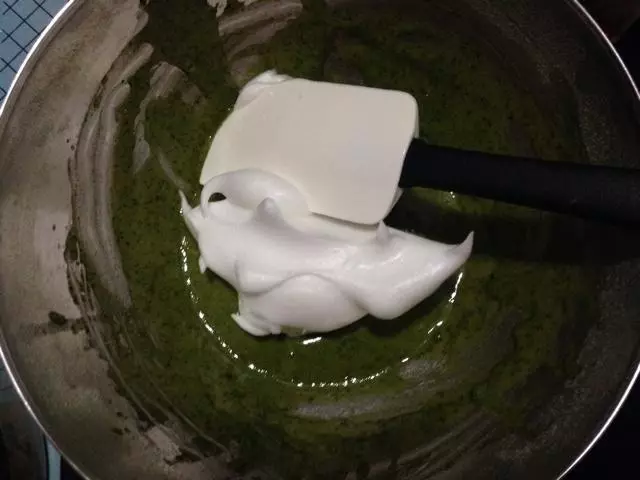
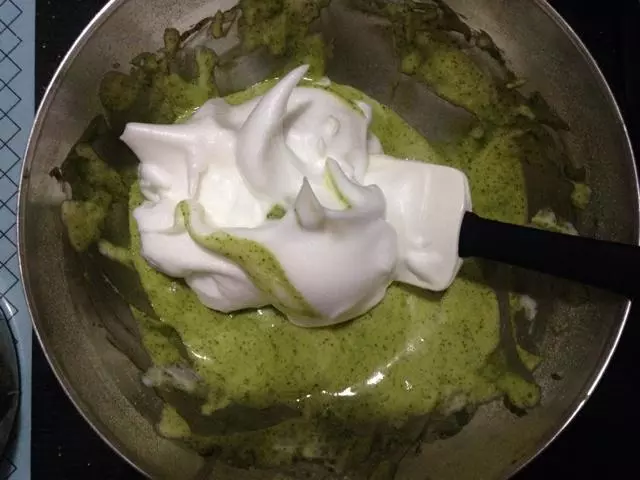
9将打发好的蛋白,分三次倒入蛋黄糊,由下而上搅拌,切忌划圈以防蛋白消泡。
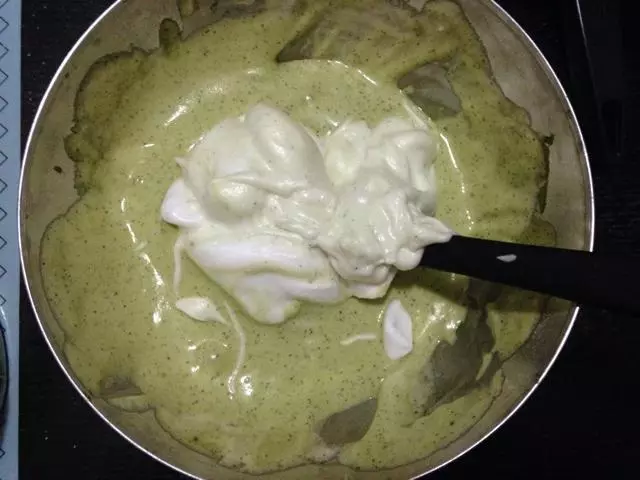
10第二次加入蛋白霜。
11第三次加入蛋白霜。
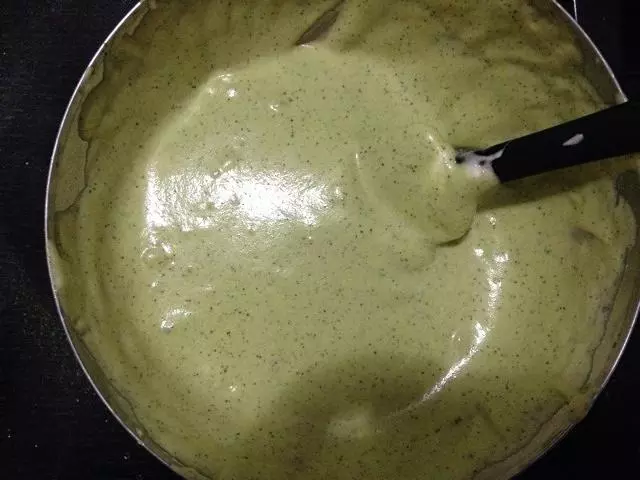
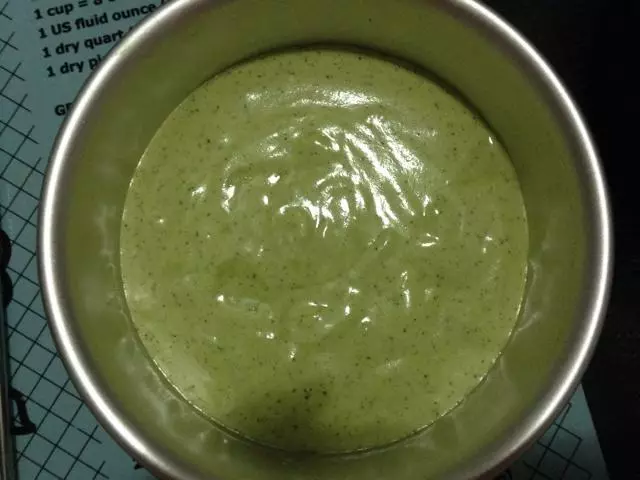
12搅拌好的面糊。
13将面糊倒入6寸模具,倒好后清震模具,消除面糊里的气泡。
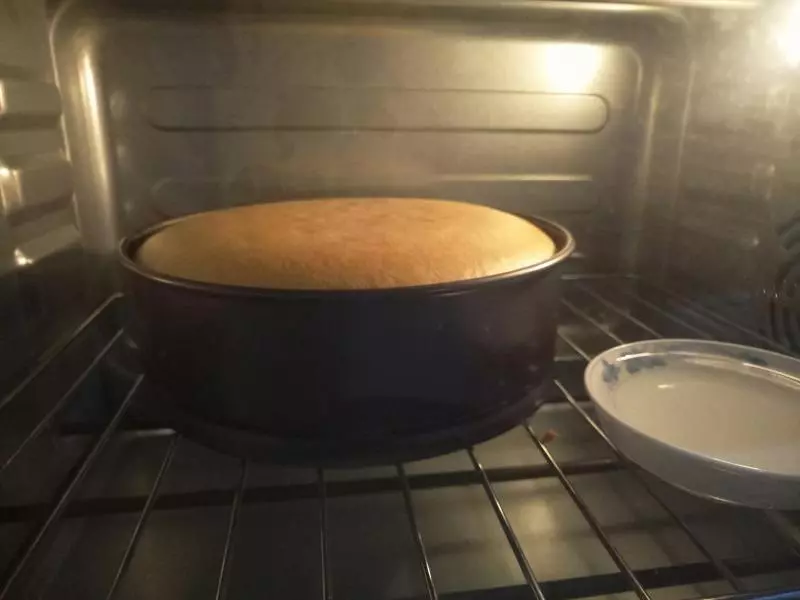
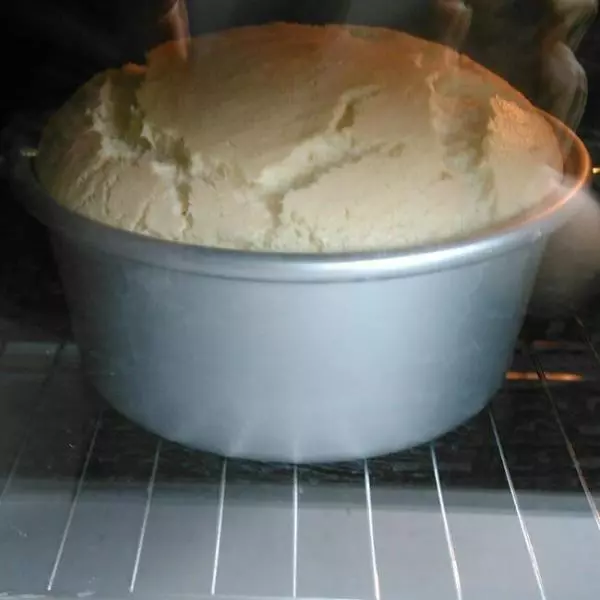
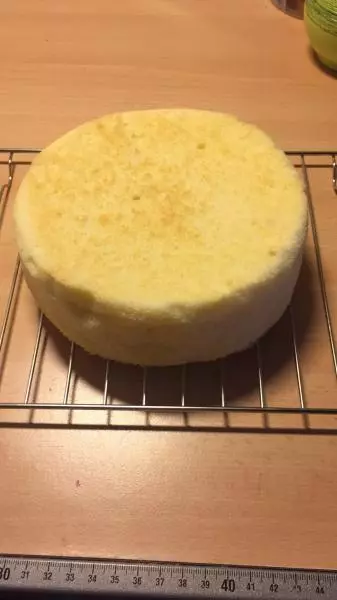
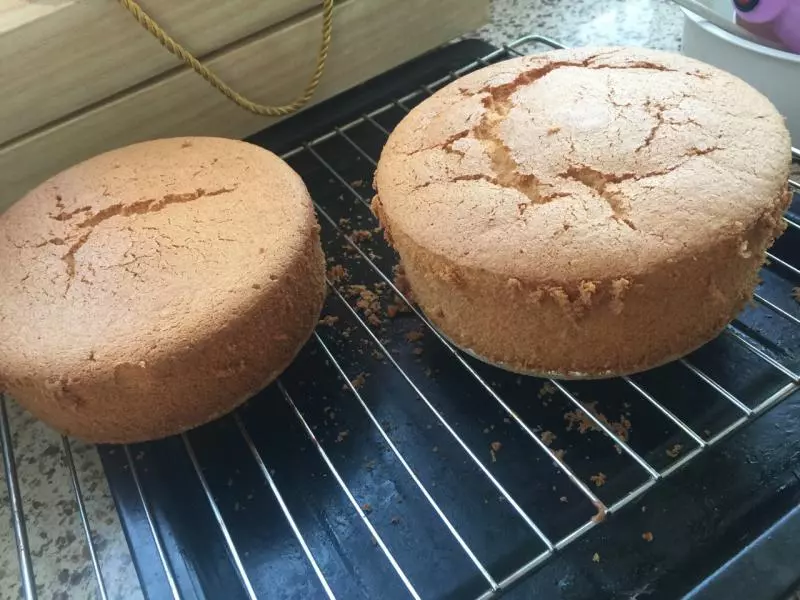
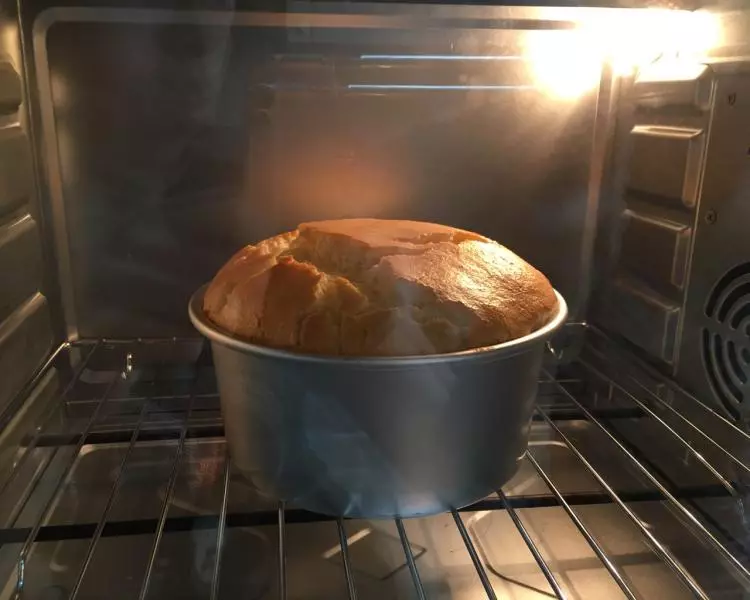
14烤箱提前150度预热,130度烤15分钟,150度烤20分钟。
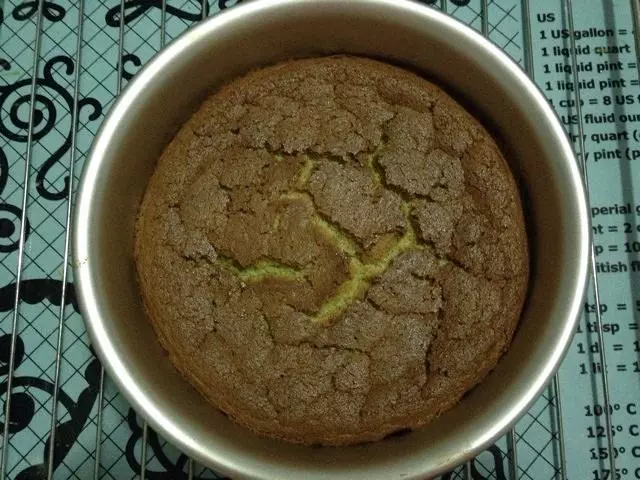
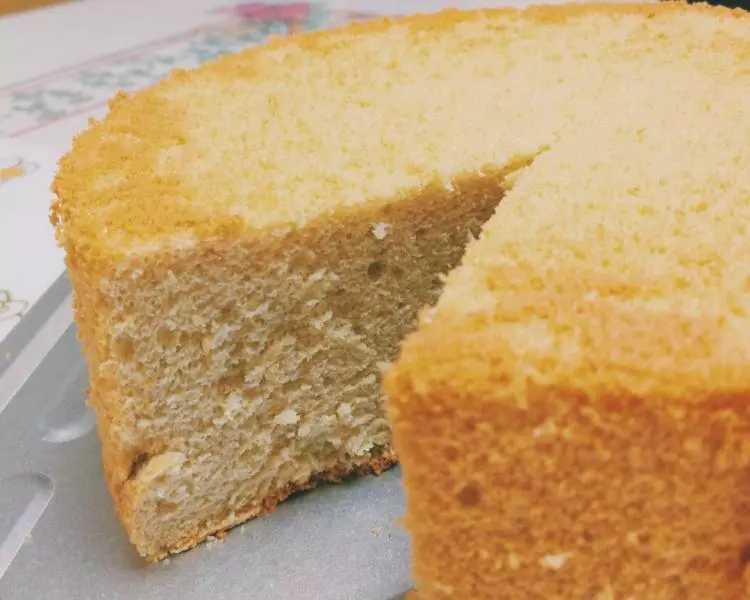
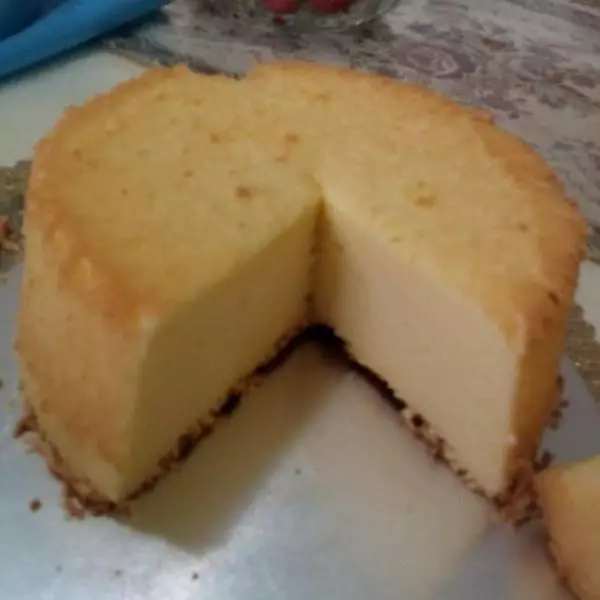
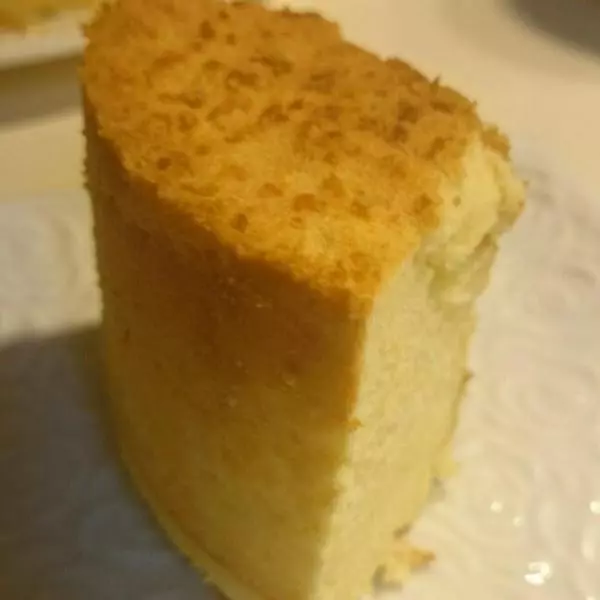
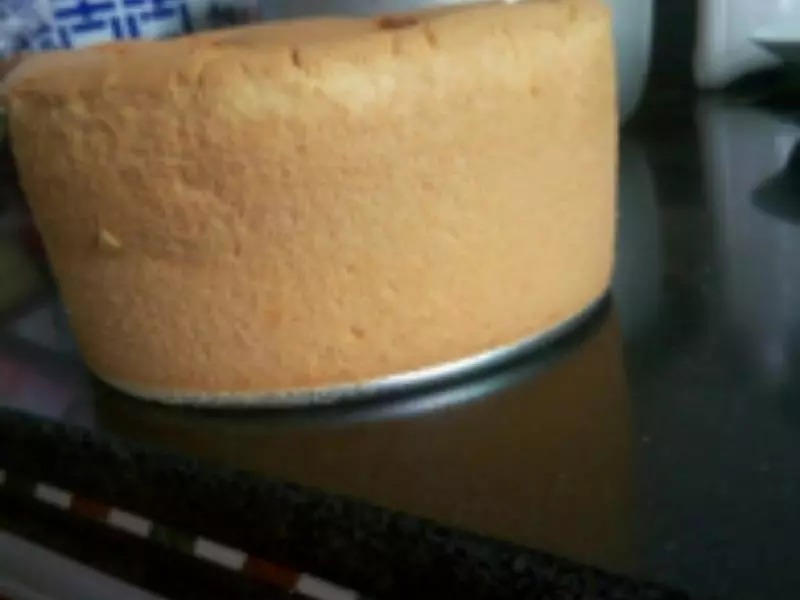
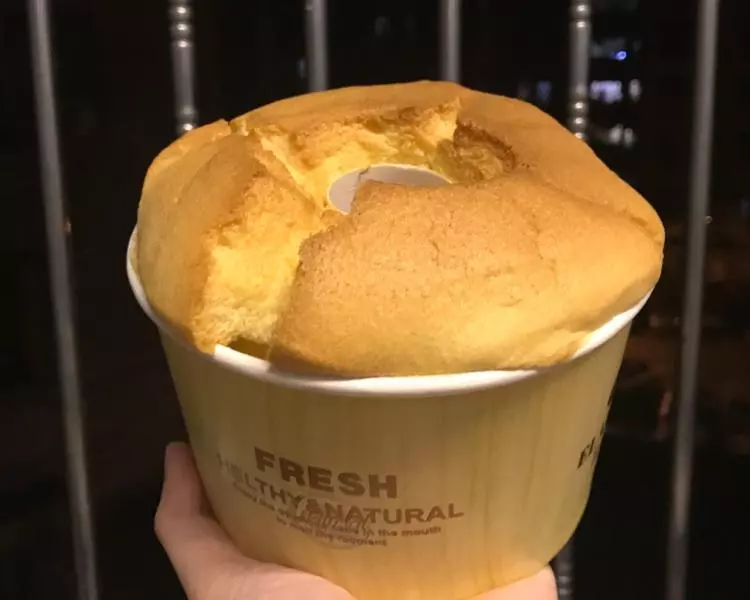
15烤好后,取出蛋糕模具,正面轻摔模具,即放入面糊那面朝上。
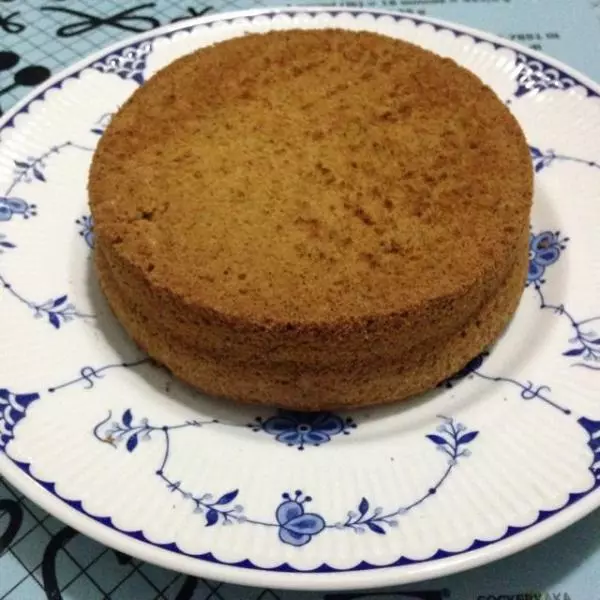
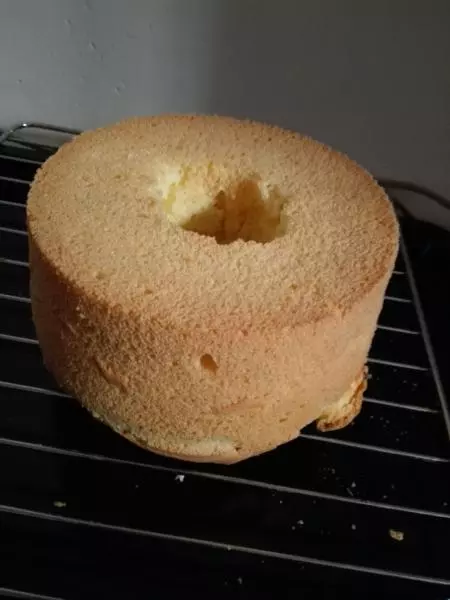
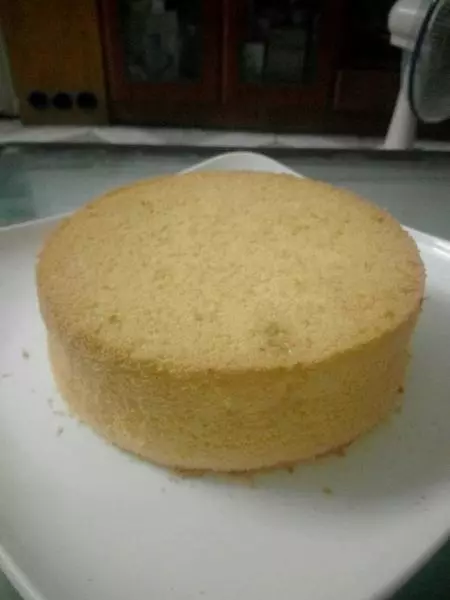
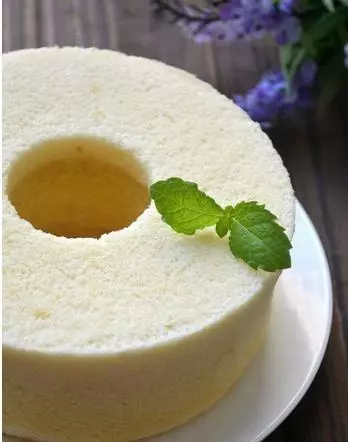
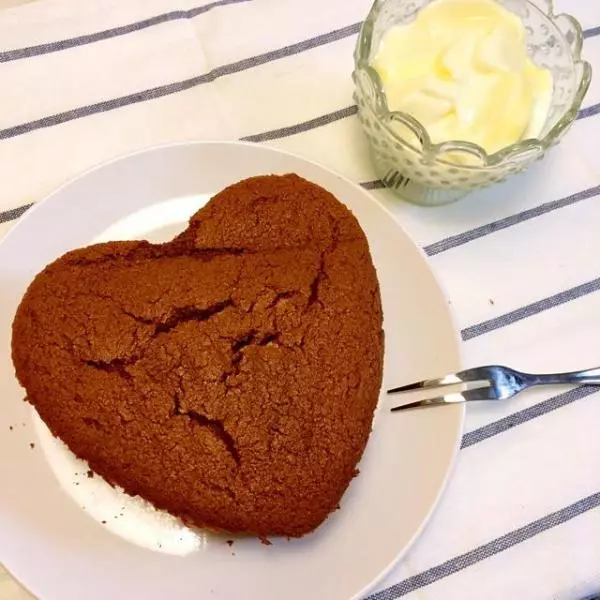
16放稍微凉后再脱模。
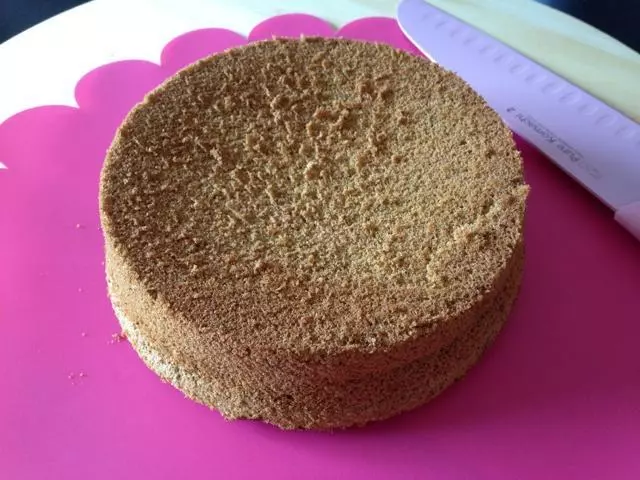
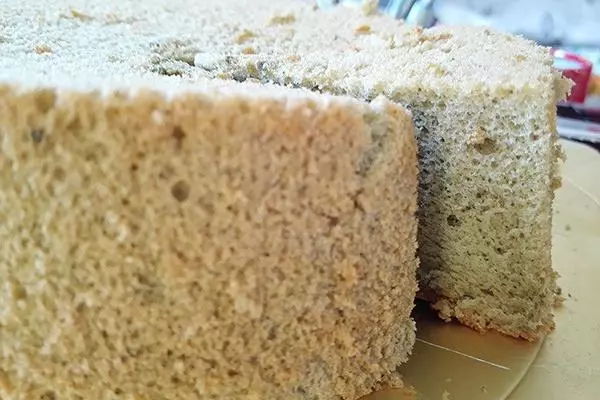
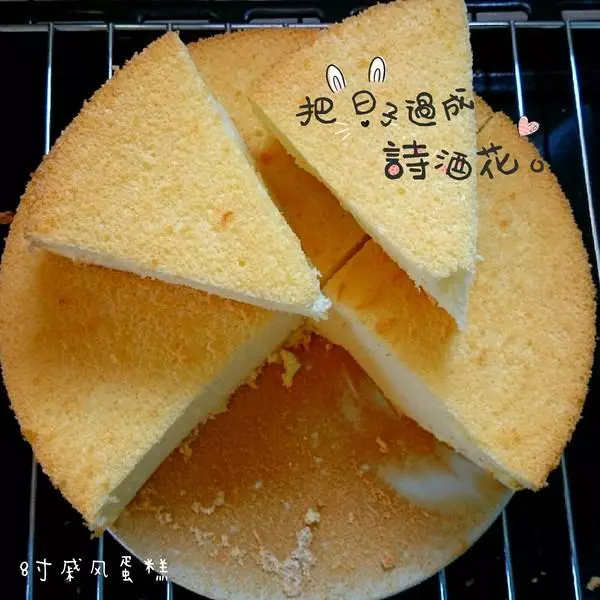
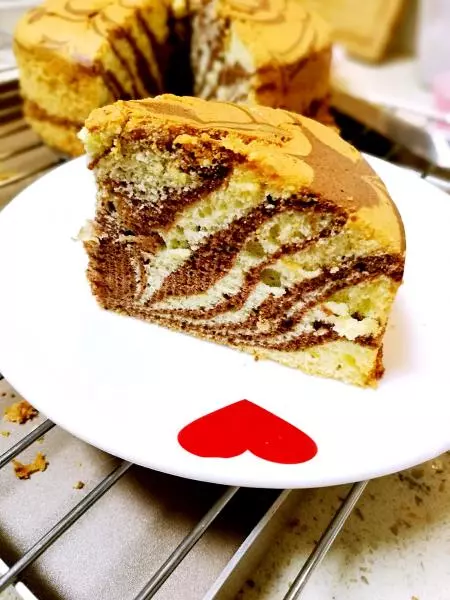
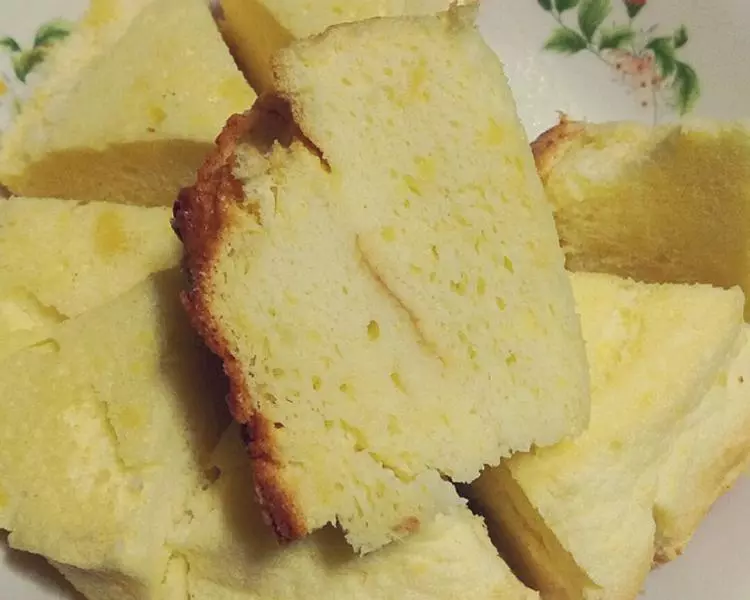
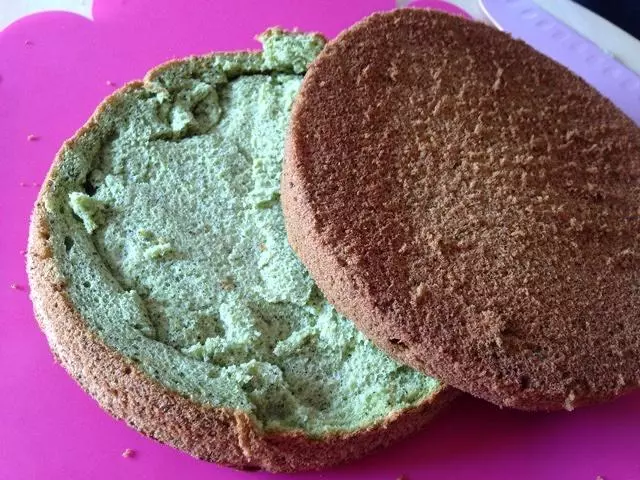
17蛋糕从中间切成两块。
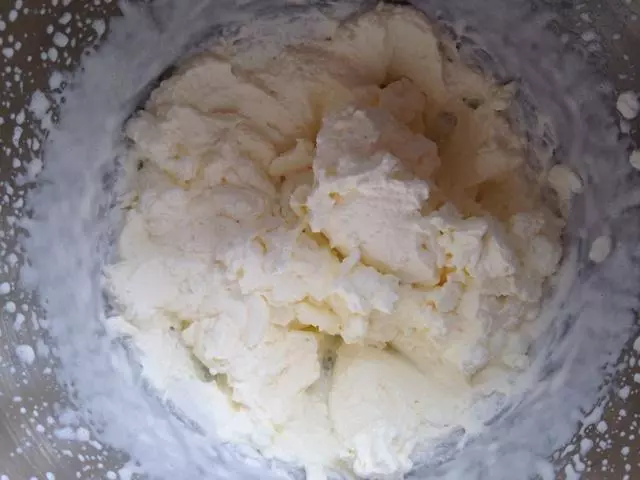
18打发淡奶油。
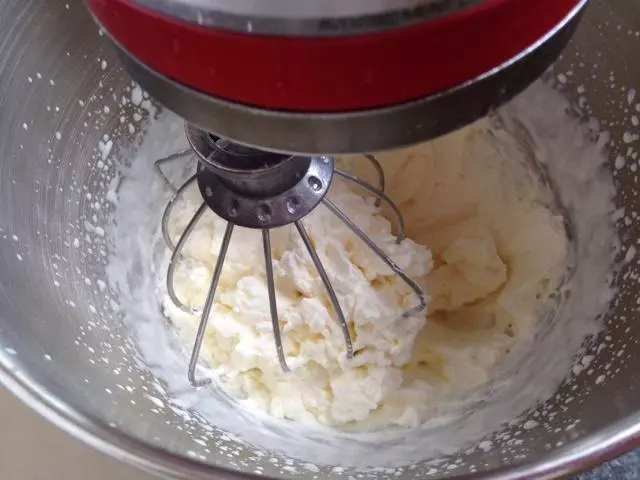
19打发至如图所示,切忌过度打发,水油分离。
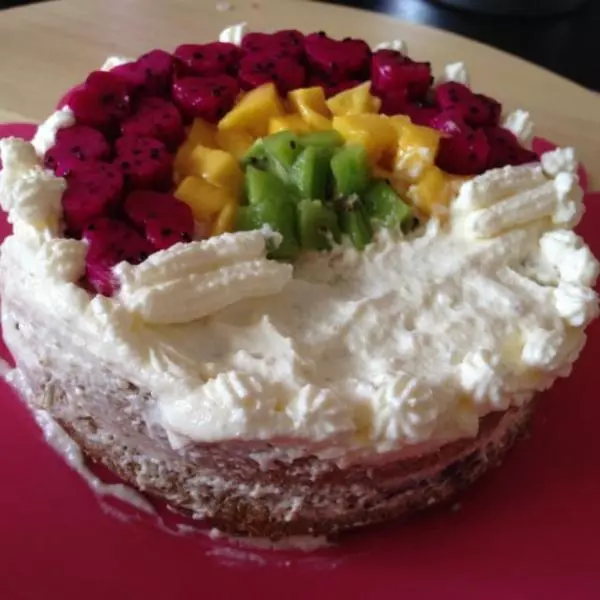
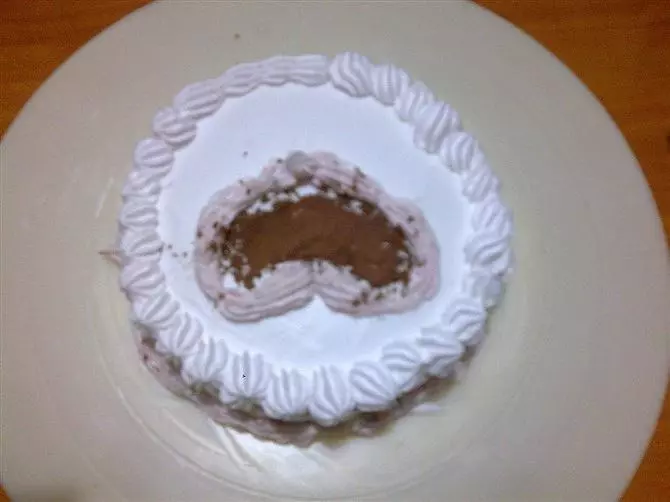
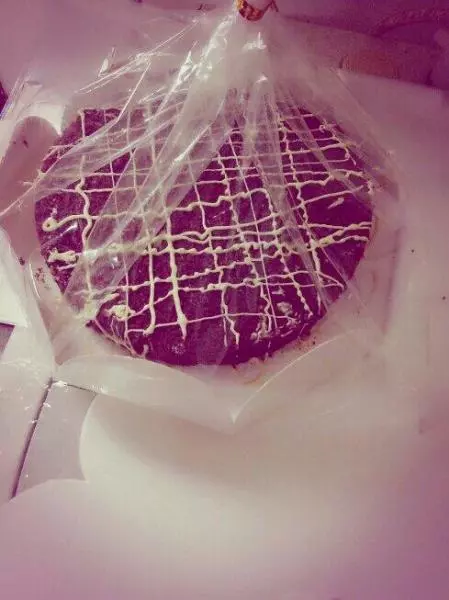
20裱奶油,加水果丁。
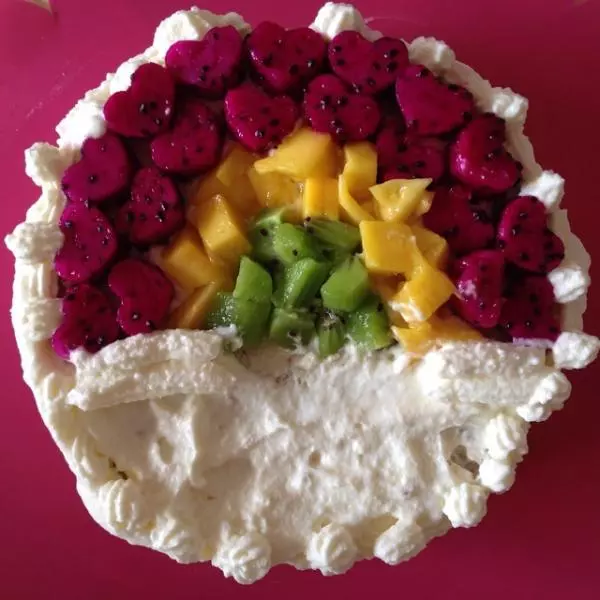
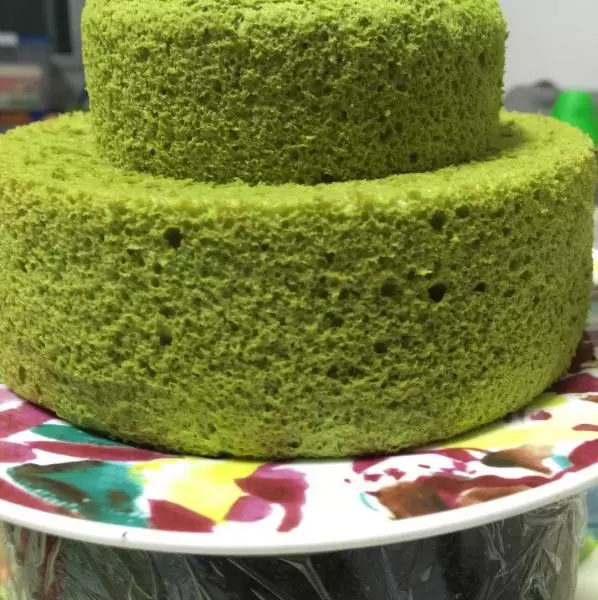
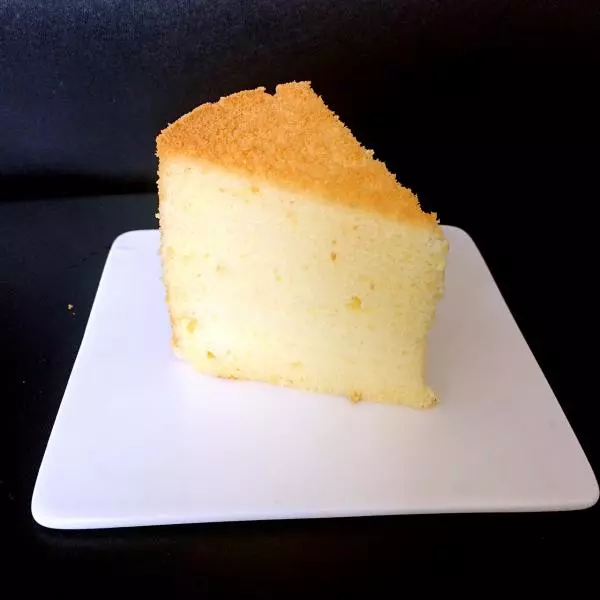
21小小蛋糕就做好啦。