原料
鸡蛋: 4大只, 白砂糖: 140g, 面粉: 160g, 泡打粉: 1茶匙(tsp), 水: 1汤勺(tbsp), 色拉油: 1茶匙(tsp), 红豆陷(带颗粒的那种): 520g
步骤
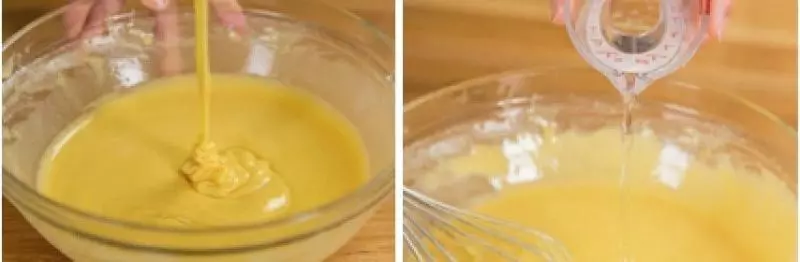
1准备一个大碗,加入鸡蛋,糖,蜂蜜,搅打均匀,直到混合物变蓬松。

2筛入面粉,泡打粉,搅拌均匀。在冰箱冷藏15分钟。
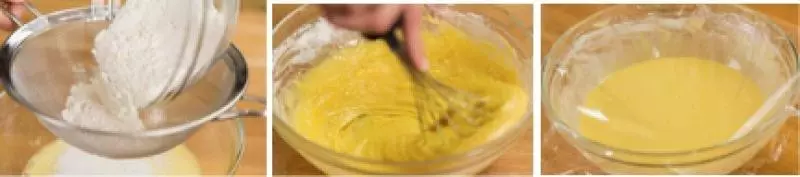
3这个时候的面糊比较光滑了,倒入一勺水,这个水的量看你自己的面粉糊的浓稠度变化,大概是1-2勺。
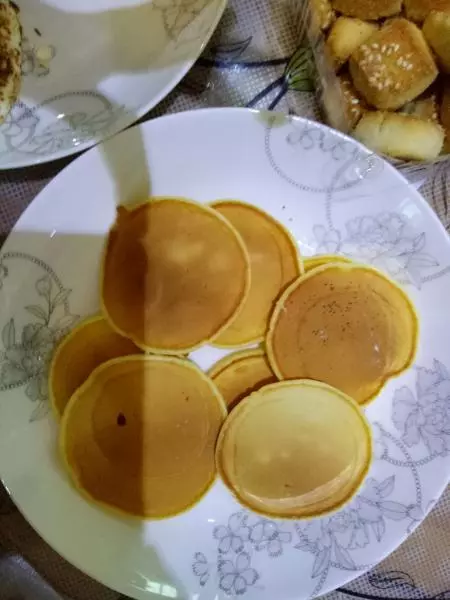
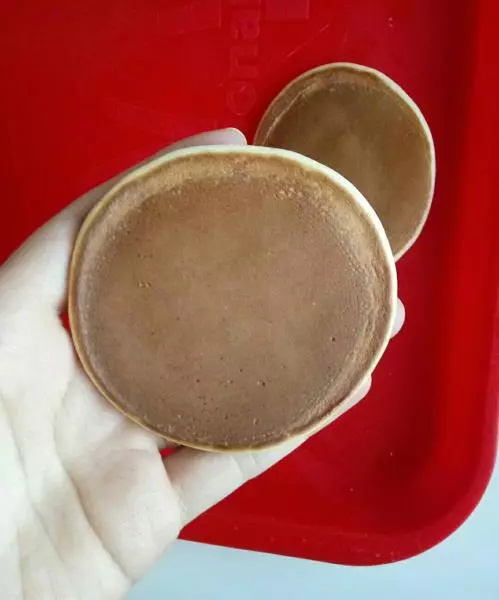
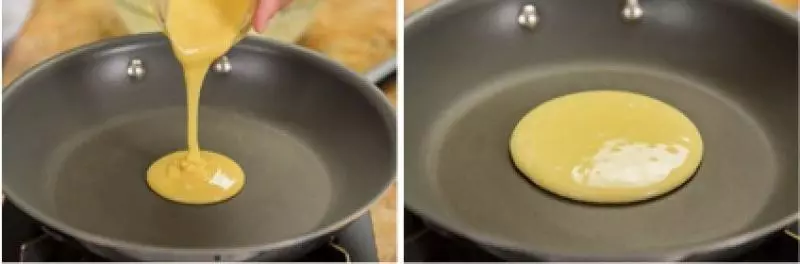
4中小火加热不沾烤盘,用一块干净的小布(或者厨房用纸巾)沾一点油,涂在烤盘表面一层。然后再抹掉油(这点是待会铜锣烧表面边金黄色的关键!)。用量杯慢慢倒入3勺(tbsp)面粉糊,让面粉糊慢慢的形成一个8cm直径的饼。
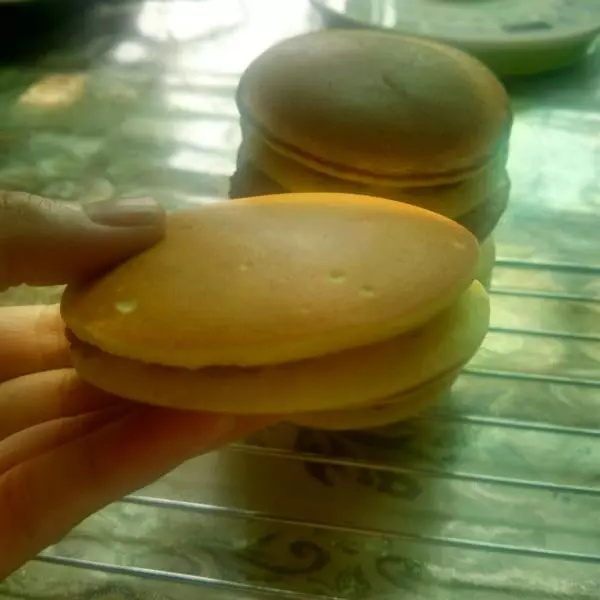
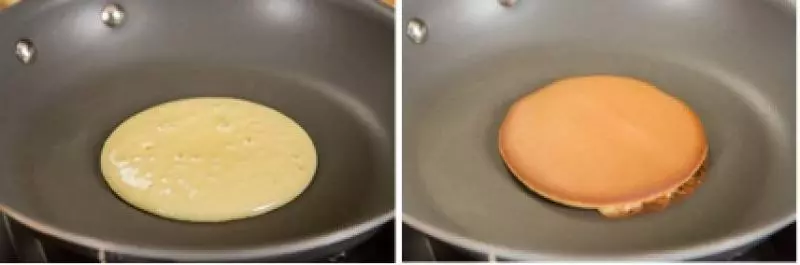
5当你看到面糊表面开始冒气泡的时候,翻过来烤另外一面。用我这个烤盘,大概第一面煎了80s,第二面煎了25s。把煎好的饼挪到盘子上,用湿毛巾盖上(为了防止变干)。接下来不用在锅中抹油了,可以继续煎饼(大概可以煎12个不用油)。
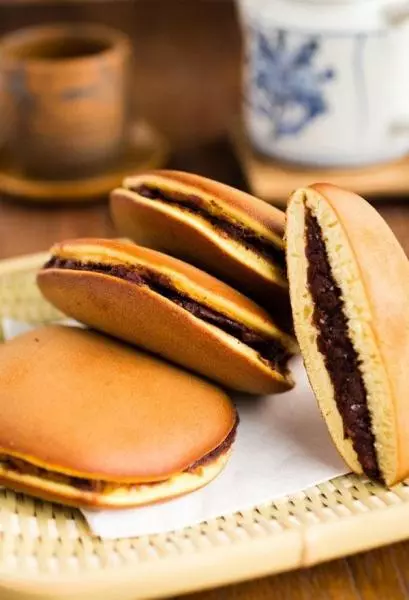
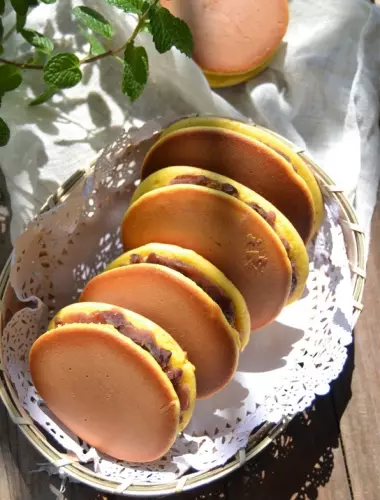
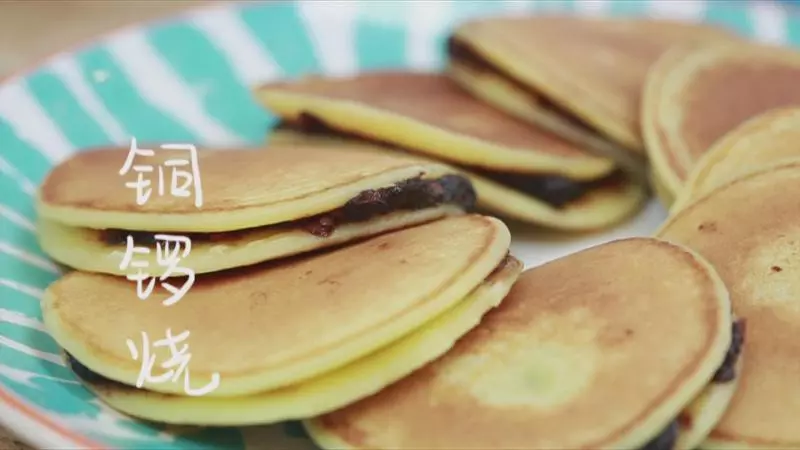
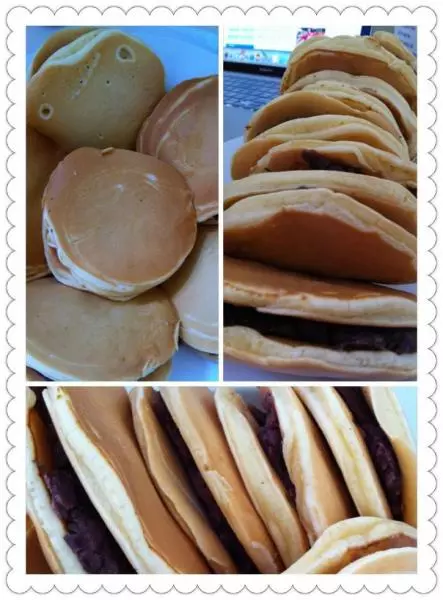
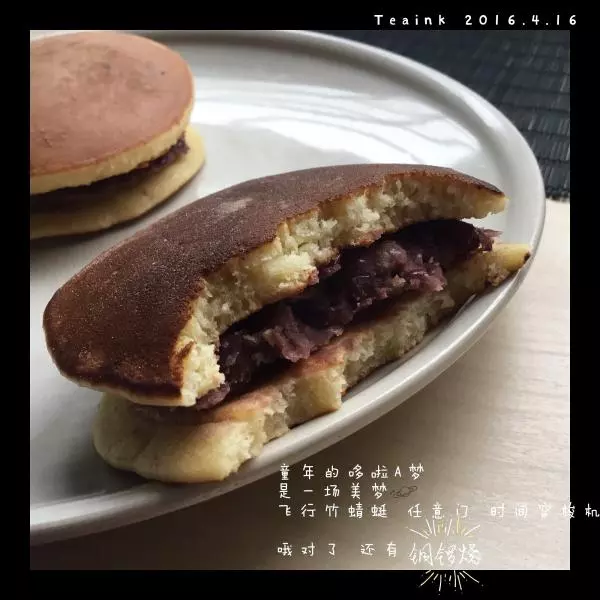
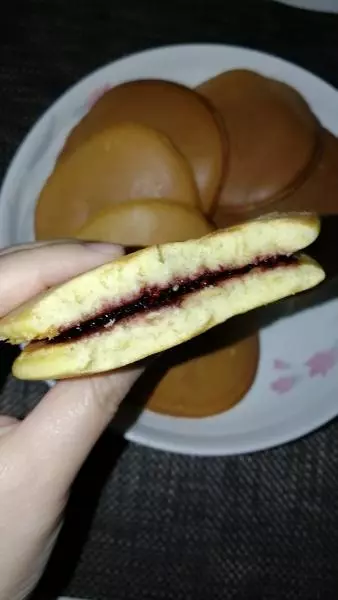
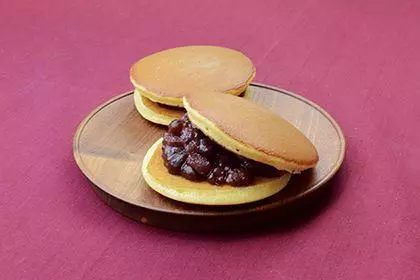
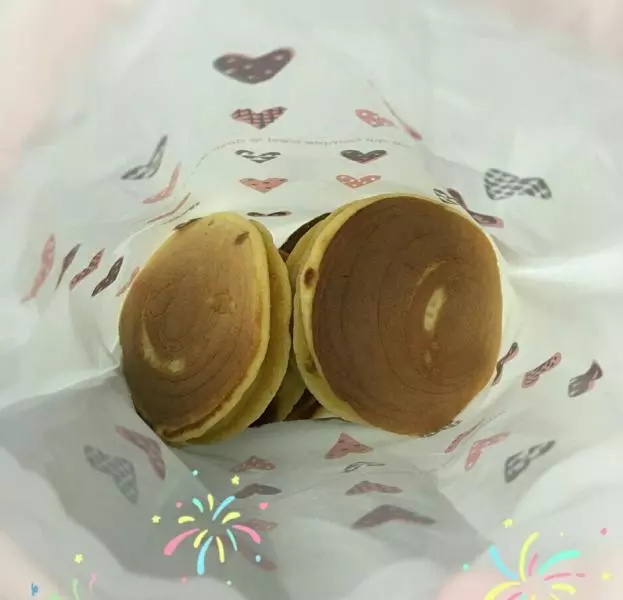
6拿两块煎饼,中间层抹上红豆陷,饼的中间抹多一点,边上少一点。如果不是立马吃的话,可以用保鲜膜把做好的铜锣烧包起来(也是为了防止变干)。
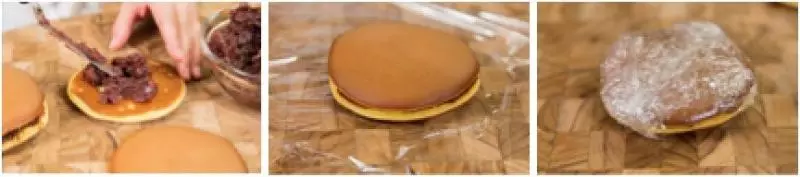
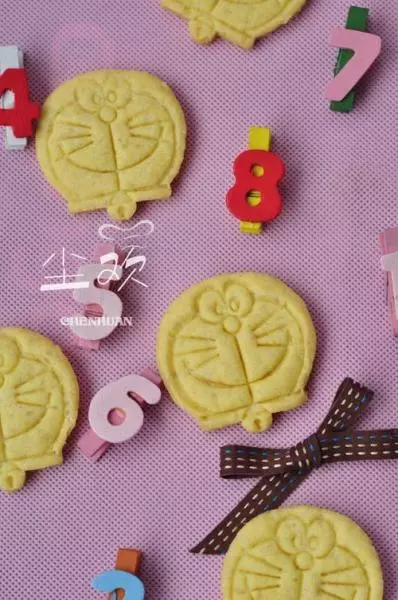
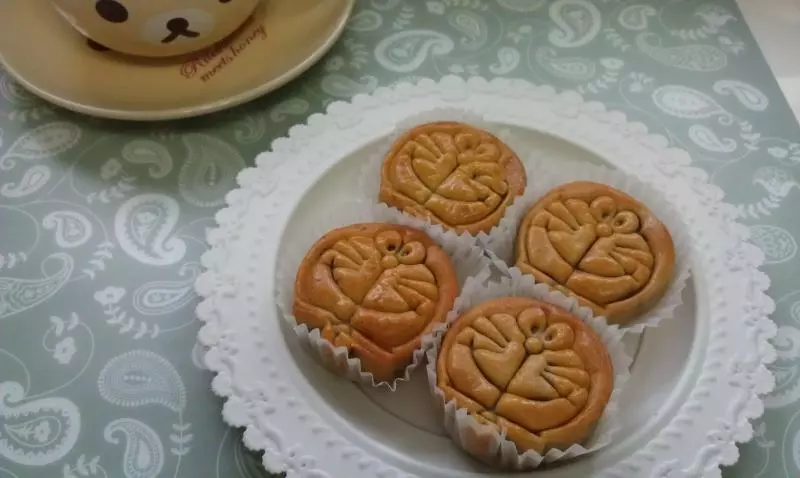
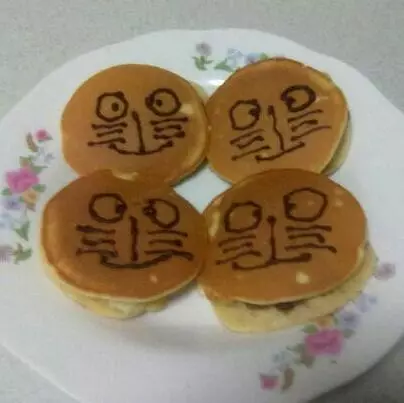
7机器猫最爱的铜锣烧做好了,开始享用吧!