原料
蛋黄90克, 蛋白120克, 低粉54克, 无盐黄油12克, 牛奶27克, 动物性淡奶油200克, 细砂糖适量, 蜂蜜23克, 糖粉20克, 芒果适量
步骤
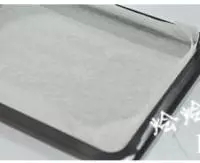
1 准备好烤盘,铺上油纸备用;
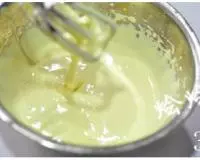
2 A(蛋黄90克,细砂糖12克,蜂蜜23克)材料中的蛋黄和细砂糖混合,再慢慢加入用小火加热到40度的蜂蜜倒入。

3 用电动打蛋器搅拌到蛋黄发白,滴落的蛋黄不会马上消失。
4 B(蛋白120克,细砂糖50克)材料中的蛋白分三次加入细砂糖打发;
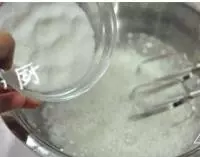
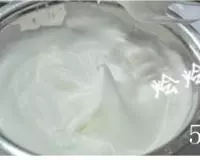
5 打发至呈现小弯勾的状态;
6 取1/2的打发好的蛋白倒进蛋黄糊中,用橡皮刮刀拌匀;

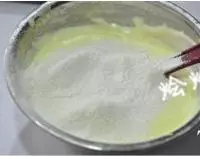
7 将1/2的低粉过筛进第6步混合好的蛋糊中搅拌均匀。
8 再将第7步混合好的糊倒进余下的蛋白中,用橡皮刮刀拌匀。
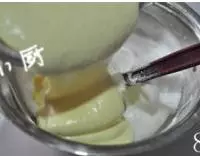
9 D(无盐黄油12克,牛奶27克)材料倒进小锅中,以中火加热至快要沸腾后离火,缓缓的加入第8步的蛋糊中,拌匀;
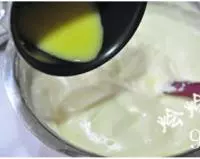
10 将拌好的蛋糕糊倒进铺有油纸的烤盘中,用刮刀刮平蛋糕糊的表面;

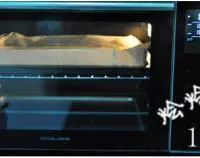
11 放进预热好的180度的烤箱中烘烤13分钟。
12 烤好后将蛋糕取出,放在烤网上晾凉;
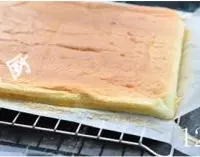
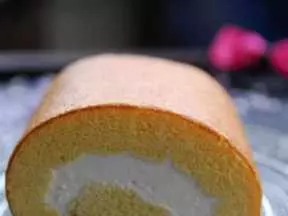
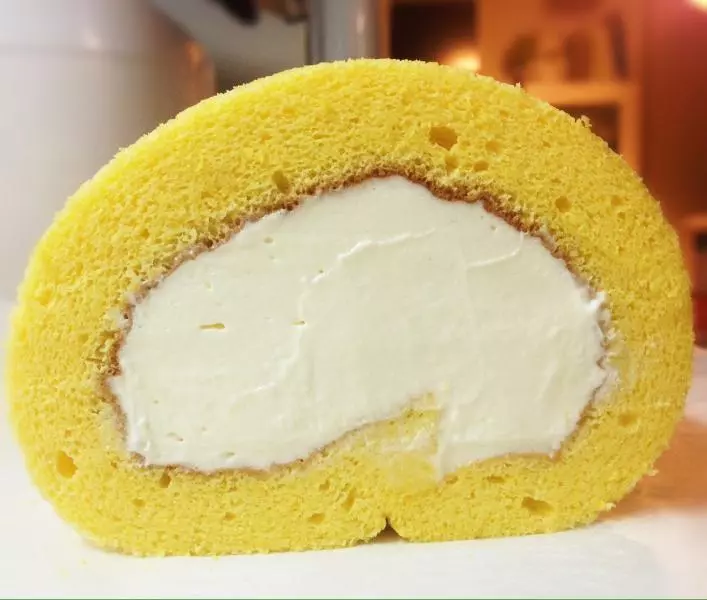
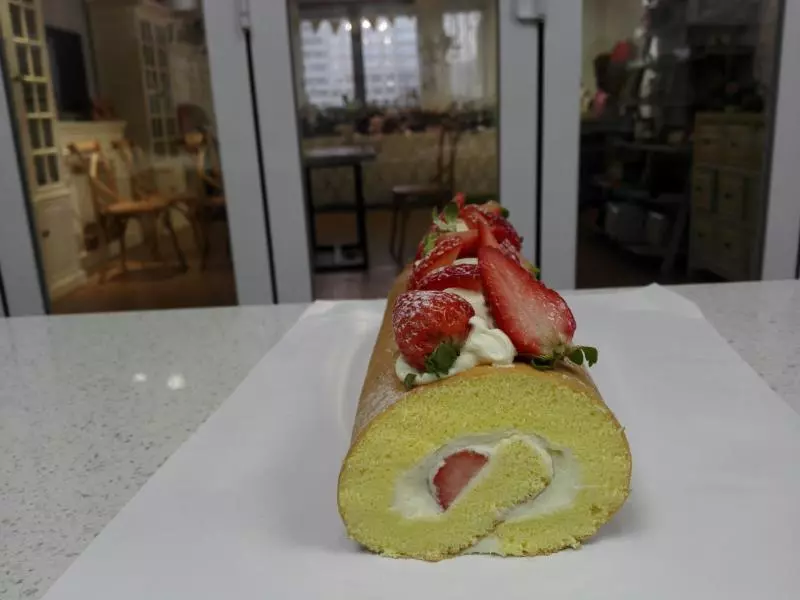
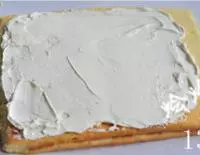
13 晾凉的蛋糕体翻面,将动物性淡奶油加糖粉打至8分发,均匀的涂抹在蛋糕体上。
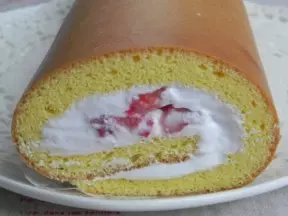
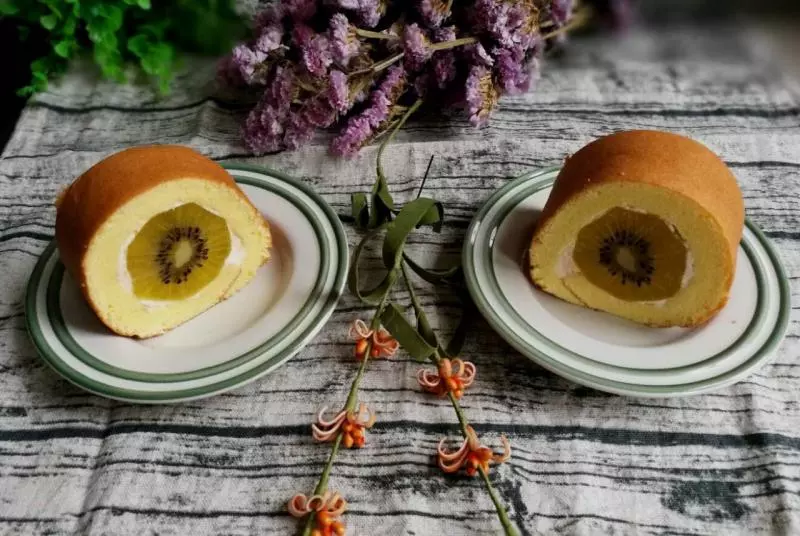
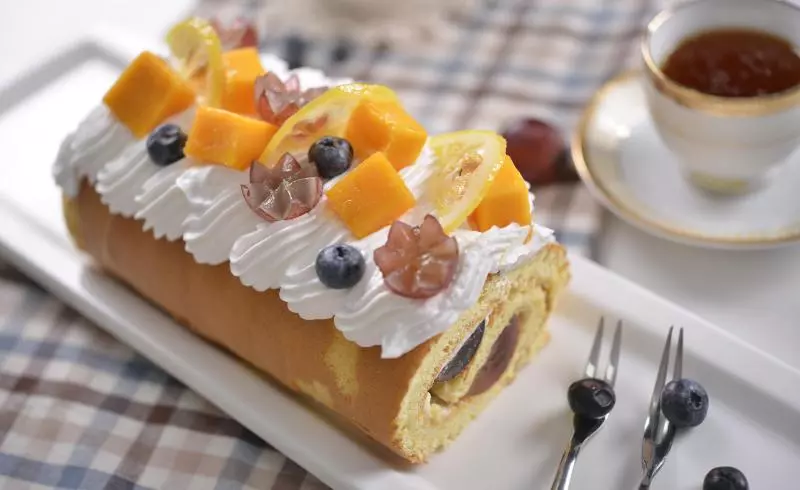
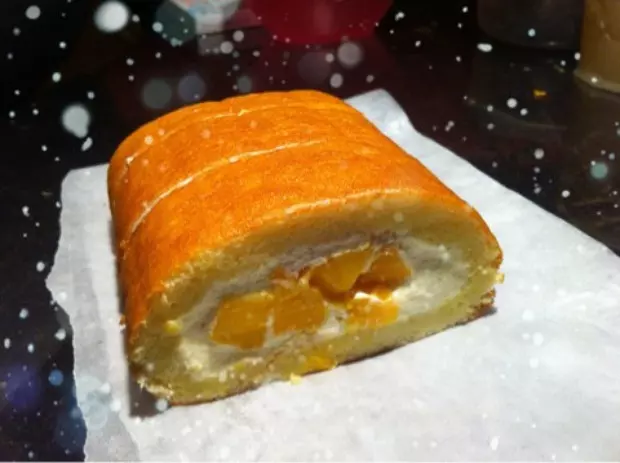
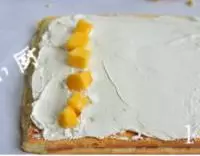
14 再铺上芒果粒;
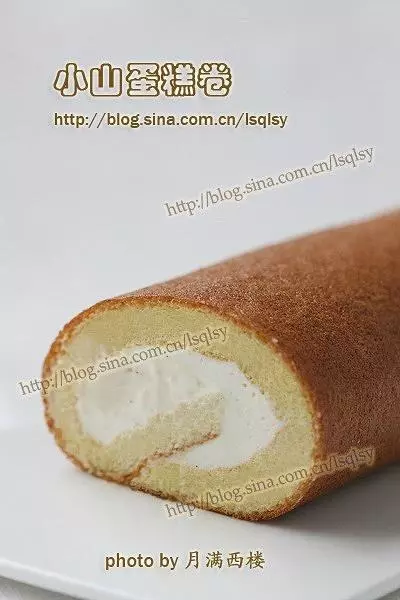
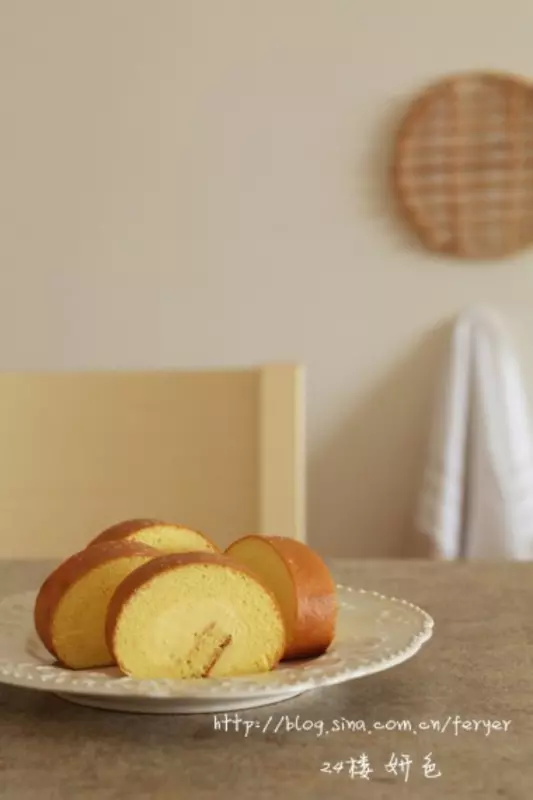
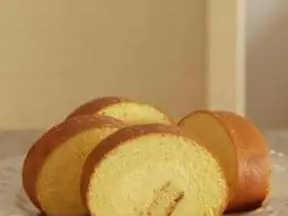
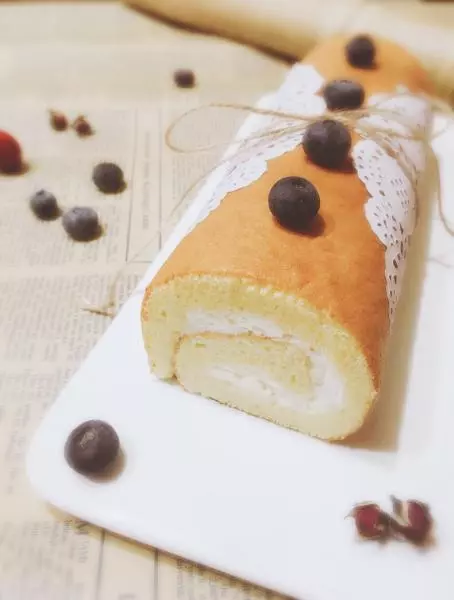
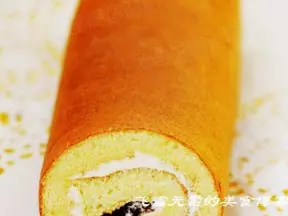
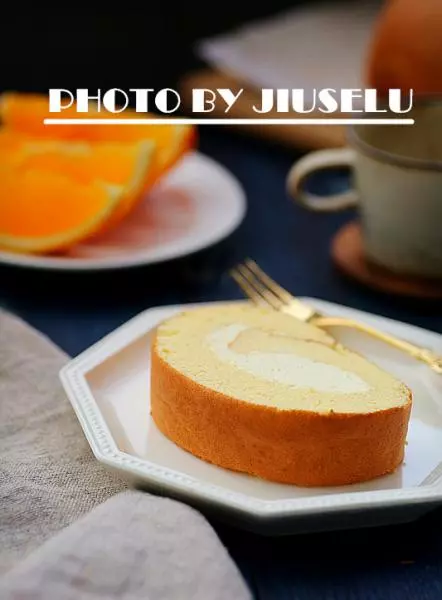
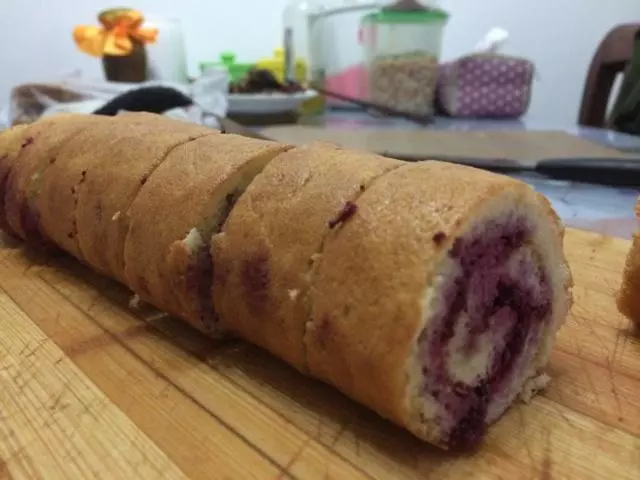
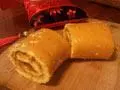
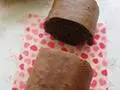
15 将蛋糕体卷起。
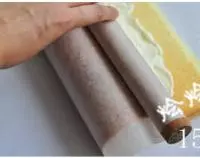
16 卷好的蛋糕体放冰箱冷藏即可。