简介
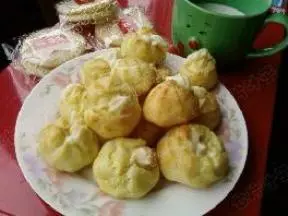
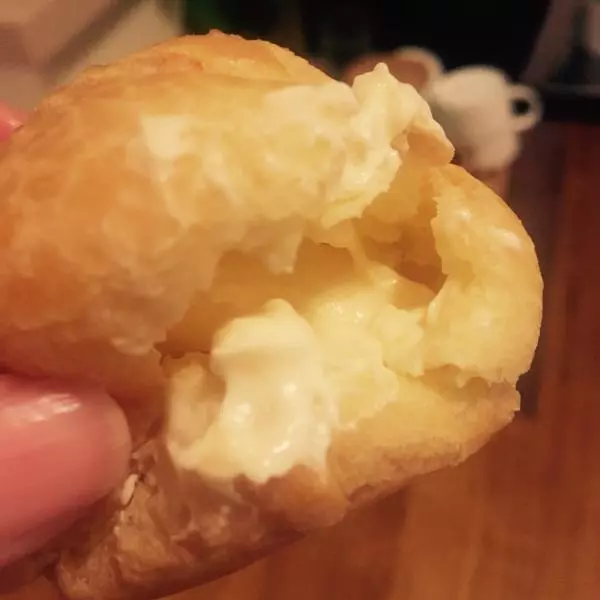
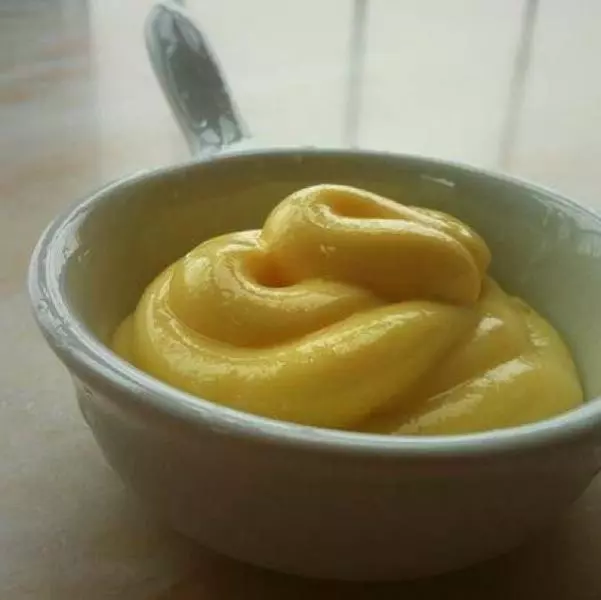
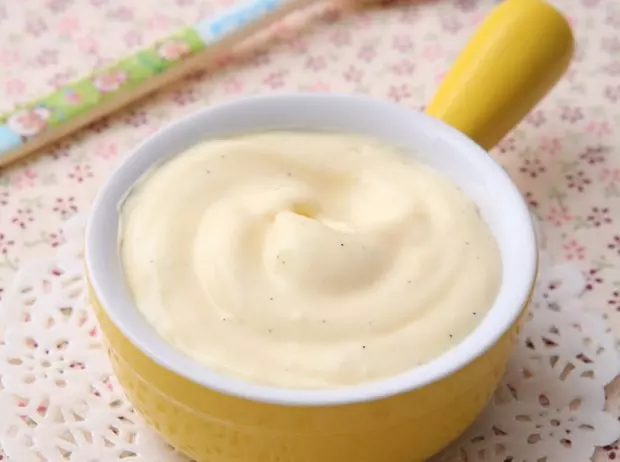
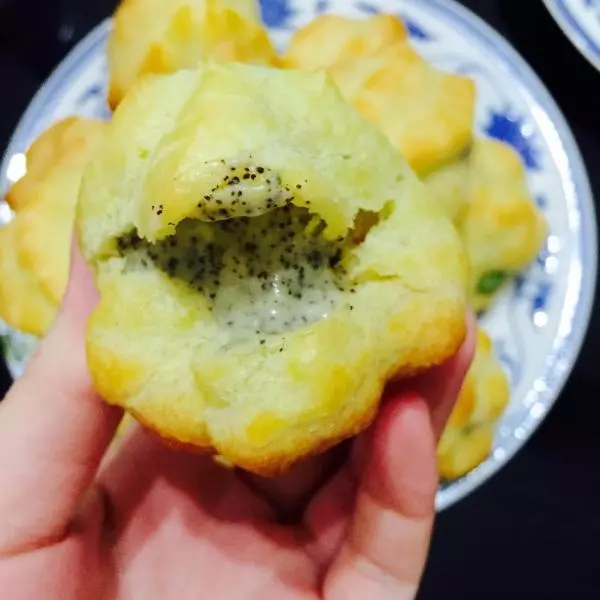
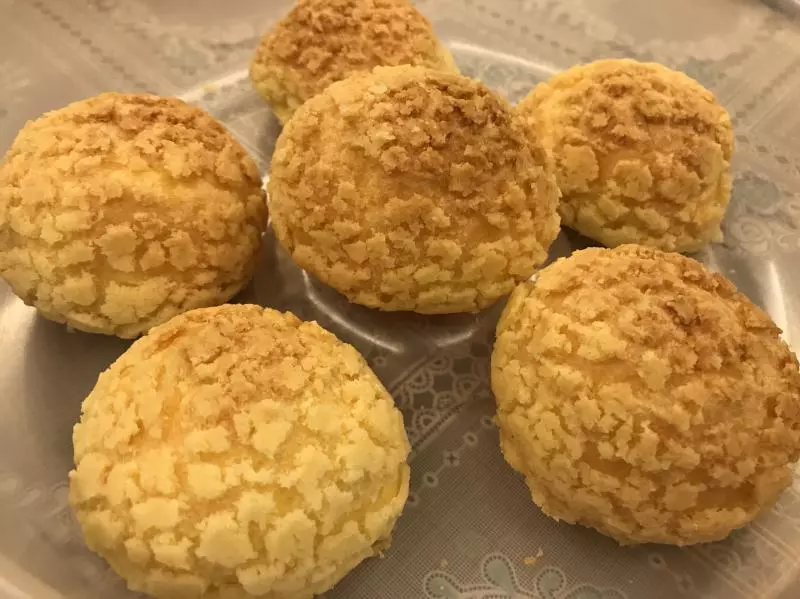
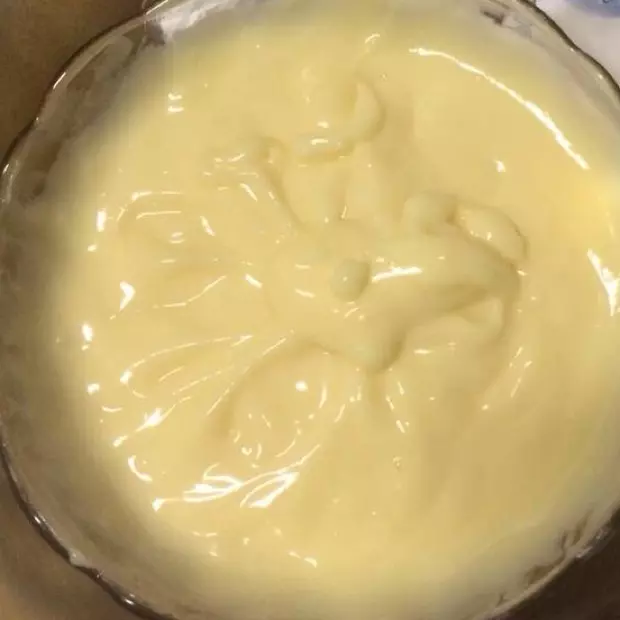
用了君之的方子做的,卡仕达酱是下厨房搜的,就不写步骤了,长草已久的泡芙终于冒着肥死的可能做了一次,真心好吃!!
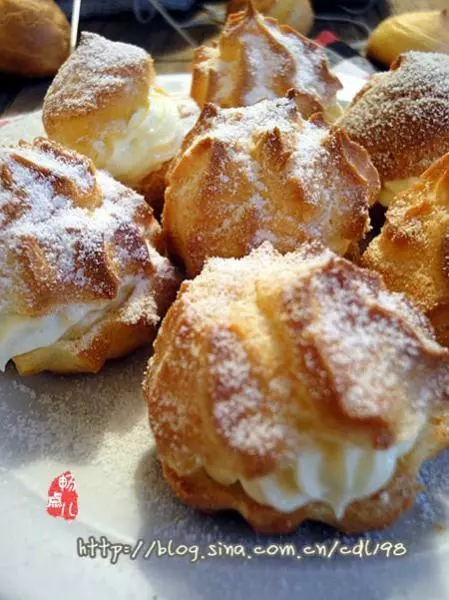
参考数量 13个
原料
低筋面粉 100G, 水 160G, 黄油 80G, 糖 5G, 盐 2.5G, 鸡蛋 3个
步骤
1水、盐、糖、黄油倒入锅里,中火加热并稍稍搅拌

2煮至沸腾时,转小火,倒入面粉

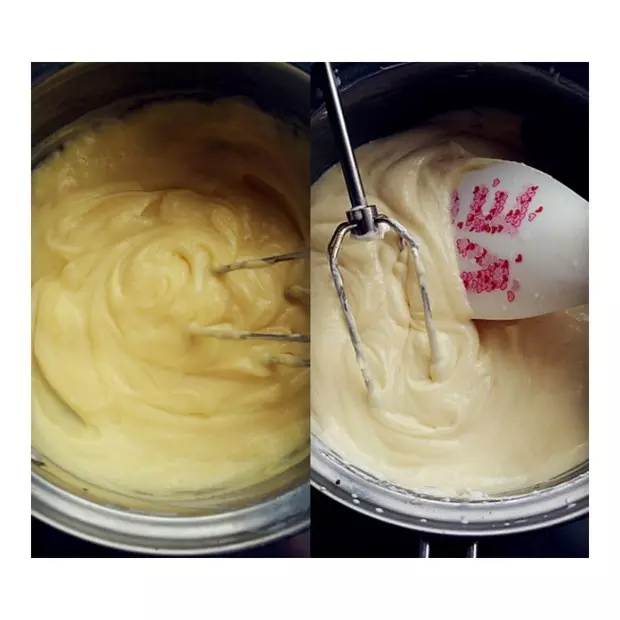
3用刮刀快速搅拌,一直到面粉和水融合一起时,马上关火,继续搅拌

4用筷子搅散,使面糊散热到60~65度(不太烫手即可)

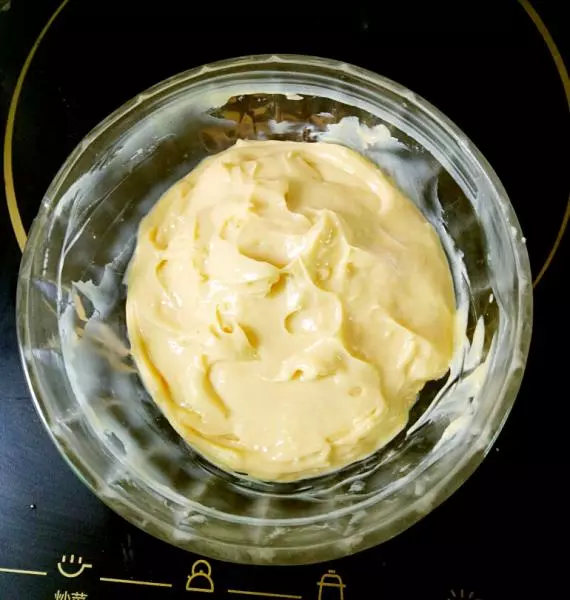
5鸡蛋液提前打散,先加入少量的蛋液到面糊里,用四根筷子搅拌,然后慢慢一次一次加入少量的蛋液搅拌,直到全部吸收,面糊越来越温润细滑(这一步请有点耐心,不要一次性加入太多)

6用四根筷子挑起面糊,呈倒三角状,尖角到底部长度约4CM,并且不会滑落,就不用加入鸡蛋了(三个是用不完的)

7装入裱花袋,准备大号裱花嘴一个

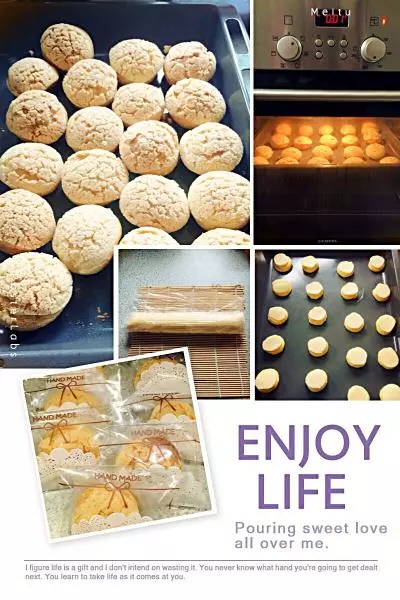
8预热烤箱210度,剪开裱花袋,将面糊挤在烤盘上,大概4CM的直径(面糊之间保持一定距离,等会会膨胀的)

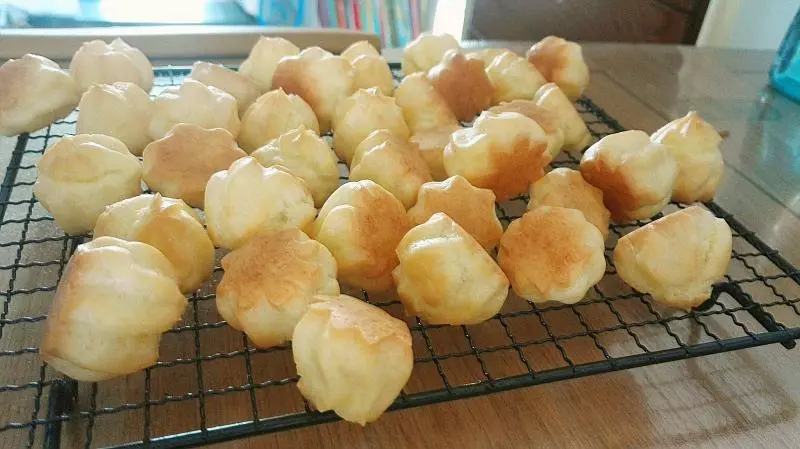
9210度,上下火,中层,12分钟左右,转180度,25分钟左右至表面黄褐色(中途严禁打开烤箱)

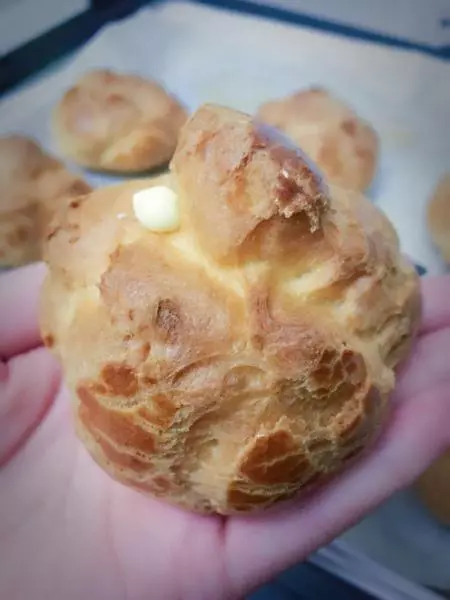
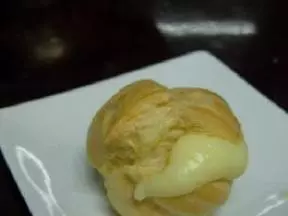
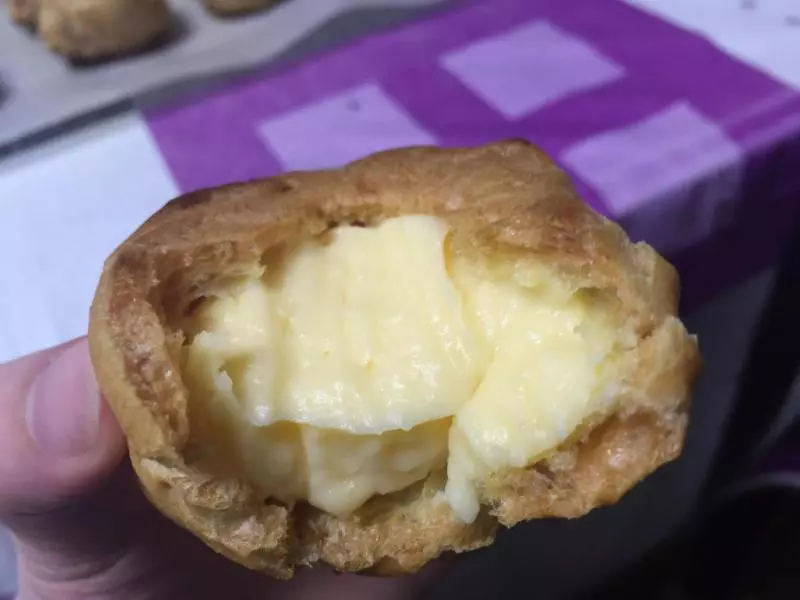
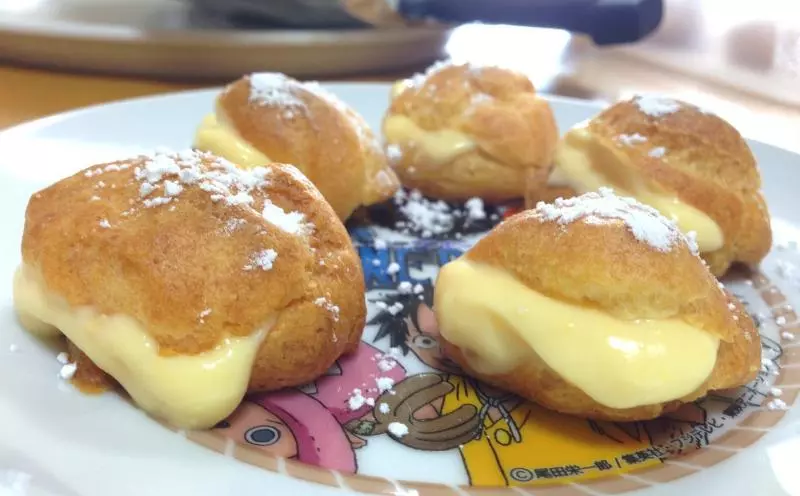
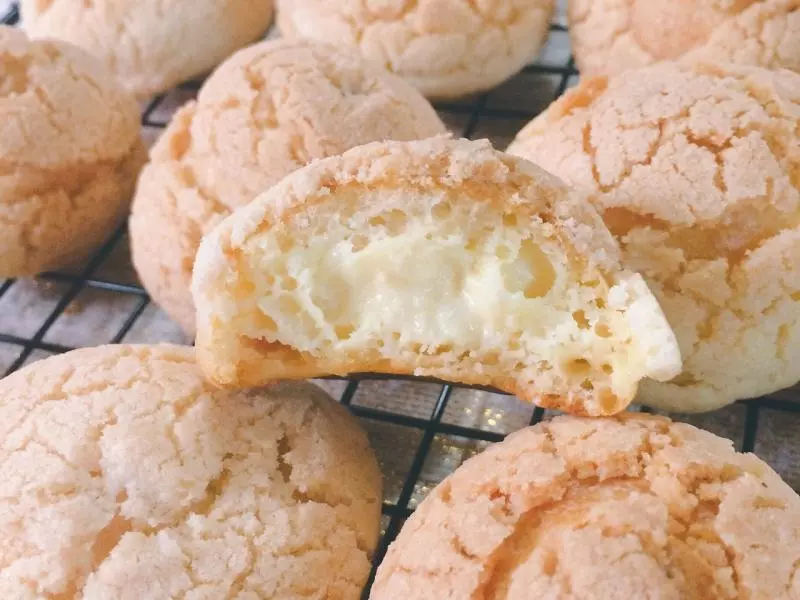
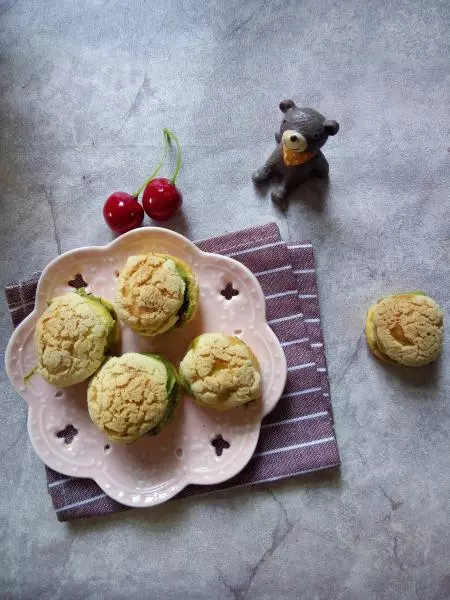
10挤入卡仕达酱,就可以吃啦~

小技巧
多余的泡芙可以密封保存在冰箱1个星期左右,吃之前放入烤箱180度3~5分钟,再挤入酱就能吃了~