简介
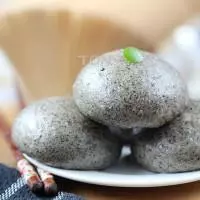
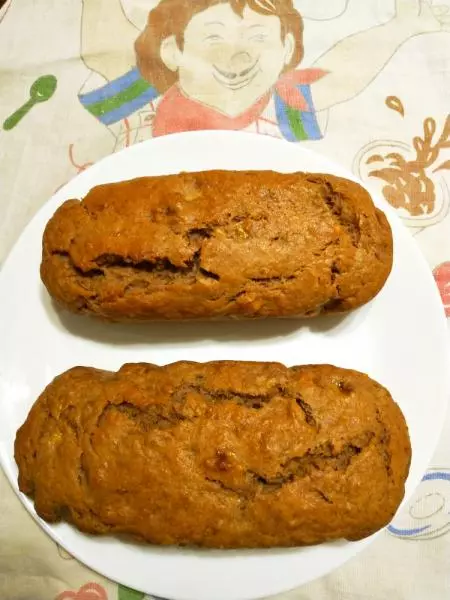
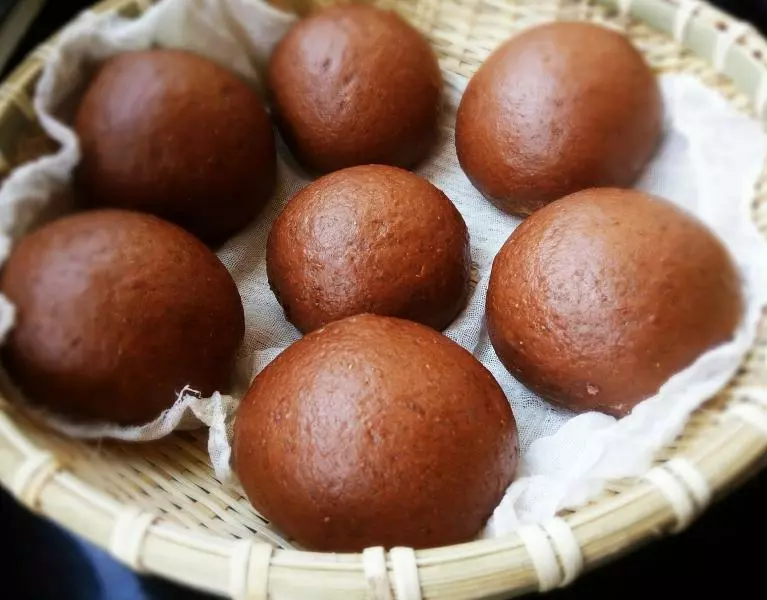
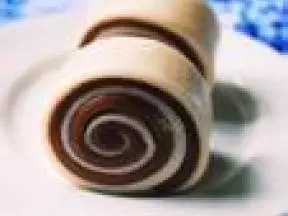
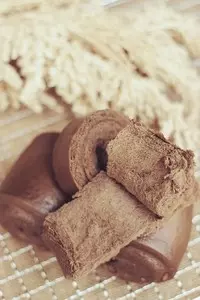
有了新面包机有了一大袋的面粉我就有了个馒头计划,这是第一个搭配的组合,馒头就是很健康的感觉,口感非常柔软和香甜,能明显感觉到红糖和可可味。核桃很香也添色不少~ 我感觉很适合女孩子和小朋友喔
原料
低筋面粉 200g (用普通也行), 奶粉 25g, 黑可可粉 6g, 红糖 45g, 水 100g, 耐高糖酵母 3g, 核桃 20g(不喜欢这个就换自己喜欢的 没关系)
步骤
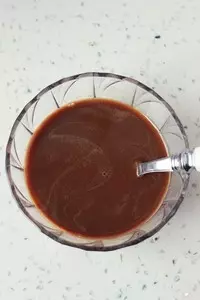
1先把60g水加热一下,然后红糖放进去搅吧搅,匀了之后再放40g水进去把水温降下来。
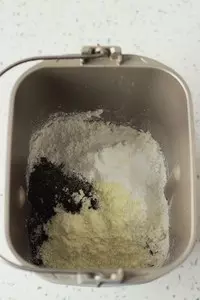
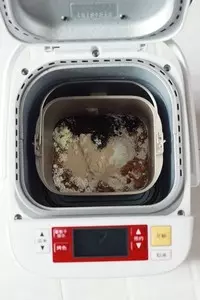
2把粉类材料放进面包机的搅拌缸内。
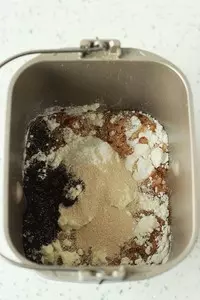
3然后倒入红糖水,再放入酵母。
4搅拌缸放入面包机内后接通电源。
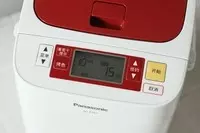
5盖上盖子然后选择10号饺子皮面团程序后按开始键,面包机开始揉面,总共15分钟。
6悄悄地15分钟过去后面包机发出滴滴的提示音表示已经揉好了
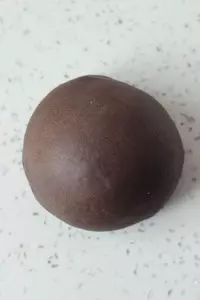
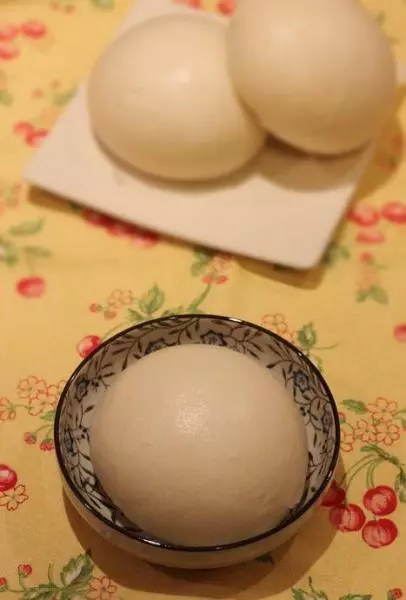
7取出面团在操作台上揉一揉团成一团,面团很光滑~ 另外啰嗦一下,要揉光滑了再发酵啊。
8放回面包机内,不用选择任何的程序,直接盖上盖子让面团发酵至2倍大。
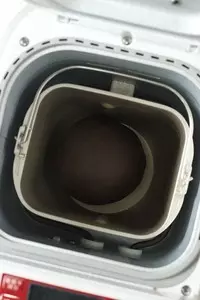
9因为揉面的时候面包机内是温热的,而且现在气温比较高,所以不需要创造发酵环境,就放面包机内发就好了。
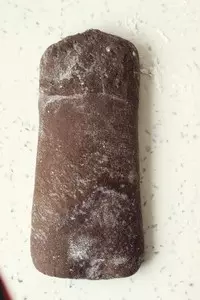
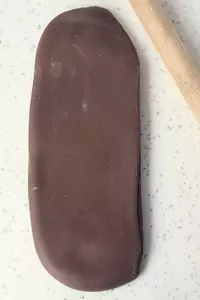
10发好的面团取出,重新揉匀排气。操作台上撒些干粉,然后用擀面杖把面团擀长。
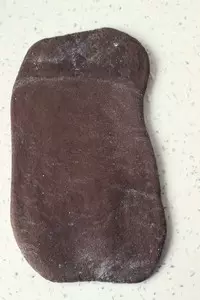
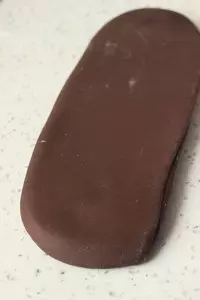
11再往两边擀开一点。
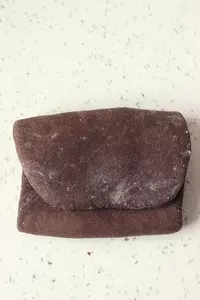
12然后折叠,上部分和下部分都往中间折。
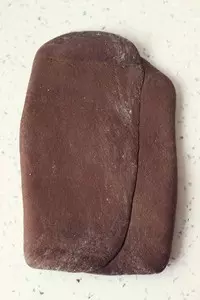
13然后90°把面团调转一下,再次用擀面杖擀长。
14然后就这样一直重复10~11步,对!就在这擀,擀足一百八十天! (开玩笑的......)
15反正就到面团表面非常光滑后停止就行了,力气不用特别大。
16就是眼看手摸都很光滑的样子。
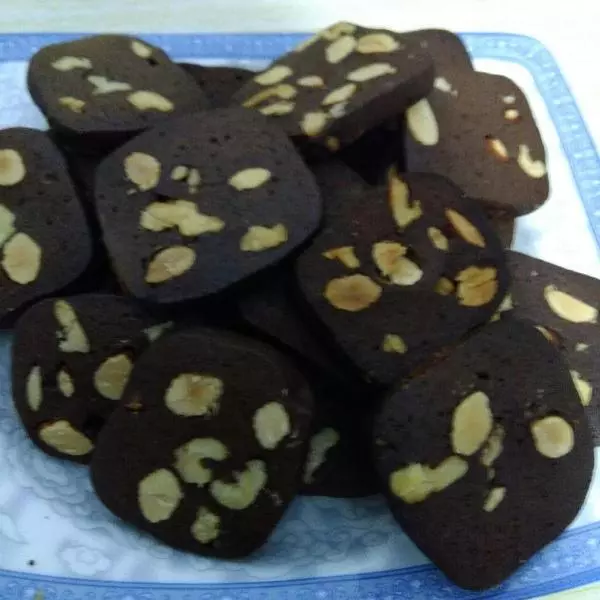
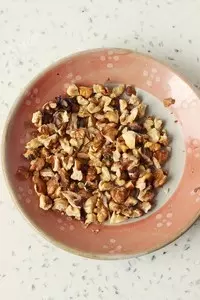
17然后准备好你喜欢的辅料,我这个是烤过的核桃,很香。
18接着把光滑的面团擀薄擀开,擀成一个长方形的面片。
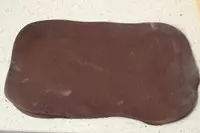
19接着表面喷壶喷点水,均匀撒上核桃碎。
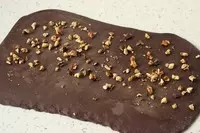
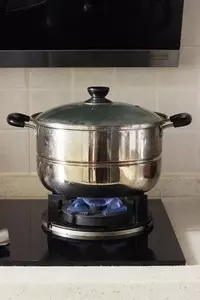
20注意一下图片,只撒三分之二的地方,留下三分之一不撒,这样卷起来后就不会因为加了辅料而导致馒头表面凹凸不平。
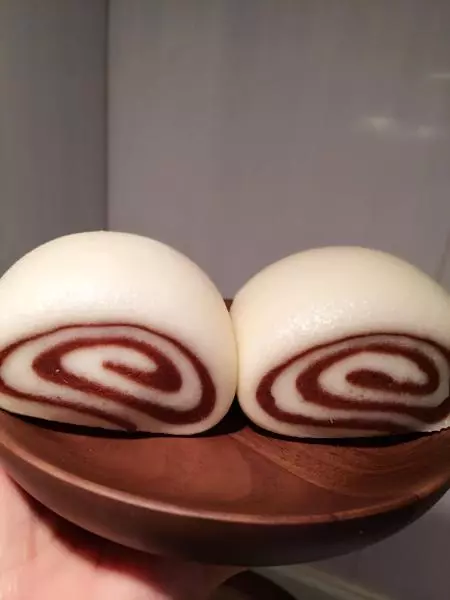
21然后卷起,靠自己这边再压薄一点。
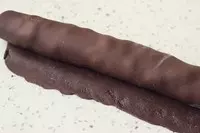
22然后卷起,用手再前后滚揉一下,让它均匀紧致。

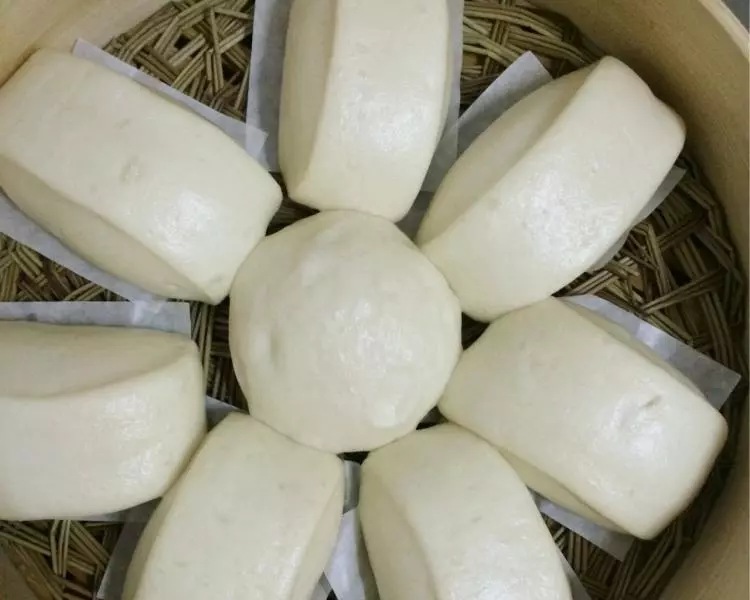
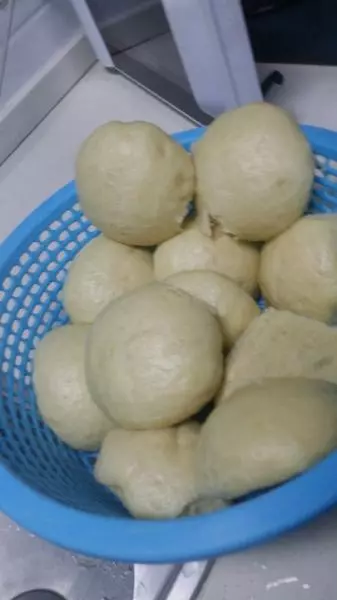
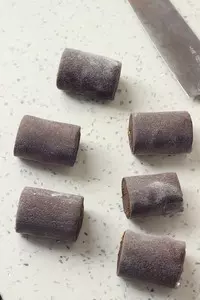
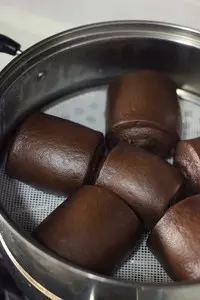
23切成大小差不多的小段。
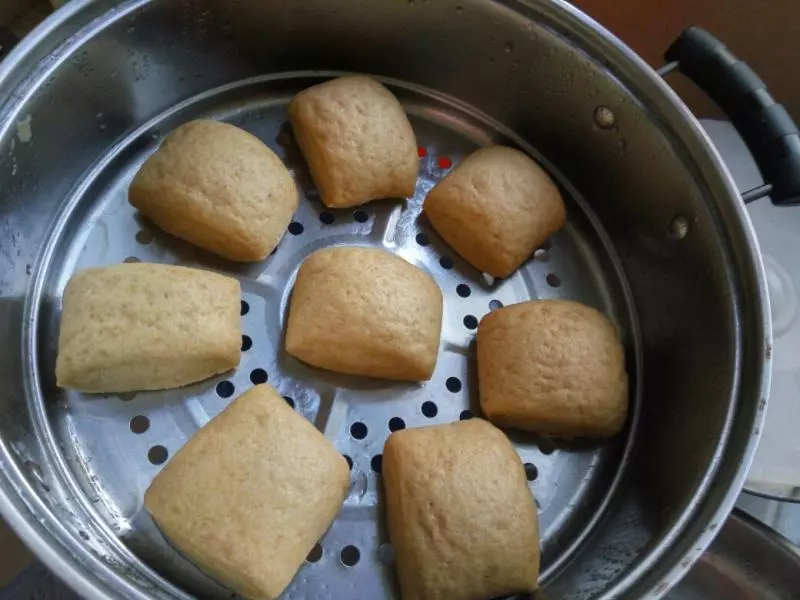
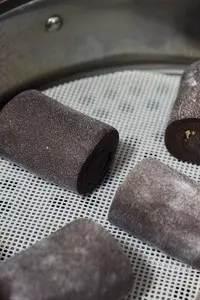
24蒸锅内装适量的水,这个水不要多也不要少,需要自己拿捏一下喔,多了水蒸气大馒头表面会各种难看。水少了不够蒸就不能熟。然后放上蒸垫,把馒头摆上去,每个馒头之间要留点位置。然后盖上盖子,二次发酵15~20分钟。
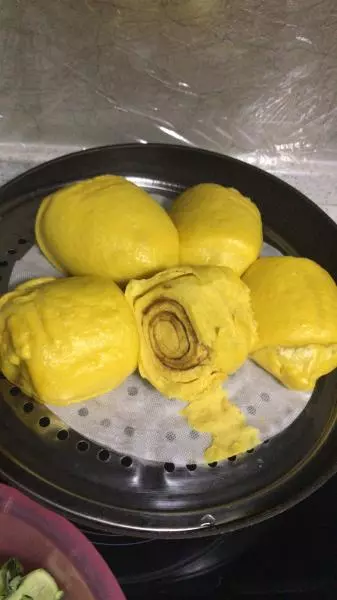
25然后开火,在中火的程度上再大一点,火大了的话馒头成型太快不踏实,蒸完了会出现鬼掐面的现象。
26鬼掐面就是馒头体积变小然后彻底萎缩掉了。
27蒸的时间是十五分钟,因为量不多,如果做得馒头多了水和时间也要增加一些。
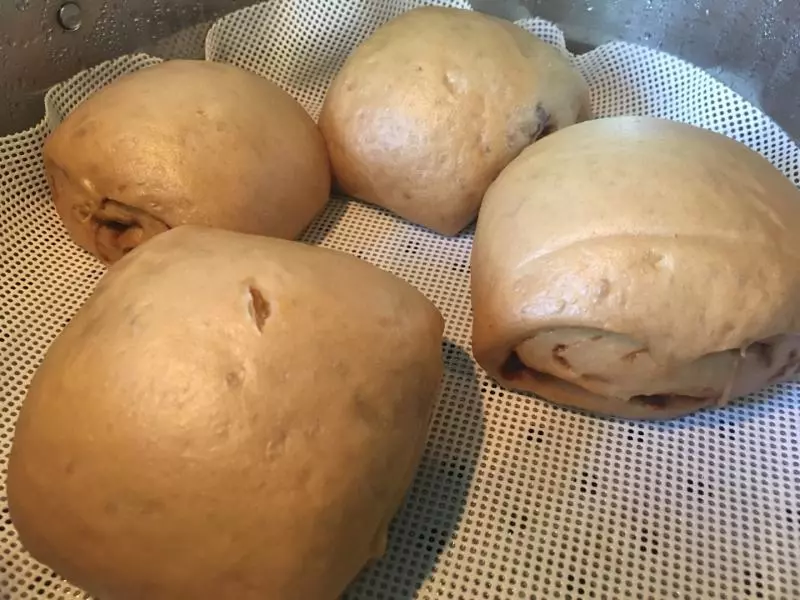
28蒸好后不要立刻开盖,闷5分钟后再开,避免热胀冷缩,特别是冬天做蒸点的时候都不要立刻就打开盖子。
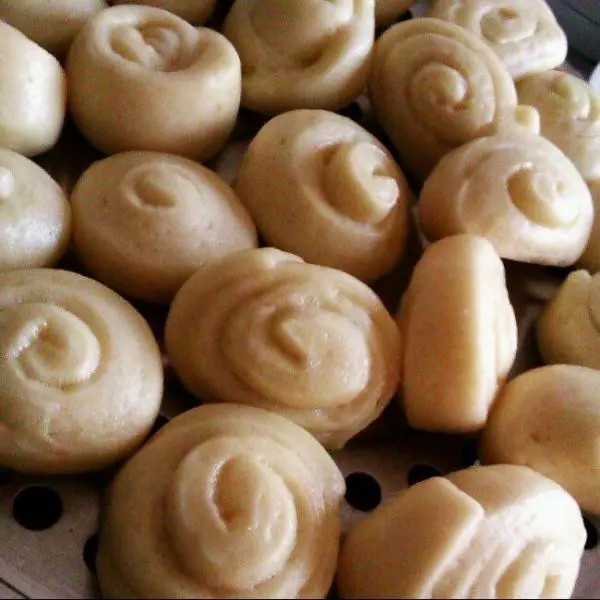
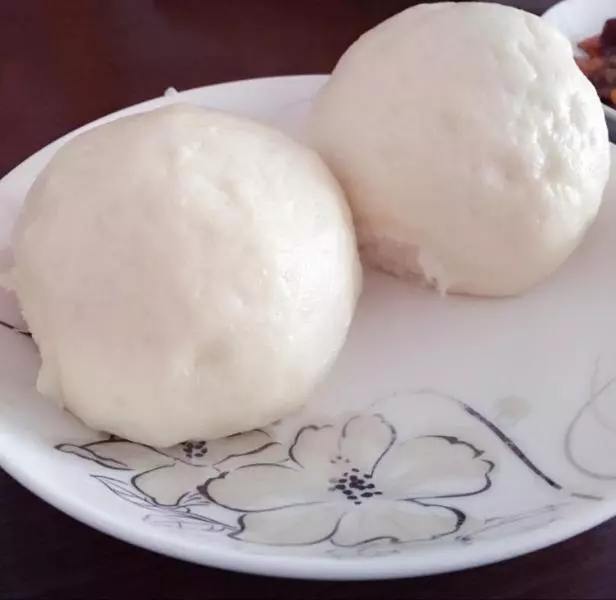
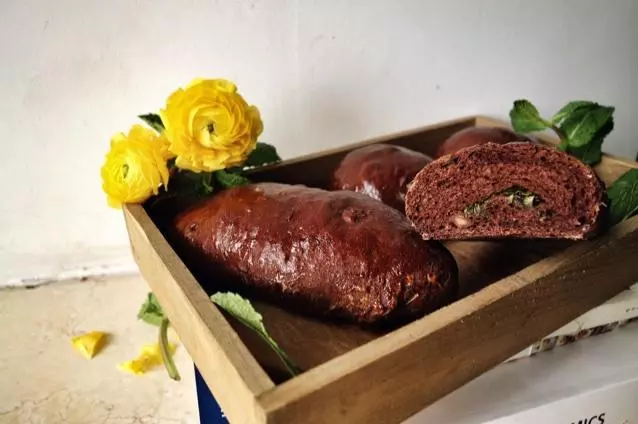
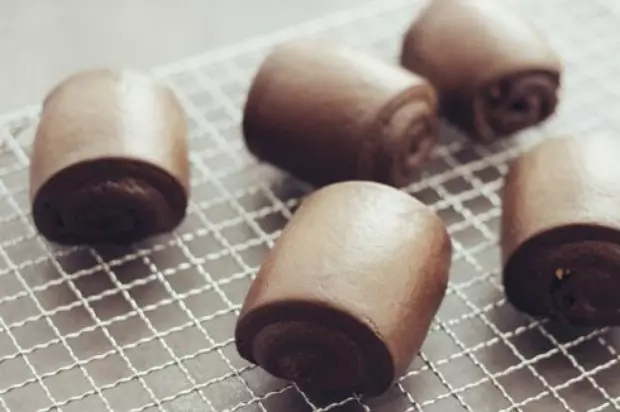
29这样馒头就做好啦。
小技巧
可爱又好用到根本停不下来的松下面包机要买就来戳这里o( ̄▽ ̄)o ~ http://item.jd.com/1085316.html