原料
饺子粉: 300g, 黄油: 50g, 水: 135g, 即发干酵母: 3.3g, 白砂糖: 30g, 盐: 1g
步骤
1先将酵母容易温水(夏天可用常温水)融化,因为饼干面团,揉的时间短,颗粒状酵母不容易揉均匀。面粉先跟糖盐,混合,再挖个坑儿,咱给它埋上~~~

2搅合均匀后,再加入软化的黄油

3揉成均匀的面团就行。不用出筋,也不强求特别光滑

4放温暖湿润处发酵1.5-2小时。务必发到位。但是不要过度。面团内部很酥松,受压不会弹

5然后用擀面杖,干成薄薄的大片。就像饺子皮厚度一样~~~注意撒粉防粘。但也别撒太多

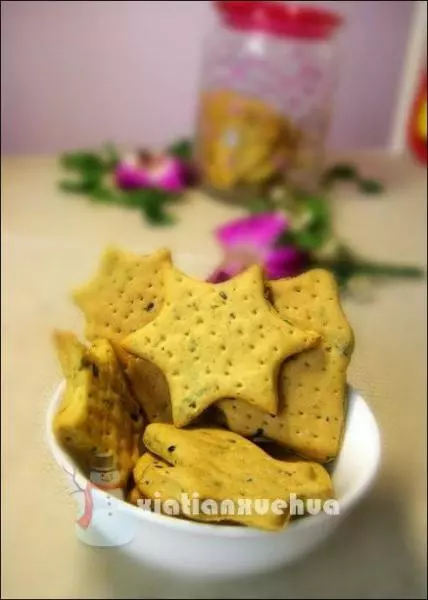
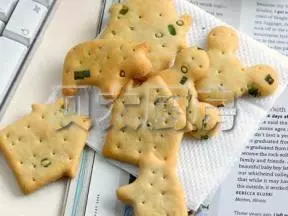
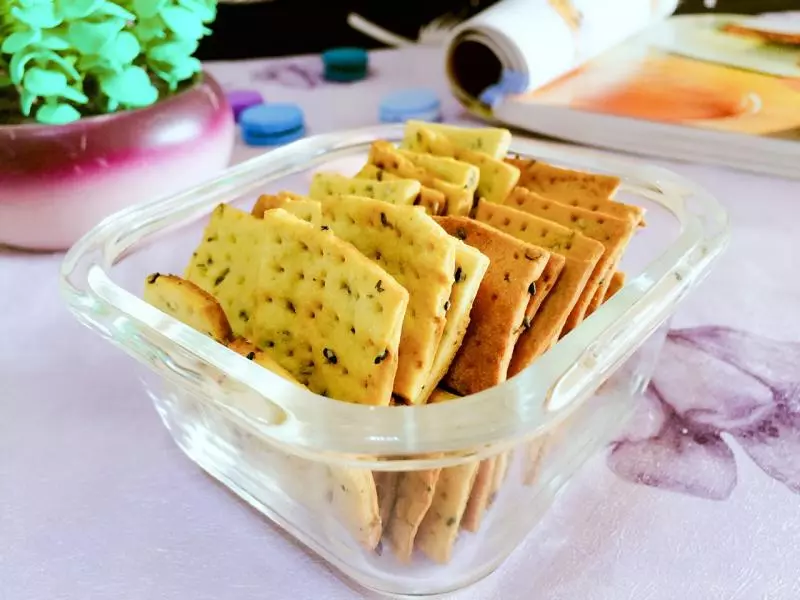
6最后上菜刀(因为木有轮刀,有轮刀当然更好!)用尺子比着,切成均匀的小块。我切成4*5cm的长方形。看~这菜刀切得也是很整齐的嘛,注意不要完全切断,切得有深一点的印记即可。防止饼干烘烤的时候回缩鼓拱起。然后用叉子扎上均匀的洞洞。最后放在温暖湿润的地方,最后发酵15分钟左右。略略发起一点。不要太多,入炉还要涨。入炉前喷一点水,撒一点盐。如果没有喷雾,就最后发酵的时候,水汽弄大点。在密闭空间里放多点热水。让饼干表面有蒸汽

7烤箱预热220度(苏打饼干要高温快烤,才能膨胀,跟欧包差不多嘞)入炉烤约10分钟。上色即可关火。出炉放烤架冷却即可