原料
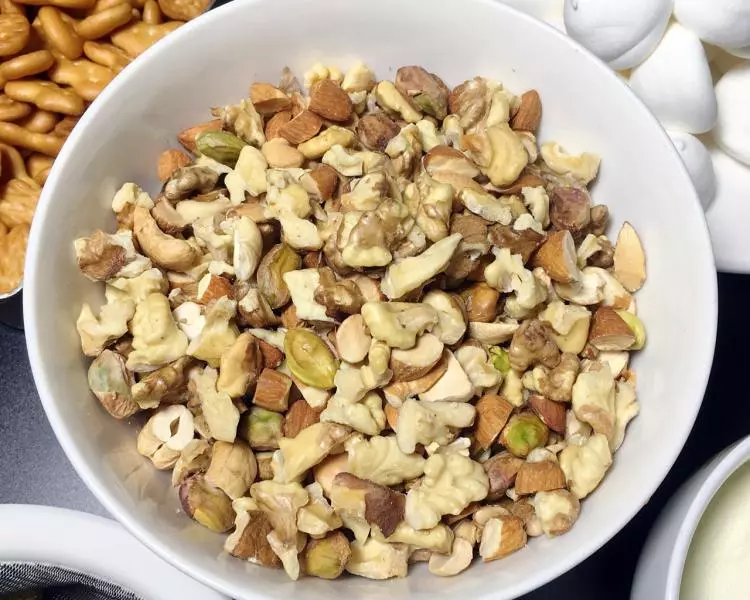
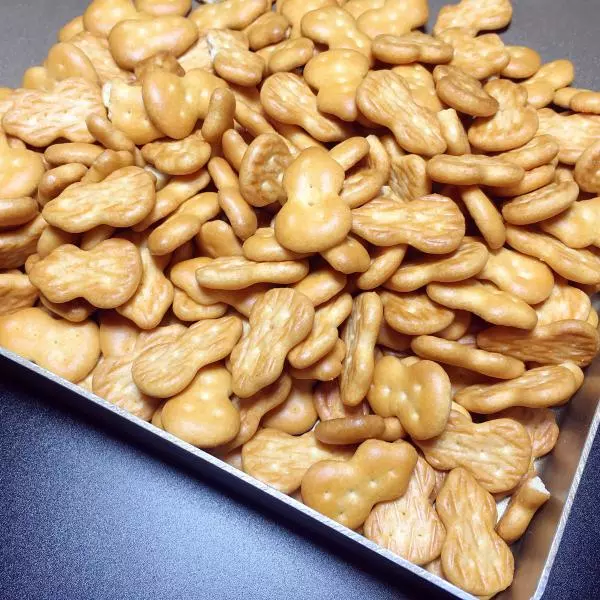
“原味雪花酥”: , 无盐黄油: 50克, 棉花糖: 150克, 脱脂奶粉: 50克, 盐: 1克, 葡萄干: 20克, 混合坚果: 150克, 葫芦饼干: 150克, 脱脂奶粉(配方外的): 适量
步骤
1我们先做“原味”的,先把葡萄干稍微清洗一下,沥干水分备用。(建议放篮子或是过滤网沥水) ⚠️你也可以选择不洗直接使用。
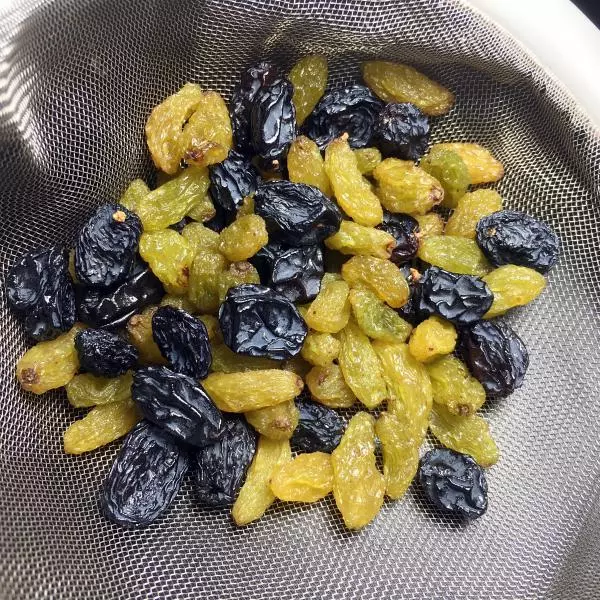
2坚果放烤箱烤熟再使用。 我用的是盐焗杏仁、盐焗开心果、核桃、腰果、青葡萄干、黑加仑葡萄干 除了葡萄干之外,坚果我还是放进烤箱上下火165度中层,烤了5分钟左右,为了成品更香脆。
3我用的是晨龙的小葫芦饼干,口感还不错,挺脆的。价格相对也实惠。
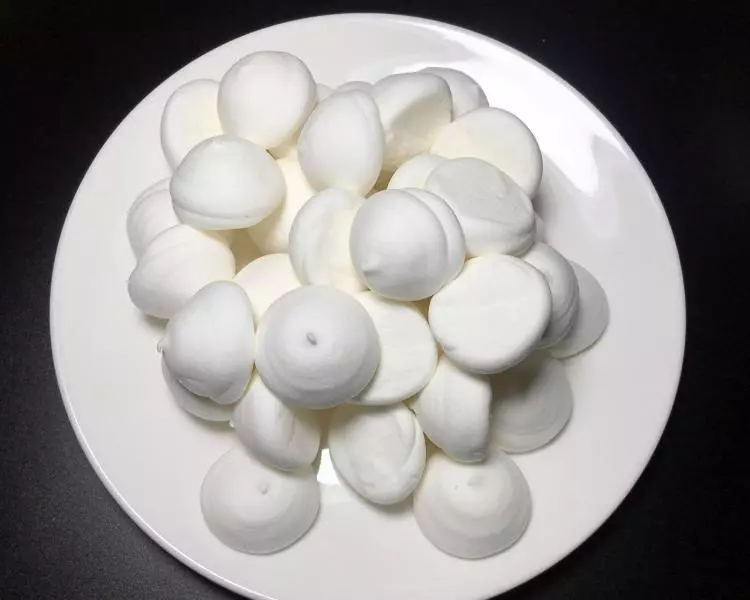
4棉花糖150克,称好备用。
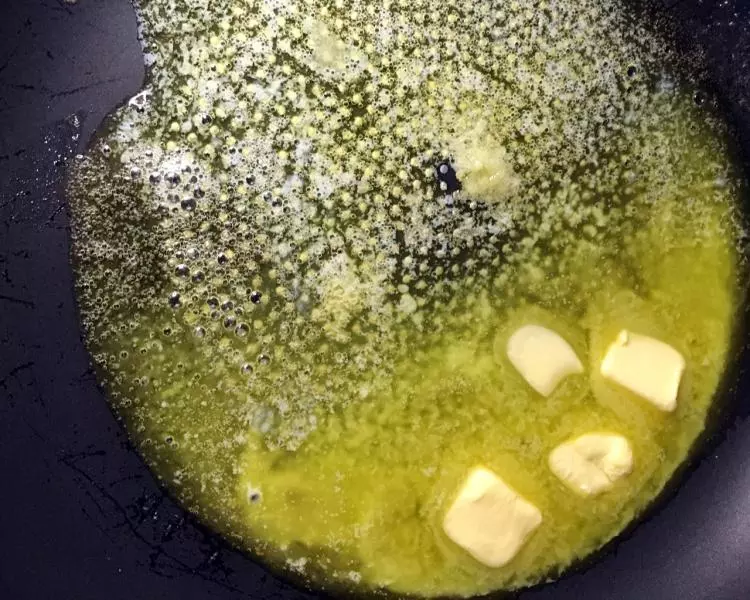
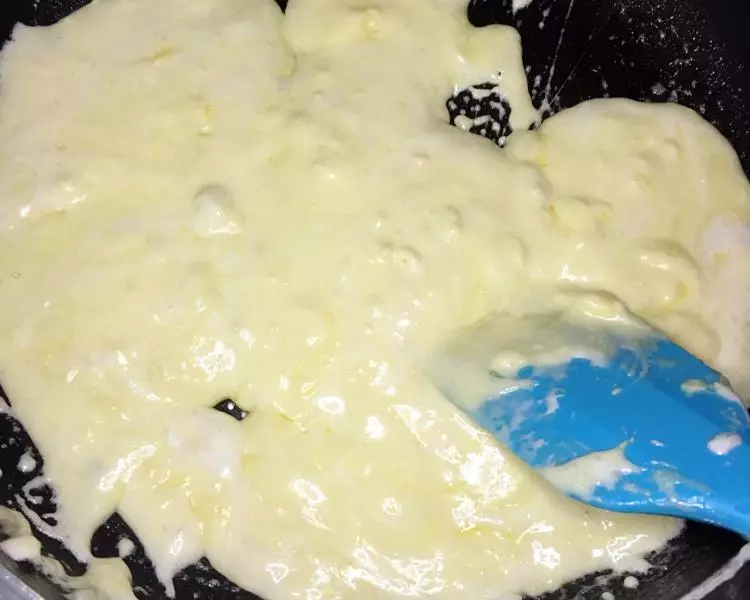
5小火,黄油加盐融化后,加入棉花糖。 ⚠️黄油融化即可,不用冒泡。
6快速搅拌,直至奶粉和棉花糖浆混合均匀后熄火。
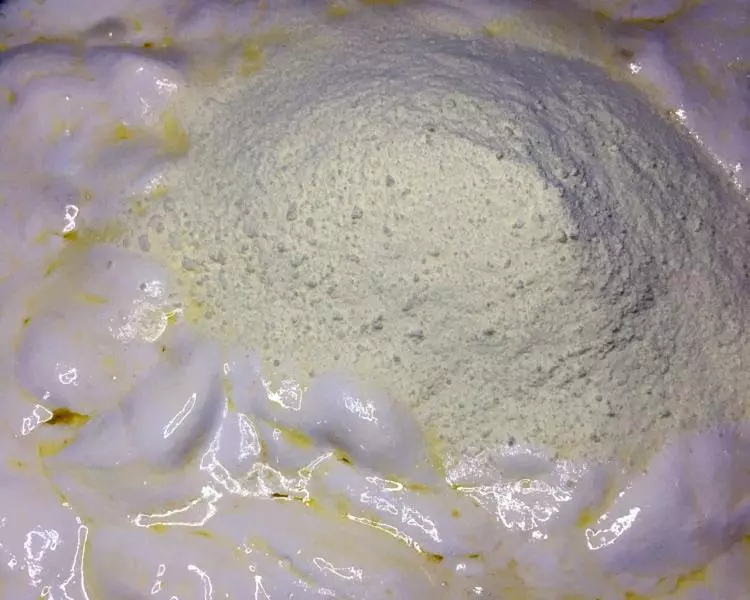
7小火,把棉花糖与融化在一起后,加入奶粉拌匀后立刻离火。
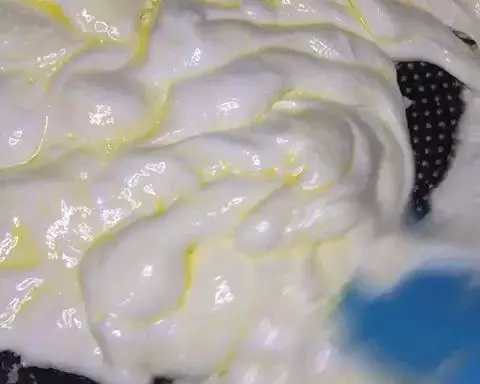
8混合后就像这样⬆️
9加入坚果和葡萄干
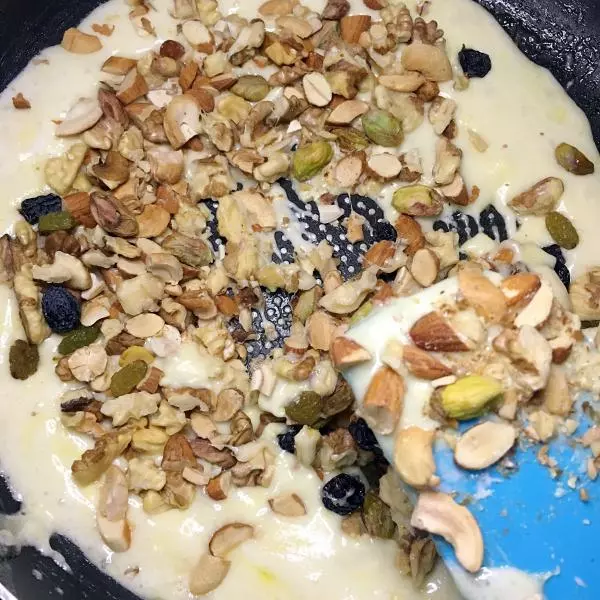
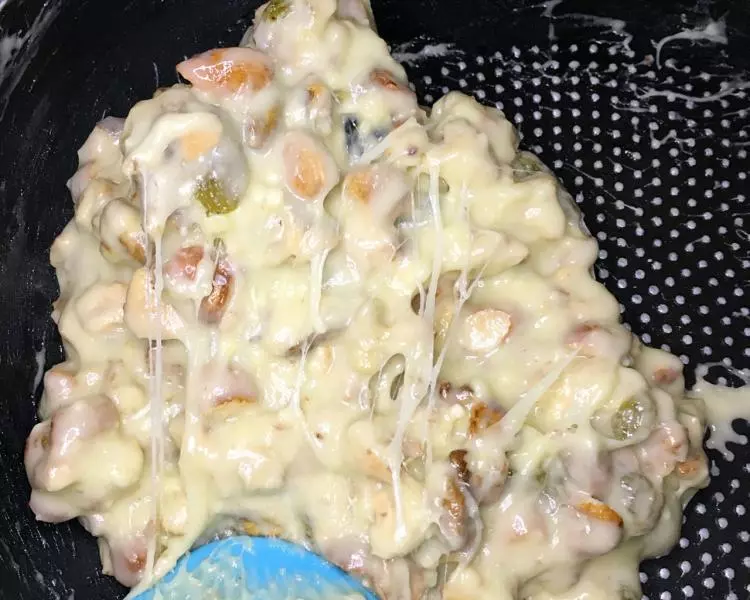
10搅拌均匀,使坚果等都沾上棉花糖浆。
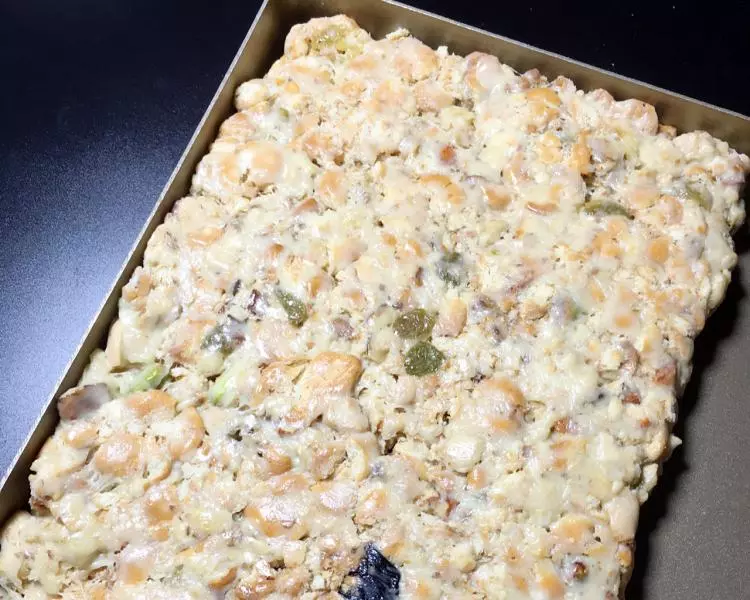
11接着把混合物倒入放有饼干的不粘容器里,使力把饼干和棉花糖等混合。(我用的是28*28的不粘金盘)
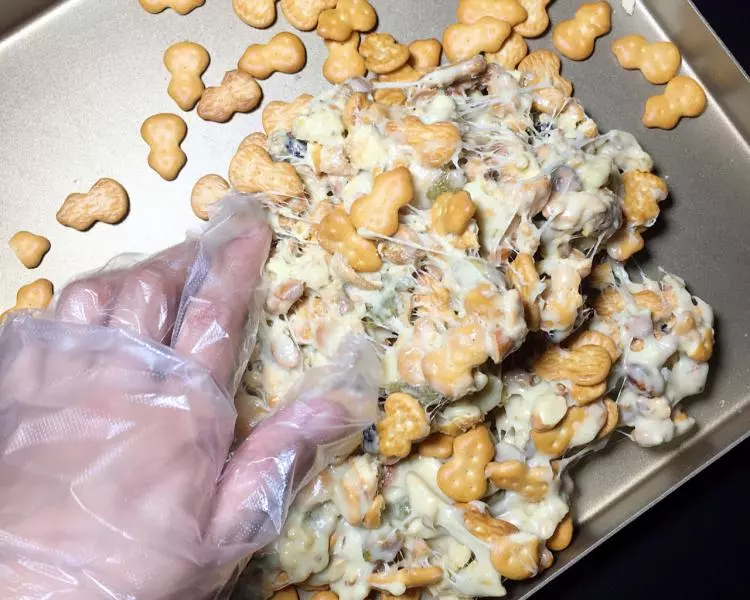
12就像这样?你真是无法想象我是怎样一边拍摄一边揉雪花酥的!

13揉混合后压实,整形。我用的是28*28的不粘金盘。整形的高度大概是2cm左右。
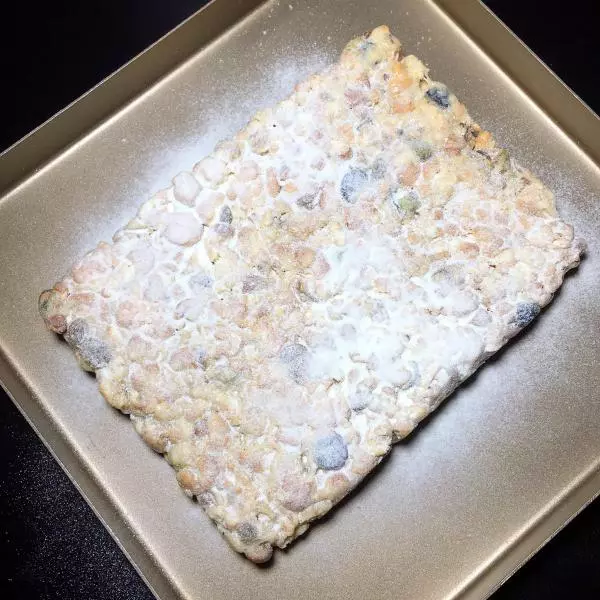
14放到冷却后,两面都撒上少量奶粉,为的是不让它粘在金盘上。
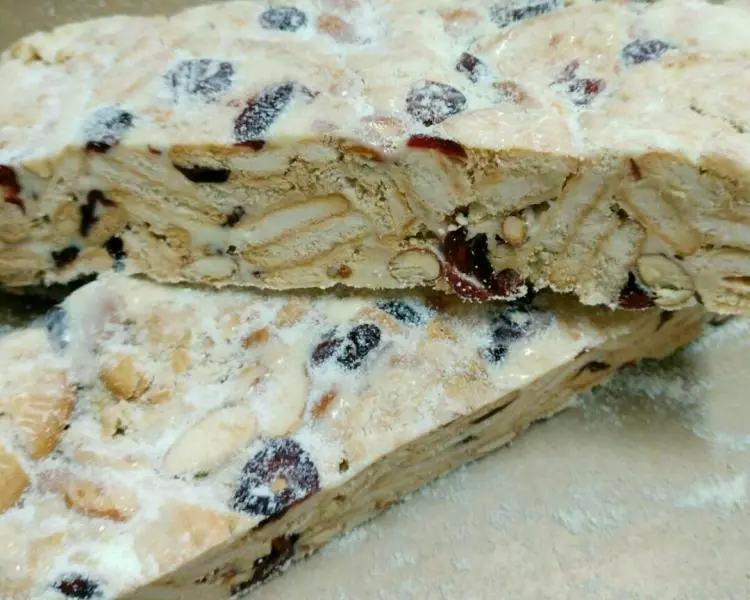
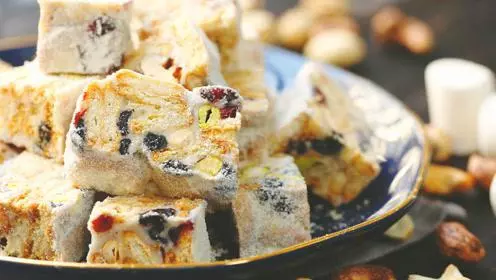
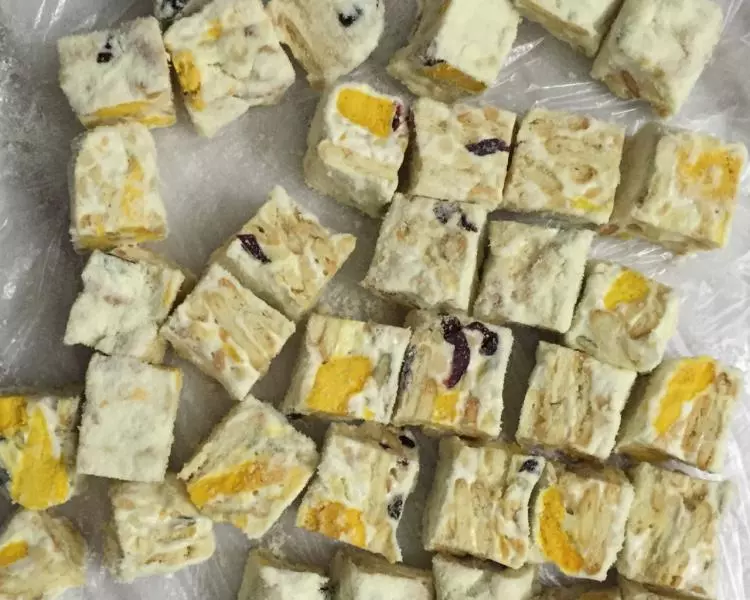
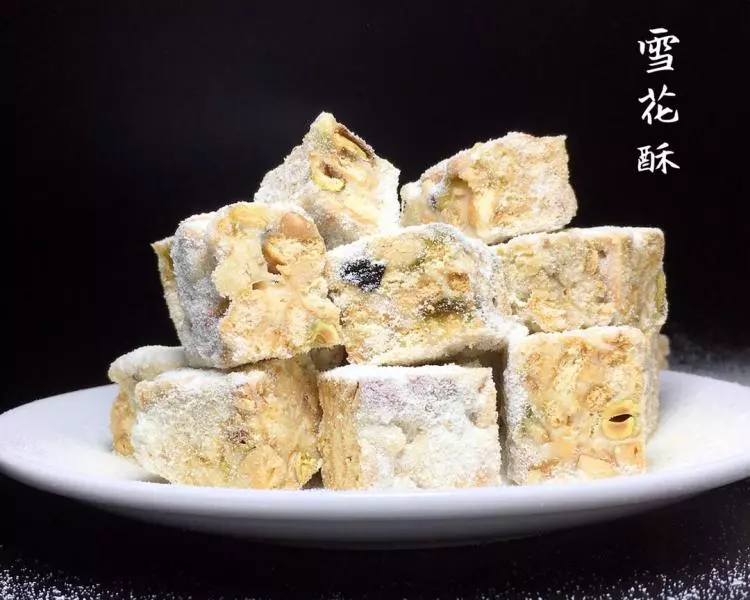
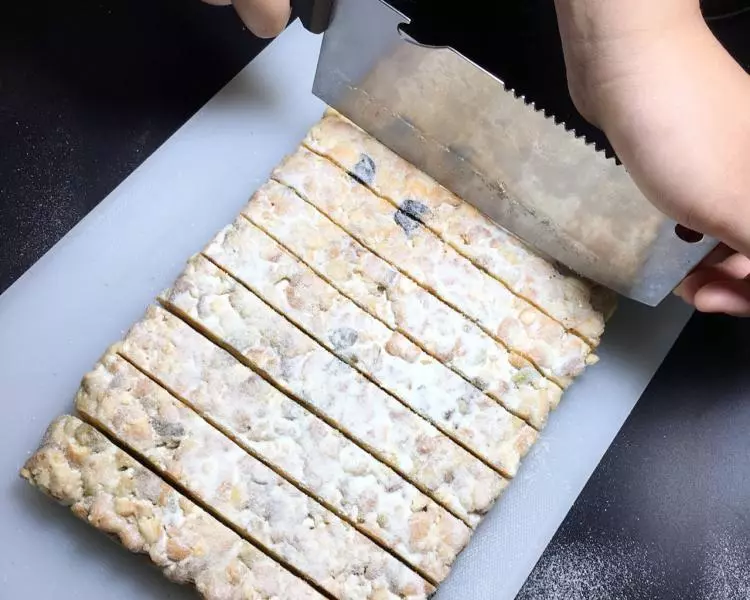
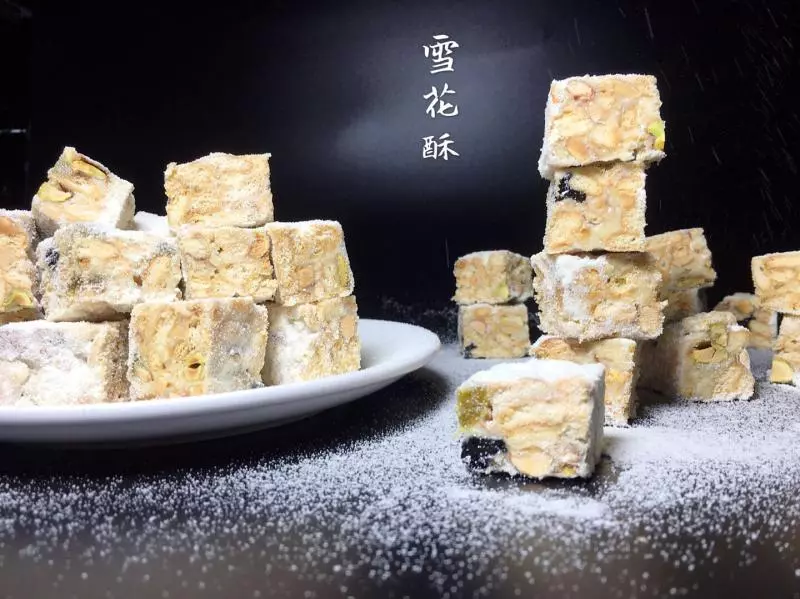
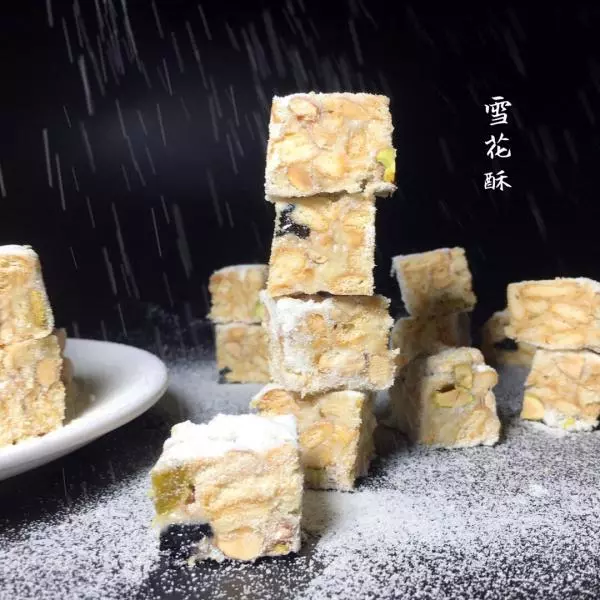
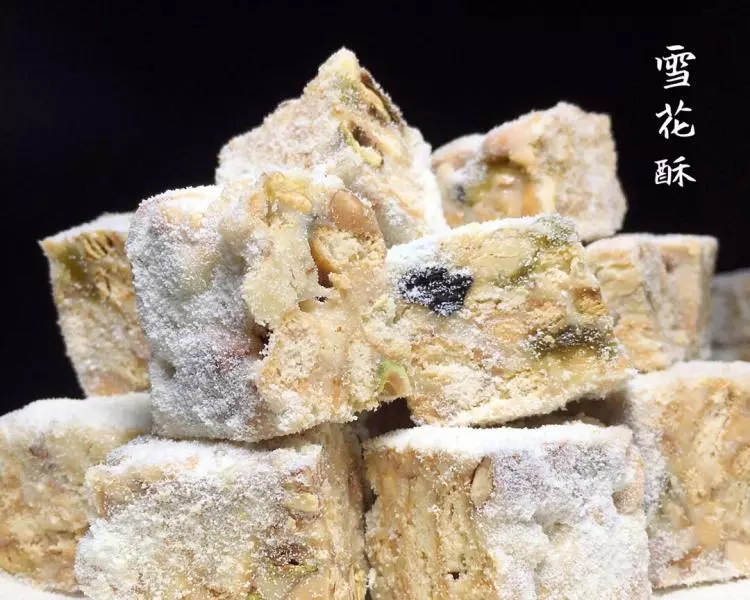
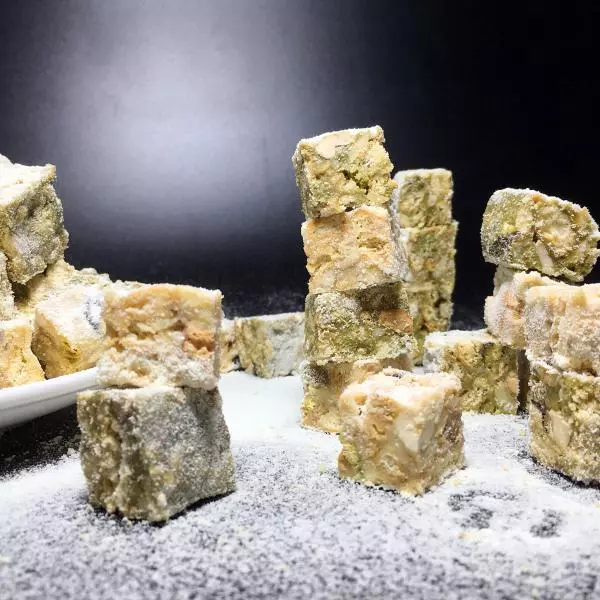
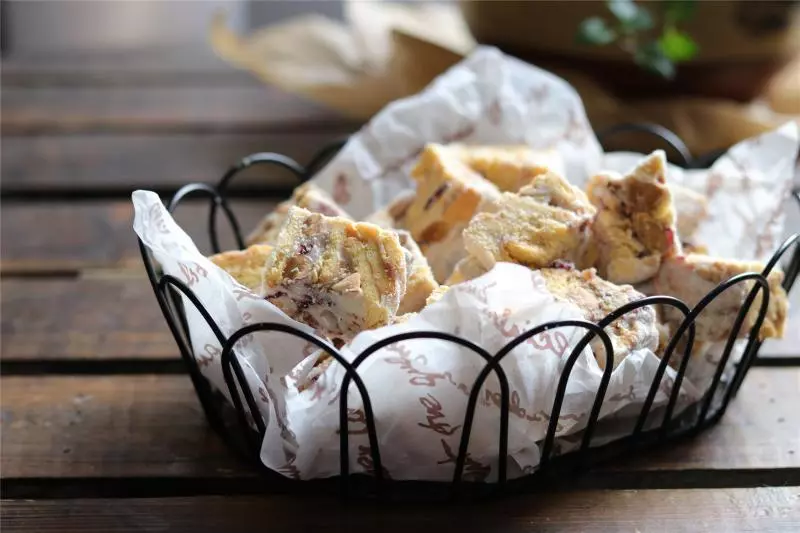
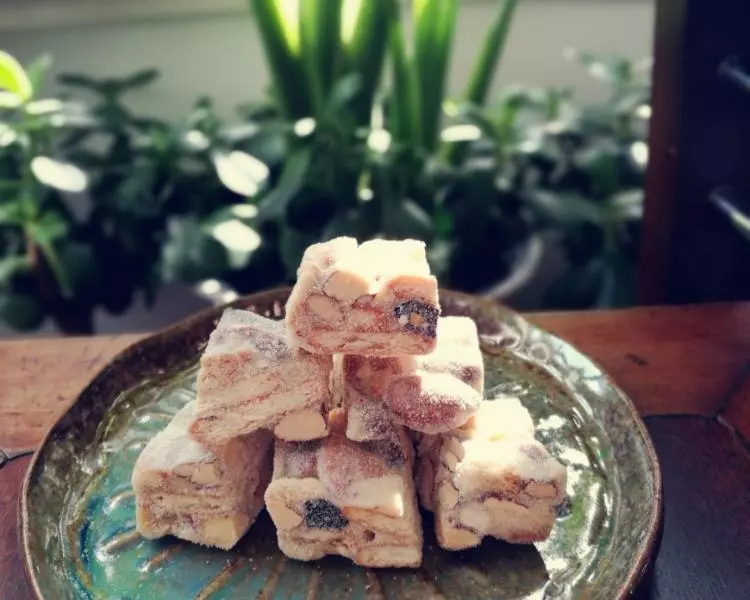
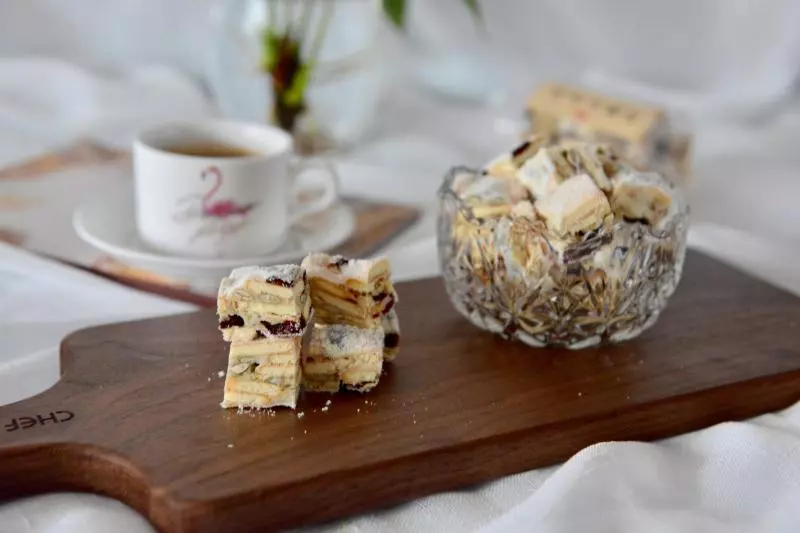
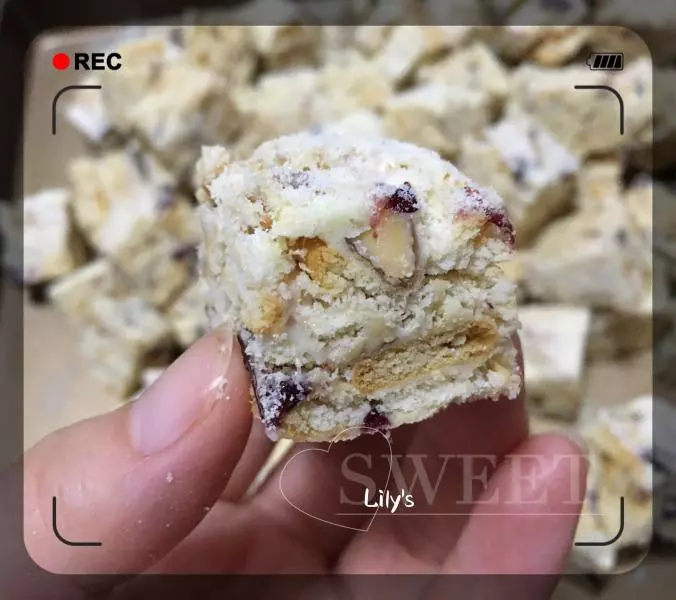
15切小块,我大概是切成2*2的正方型
16切好后的样子
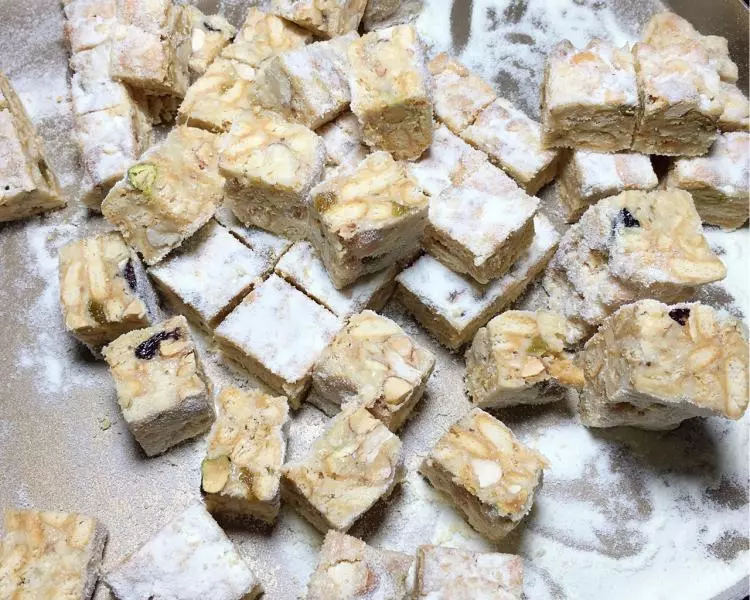
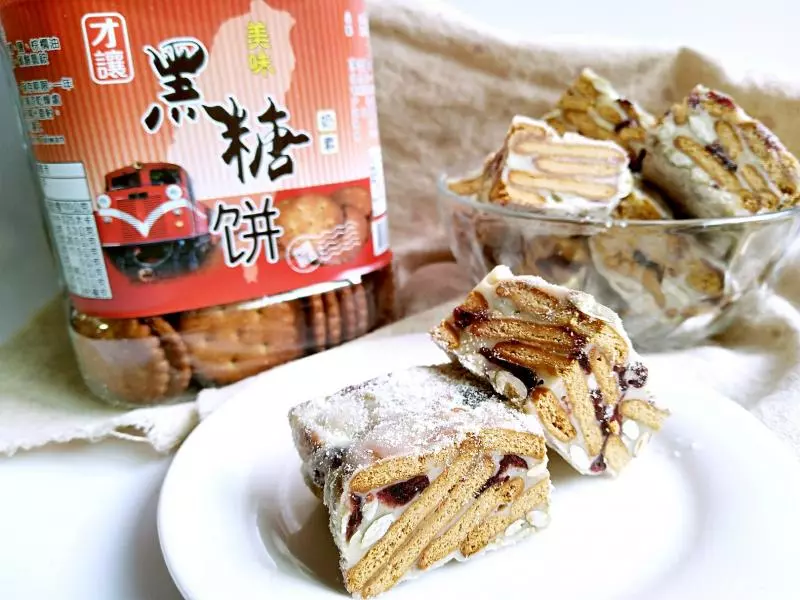
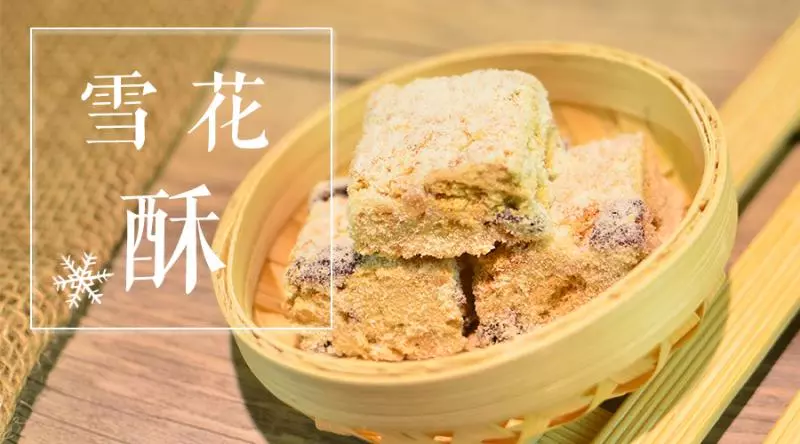
17成品
18成品
19成品


![[自留]基础发面饼](/images/node/17/170978.webp?1638100552)