原料
蛋糕体: , 鸡蛋(带壳65g左右): 4个, 红心火龙果: 1个, 玉米油: 50g, 低筋面粉: 70g, 细砂糖: 60g, 柠檬汁(可选): 几滴, 夹馅: , 淡奶油: 220g, 糖粉: 20g, 水蜜桃: 1个
步骤
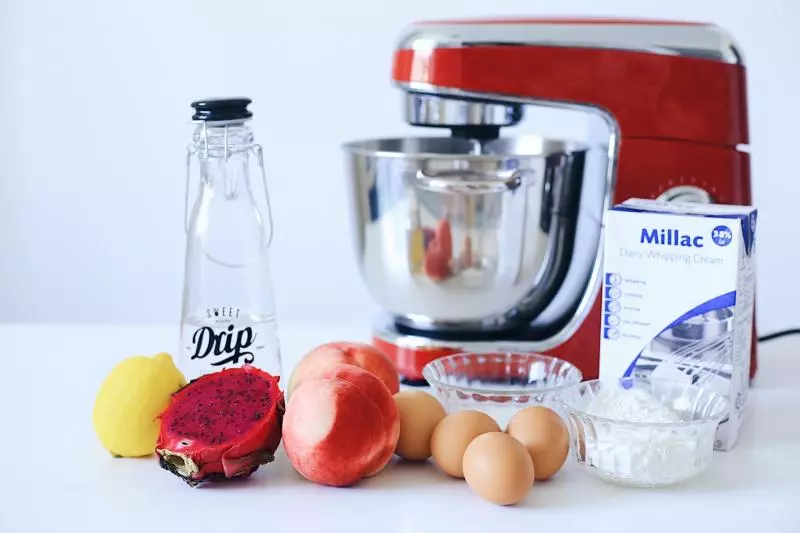
1准备材料。
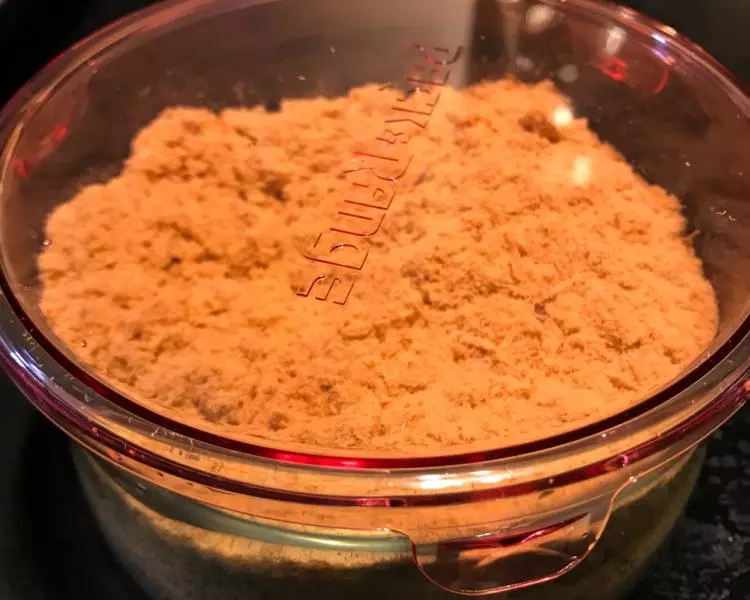
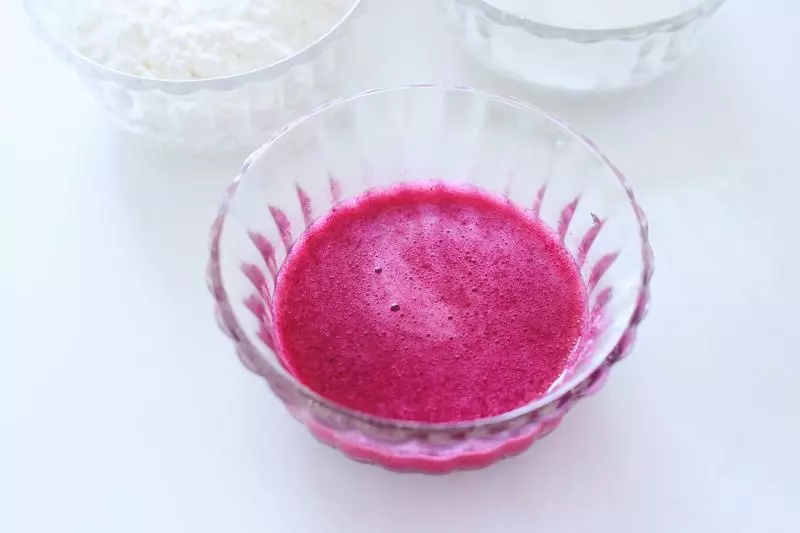
2一只火龙果切小块放入搅拌机中搅成果泥,如果无法搅拌水果块的话可加入少许水(越少越好)帮助搅拌,搅拌好后过筛,取过筛后的果泥70g备用。
3蛋黄蛋白分离。蛋白直接放入摩飞厨师机的搅拌盆中,放入冷藏室备用。
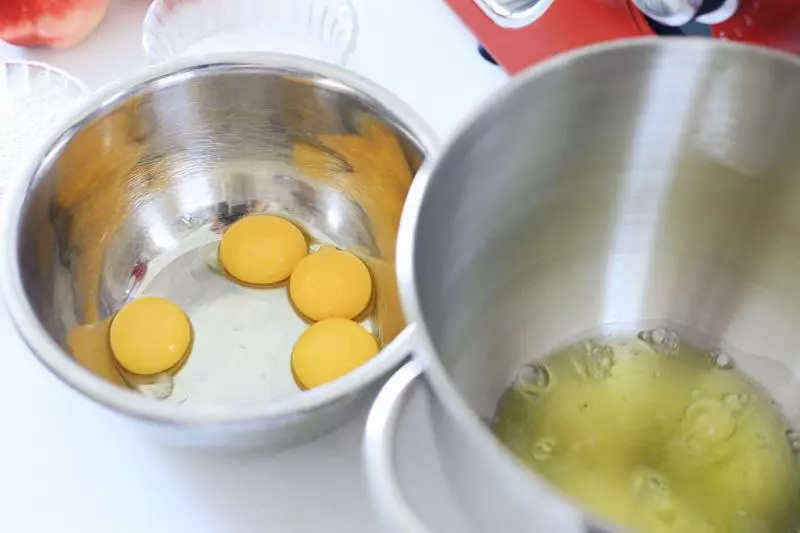
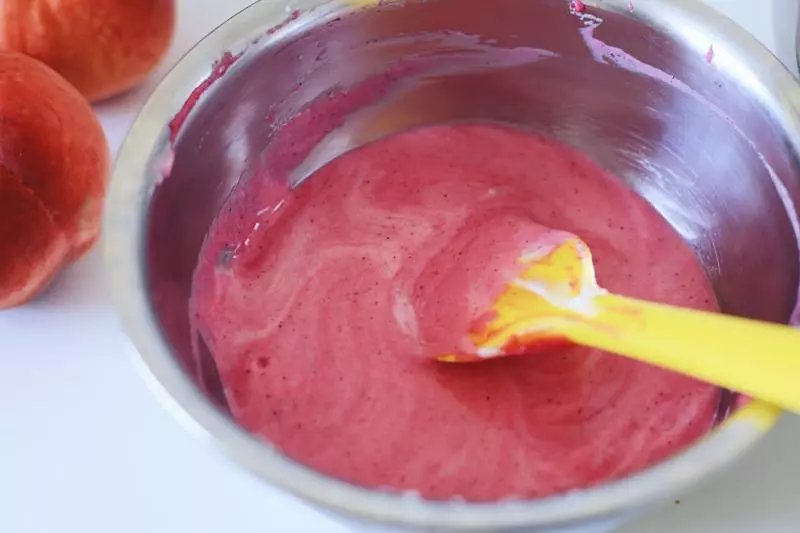
4蛋黄中加入果泥、玉米油,用蛋抽搅拌,乳化均匀。
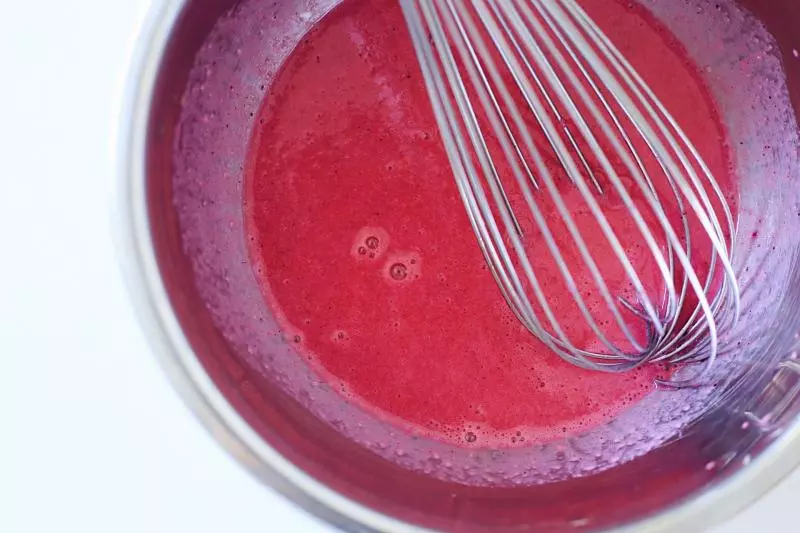
5筛入面粉,用蛋抽沿之字搅拌均匀。如果有小面疙瘩的话用橡皮刮刀按压掉。
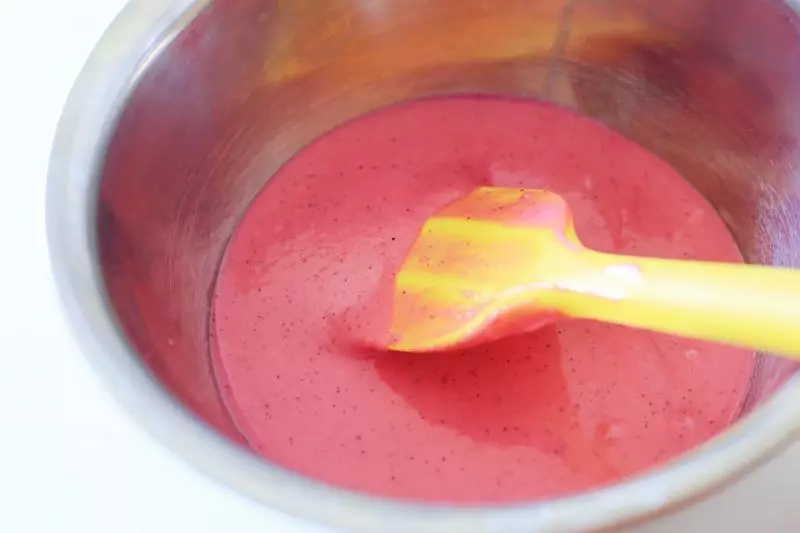
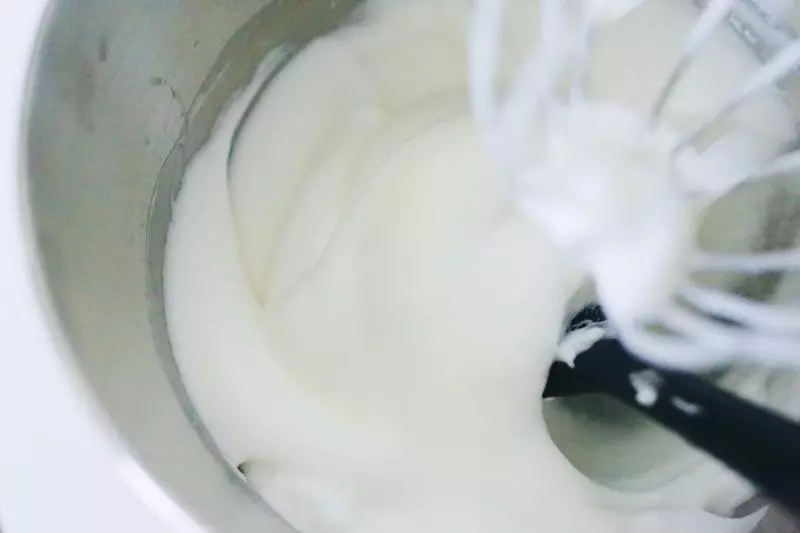
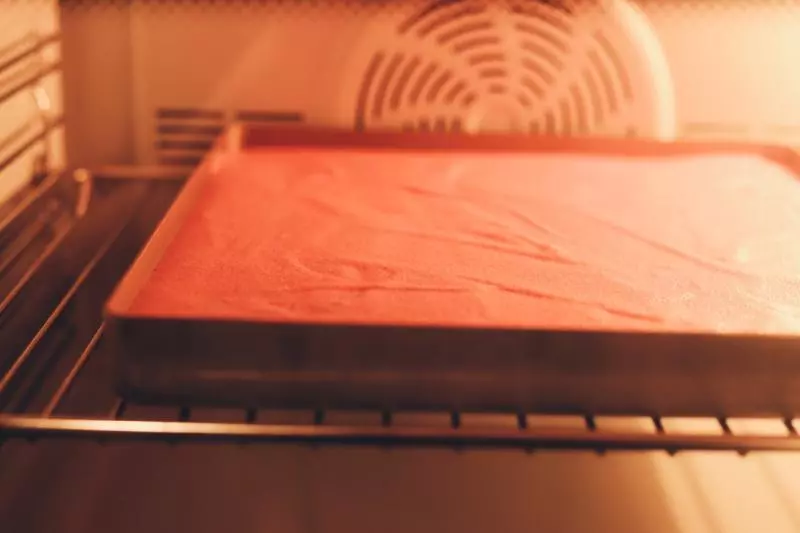
6烤箱预热170度。 使用厨师机的打蛋棒打发蛋白,可以加少许柠檬汁帮助蛋白稳定(也可以不加),期间分三次加入细砂糖。先10档高速,打至呈细密状态时转3档低速。

7打至湿性发泡,即提起打蛋头蛋白呈小弯勾。使用摩飞厨师机打发的蛋白非常细腻有弹性,即使是湿性发泡也很稳定,盆边的蛋白也照顾得到。
8取三分之一蛋白加入蛋黄糊中,用橡皮刮刀大致翻拌。
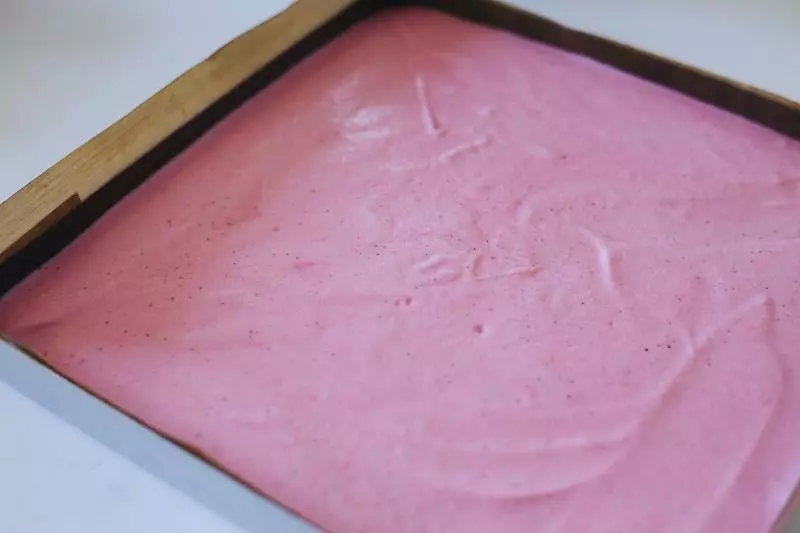
9倒回蛋白糊中翻拌均匀。倒入铺有油布或油纸的烤盘中,大致抹平,轻震模具两下装盘震去大气泡。 不要担心面糊太鲜艳了不好看,烘烤后天然色素会分解,没有那么艳丽,而是淡淡的桃粉色正合我意。
10放入烤箱中层,170度烤20分钟左右。直至表面微微上色,表面拍起来没有沙沙声,即可出炉。 出炉后拎起油布滑到冷却架上晾凉,表面覆盖另一块油布或油纸。
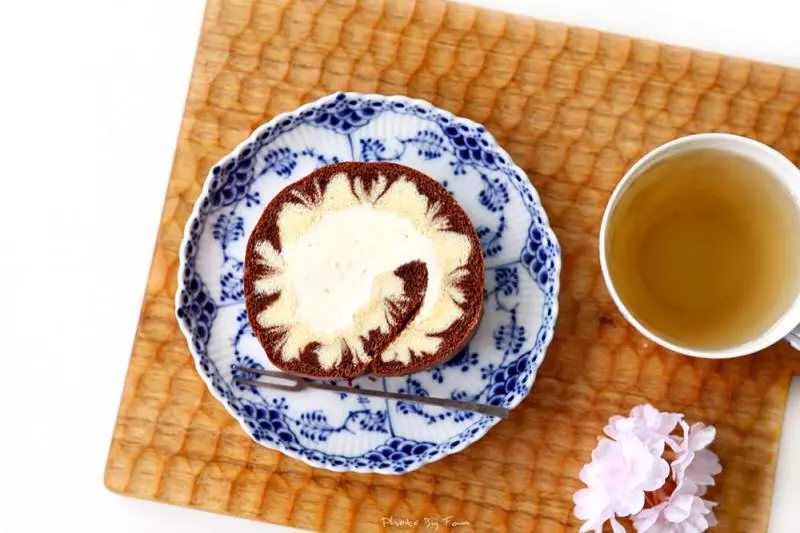
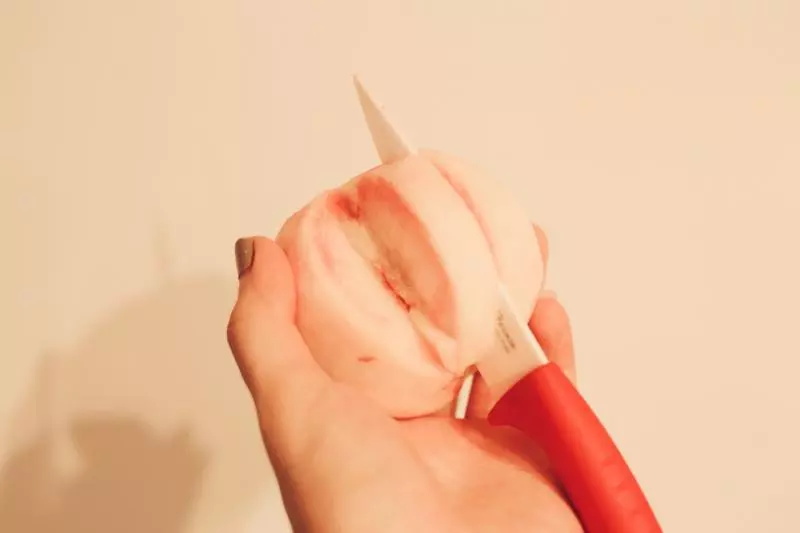
11桃子不要选太硬脆的,但也不能太软,内心最好呈粉红色。用刀片成薄片。
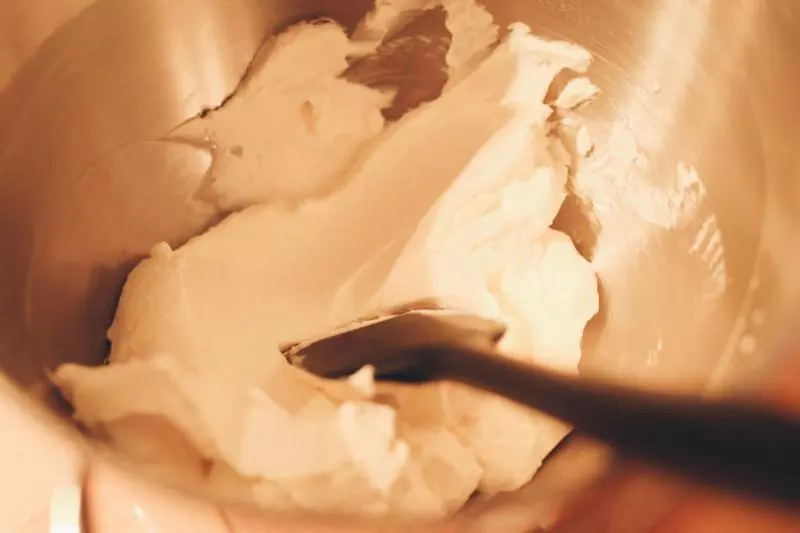
12用摩飞厨师机打发淡奶油。将淡奶油和糖粉加入打蛋盆中,使用6档中低速打发,打至九分发时转2档低速,将奶油打至十分发的状态(微微有点过头也是可以的,不要水油分离就好)。厨师机操作比平时手持打蛋器操作时更易观察奶油的状态,妥妥的防止打过头。
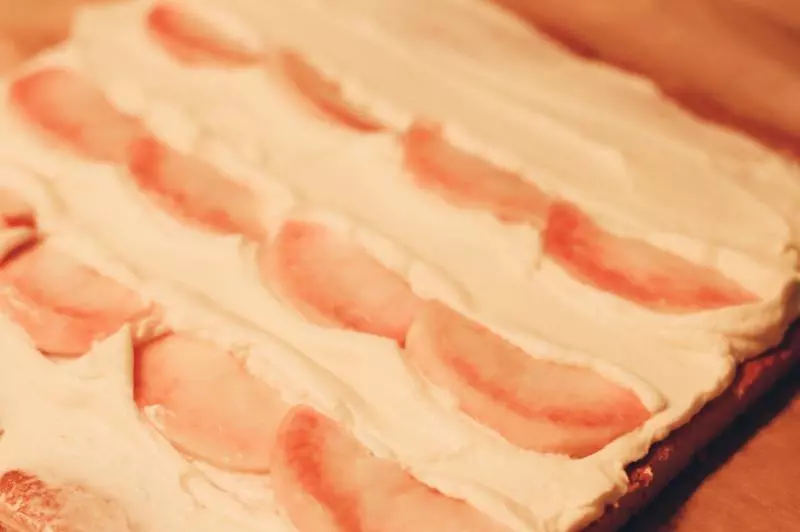
13这里我使用的颜色比较清淡粉嫩的反卷,如果喜欢艳丽一些的话可以使用正卷。 晾凉的蛋糕卷翻过来揭开油布,换一块干净的油布或油纸,再翻回来,烘烤面向上,放上四分之三的奶油并涂抹均匀,尾端2cm不涂奶油,码放三列桃片。
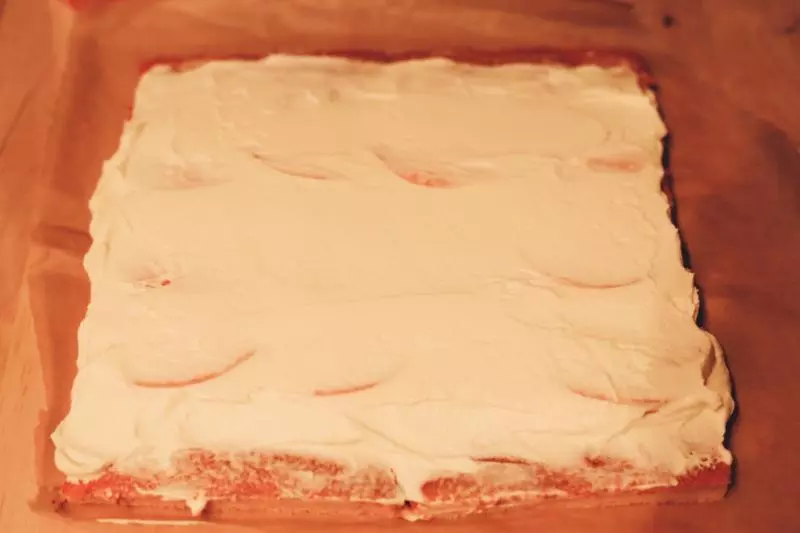
14再覆盖剩下的奶油,用擀面杖帮助,卷起蛋糕卷,卷紧并放入冷藏室定型30分钟以上。
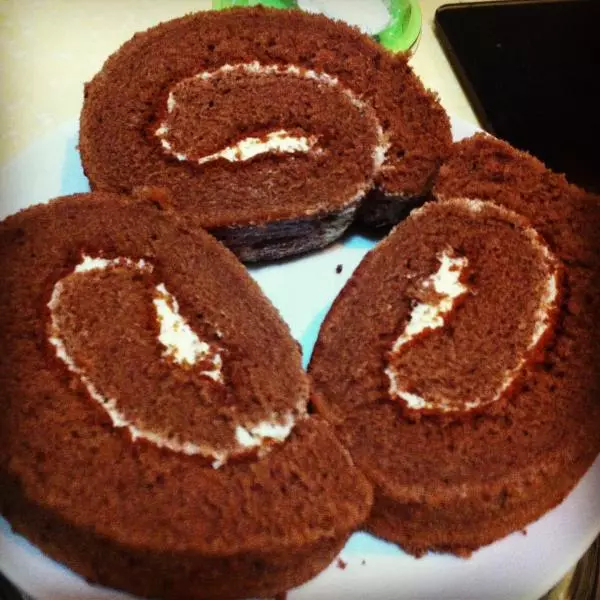
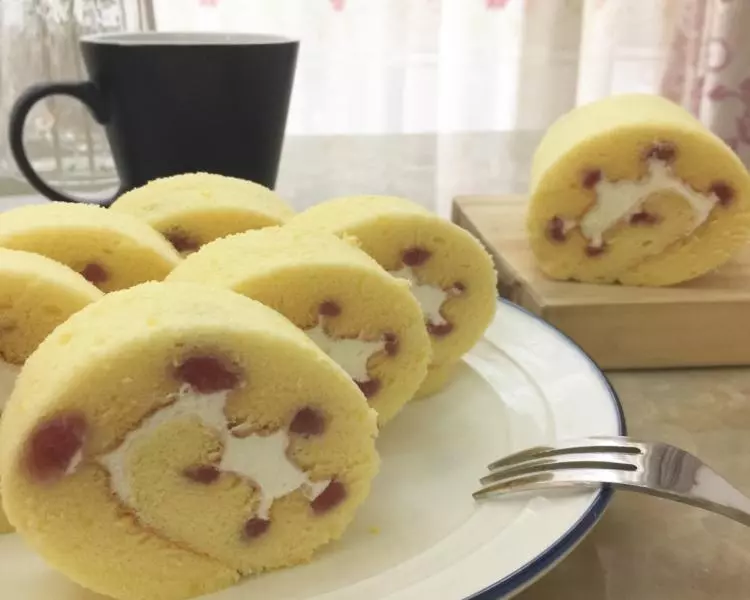
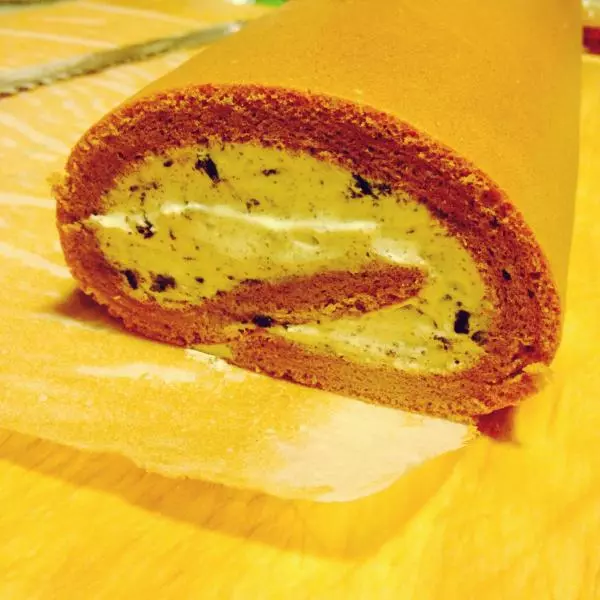
15取出切块即可食用。

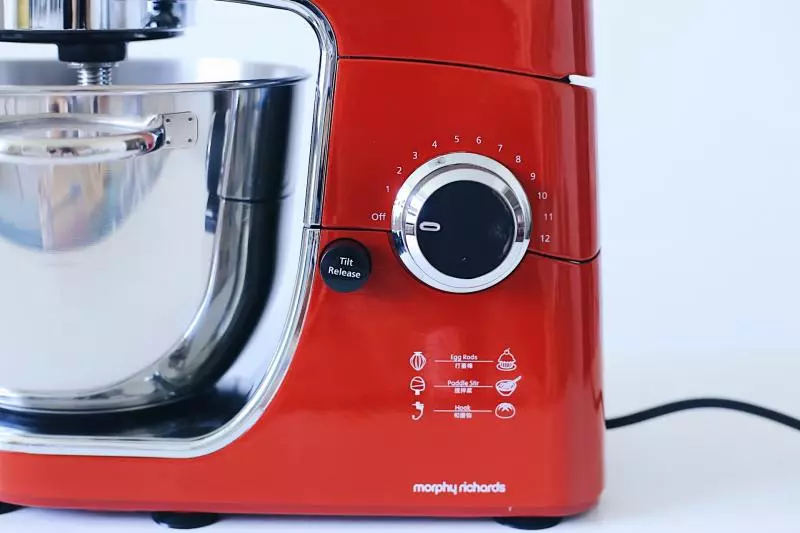
16摩飞厨师机的外观我非常喜欢,正正的英伦红摆在家里特别吸睛。
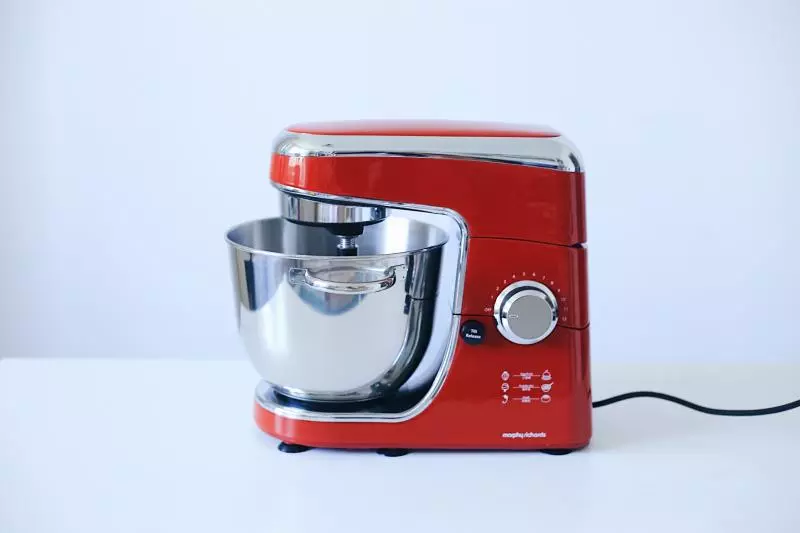
1712个档位可以调节,打发蛋白、奶油、和面都得心应手。制作面包时六七分钟即可和出手套膜,新手也能轻松hold住。
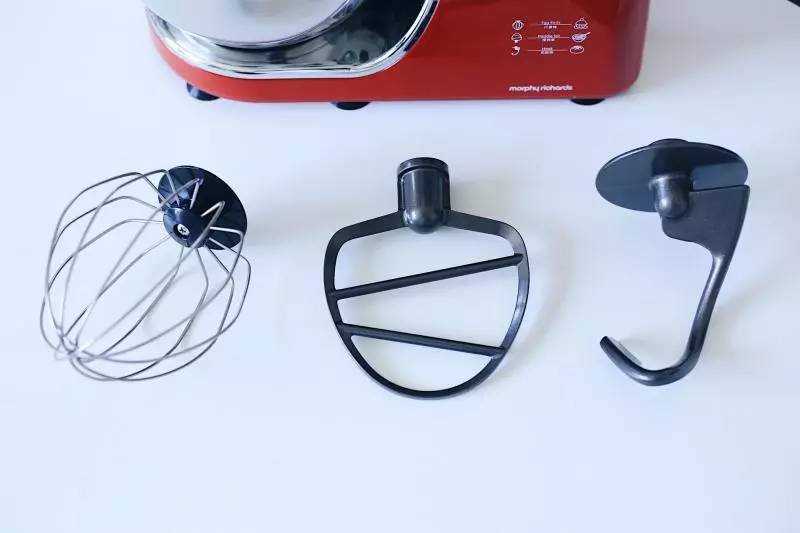
18配有打蛋棒、搅拌桨、和面钩,一机多用,制作面包、蛋糕、冰淇淋、果酱等等都轻而易举,不在话下。
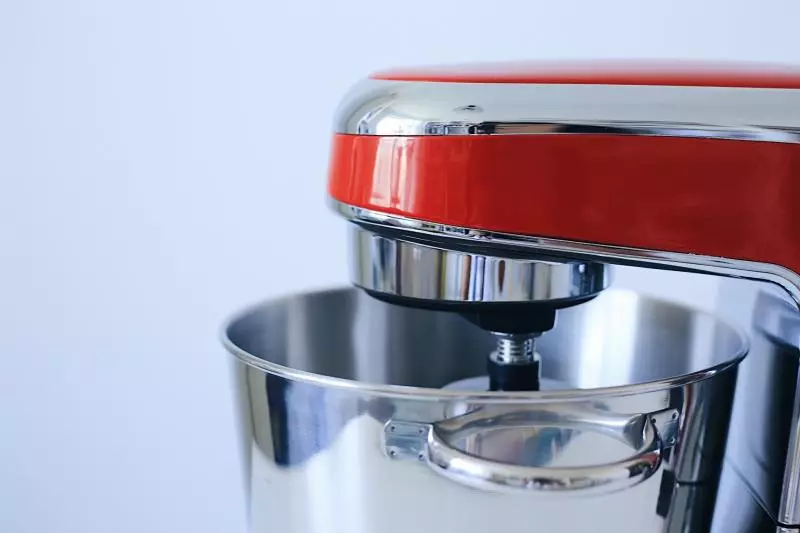
19圆弧的机身,钢琴漆面,做工非常精致大气。
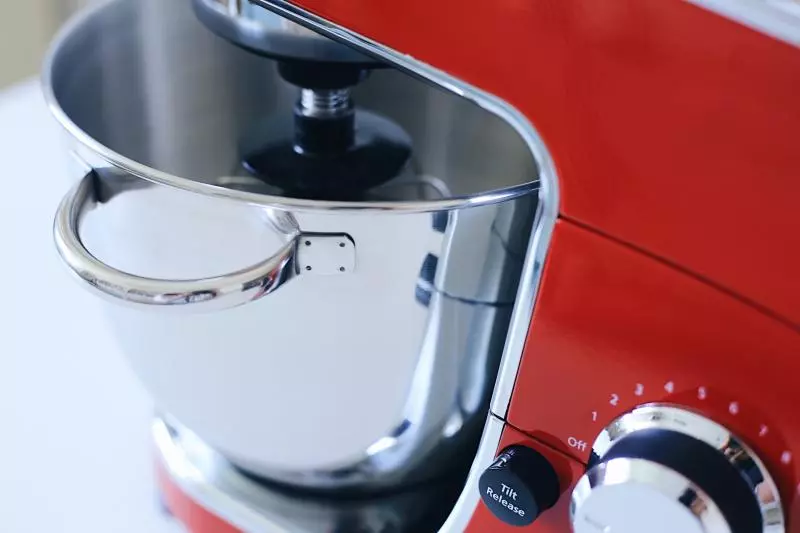
20打蛋盆也非常厚实,大小实用,打蛋棒完全可以照顾到盆内的每一个角落。
小技巧
这款厨师机在本周四(2017年7月13日)上爱尝鲜,848元 !!对的没看错,不用好几千,九张毛爷爷还有找,高大上厨师机搞到手~