原料
高筋面粉: 100g, 低筋面粉: 50g, 无盐黄油: 20g, 牛奶: 90g, 细砂糖: 20g, 盐: 1g, 干酵母粉: 2g, 鸡蛋: 3个(1个为60g左右), 低筋面粉: 60g, 可可粉: 15g, 牛奶: 40g, 植物油: 40g, 细砂糖(蛋黄): 16g, 细砂糖(蛋白): 64g
步骤
1材料
2首先把面包部分的 除了黄油以外的材料混合 把揉面的工作交给厨师机 1档揉个20分钟 把一小部分的面团展开达到扩展状态 就可以倒入提前软化的黄油
3厨师机3档揉15分钟左右 把一小部分的面团展开可以把整个手掌包裹住 就像手套一样比较结实

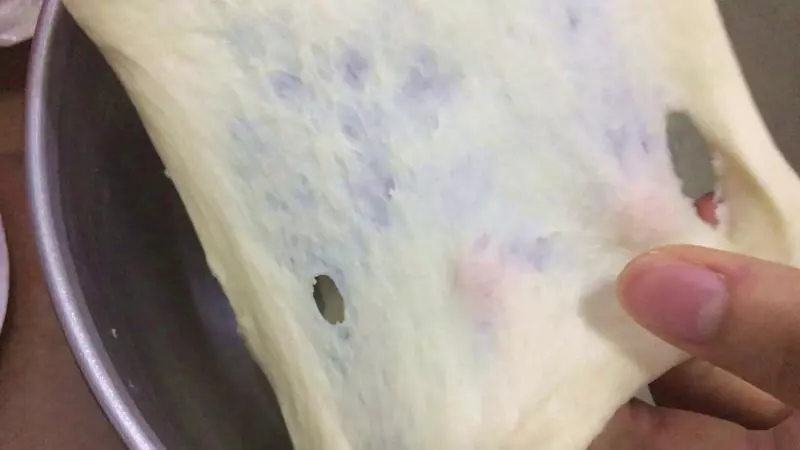
4用手指戳开洞 洞口也是比较圆滑的 就可以用保鲜膜包裹起来发酵
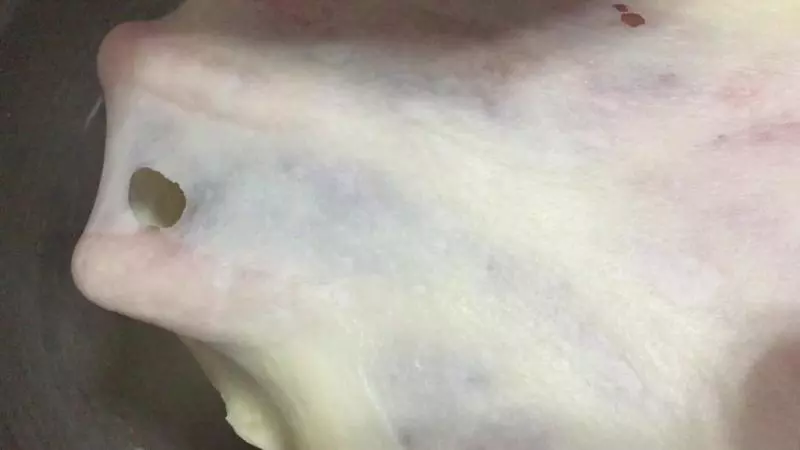
5一般我都是提前一晚做面包 放到冰箱5度左右的冷藏室发酵12个小时 当然也是可以室温发酵直到两倍大就可以了 用手指蘸面粉在面团中戳洞 不会反弹回缩面团就是发酵好的啦

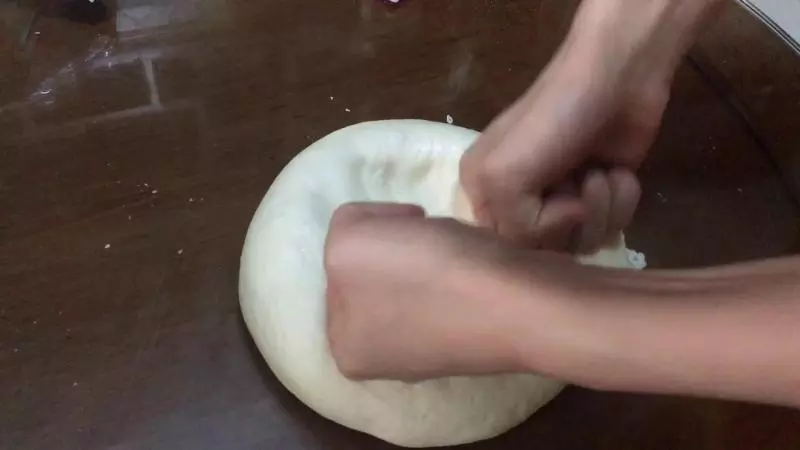
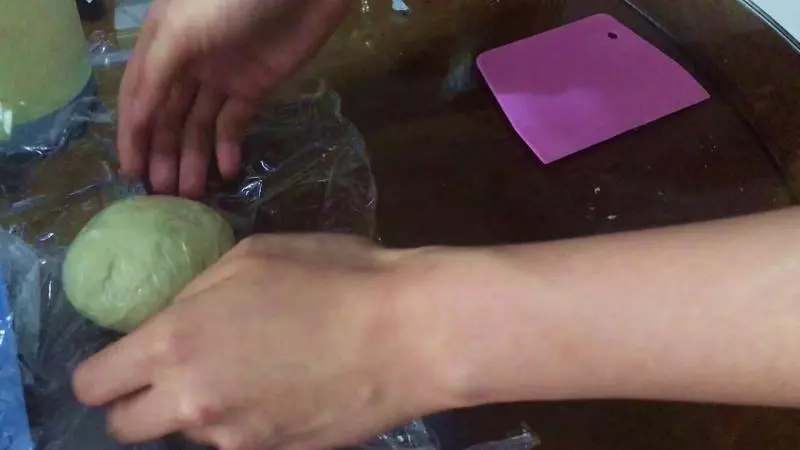
6用刮板轻轻地把面团取出来 用拳头轻轻捶打这个面团 把气排出来
7拍好气之后平均的把面团分成三份 用手在桌上把它揉圆 裹上保鲜膜让它醒过来15分钟
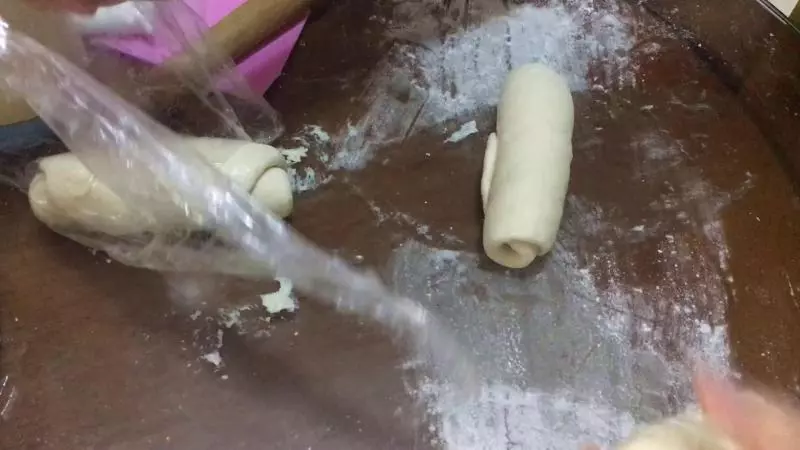
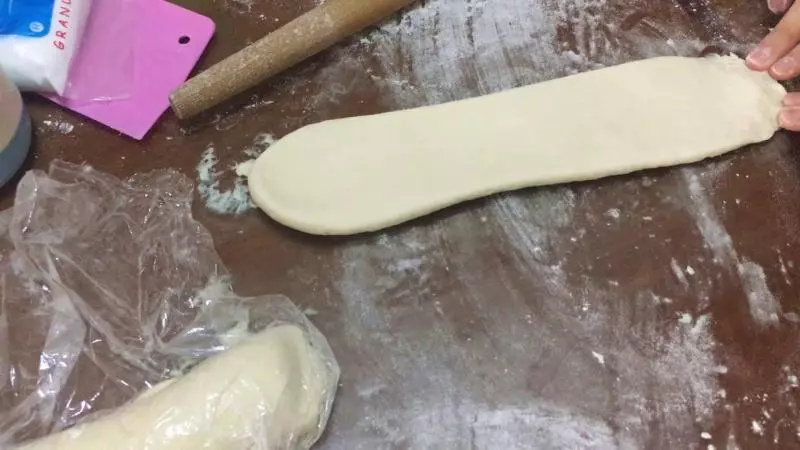
8桌子上撒上面粉防粘 拿出来从中间往上擀开 从中间往下擀开 成一个牛舌状

9从上往下的卷起来 再次裹上保鲜膜让它醒发10分钟
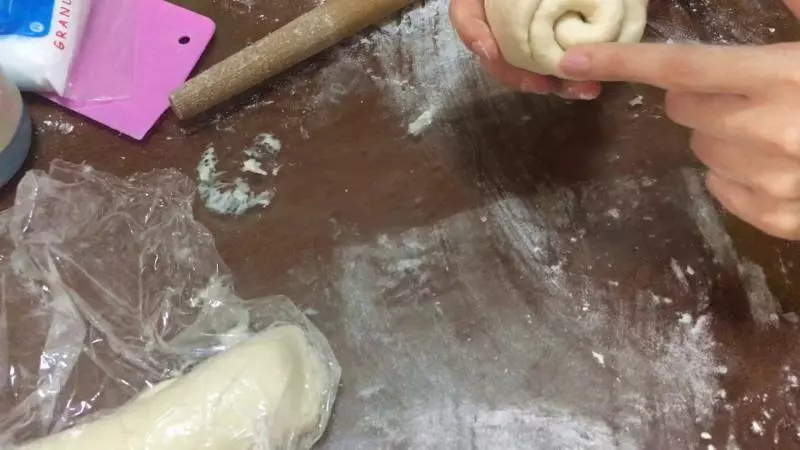
10再次重复上一次的步骤
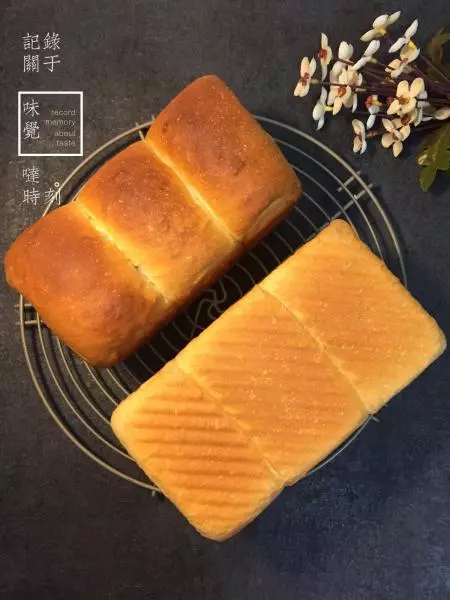
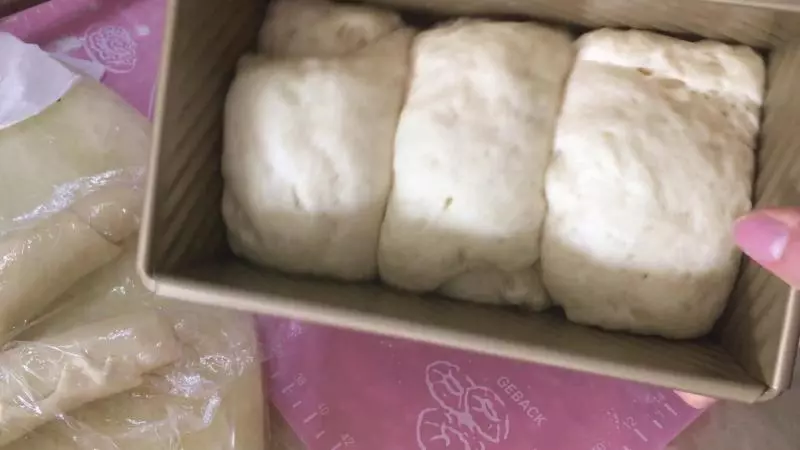
11吐司卷起来最好是两圈半
12放进烤箱打开发酵功能 30度左右发酵一小时 或者室温发酵到两倍大 我们就可以开始准备蛋糕的部分
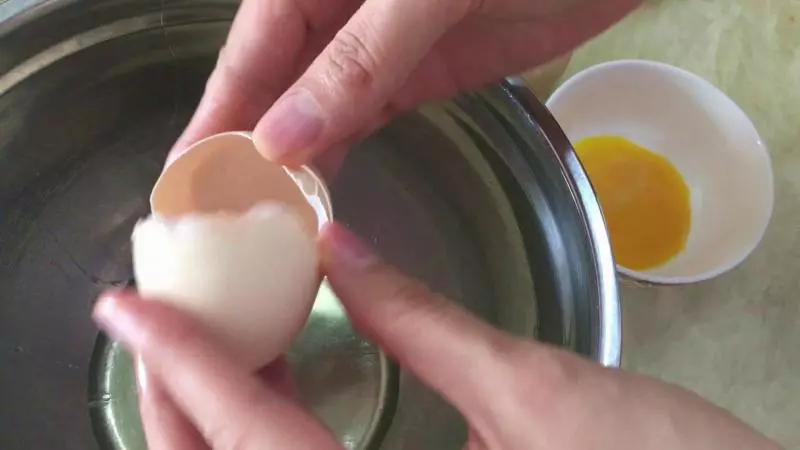
13首先把蛋黄和蛋白分开 蛋白必须要放在无油无水无面粉的容器里
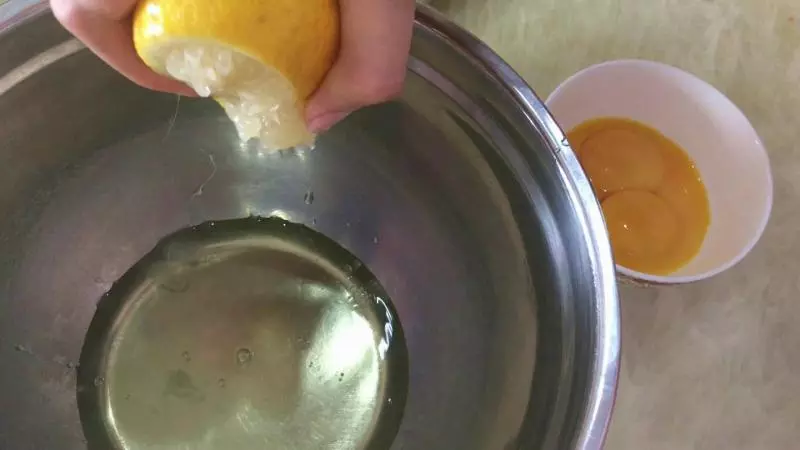
14加几滴柠檬汁 我喜欢加多点^_^ 蛋糕会有明显柠檬味 去蛋腥
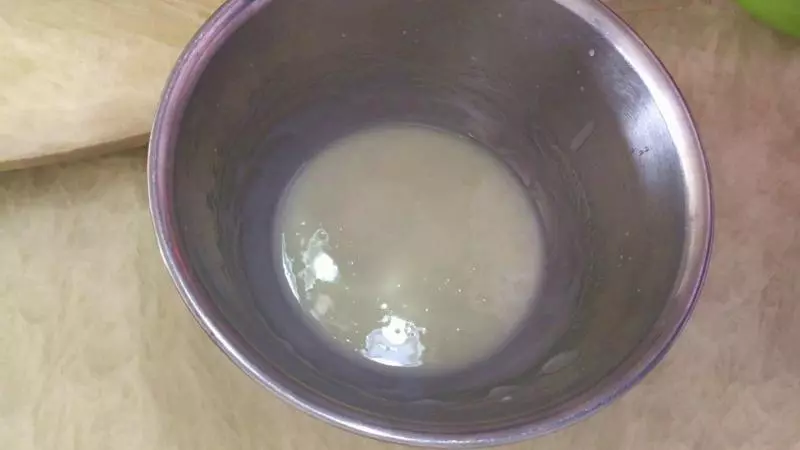
15把细砂糖和牛奶搅拌混合
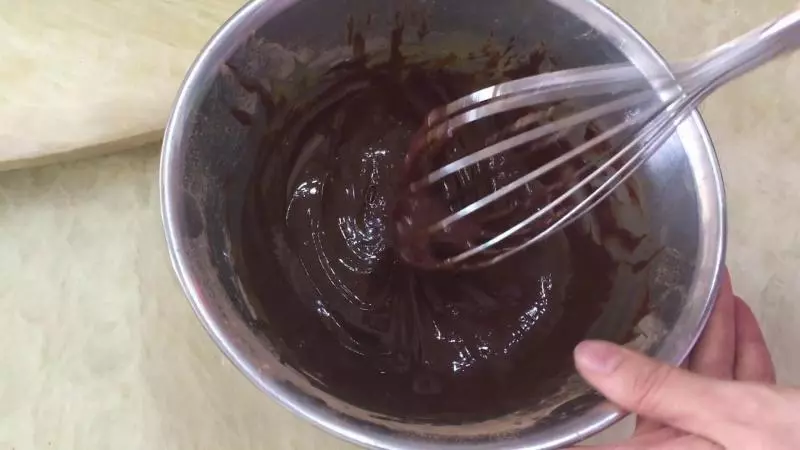
16放入油搅拌混合 直到呈现有点像糯米汤的感觉
17再过筛混合面粉进去 这个粉我已经提前过筛了两次 多过筛口感会更加细腻

18混合之后倒入蛋黄 用s形的搅拌方法搅拌 不要搅拌的太多次 不然很容易起筋 做好蛋黄糊我一般就会开始预热烤箱 170度10-15分钟 接下来打发蛋白
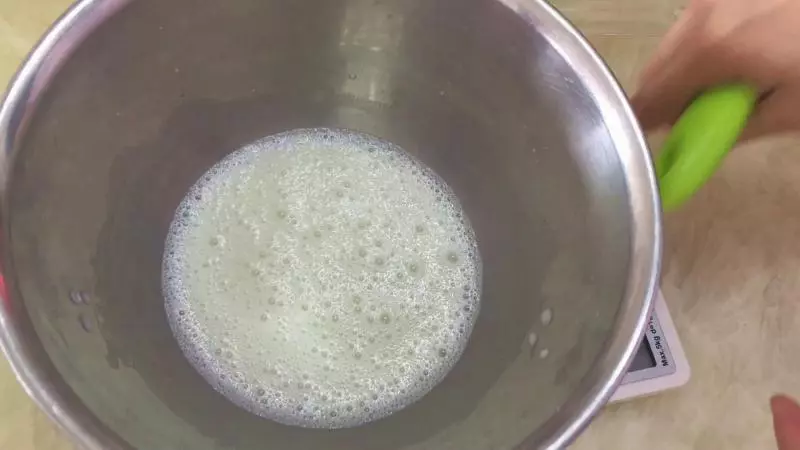
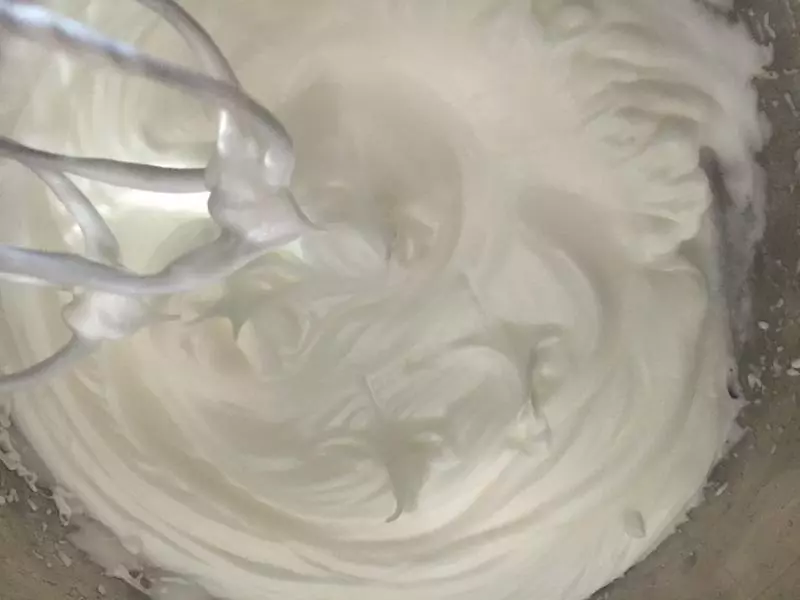
19电动打蛋器先低速慢慢转为高速打发 至鱼眼泡状 将三分之一的细砂糖放入蛋白
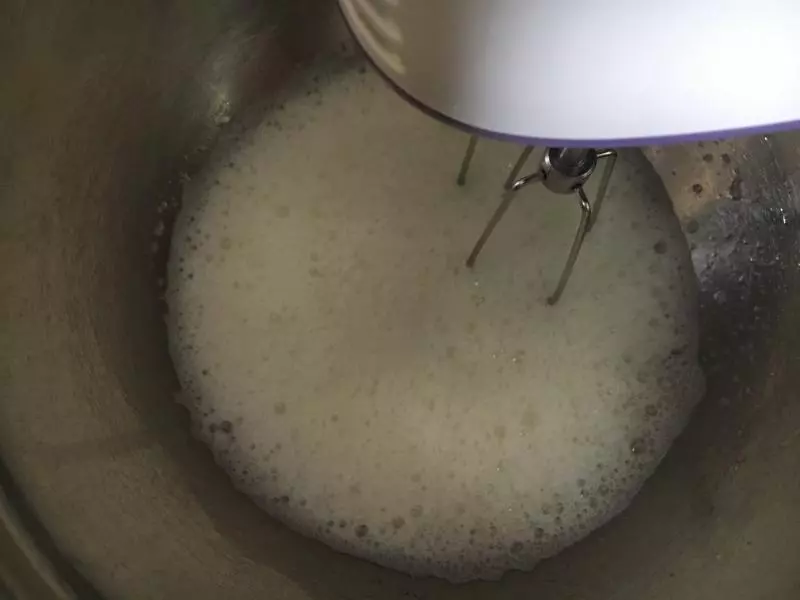
20也是低速转为高速打发 打发至蛋白转为细腻 放入三分之二的细砂糖继续打发
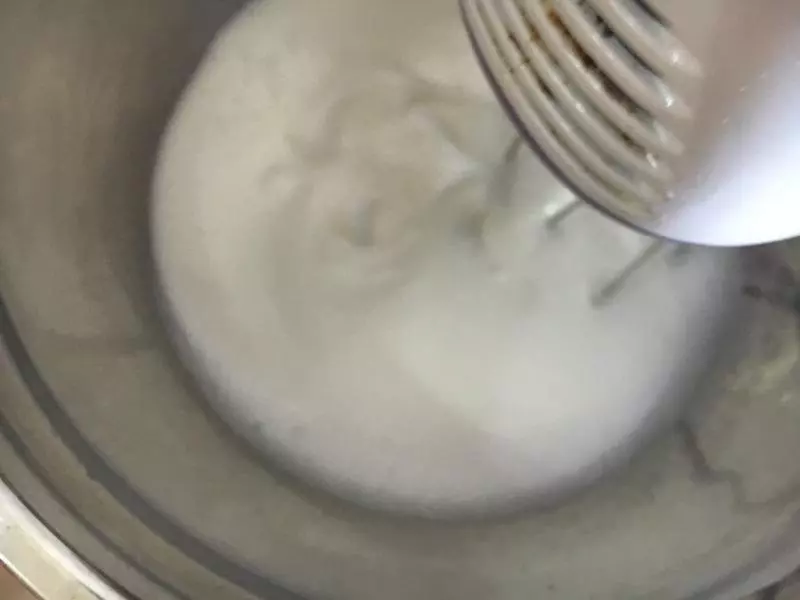
21打发至蛋白湿性发泡 提起打蛋器 蛋白挺立但呈现大弯勾 放入剩余的细砂糖继续打发

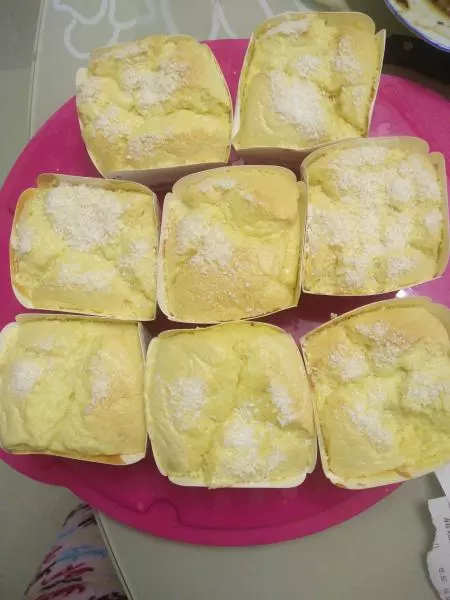
22最后呈现干性发泡 提起打蛋器 蛋白短小挺立
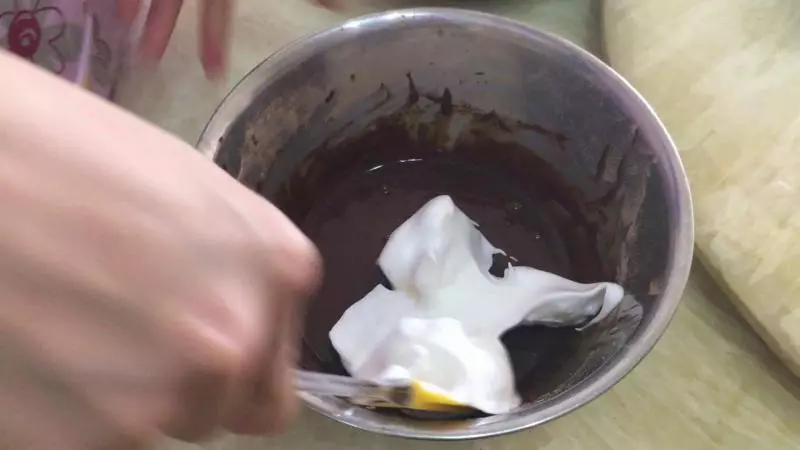
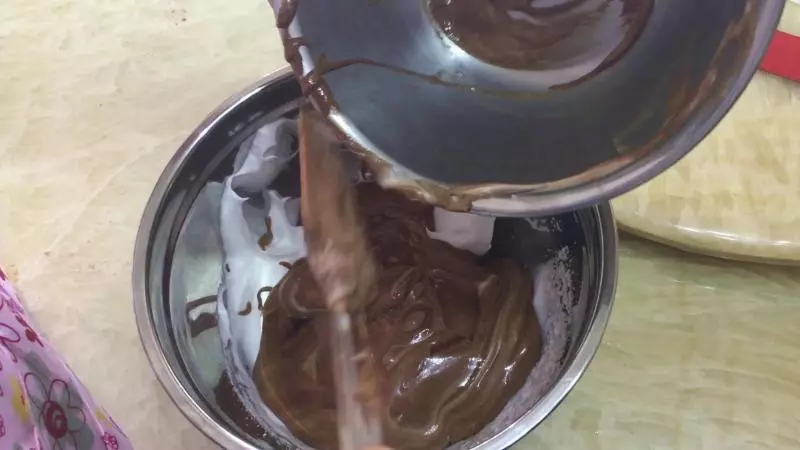
23取出三分之一的蛋白放到蛋黄糊混合 我习惯是防止消泡 边混合边倒进去剩下的蛋白里面
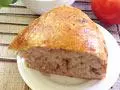
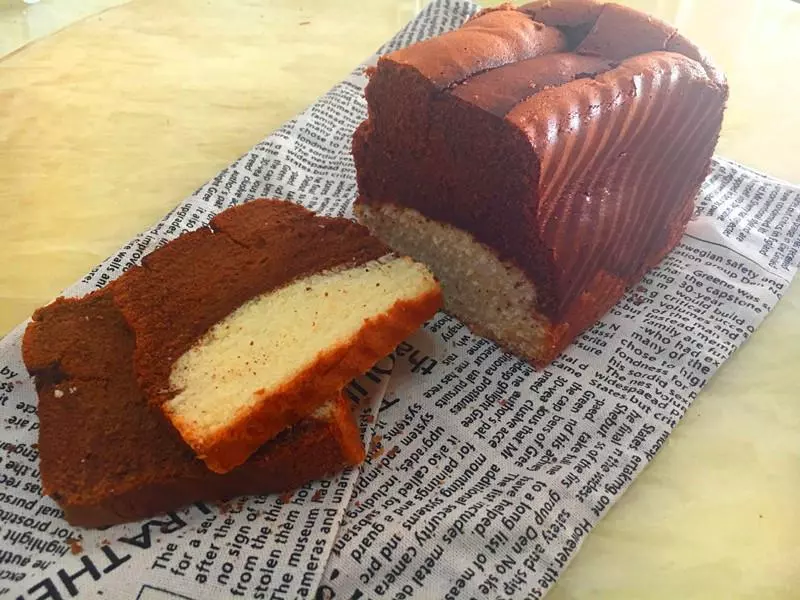
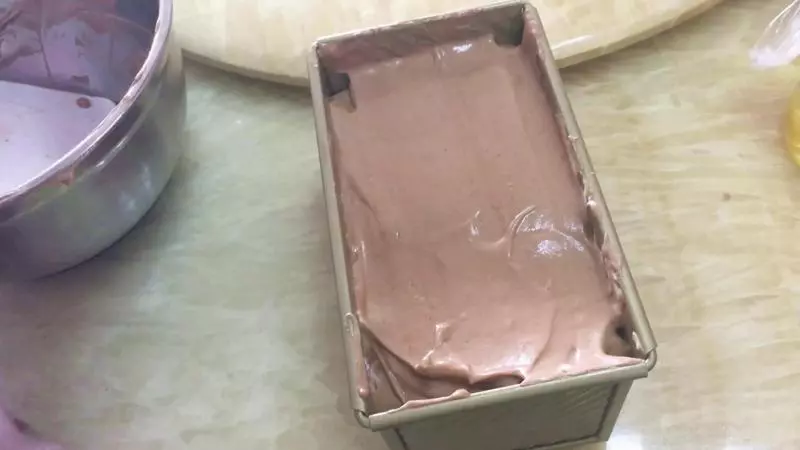
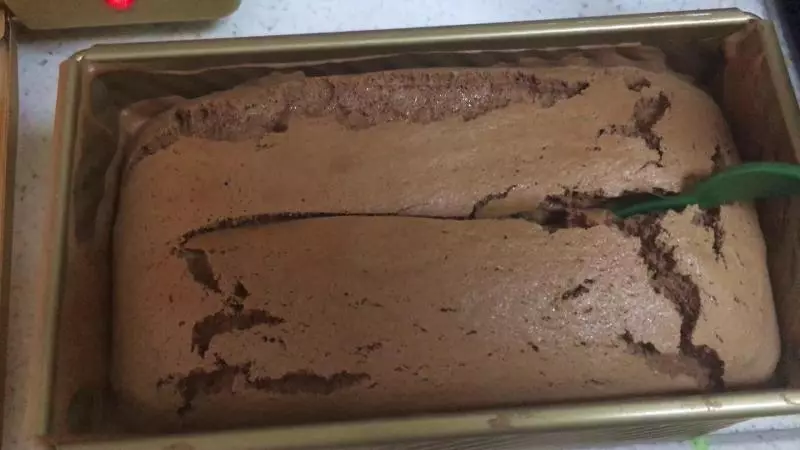
24大致混合之后也是边混合边倒进吐司模具
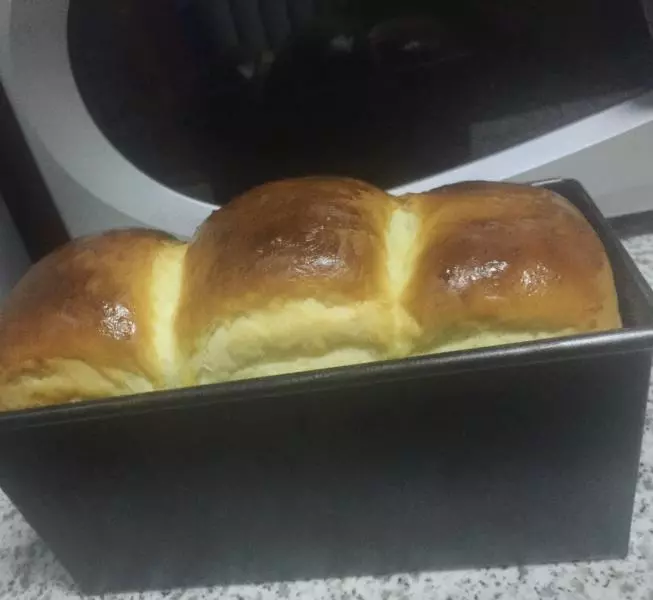
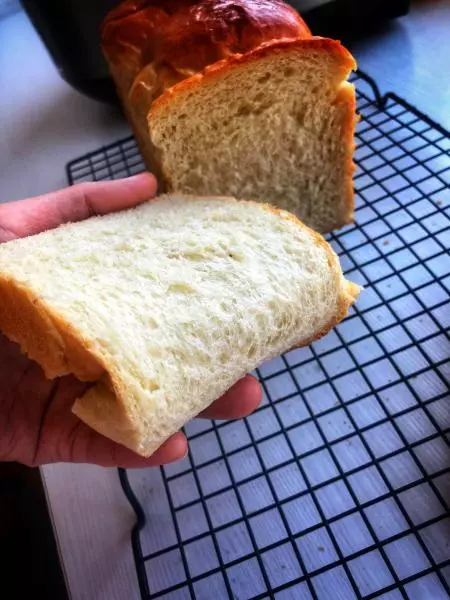
25大力震荡1下 就可以送进烤箱了 烤制40分钟
26烤制有10分钟时就取出来 用刀在中间划一刀 沉迷于电视的我 忘记了烤箱还有个蛋糕 想起来的时候 已经过了时间 蛋糕都开裂了 不需要倒扣 放凉就可以开吃了
27欢迎关注微信公众号:君华君 微博:君华君 B站:君华君yeah