原料
皮料:(24个月饼,皮跟馅的比例是1比3): 馅料:, 吉士粉30g: 咸蛋黄6个, 糖浆380g: 红豆沙250g, 碱水10g: 白莲蓉250g, 花生油150g: 吉士粉30克草莓馅2400克, 月饼专用粉500g: 蛋黄液适量,月饼模4个
步骤
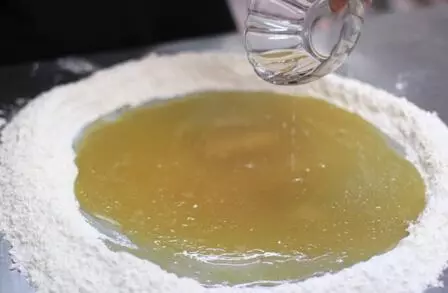
1将月饼专用面粉和吉士粉混合均匀,然后画个圈留出空地放其他物料
2将糖浆倒入圈中用手搅拌均匀,再加入碱水搅拌均匀
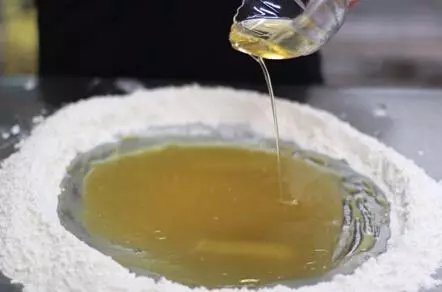
3分次加入花生油,直至糖浆和油完全混合均匀,不分离
4再和面粉搅拌均匀,放入容器内,盖上保鲜膜(静置一小时左右)
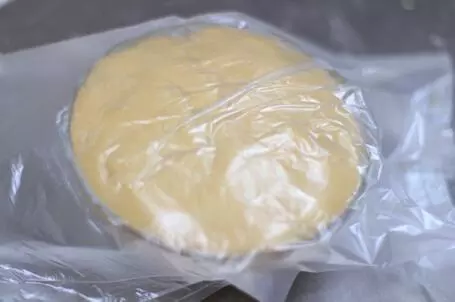
5事先在案板上撒点面粉后取出静置的面团,折叠均匀,直到面团的硬度与馅的硬度相似
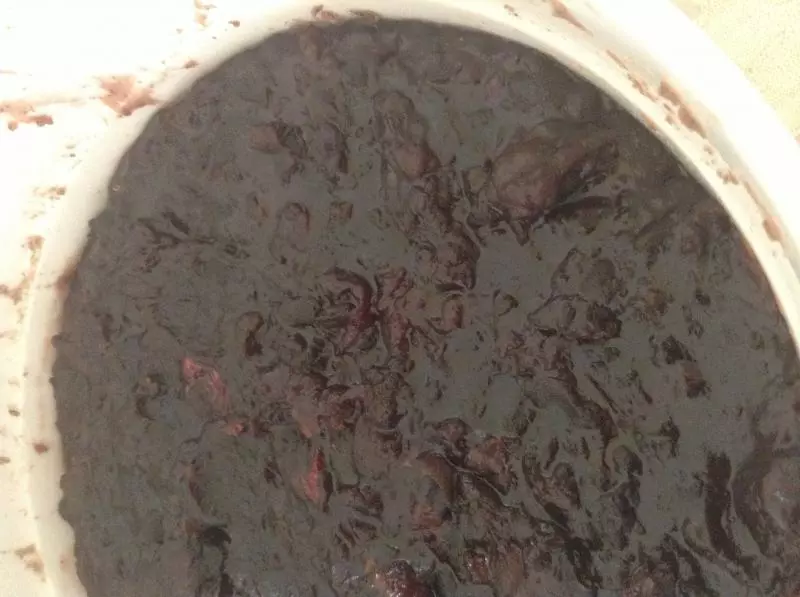
6把红豆沙和白莲蓉分别揉成一团
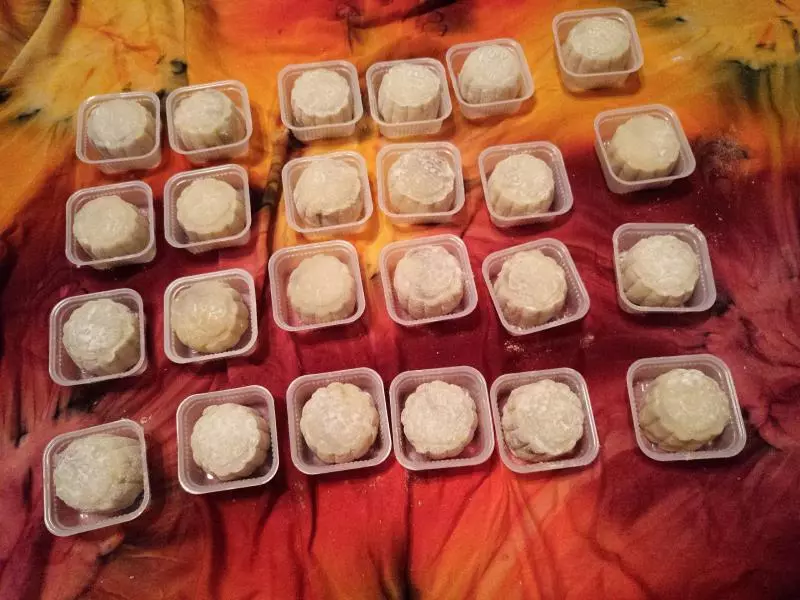
7将做好的面团分成小份(每份约40克24份)。红莲蓉馅(每份110克加两个蛋黄2份)红豆沙(每份120克加一个蛋黄两份)草莓馅(每份120克,20份)
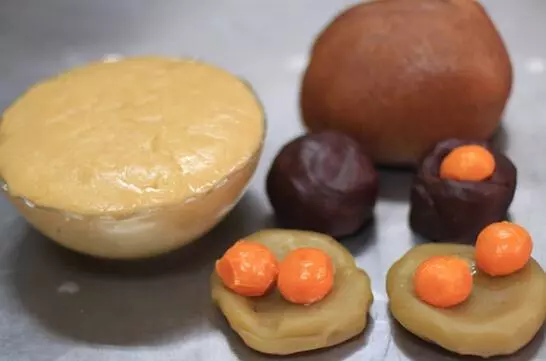
8把蛋黄放入预热好的烤箱上火180度下火160度10分钟左右烤熟待用

9将小面团放在油纸上用擀面杖擀开成为中间厚四周薄的圆形面片。(面团擀开后易碎,不容易拿起来,在底下油纸可以方便操作面团)
10将红莲蓉馅放在面团中心再把蛋黄放在中心
11用面团将馅和蛋黄包住(其实包起来手法跟包包子一样的哦)
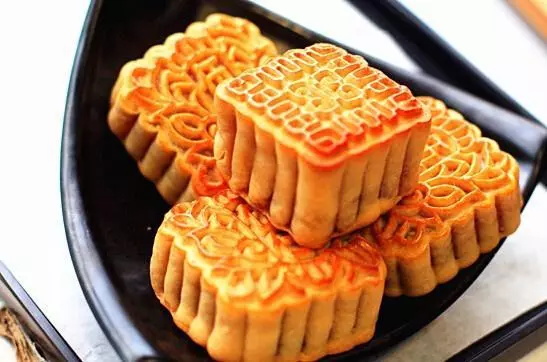
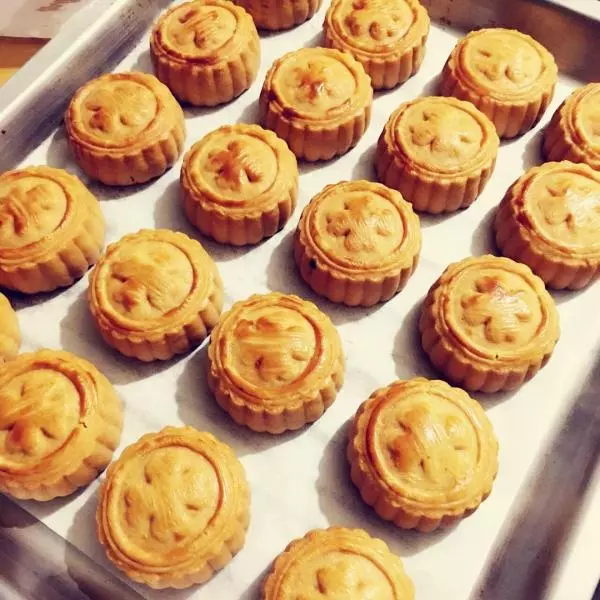
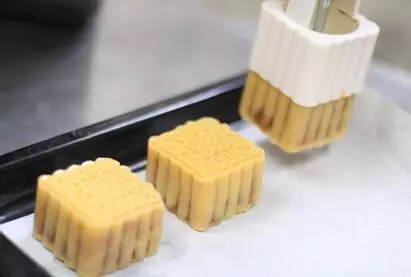
12把包好的馅放在月饼模具中,用手压,直至没有缝隙后用力推出月饼。(草莓馅也是一样的做法哦)
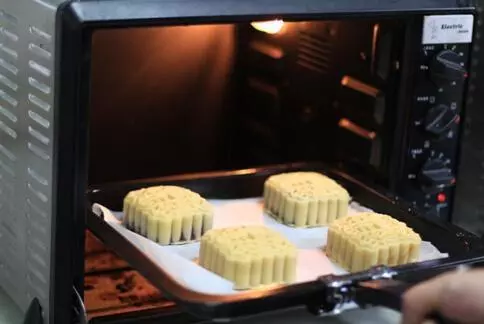
13将月饼放在铺好的油纸的烤盘中,洒点水在月饼上可以防止月饼烤的时候表皮开裂
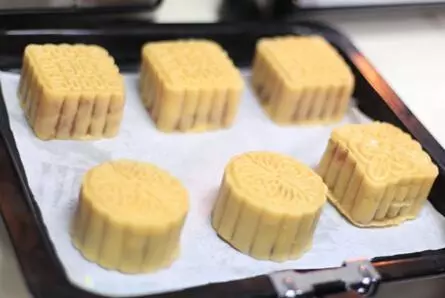
14放入预热好的烤箱第一次烘焙上火180度下火160度,时间20-30分钟左右(上色表面金黄色即可)
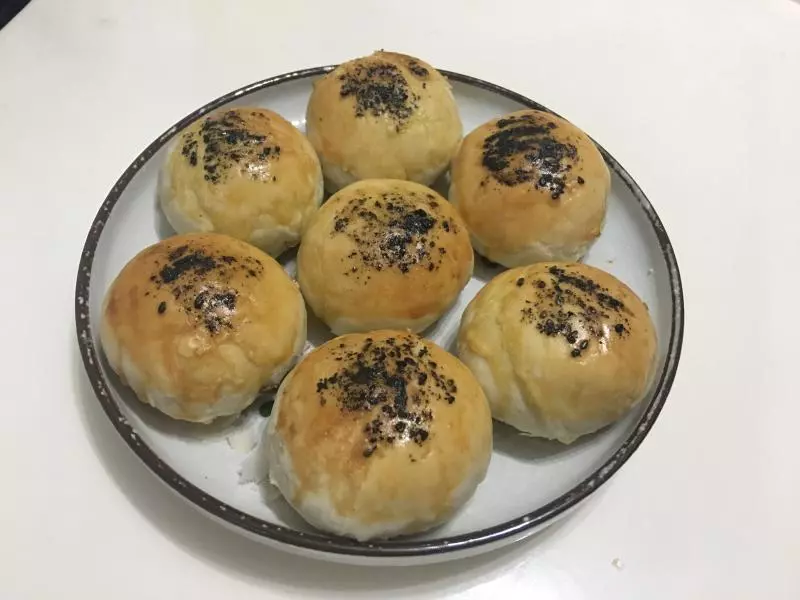
15出炉等冷却后,刷上一层蛋黄液(蛋黄液中稍微加一点蛋清,以免第二次烤的时候表皮变黑)
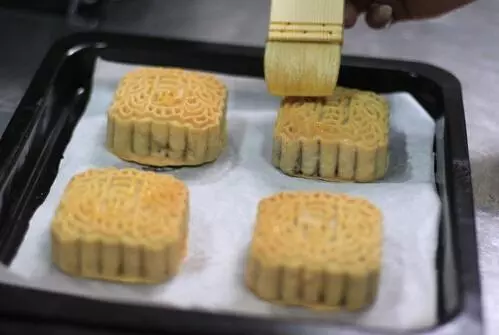
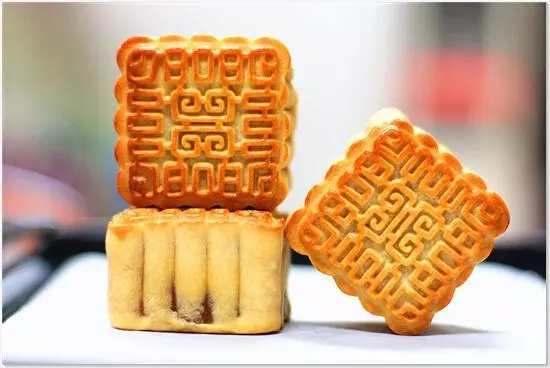
16再次烘焙上火180度下火160度,时间20分钟左右,静候出炉享美味!