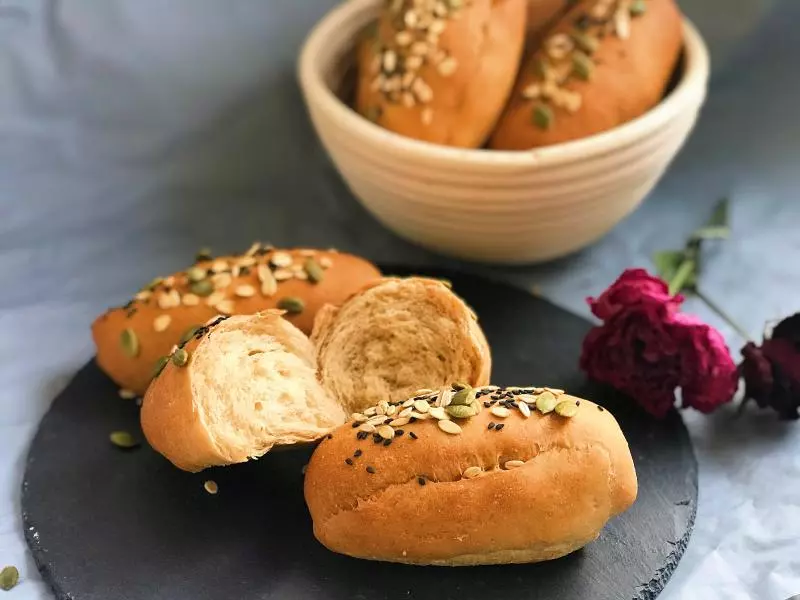
原料
蔓越莓干: 60g, 黄油: 170g, 砂糖: 60g, 蛋黄: 6个, 奶粉: 24g, 低筋粉: 360g, 蛋黄(刷表面): 1个
步骤
1所有材料并不多,准备起来也很方便,黄油需要提前软化好。

2蔓越莓切碎备用

3软化好的黄油和糖混合,这里也不需要打发黄油,两者融合好就可以

4混合好的黄油分次加入蛋黄,一共6个,我分2次加入,每次蛋黄都要完全混合到黄油里去再加第二次蛋黄

5蛋黄与黄油混合好之后筛入面粉和奶粉

6粉类与黄油混合为粗颗粒状就可以放入蔓越莓碎

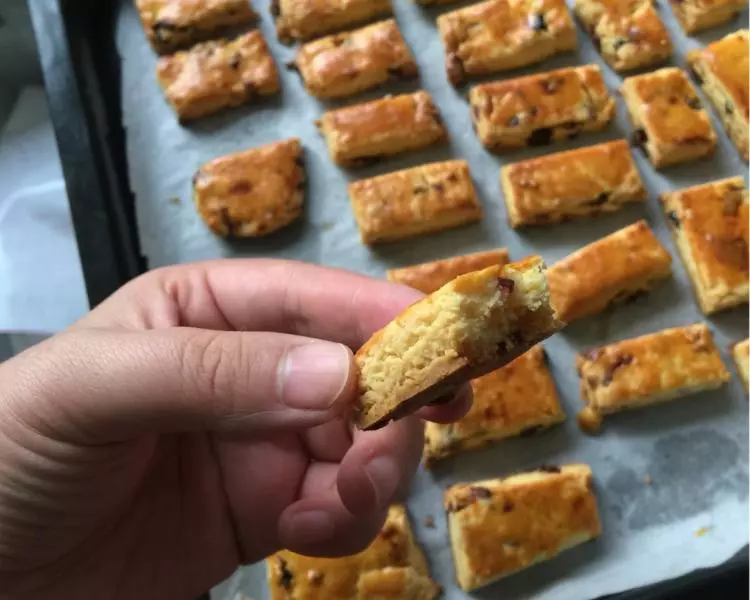
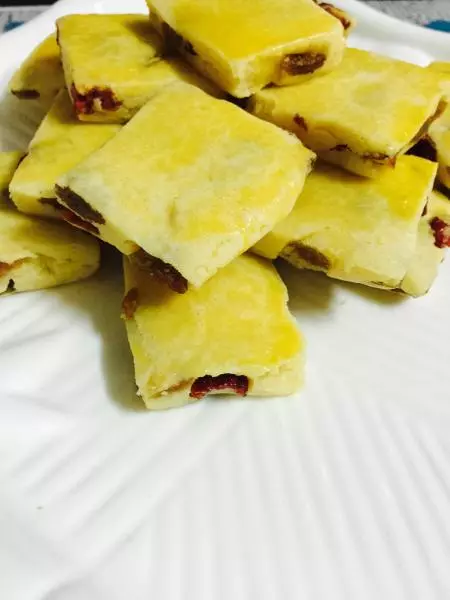
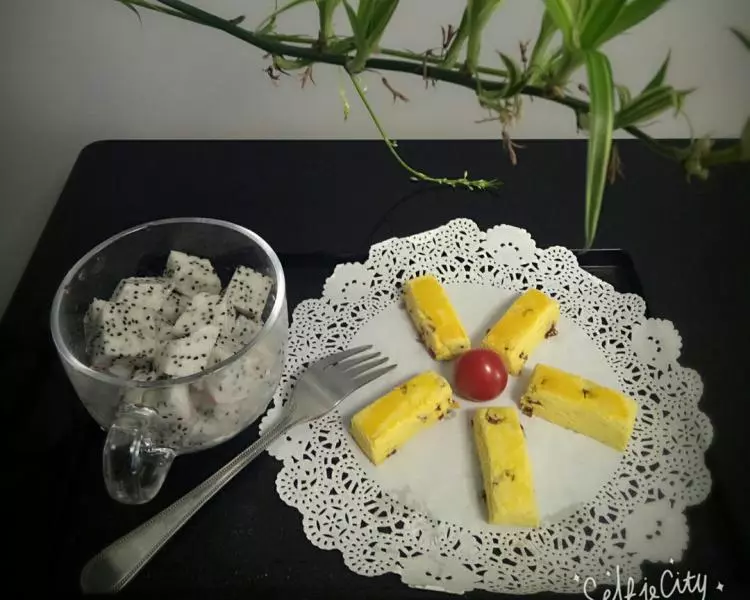
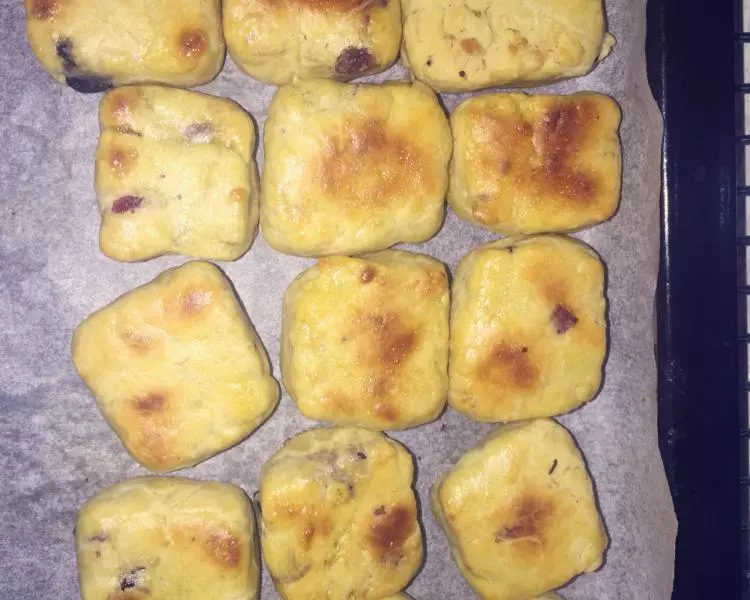
7混合好的面团擀成1cm左右的厚片,然后切开

8切好的奶酥块摆在烤盘中,上面刷一层蛋黄

9烤箱170度20分钟

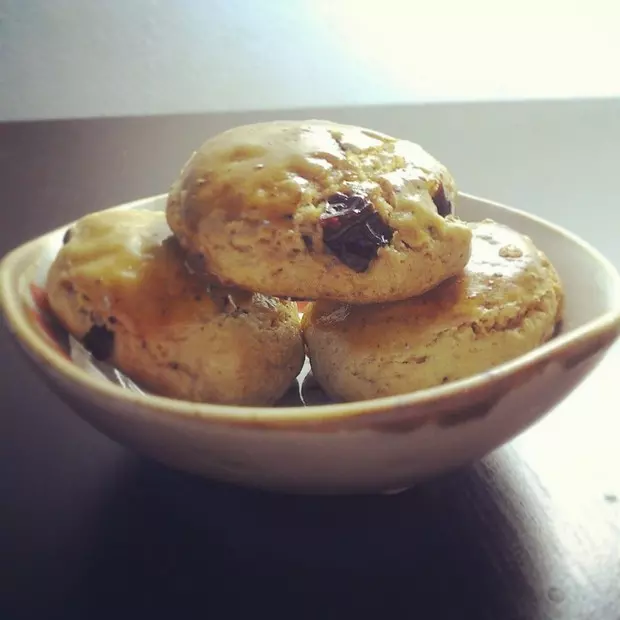
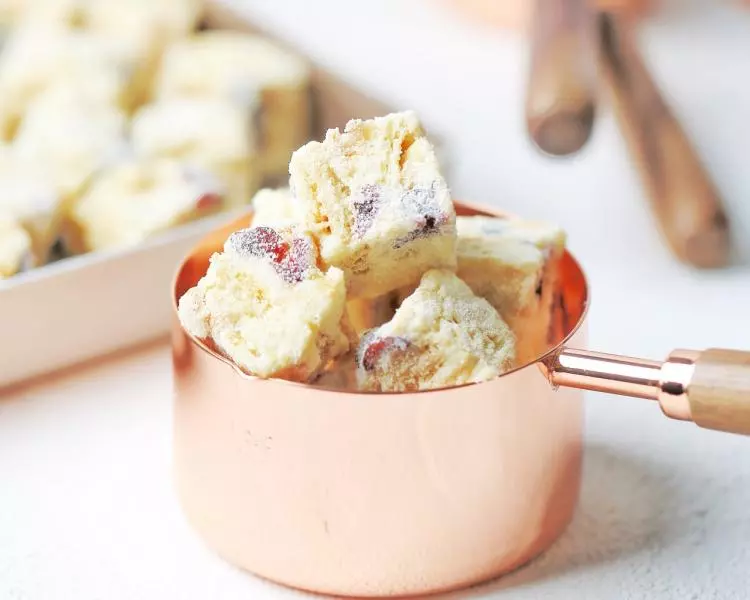
10香喷喷的蔓越莓奶酥出炉啦

11酥松可口

小技巧
1.蔓越莓不要切的太碎,否则吃起来就没有了口感。 2.黄油不用打发,与黄油混合的每一步都要做到完全融合再往下进行,不要出现水油分离现象,我全程就使用一个手动打蛋器和一个刮板。 3.放入面粉之后不要过度去搅拌,混合好就停止,以防止起筋,这样烤出来的就不酥松了。面团也不宜在手中长时间挤压,以免手温过高,黄油融化。 4.除了蔓越莓干还可以放混合果干,但果干总量不要超出方子中所给的量。