原料
低粉: 98克, 竹炭粉: 5克, 蛋黄: 5个, 细砂糖: 50克, 盐: 1/2茶匙, 沙拉油: 50克, 玉米淀粉: 12克, 牛奶: 100克, 蛋白: 5个, 细砂糖: 40克, 塔塔粉: 1/2茶匙
步骤
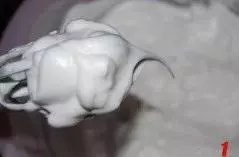
1蛋白打至中性偏湿性发泡
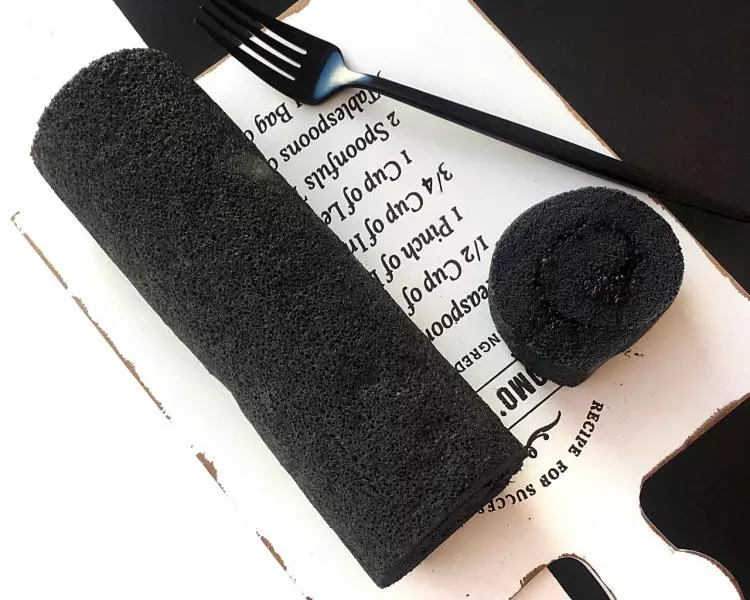
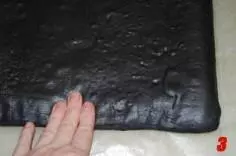
2蛋糕坯子下垫上一张烤纸,卷前用手先把前端按扁些
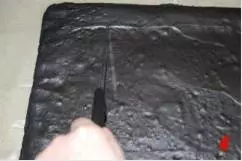
3用刀在蛋糕表面沿着卷的方向横着、间隔划上几道,(小心不要太过用力,以免划穿蛋糕),这样会比较容易卷
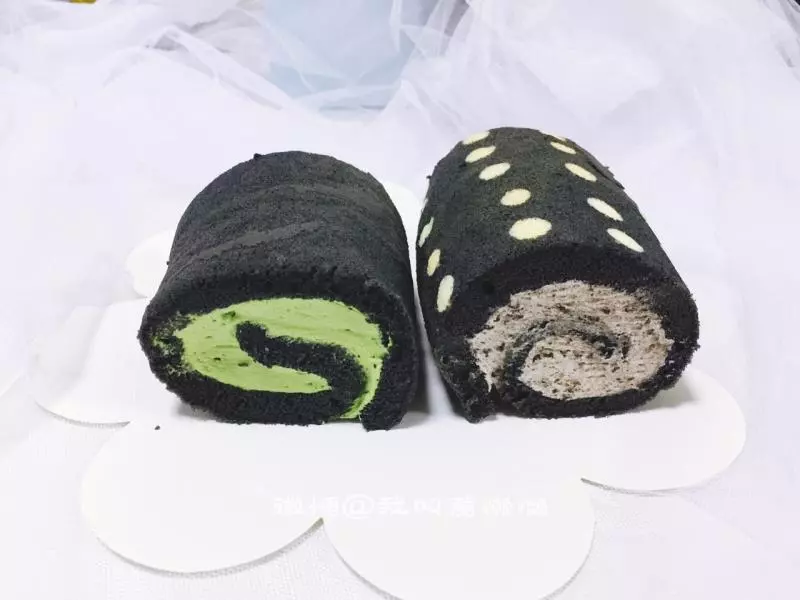
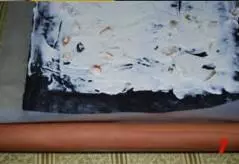
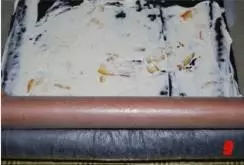
4抹上打发的鲜奶油和橙酱,不要抹太多,薄薄一层就好,不要一抹到底,头尾留出空白

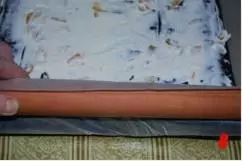
5取一根略长于蛋糕的擀面棍放于烤纸下面
6顺势拎起烤纸,一边往擀面棍上卷烤纸,一边慢慢向前推进,并由此卷起蛋糕。卷第一道边时如果感到有困难的话可以用手稍微帮下忙
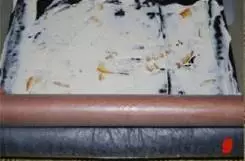
7就这样一直向前推进,直到蛋糕全部卷完
8末尾处可用打发的奶油或果酱粘合一下。如果喜欢卷得紧些,就要让擀面棍始终处于蛋糕的偏前沿位置
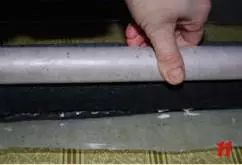
9一般的话,就让擀面棍处于蛋糕上部就行
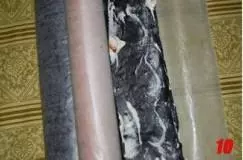
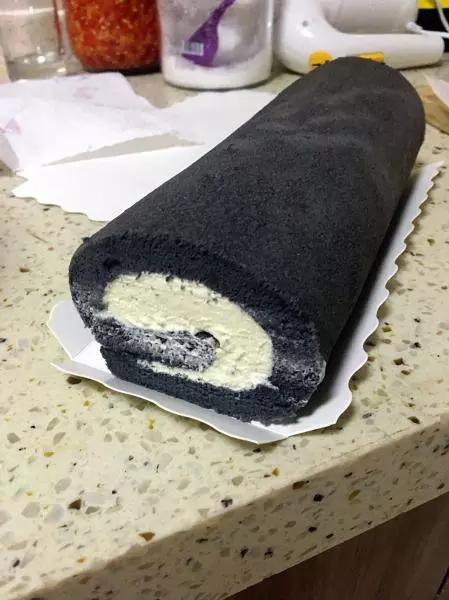
10全部卷完后顺势褪出擀面棍
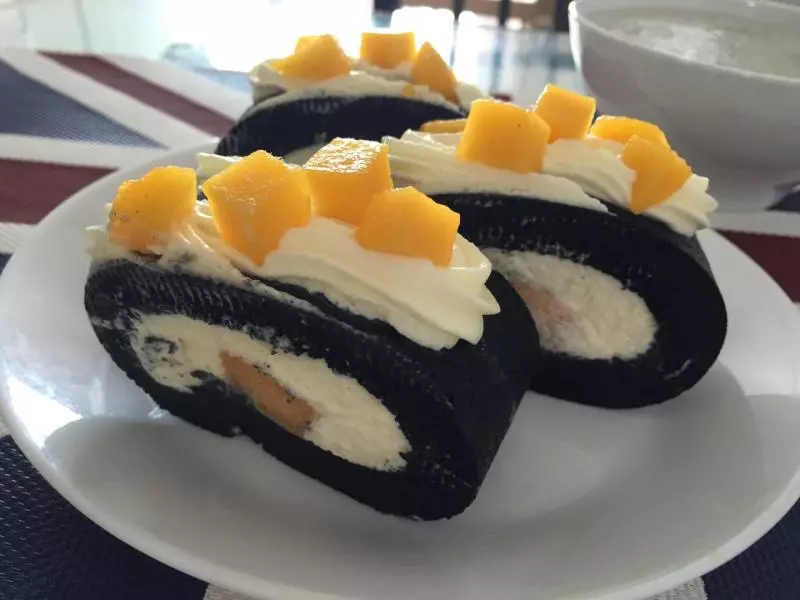
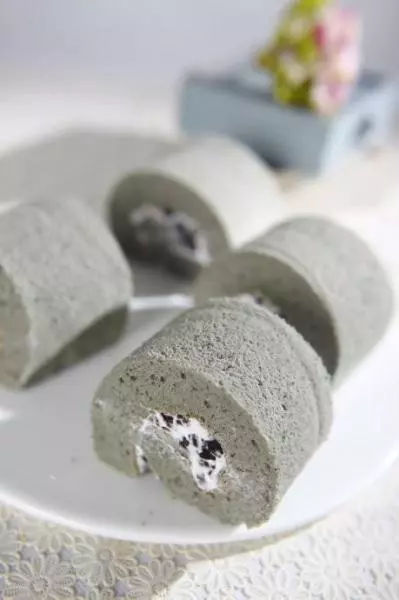
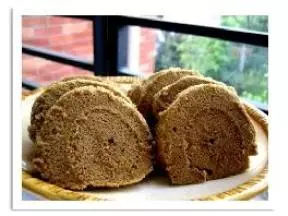
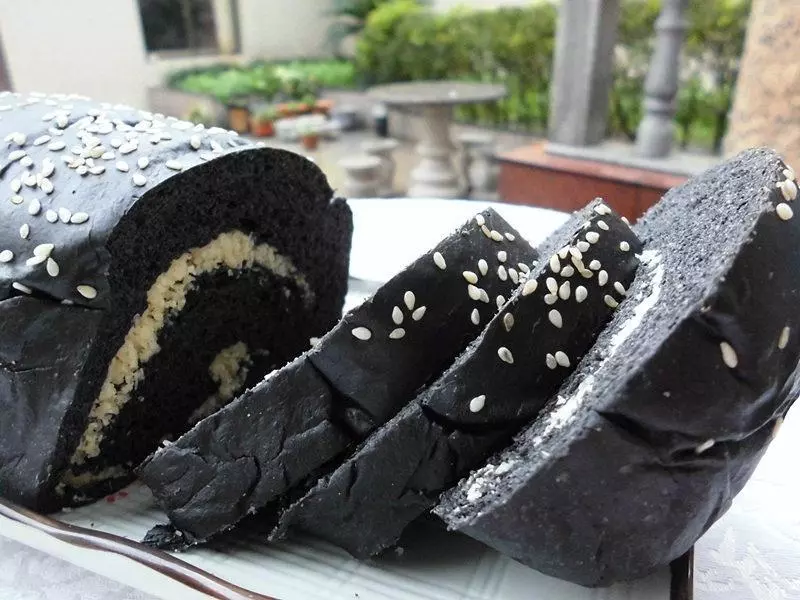
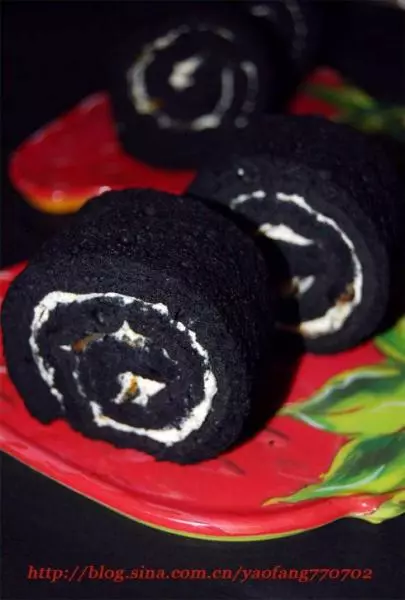
11并用附着的蛋糕烤纸包好蛋卷,放冰箱冷藏后切段即可