原料
低筋面粉: 60克, 砂糖蛋黄糊中: 20克, 鸡蛋65g左右的: 3个, 玉米油: 20g, 牛奶: 40g, 竹炭粉: 5g, 盐: 一小撮, 白砂糖蛋白用: 30g, 柠檬汁: 一点点, 淡奶油: 170g, 奶酪: 30g, 黑芝麻糊: 一包
步骤
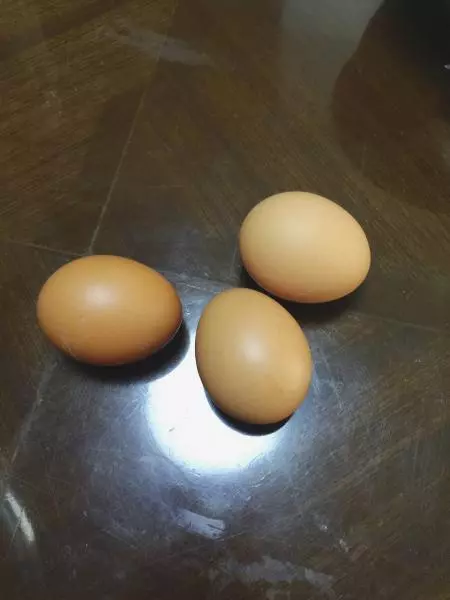
1准备三个大概65g左右的大鸡蛋
2蛋黄蛋清分离
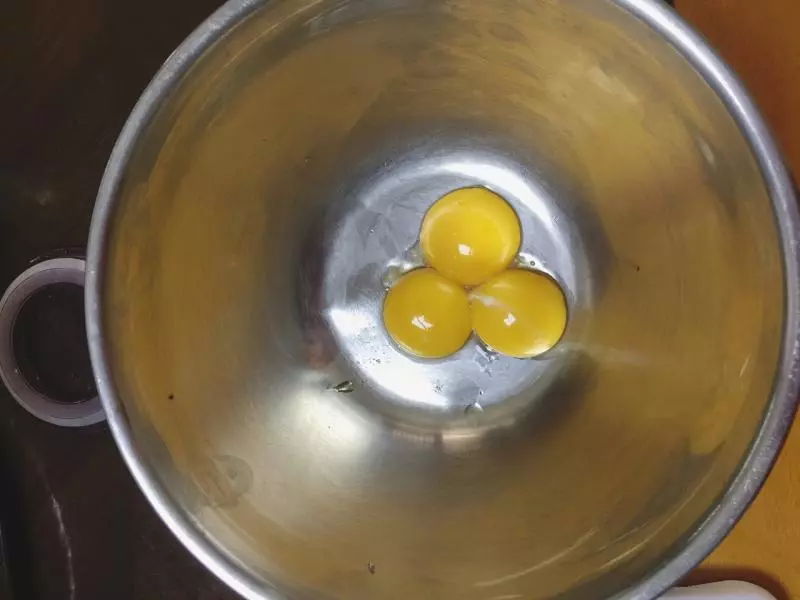
3蛋清分离
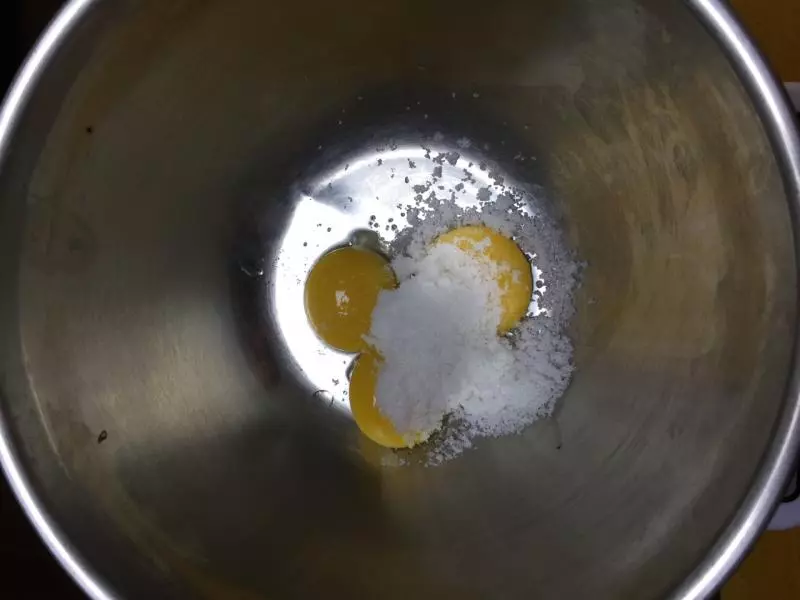
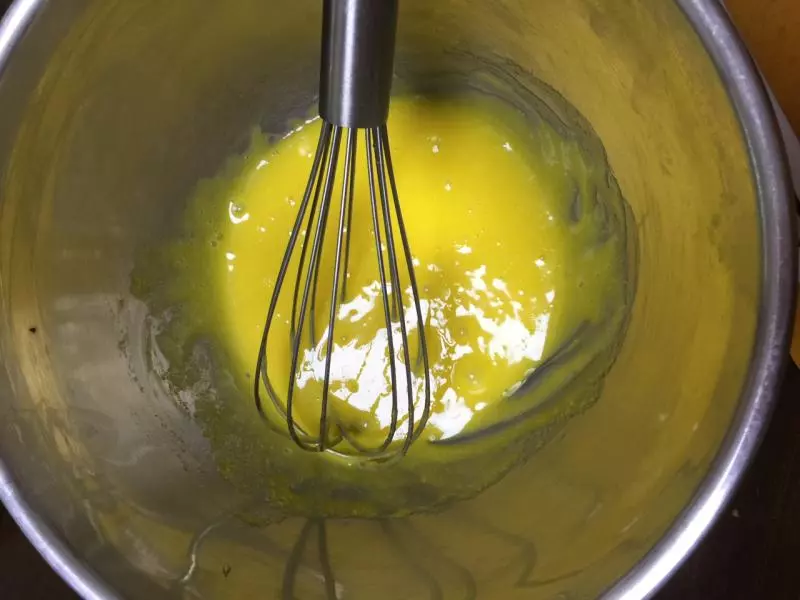
4蛋黄里加入白砂糖搅打均匀
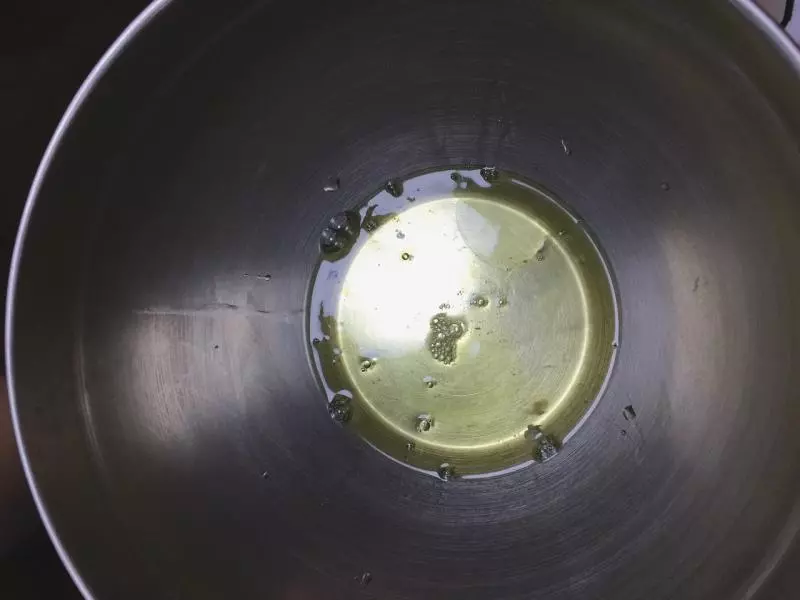
5再加入玉米油和牛奶搅打均匀直至乳化完全
6筛入低筋粉,z字形拌匀

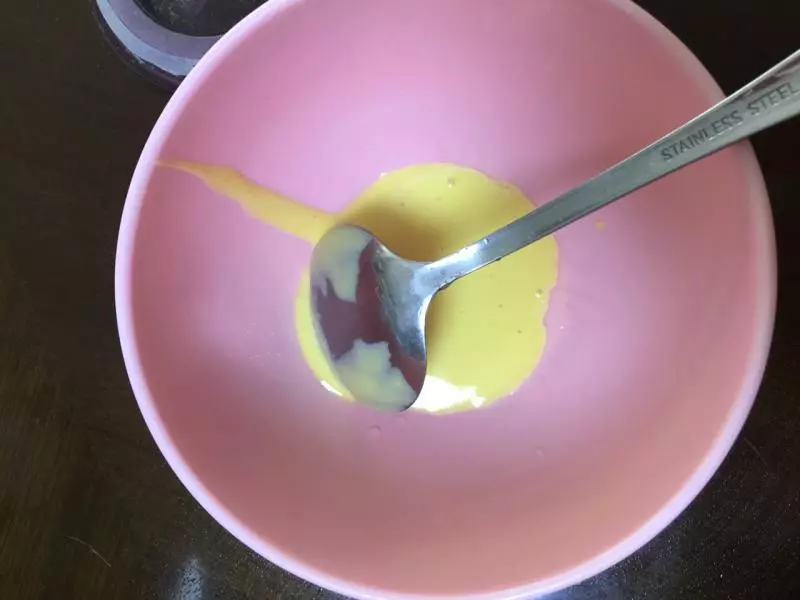
7翻拌好的蛋黄糊挖一勺出来备用
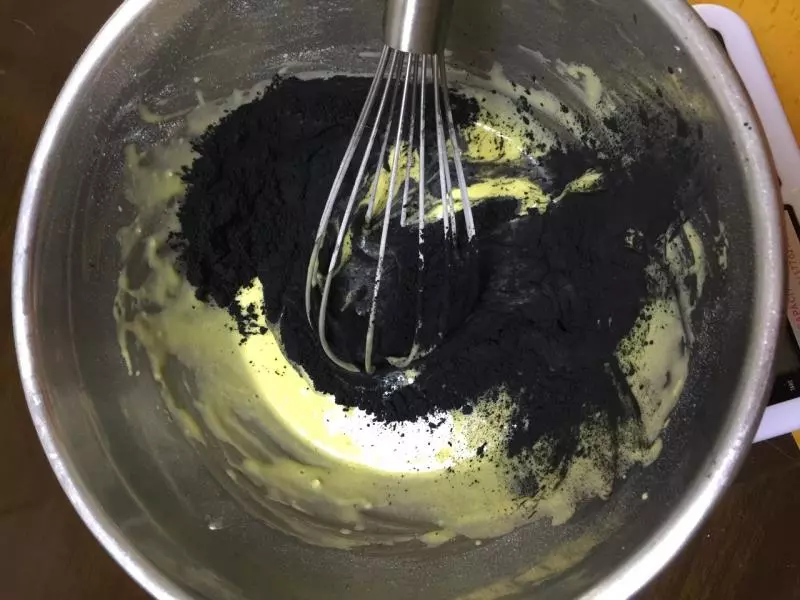
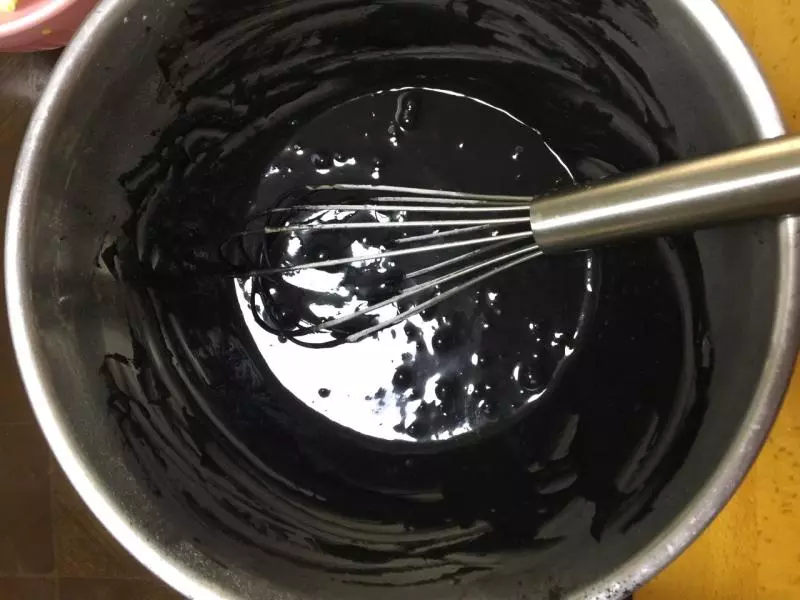
8剩下的蛋黄糊里加竹炭粉Z字形翻拌均匀,放一边备用
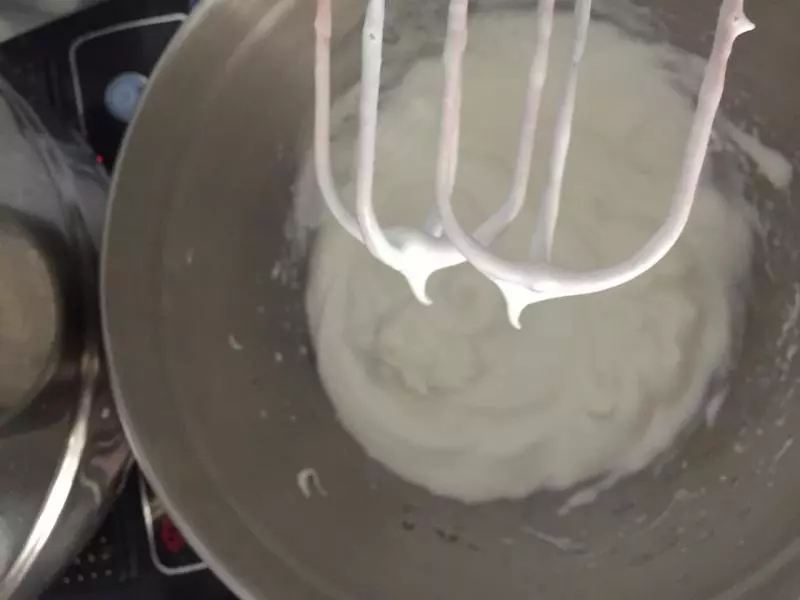
9分离好的蛋清放冰箱冷藏。现在拿出来分三次加入白砂糖,用打蛋器打出弯钩状即可
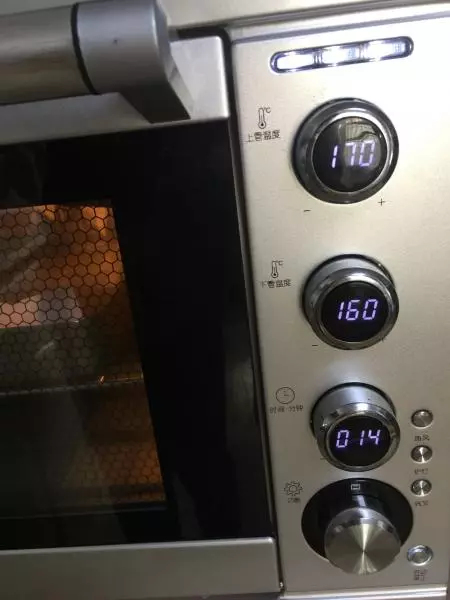
10打好的蛋白糊。打蛋白糊之前烤箱预热170度
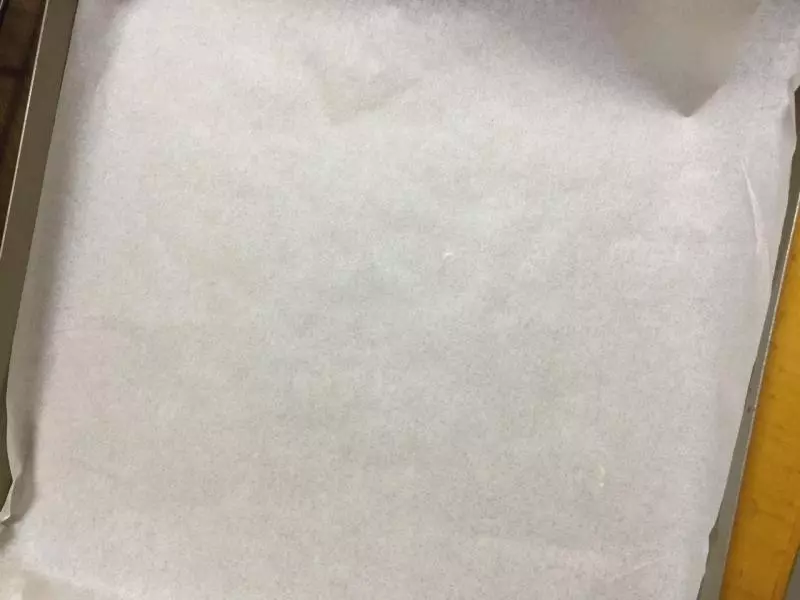
1128*28烤盘铺上油纸备用
12打发好的蛋白糊也挖出一勺到小碗里翻拌均匀,装入裱花袋,在烤盘上挤出小圆形,入烤箱烤三分钟拿出来

13蛋黄糊分三次加入蛋白糊中从中心插入方法翻拌均匀
14倒入烤盘,用刮刀轻轻刮匀。震一下小气泡,入烤箱中层上火170,下火160,14分钟
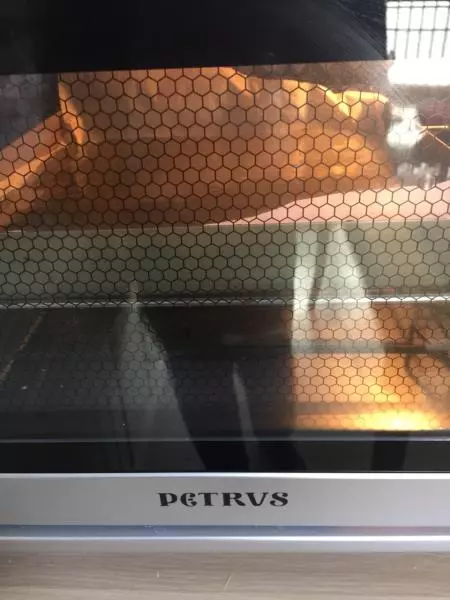
15烘烤过程中尽量不要打开烤箱。
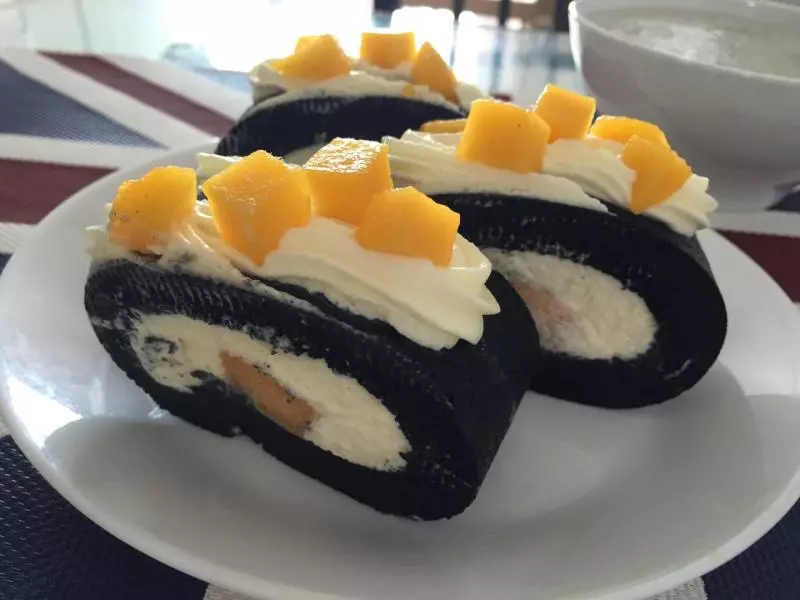
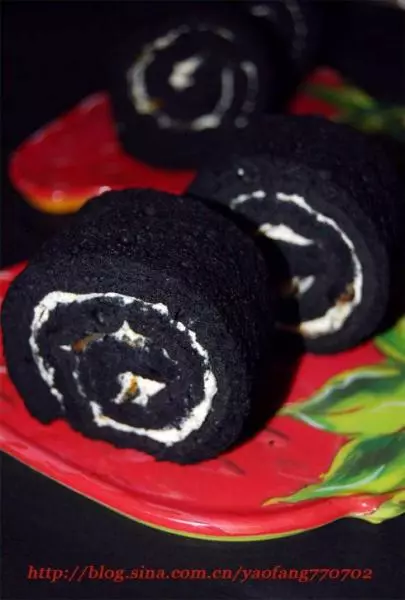
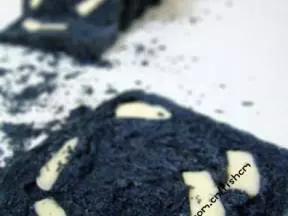
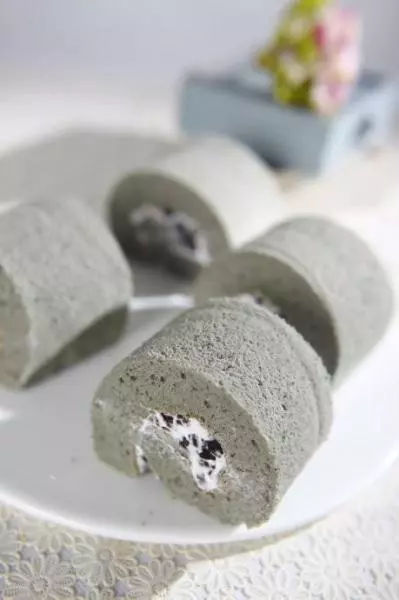
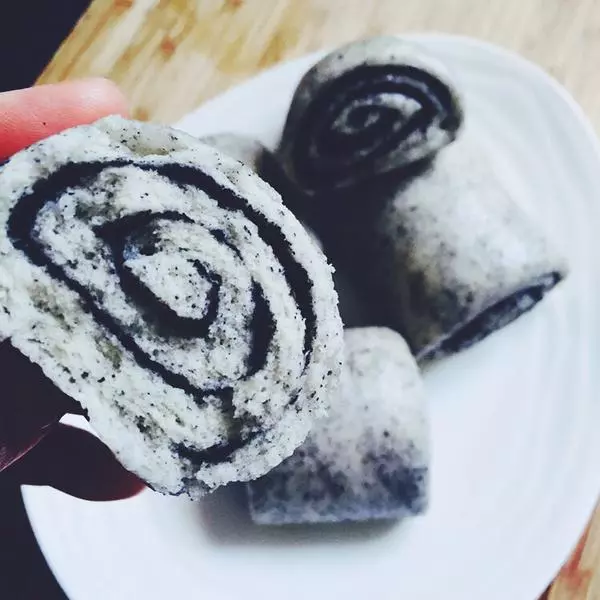
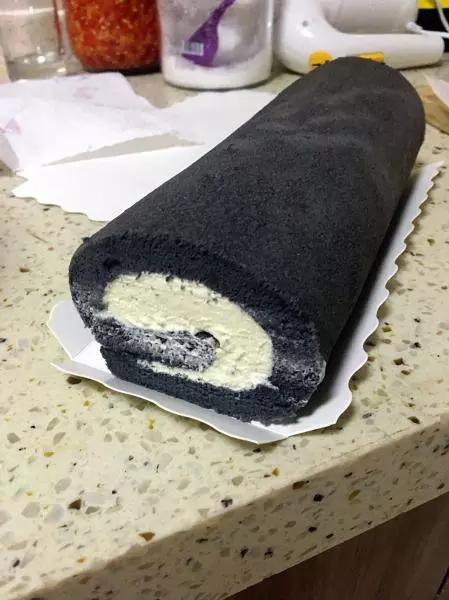
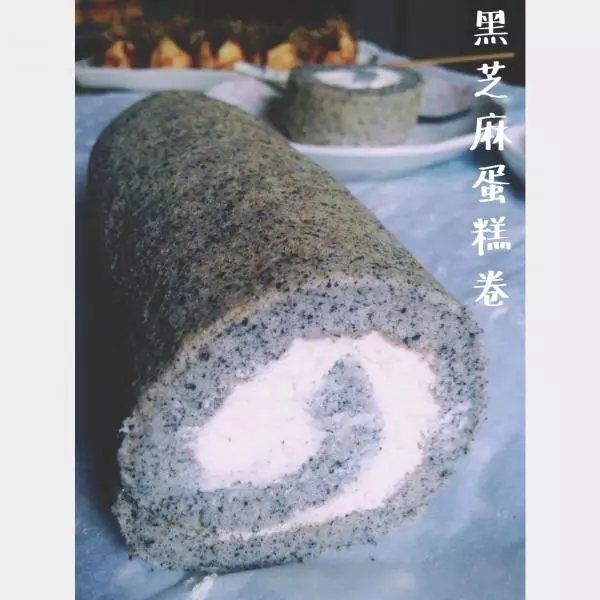
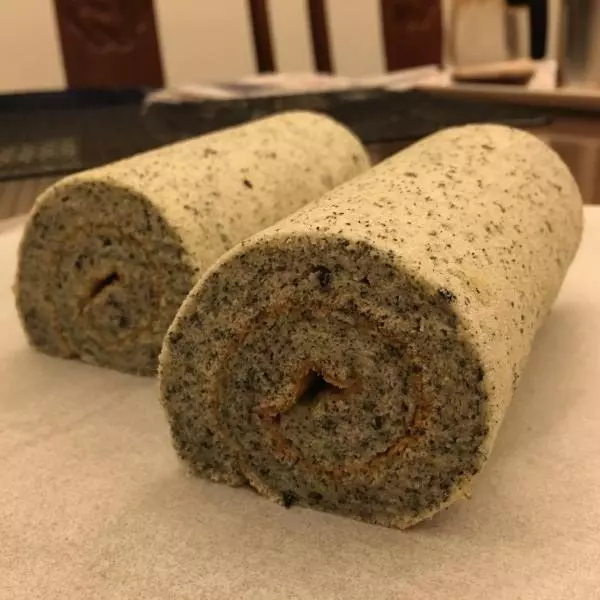
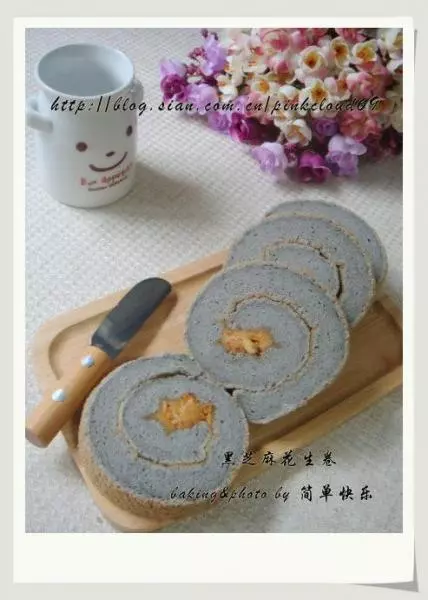
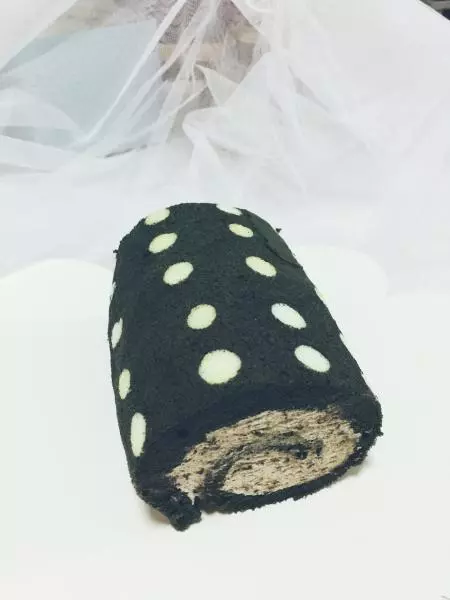
16打发奶油和奶酪,加入芝麻粉,铺入放凉的蛋糕胚,借助擀面杖卷起来入冰箱冷藏后再切。这一次卷的有点丑,将就着看吧。
小技巧
一定要等蛋糕胚凉了再卷入奶油,要不然奶油容易融化