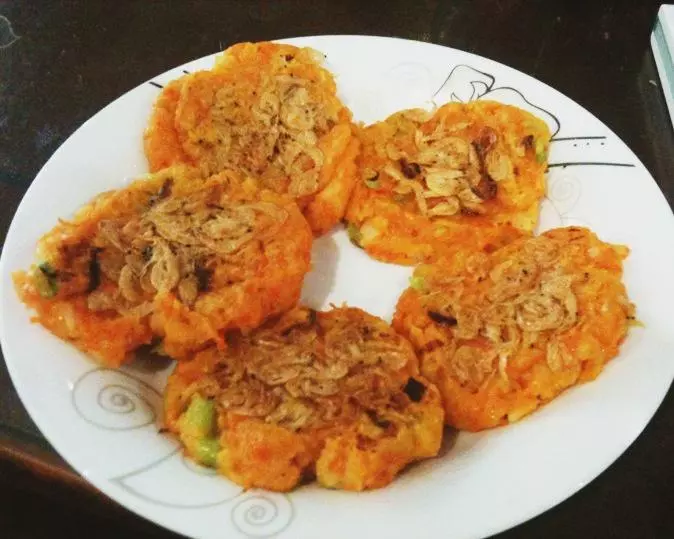
原料
鸡蛋: 3个, 虾米: 适量, 胡萝卜: 小半根, 核桃油: 少量
步骤
1这个图…橄榄油写错啦,我用的是核桃油

2鸡蛋打散备用

3宝宝专用核桃油

4用硅胶刷,在锅里刷薄薄一层核桃油 小火预热锅,全程都是小火哈

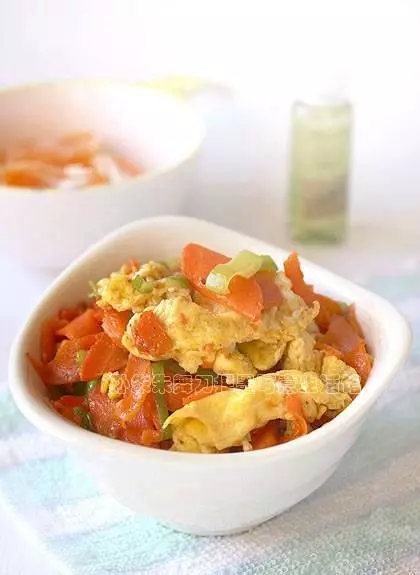
5先放入胡萝卜丝 煎一会,至胡萝卜丝变软

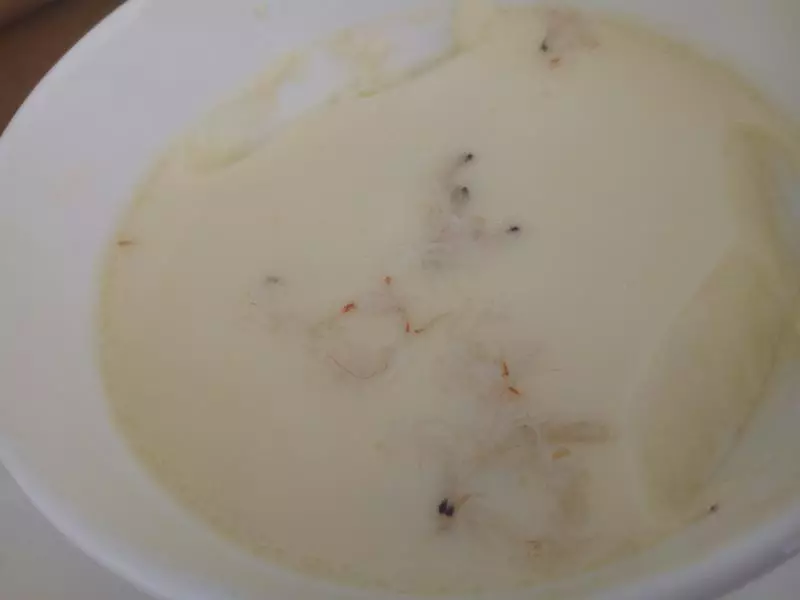
6再放入虾米 我用的是淡虾米 而且提前泡了一整夜,去掉盐分 大月龄的宝宝 可以忽略这步哈,毕竟淡虾米的一点点味道 可以使整个蛋饼更美味

7稍微煎一会

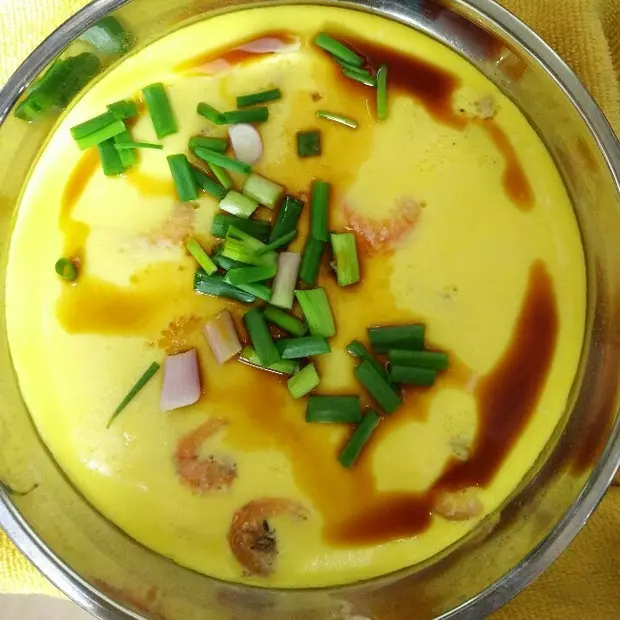
8倒入蛋液

9全部加满蛋液的颜色很美!有木有

10翻个面继续煎~ 两面都不粘锅就可以出炉啦

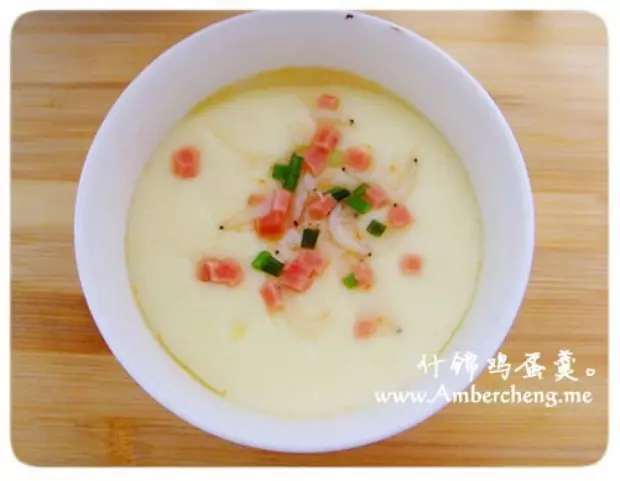
11甜小宝的早餐 胡萝卜虾米蛋配藜麦粥草莓酸奶~♥︎