原料
蛋黄: 66g, 细砂糖(1): 20g, 蛋白: 90g, 细砂糖(2): 40g, 低筋粉: 38g, 牛奶: 38g, 黄油: 8g, 淡奶油: 250g, 细砂糖: 15g, 猕猴桃: 适量
步骤
1将蛋黄和细砂糖(1)搅拌均匀。

2蛋黄里加入融化的黄油和牛奶,并搅拌均匀。

3将面粉筛入蛋黄糊中,搅拌均匀待用。

4打发蛋白,分三次加入砂糖,蛋白搅打至7分发即可,如软山峰状。

5厨师机换上翻拌浆,将备用的蛋黄糊,倒进蛋白糊里翻拌均匀即可。

6金盘里垫入烤纸,将面糊倒入烤盘中,用刮刀轻轻抹平。

7预热180度,烘烤10-12分钟。

8淡奶油加细砂糖(2),打发至7分发。

9将奶油均匀抹在晾凉的蛋糕体上。

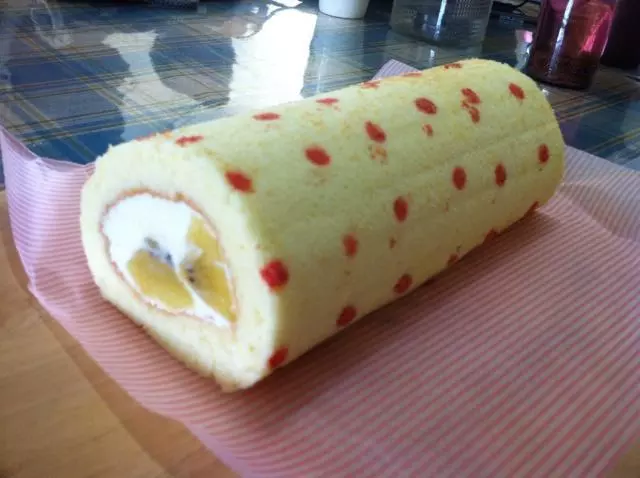
10将整颗削好皮的猕猴桃整齐排列在蛋糕体上卷起。

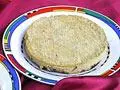
11步骤图

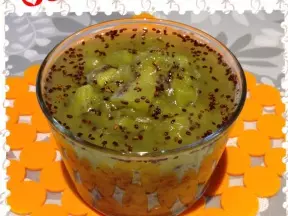
12成品图

小技巧
1.黄油和牛奶需加热到60度融化备用。 2.配方中使用的是28cmx28cm烤盘。