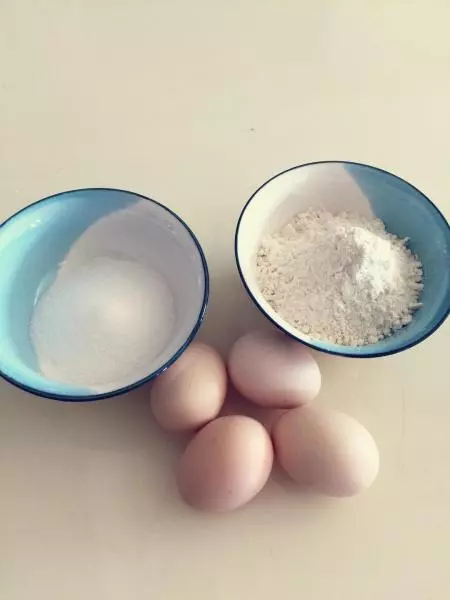
原料
细砂糖: 60克(加入蛋白), 细砂糖: 60克(加入蛋黄), 低筋面粉: 120克, 鸡蛋: 4个(每个约50克)
步骤
1准备好所有原料
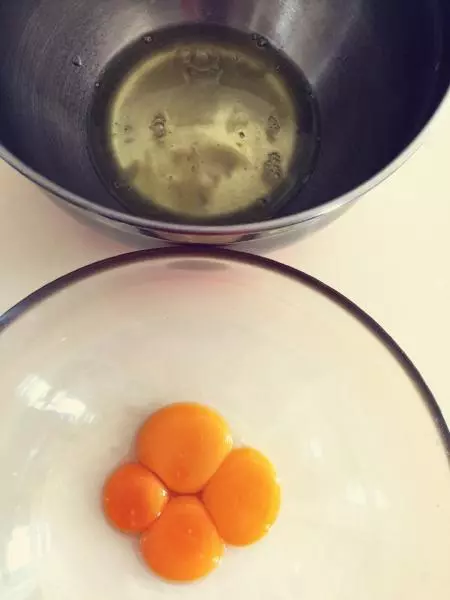
2分离蛋白和蛋黄
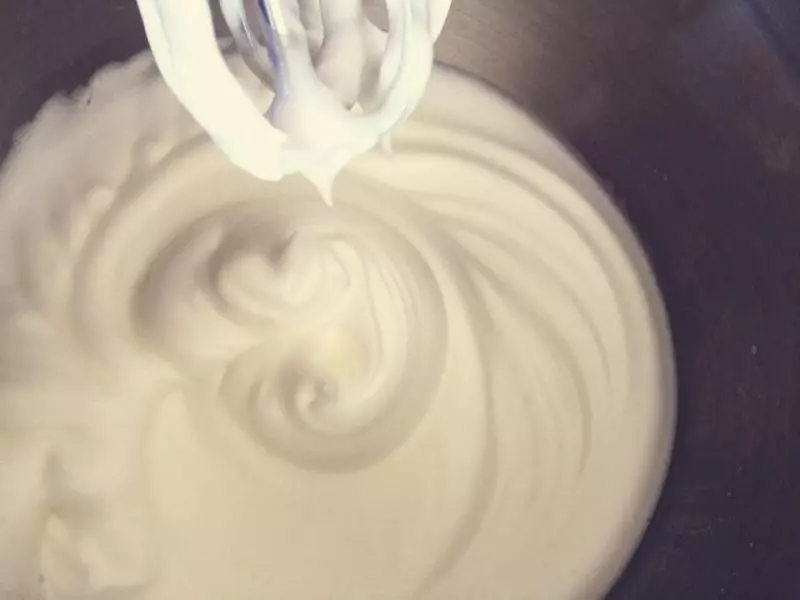
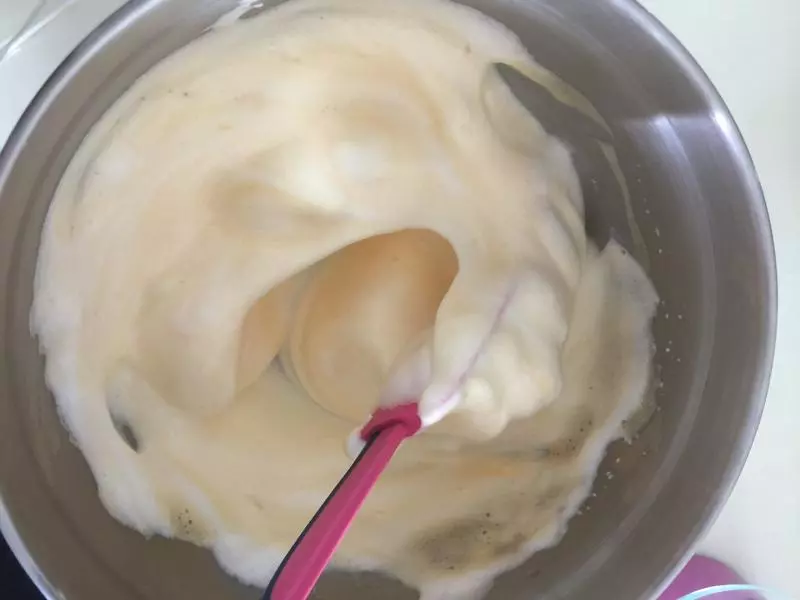
3打发蛋白,60克糖分三次加入,打发至尖勾如图
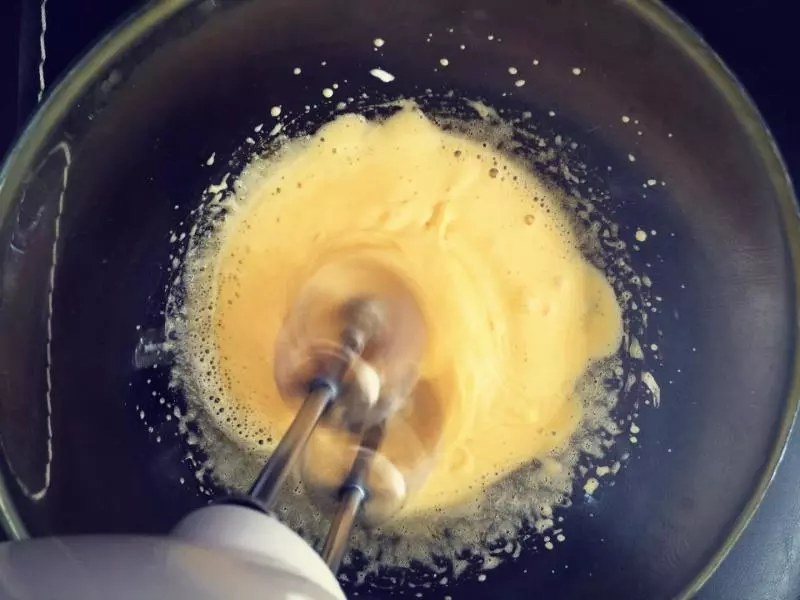
4打发蛋黄至发白浓稠状
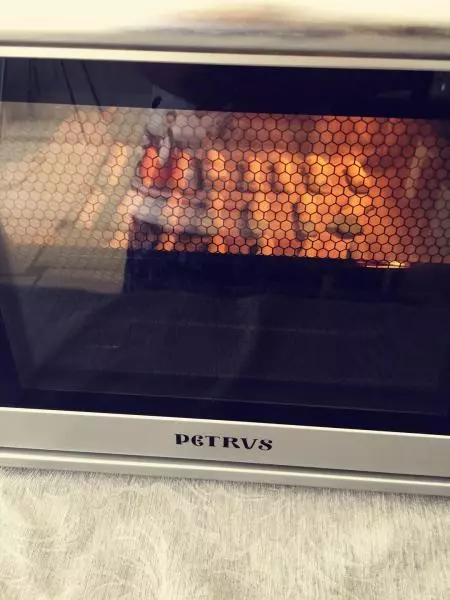
5烤箱预热上下火170度
6蛋白霜和蛋黄糊翻拌均匀,请注意手法,防止消泡
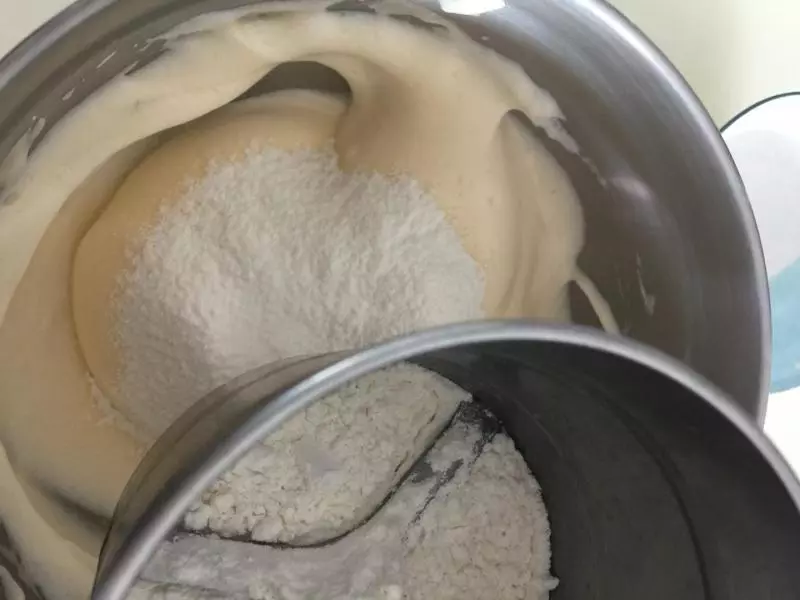
7最后加入过筛后的面粉翻拌均匀
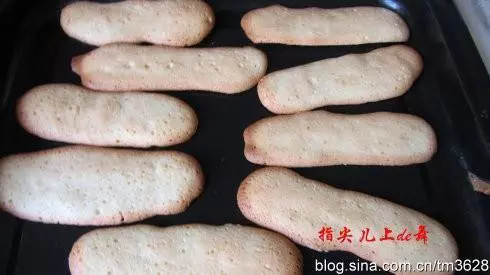
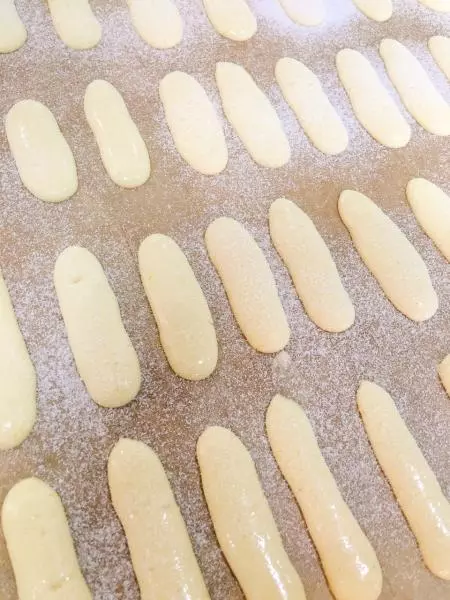
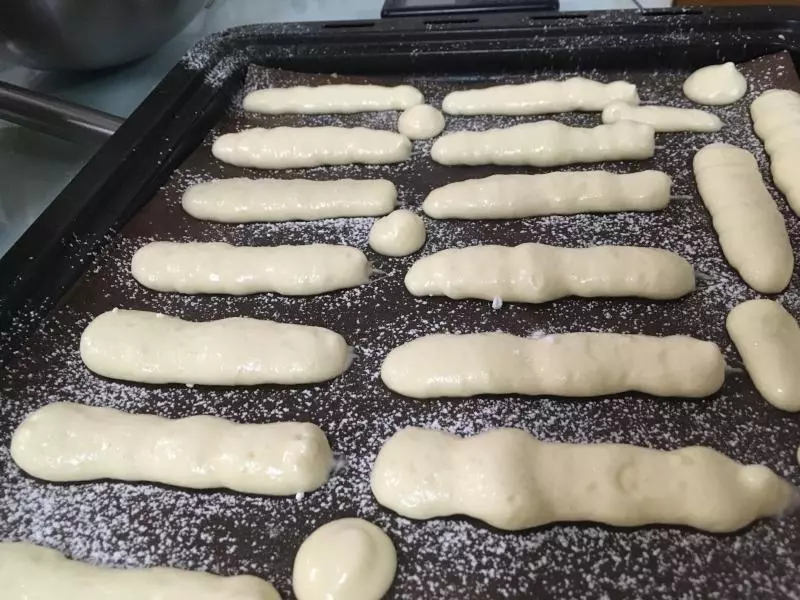
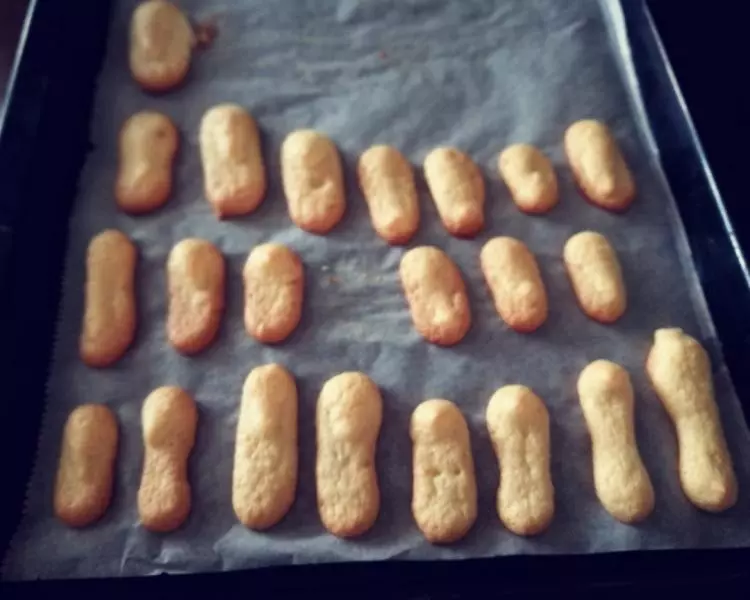
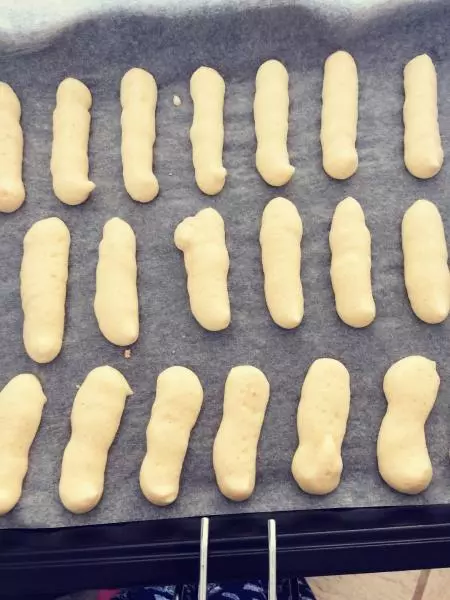
8装入裱花袋挤出长条,可以用大号圆形裱花嘴,没有的可以直接剪个口就可以挤出来了,我就是直接剪一个,偷懒一下
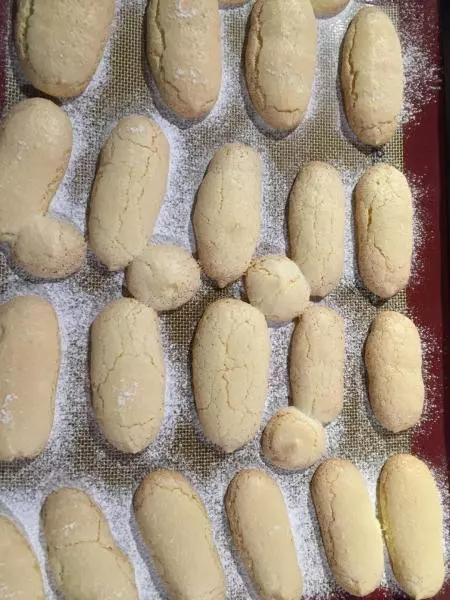
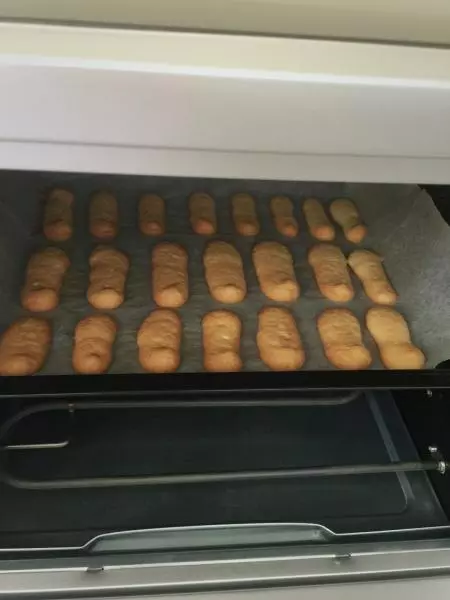
9放入预热好的烤箱,上下火170度,中层,20分钟

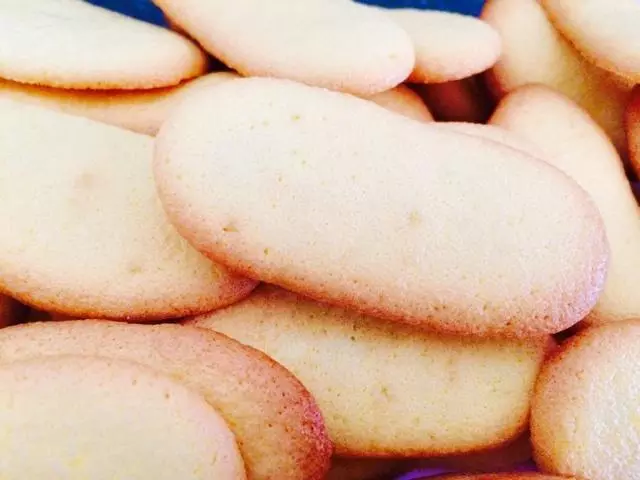
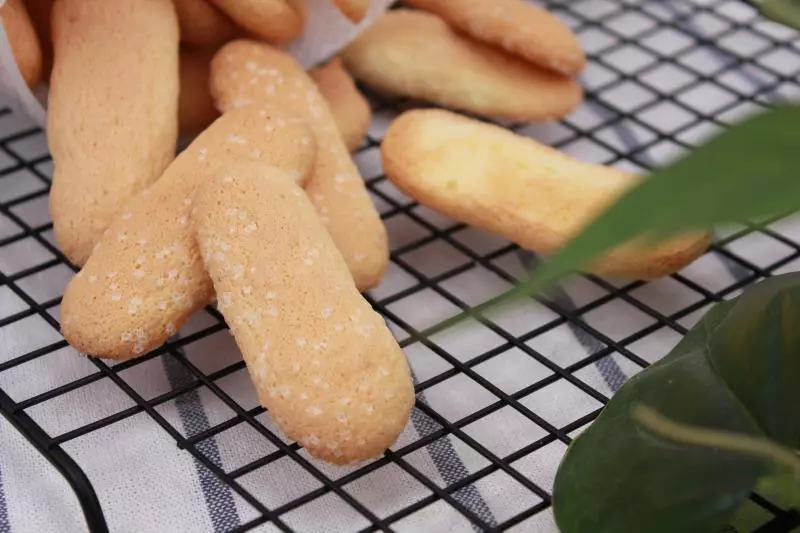
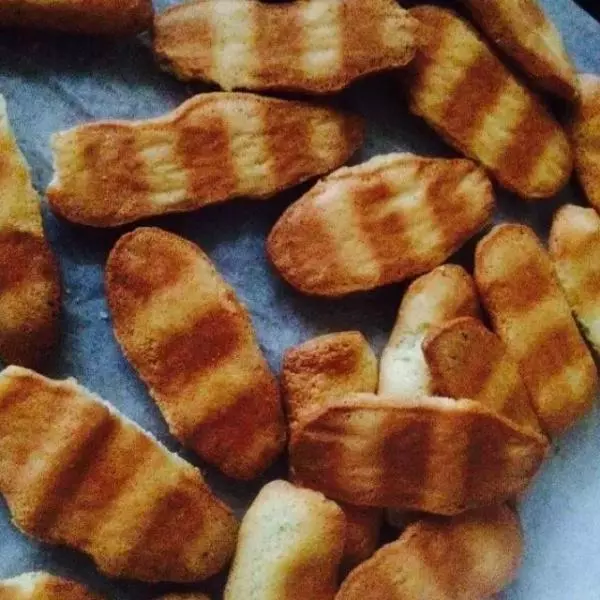
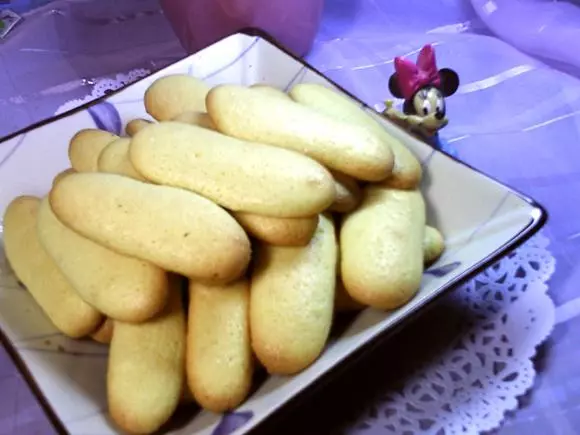
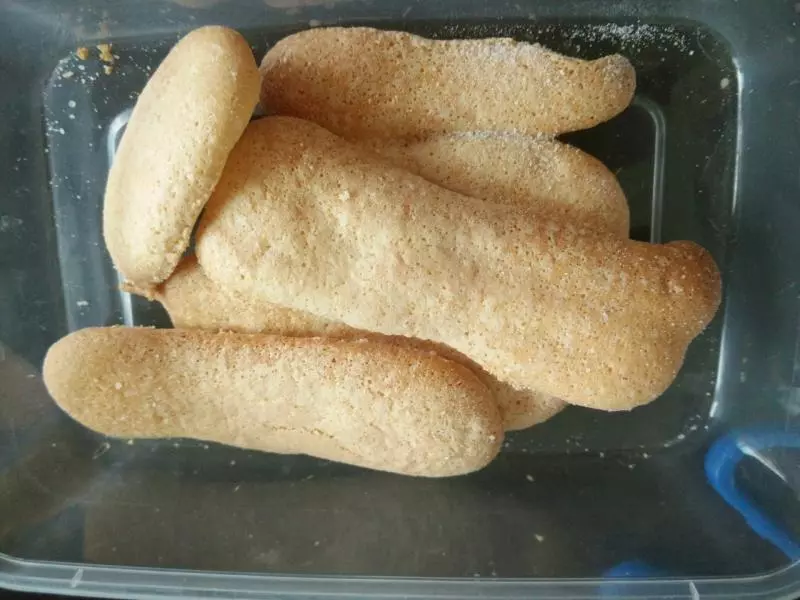
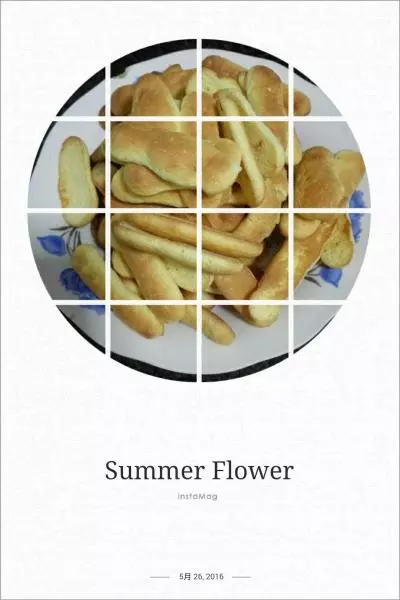
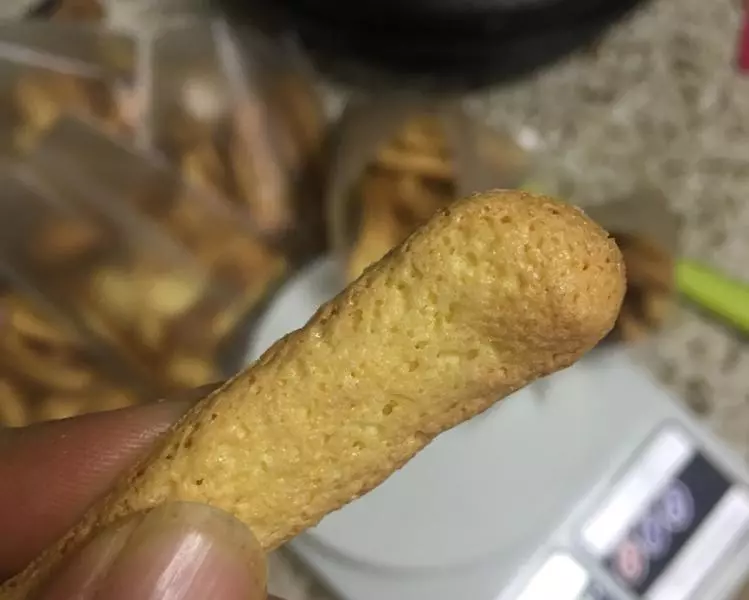
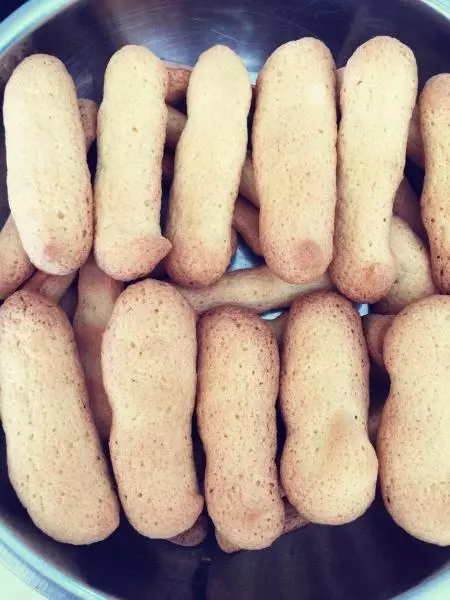
10烤至表面金黄就可以出炉啦
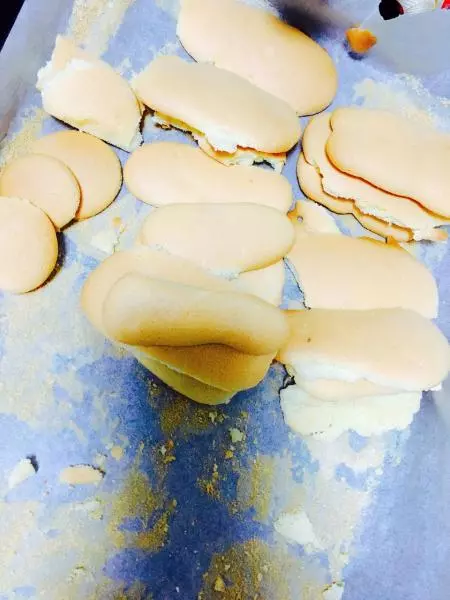
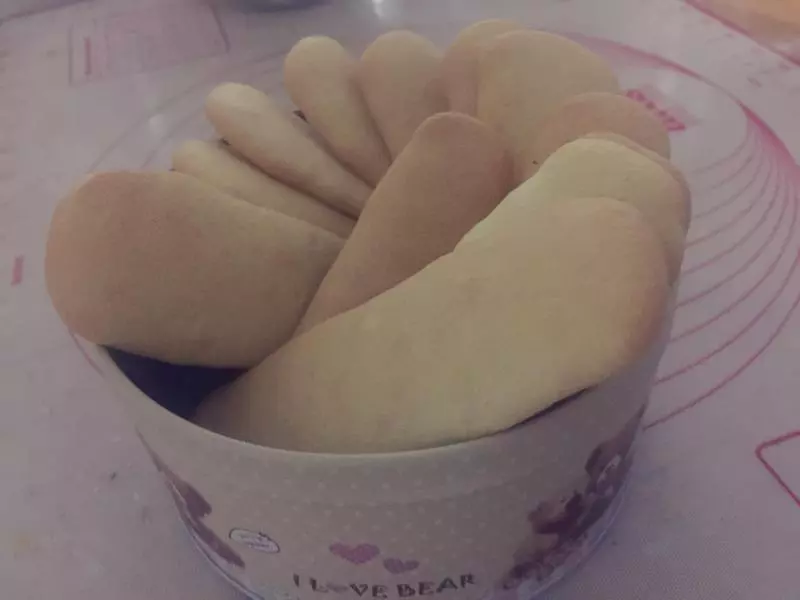
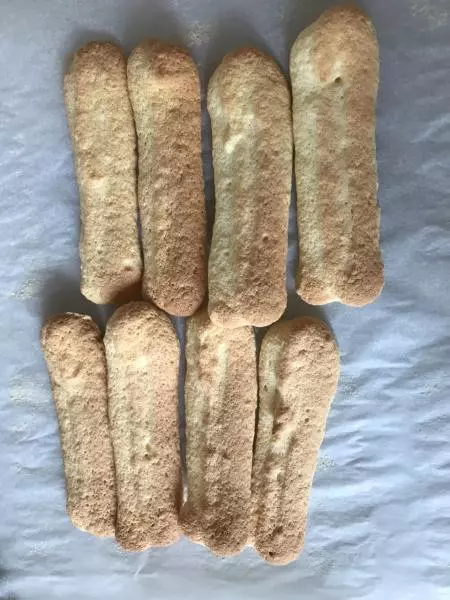
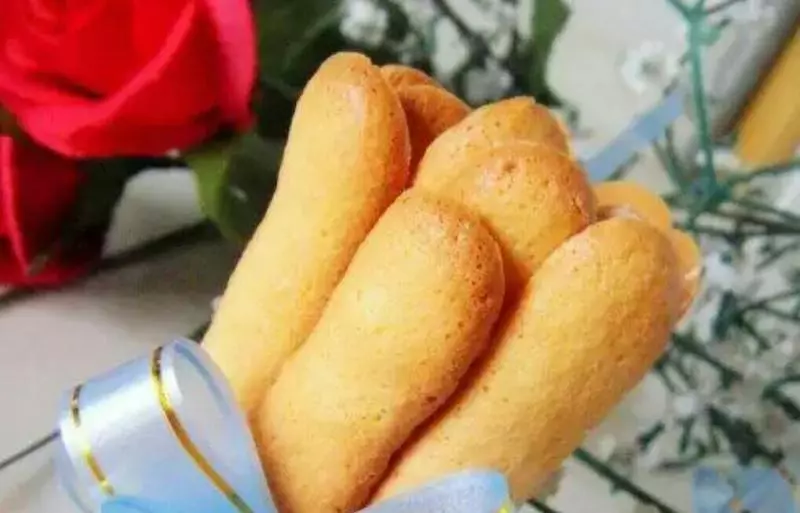
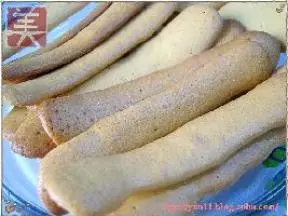
11烤好的饼干必须完全晾干再收藏起来哦