原料
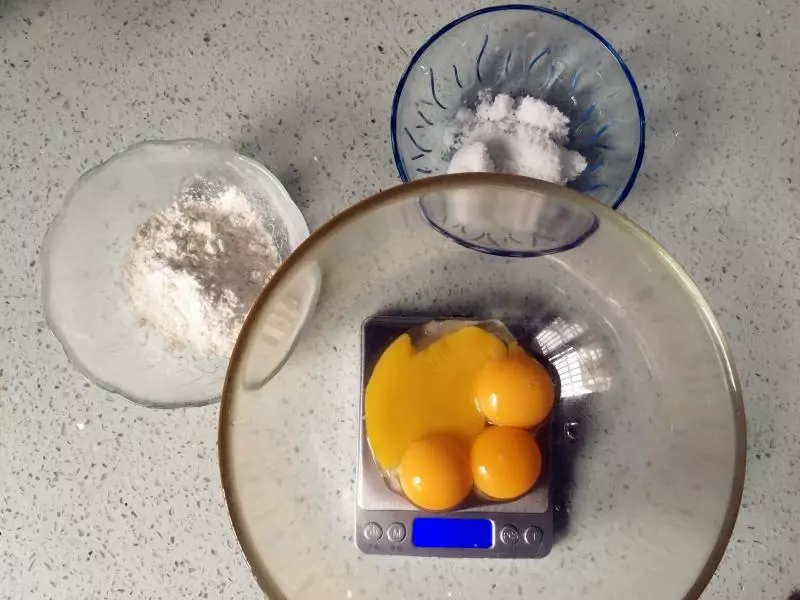
蛋黄: 4个约54克, 低筋面粉: 42克, 白砂糖: 20克
步骤
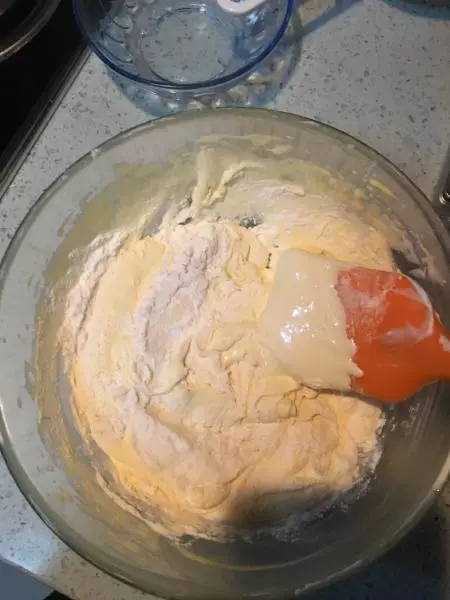
1食材都称好,准备好开始打发蛋黄。
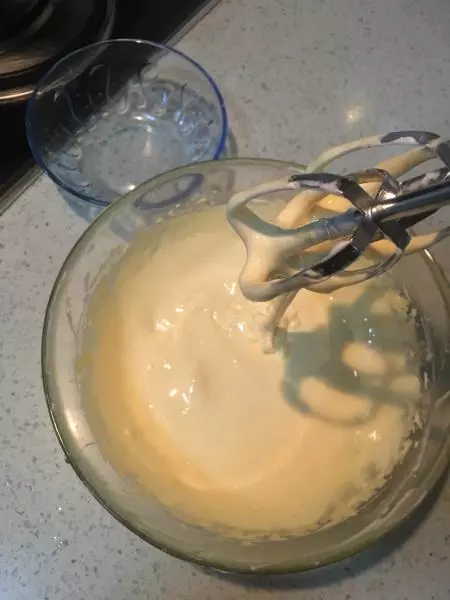
2糖分三次加入蛋黄,每次等糖充分融化再加下一次,一直打发到蛋黄体积膨胀,发白,提起打蛋器,低落的蛋黄不立马消失,能有纹路,就可以了。
3将称好的低筋面粉过筛,进打发的蛋黄里,快速翻拌,没有干粉就行。
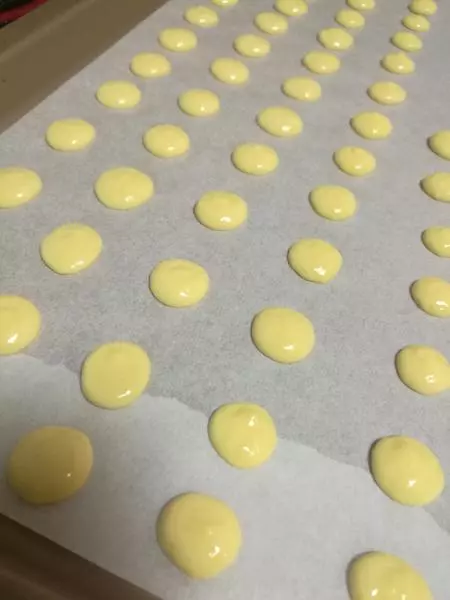
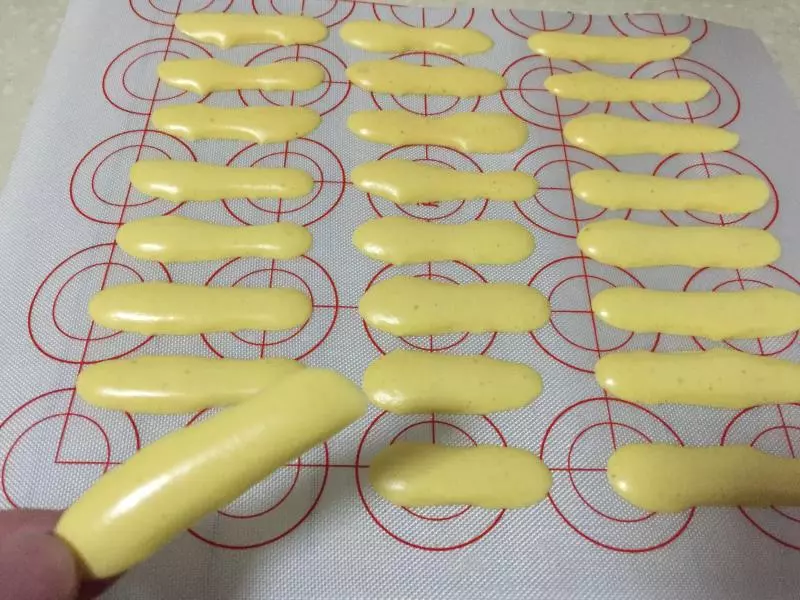
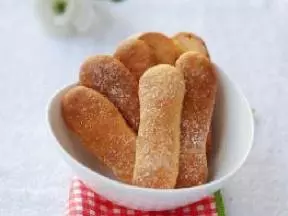
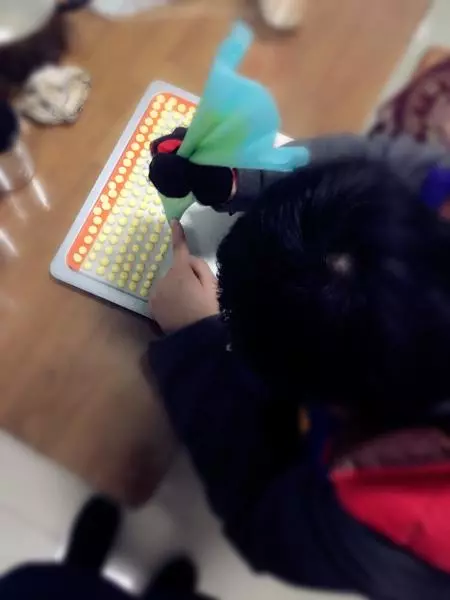
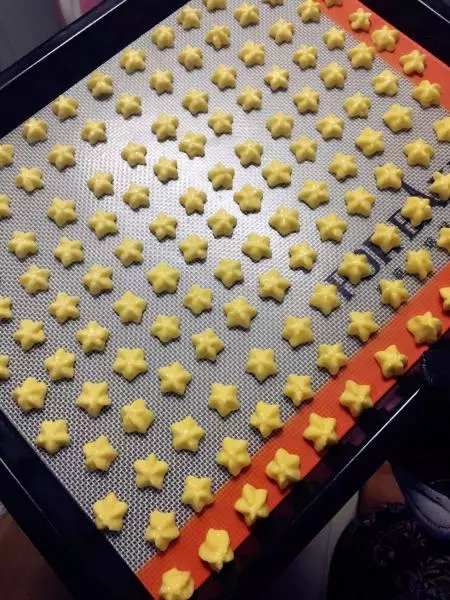
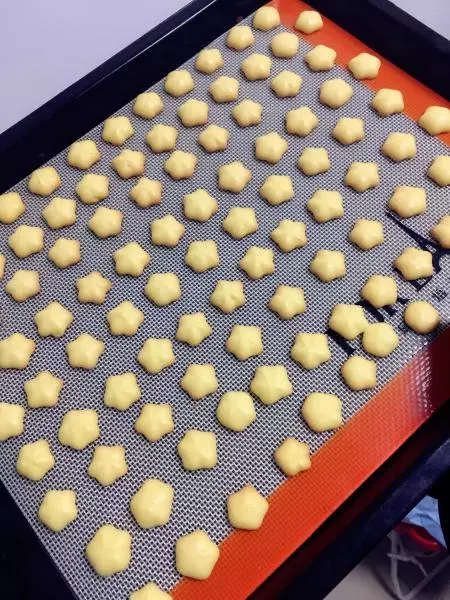
4装进裱花袋,开始挤。
5挤好,准备融入烤箱。
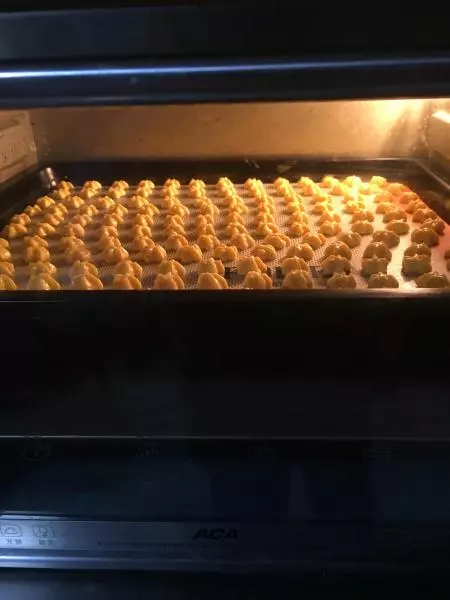
6上下火140度,18分钟,后期要一直观察,小烤箱容易受热不均匀,边上没熟的到时候用烤箱的余温再烘。
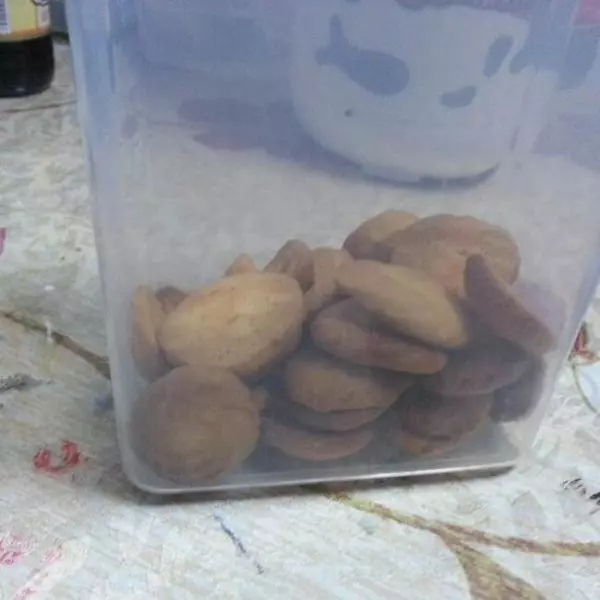
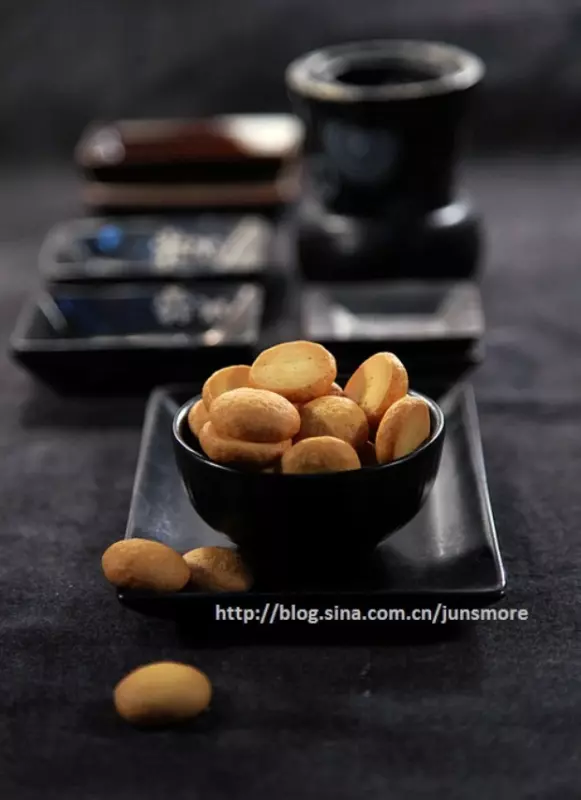
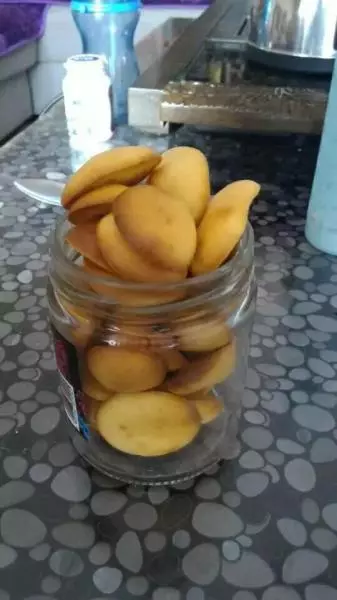
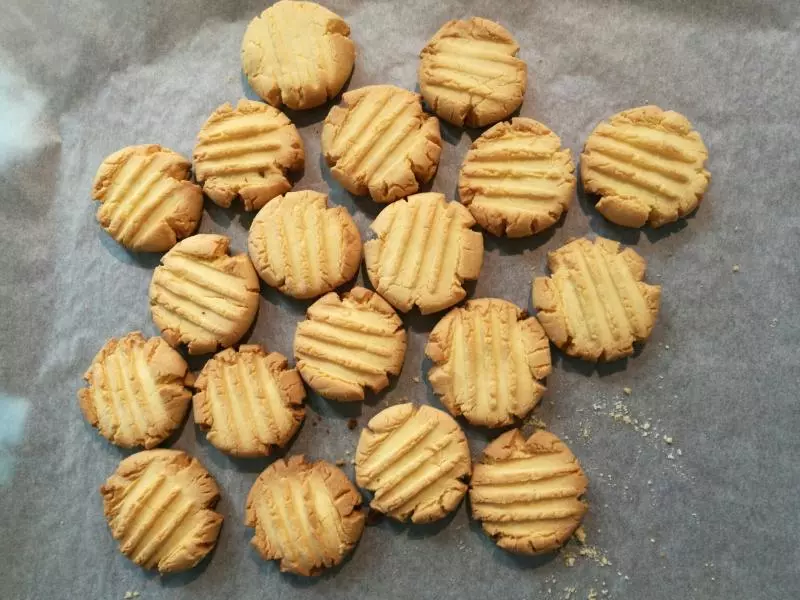
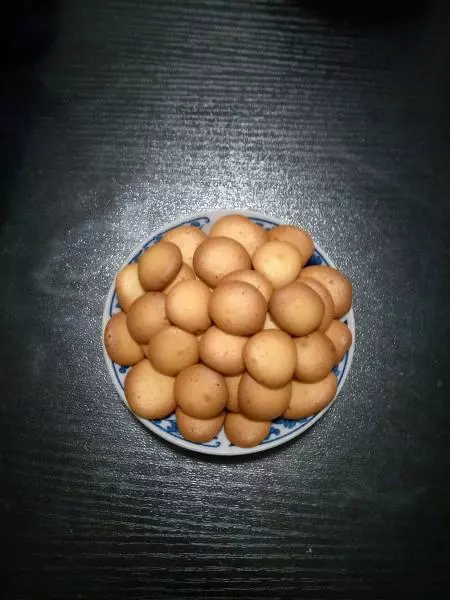
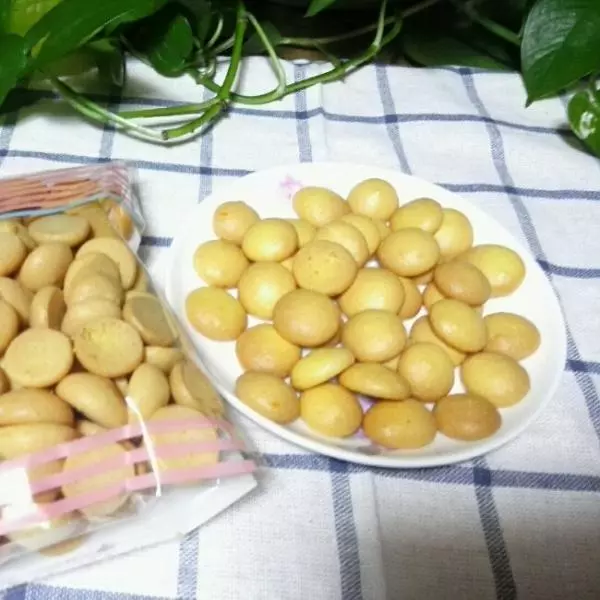
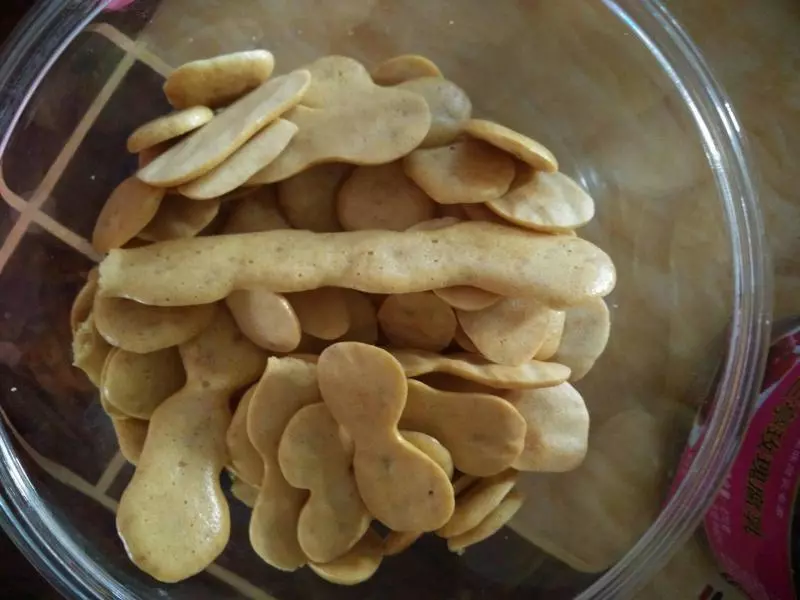
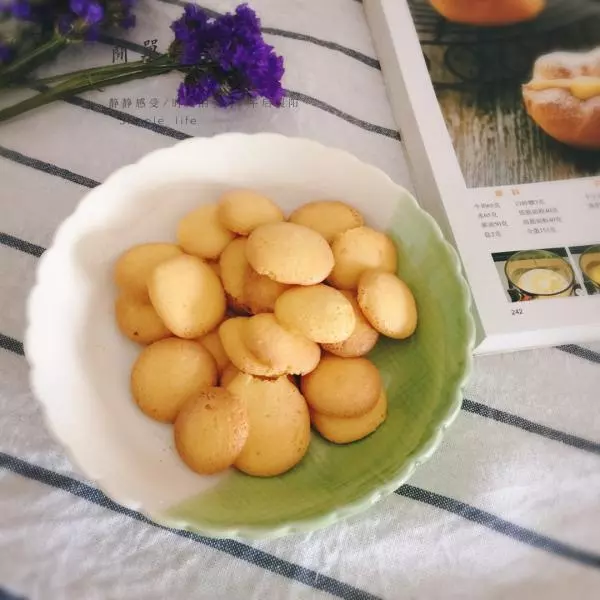
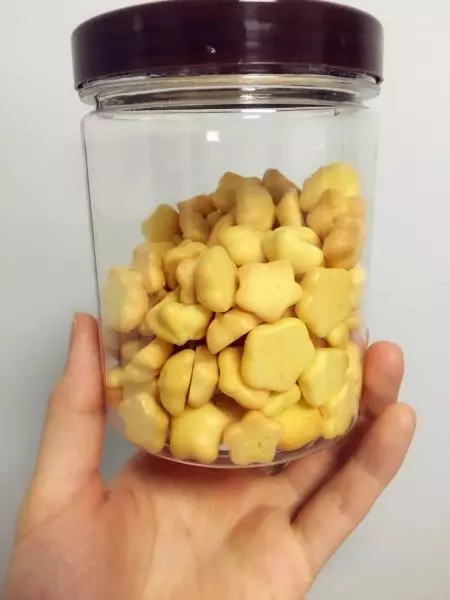
7烤好,晾凉装罐,要密封,容易受潮。
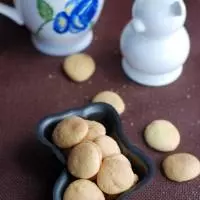
8装罐
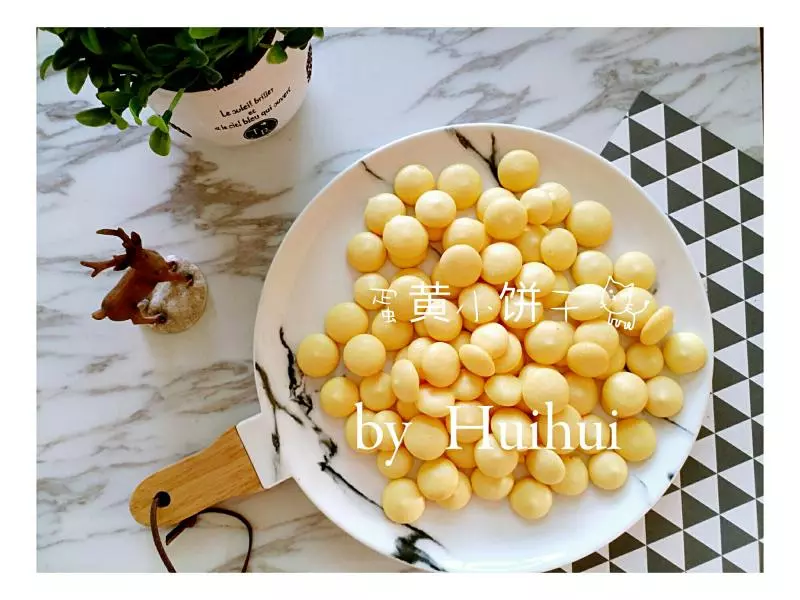
9小宝宝可以挤这个形状

小技巧
很多食谱给的是两盘的量,我是32L的烤箱,两盘很难烤,我这个是一盘的量,很快就熟,报废率也低,时间也好掌握。而且我这个全部是蛋黄,没有蛋清,比加蛋清的要实,但是烤好很美,加蛋清的有很多小洞。看着就比较疏松。