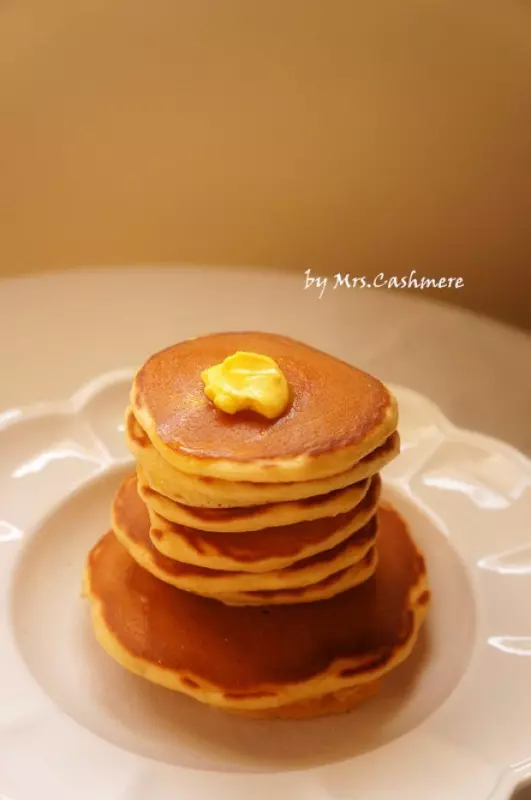
原料
鸡蛋: 1个, 细砂糖: 23g(15+8), 牛奶: 70g, 低筋面粉: 70g, 玉米油: 6g, 草莓(或其他装饰): 适量
步骤
1将蛋黄与蛋清分离分别装入小盆

2蛋黄盆内加入15g细砂糖并搅拌均匀,然后倒入牛奶继续搅拌均匀,接着加入过筛低粉,用Z字型将面糊搅拌成至顺滑无颗粒,最后加入玉米油搅拌均匀待用

3开始打发蛋清,将剩余8g细砂糖分两次加入蛋清(冒大气泡时加入一半,气泡细腻时加入另一半),打发至呈小弯钩

4将1/2的蛋白霜加入蛋黄糊中翻拌,翻拌均匀后将面糊倒回蛋白霜中继续翻拌均匀

5准备好不粘锅和一个中等大小的小勺子

6开启中小火,锅稍热即可舀一勺面糊倒入,出现大气泡时立即翻面

7翻面后再煎15-20秒即可出锅待凉(具体时间根据上色程度摸索一下),每煎完一片关火,锅稍凉,再舀面糊开启中小火煎下一片

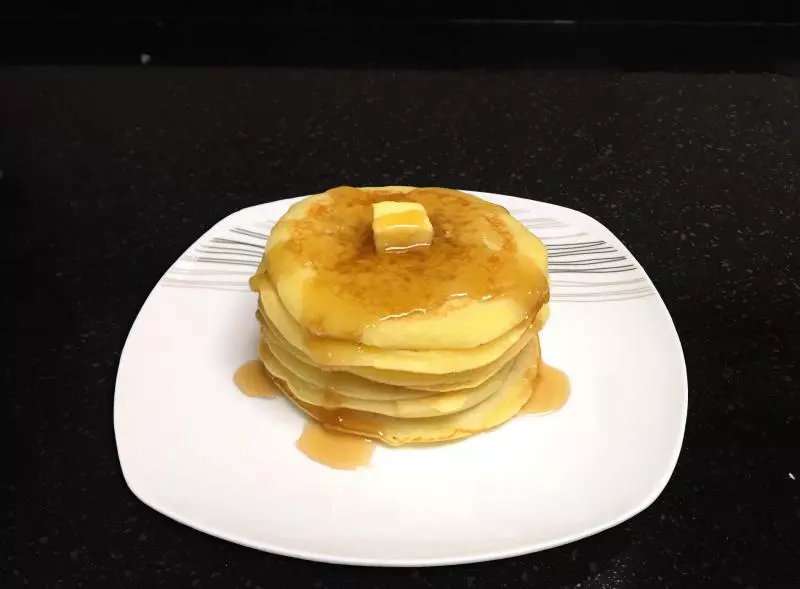
8用草莓或你喜欢的产品稍加装饰就完成啦,当然也可以抹点果酱吃