原料
蛋黄: 4个(每个连壳50g左右), 蛋白: 4个, 低筋面粉: 85g, 白砂糖(蛋黄): 15g, 白砂糖(蛋白): 45g, 牛奶: 45g, 玉米油: 45g, 红曲粉: 3g, 抹茶粉: 1g, 巧克力果酱:
步骤
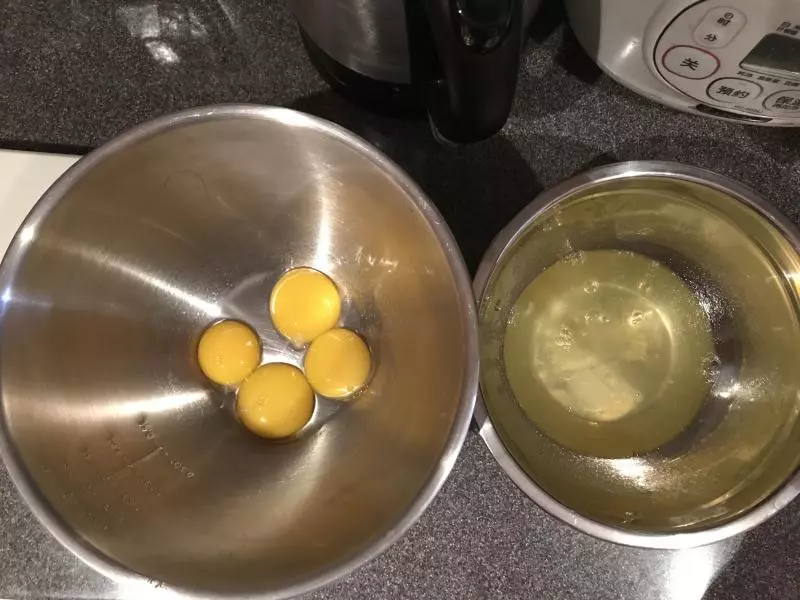
1将蛋白和蛋黄分离,放置在无水无油的盆里。蛋白先放冰箱冷藏备用。
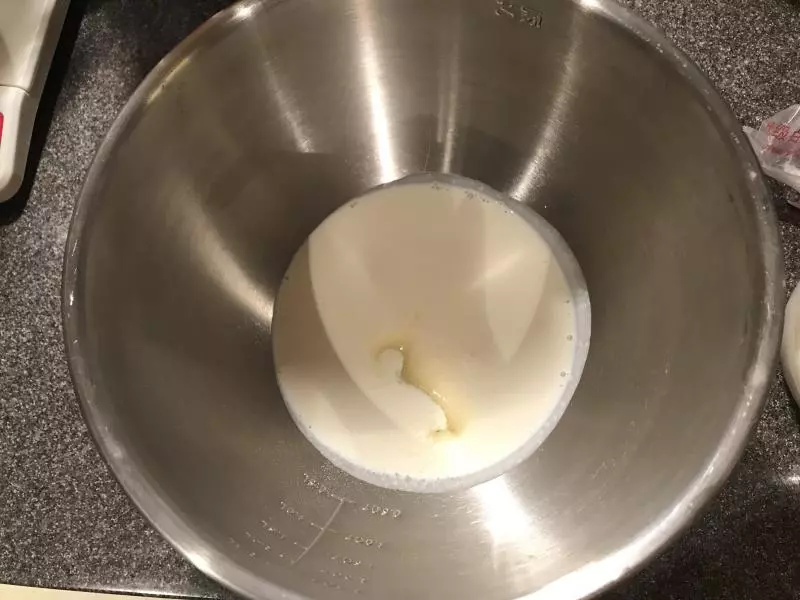
2将白砂糖加入蛋黄盆,用手动打蛋器搅拌均匀后加入牛奶和玉米油进行乳化。
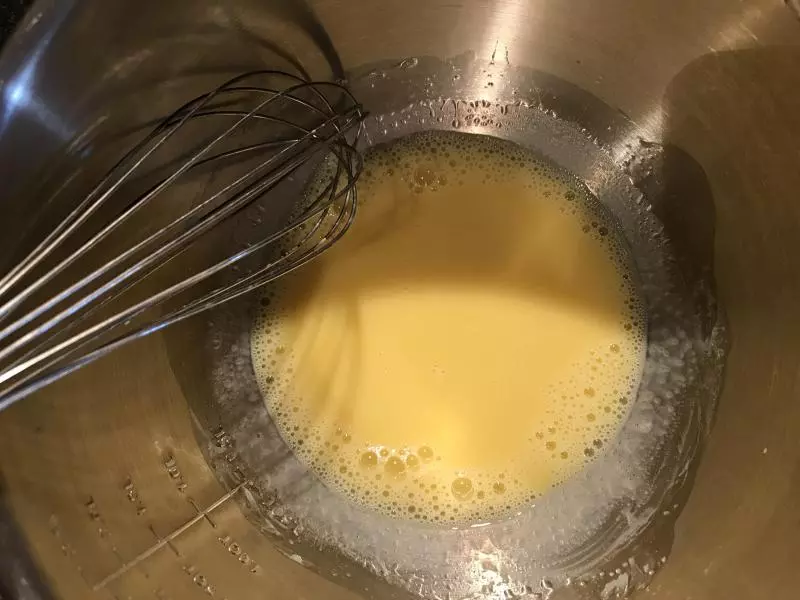
3乳化后的状态
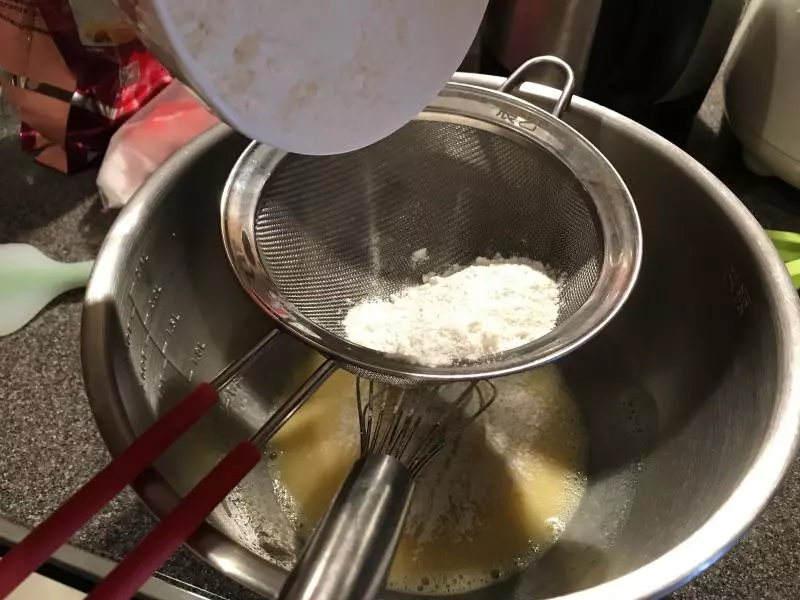
4低粉过筛,加入蛋黄糊
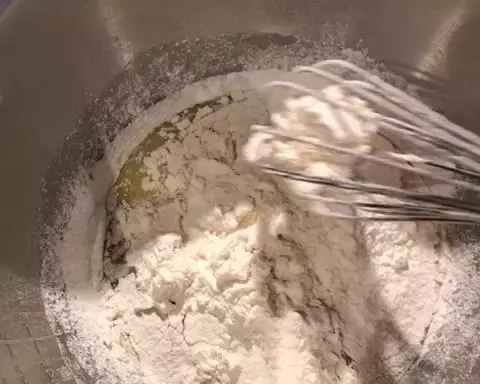
5打蛋器“Z”字法搅拌,记得把盆边缘的低粉也搅拌进去
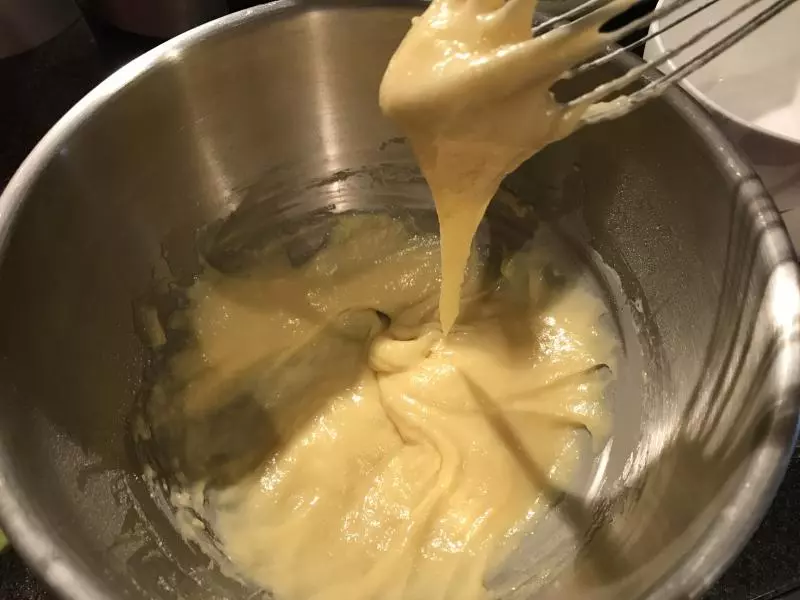
6搅拌过后的蛋黄糊是非常细腻的。不要过度搅拌以免起筋
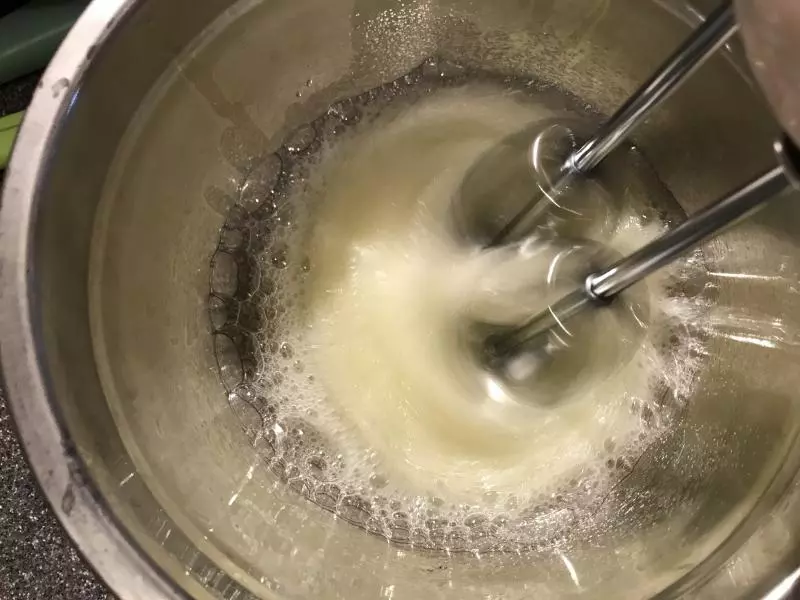
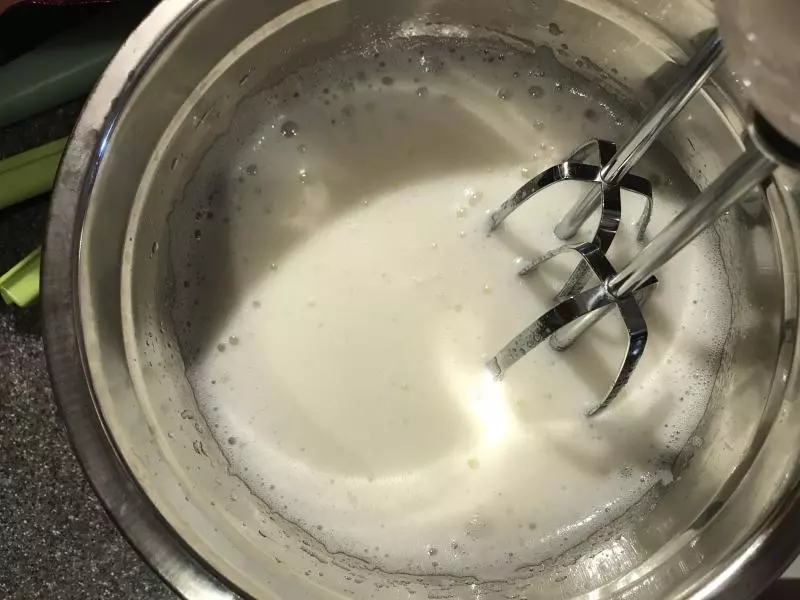
7拿出蛋白,电动打蛋器低速打,出现如图鱼眼泡泡时加入三分之一白砂糖
8打蛋器转高速,出现如图细小泡泡时再加入三分之一白砂糖
9出现明显纹路的时候加入最后三分之一白砂糖,此时将打蛋器转低速

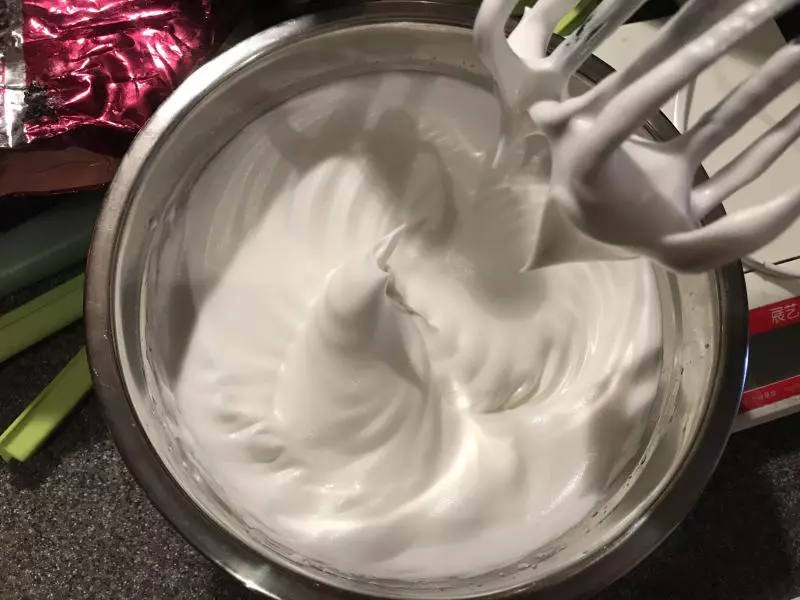
10蛋白打至干性状态
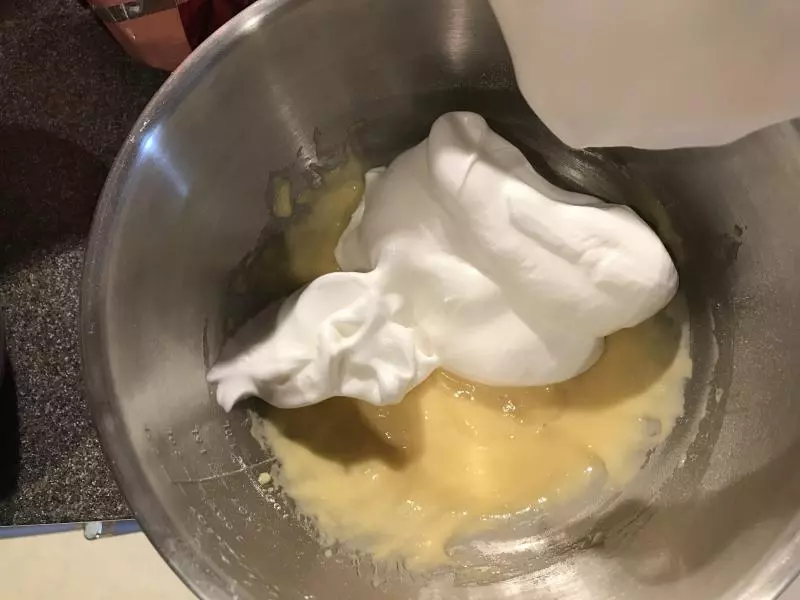
11蛋白糊分三次加入蛋黄湖中,每一次都要搅拌均匀后再加。用翻的手法,千万不要搅拌
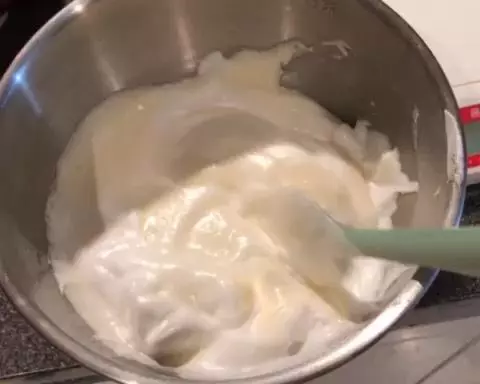
12搅拌手法
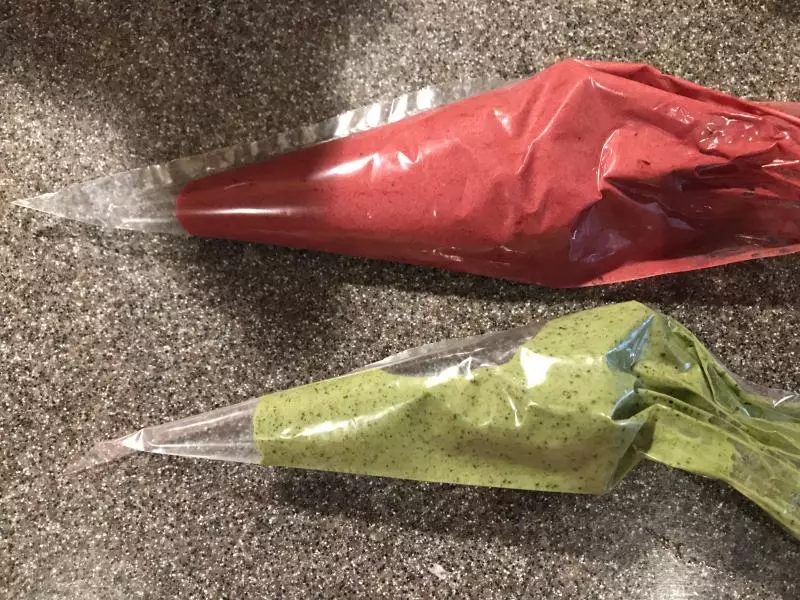
13挖一大勺蛋糕糊加入红曲粉,一小勺加入抹茶粉,搅拌均匀后装入裱花袋
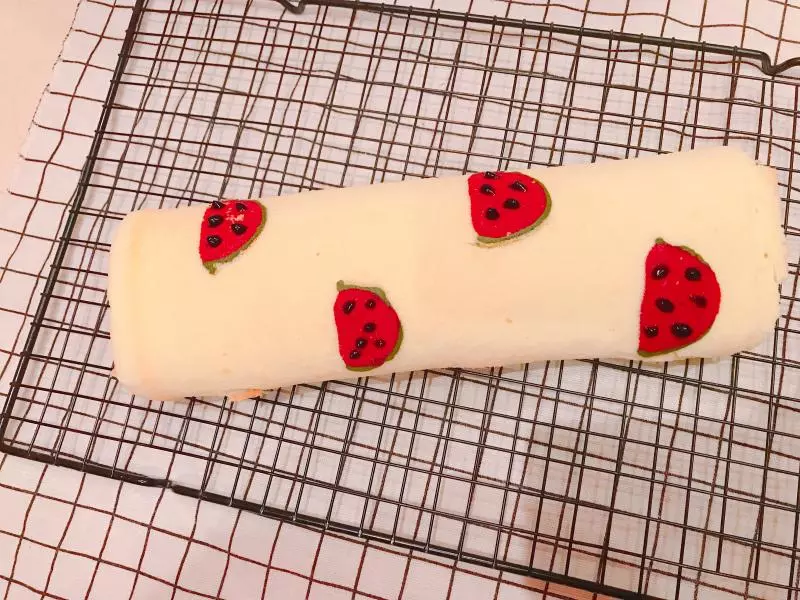
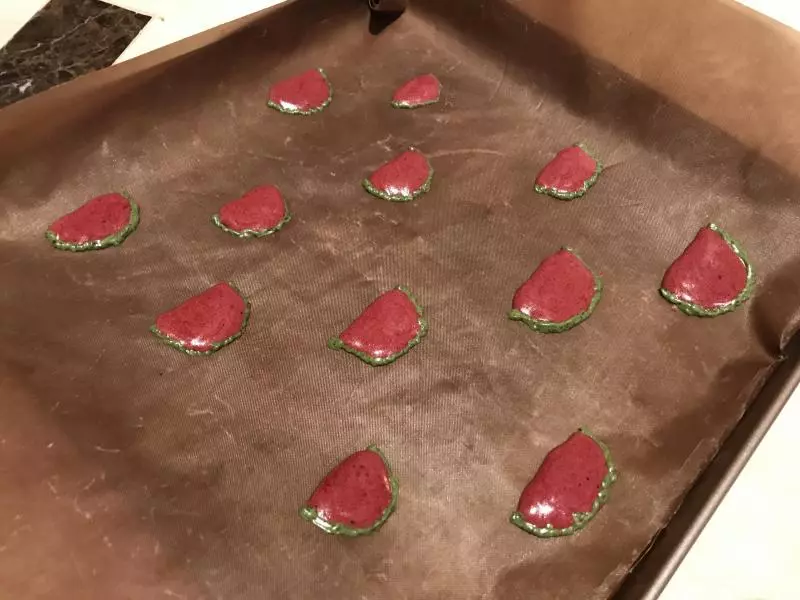
14此时预热烤箱,28*28烤盘上垫上油布,裱花袋剪小口画出西瓜形状,送入烤箱上下火200度2分钟稍微定型后拿出
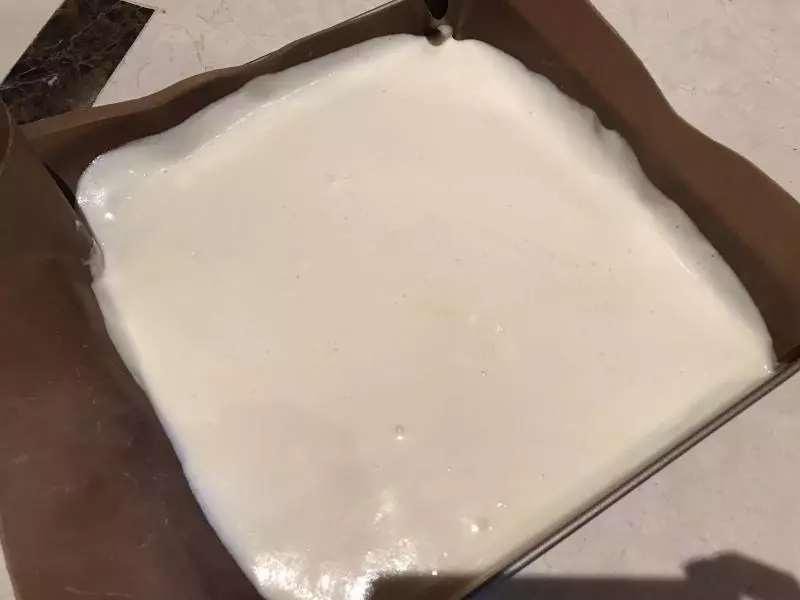
15将剩余的蛋糕糊全部倒入烤盘,轻轻震掉表面的气泡,送入烤箱上下火180度20分钟
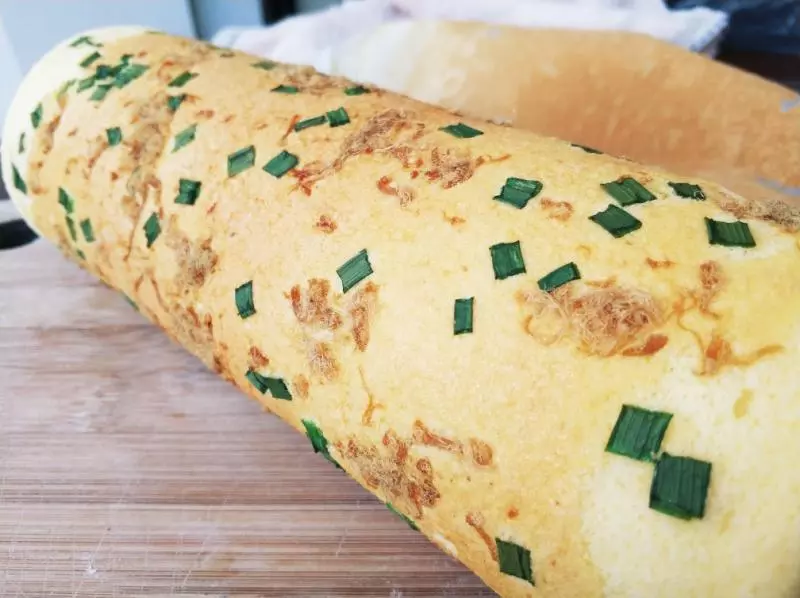
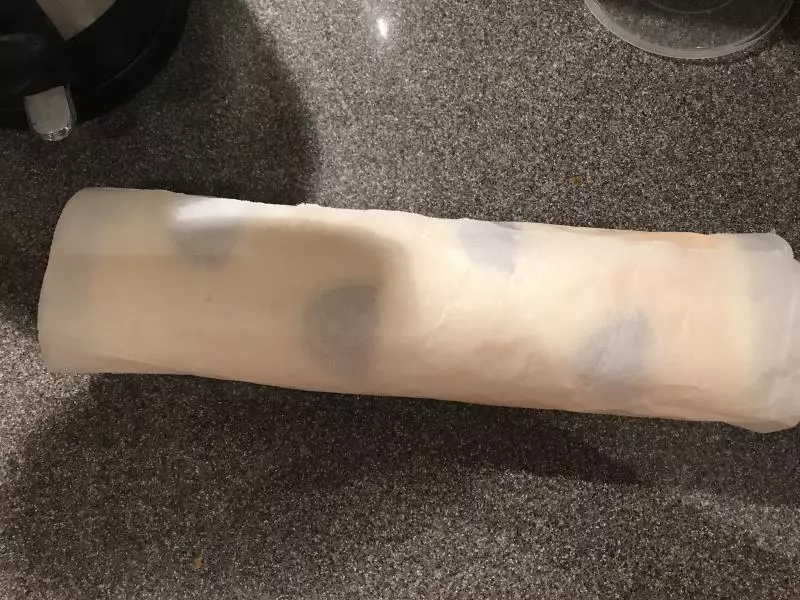
16烤完后马上撕掉油布,再盖上油纸防止水分流失
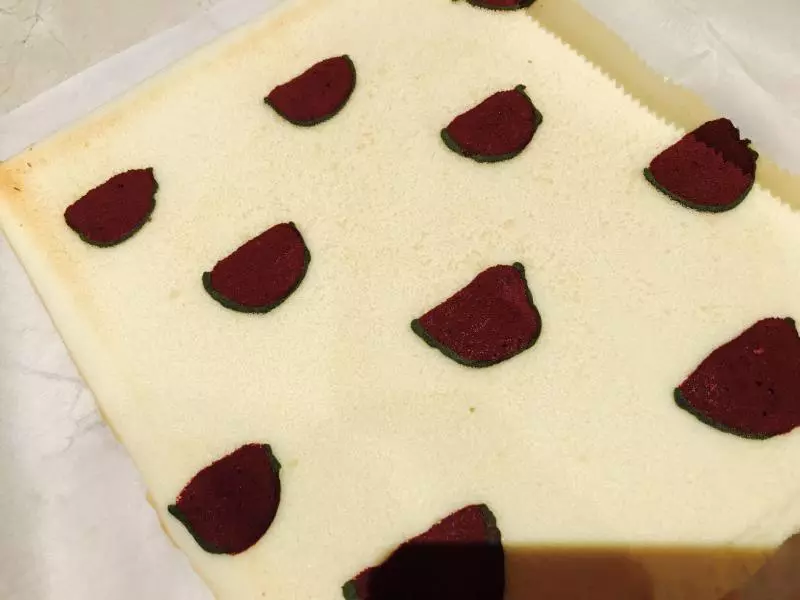
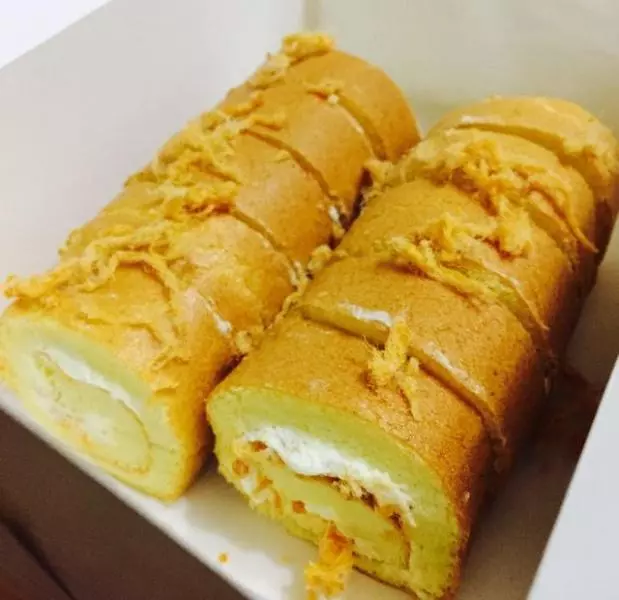
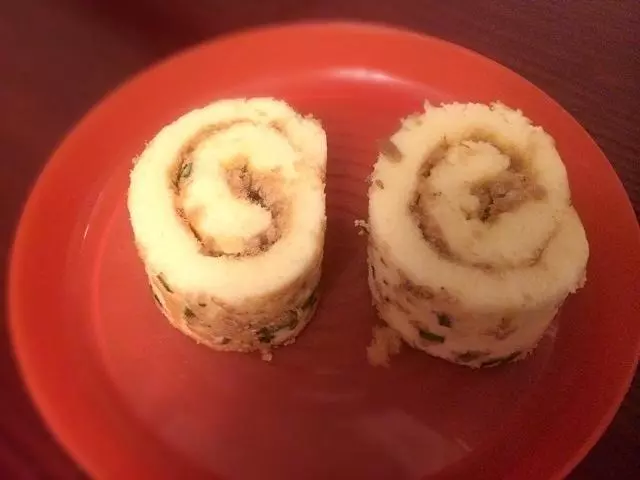
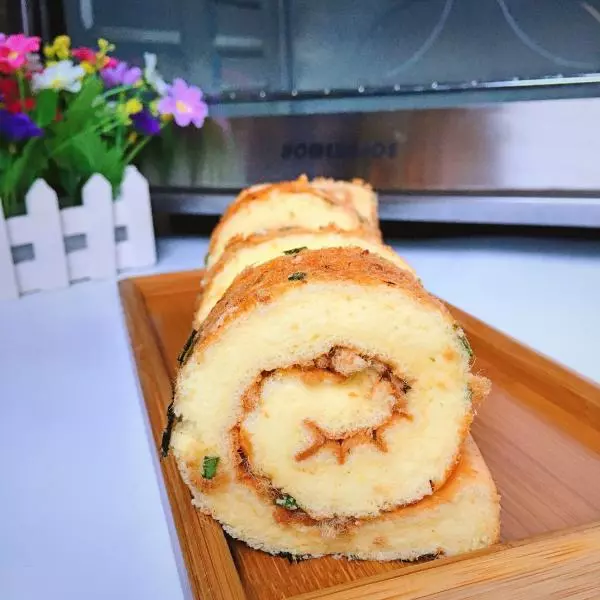
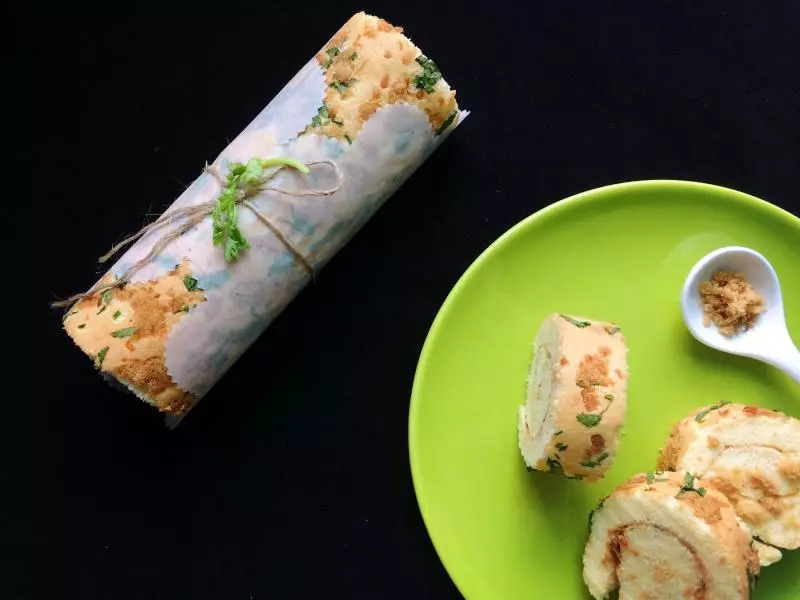
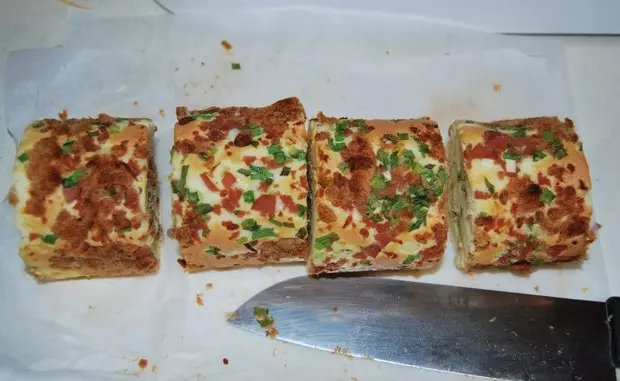
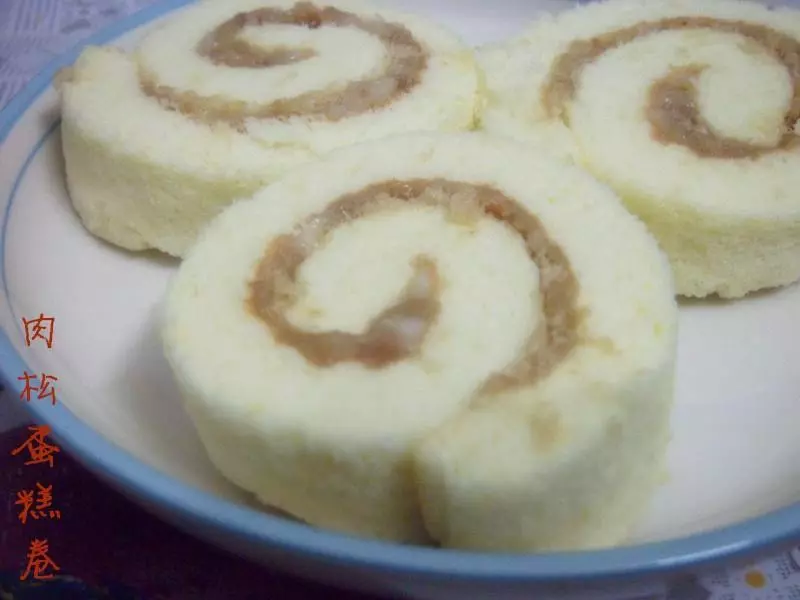
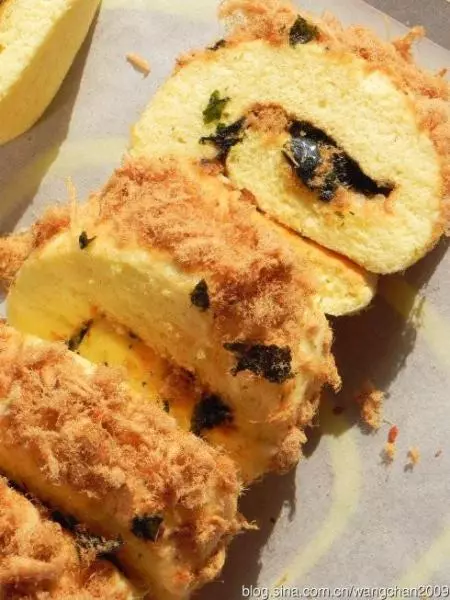
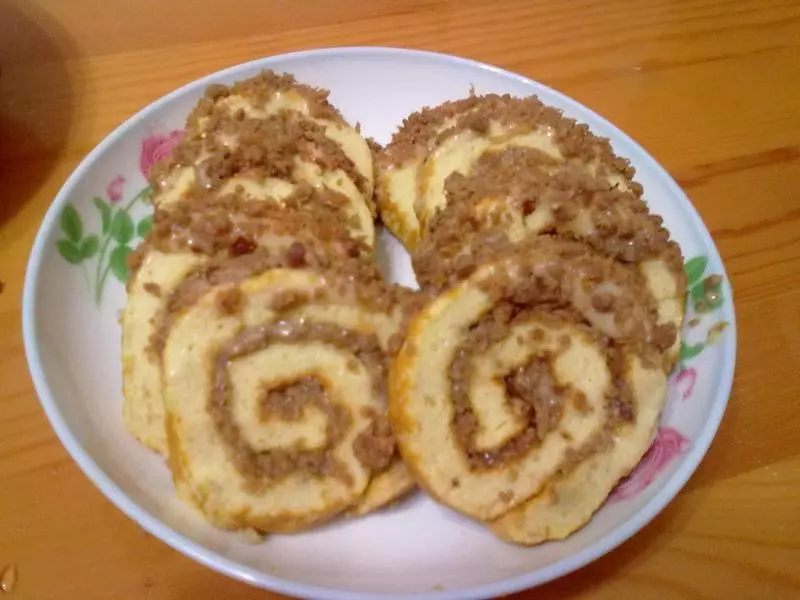
17蛋糕卷凉至不烫手后卷起定型,固定几分钟再摊开,抹上沙拉酱和肉松(这步忘记拍照了?),继续卷起放冰箱冷藏
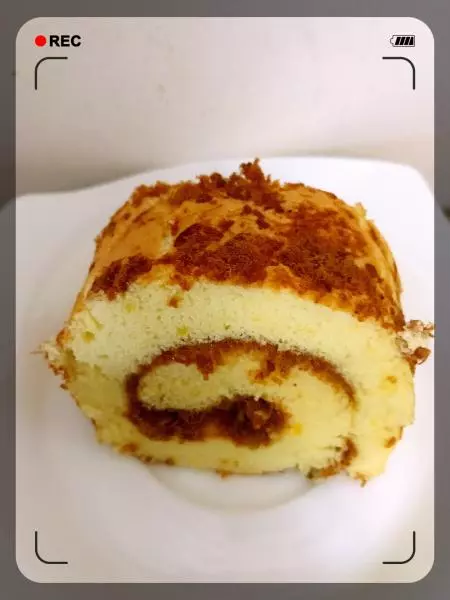
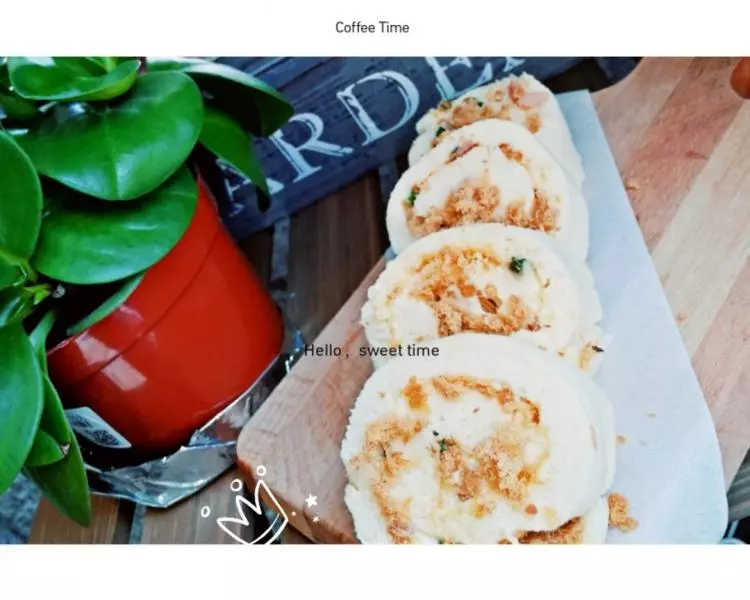
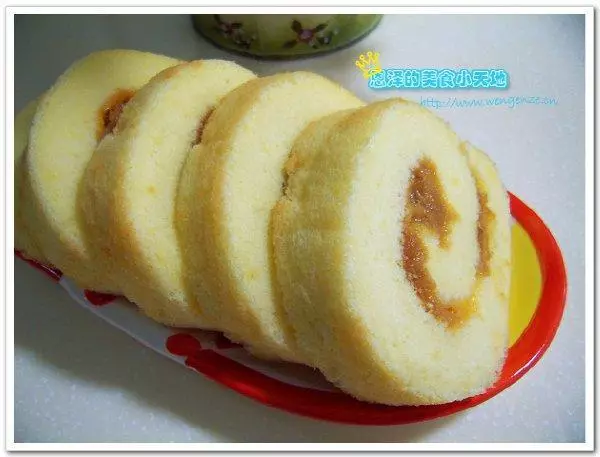
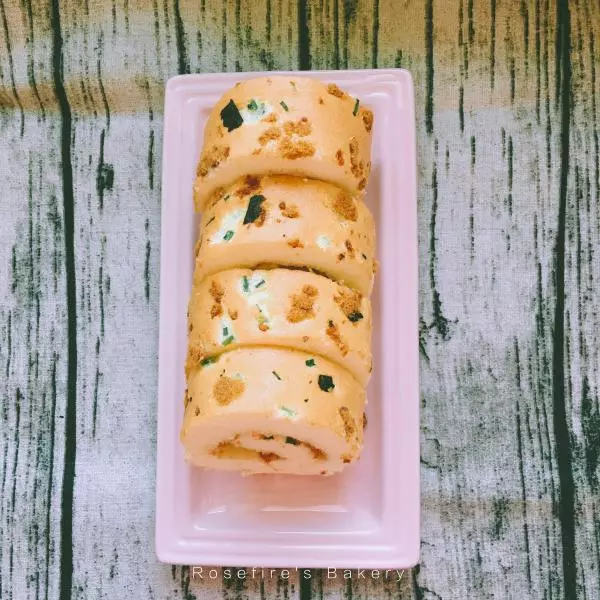
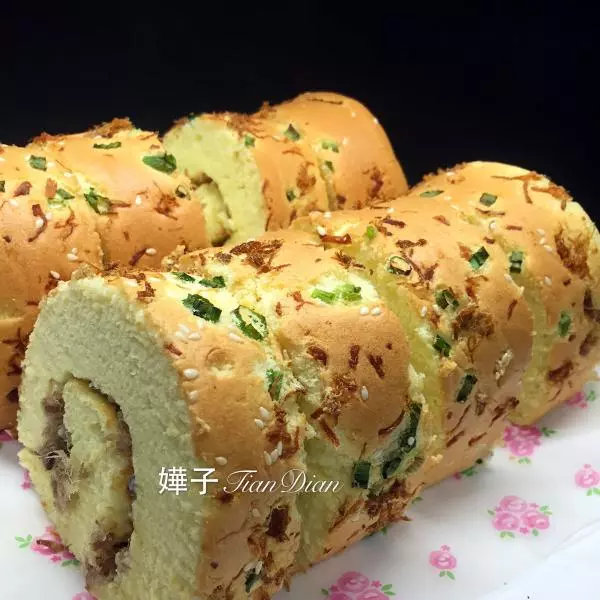
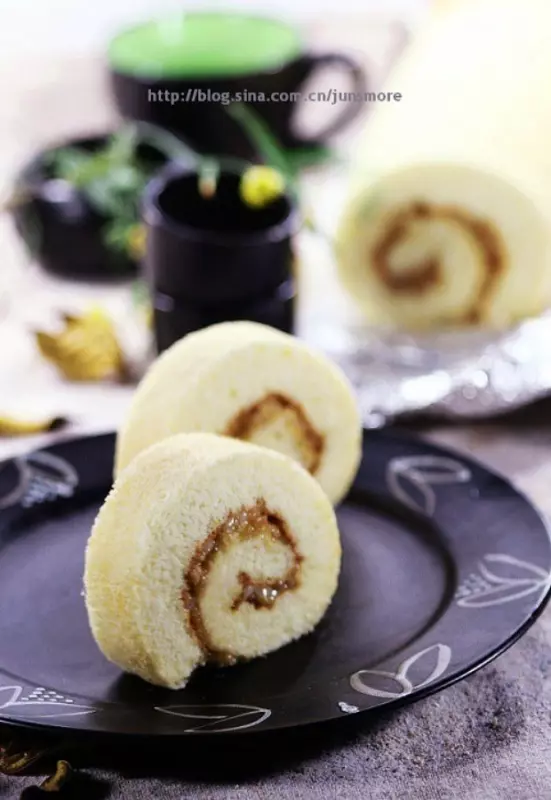
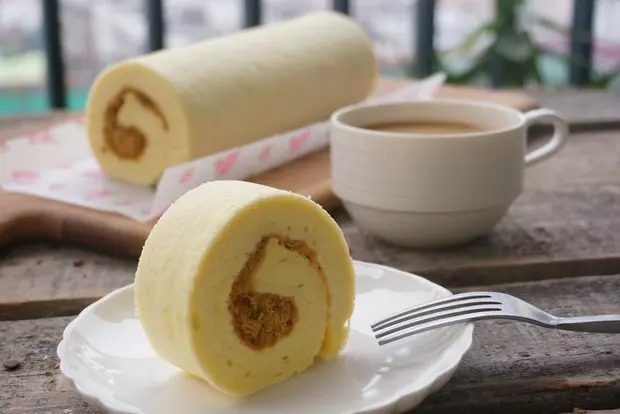
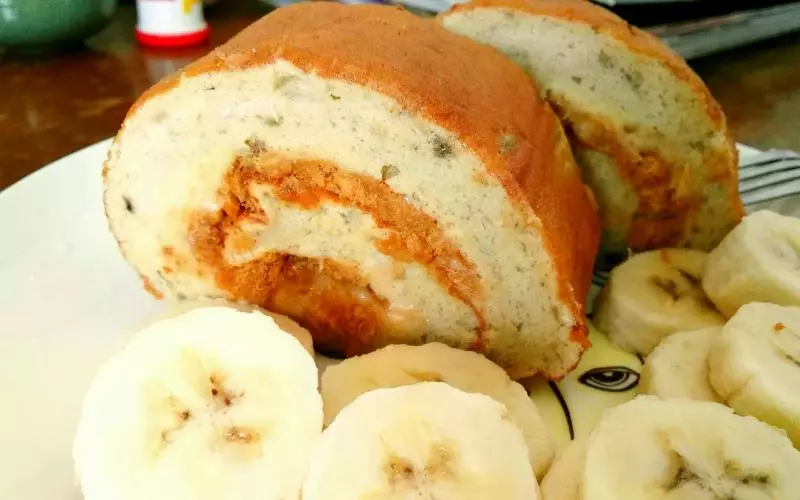
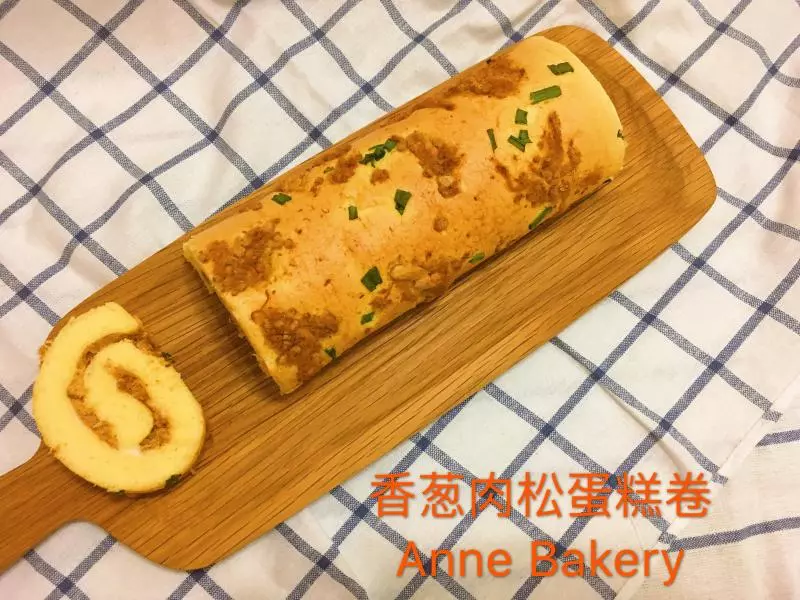
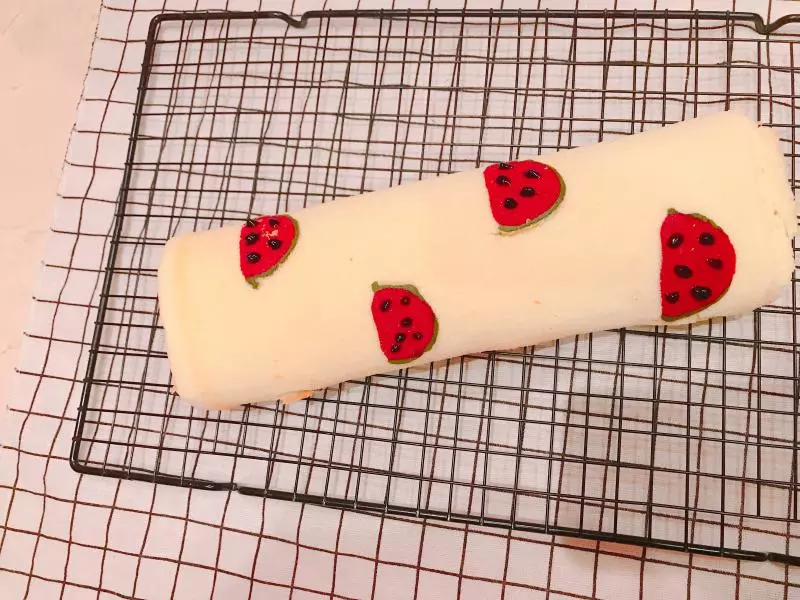
18开吃先再挤上果酱充当西瓜籽? 西瓜造型,肉松馅,美味~~
小技巧
根据自己烤箱温度做调整,我的烤箱温度时间正好~~ 蛋糕卷出炉后用牙签插进去,不粘就代表熟了