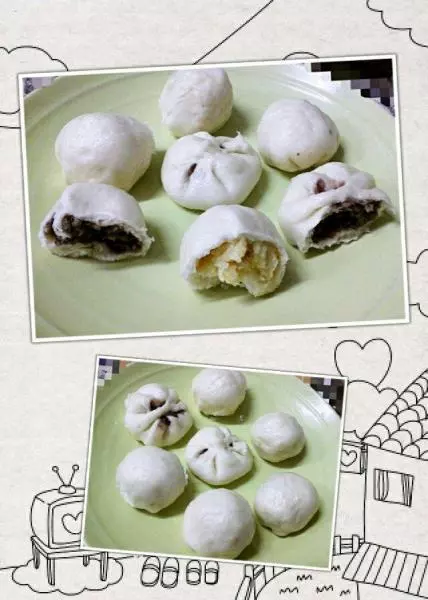
原料
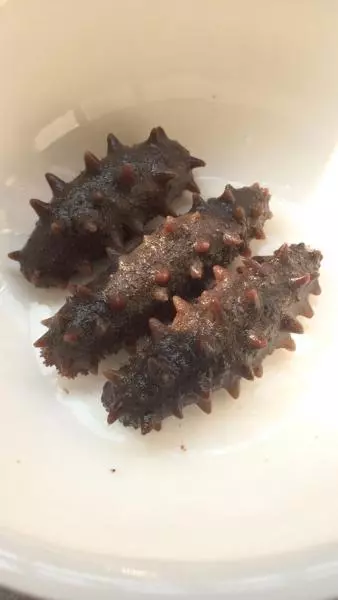
拉缸盐海参:
步骤
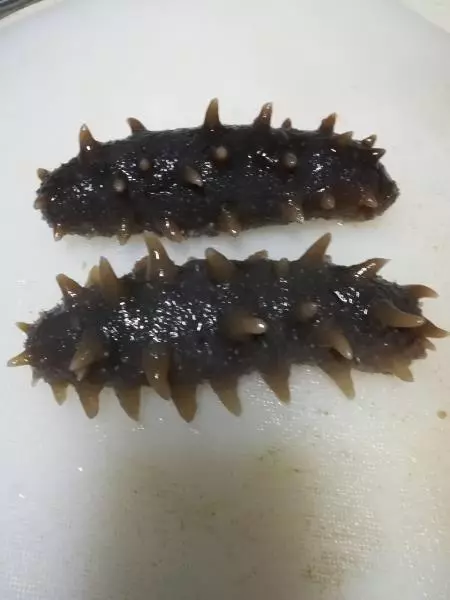
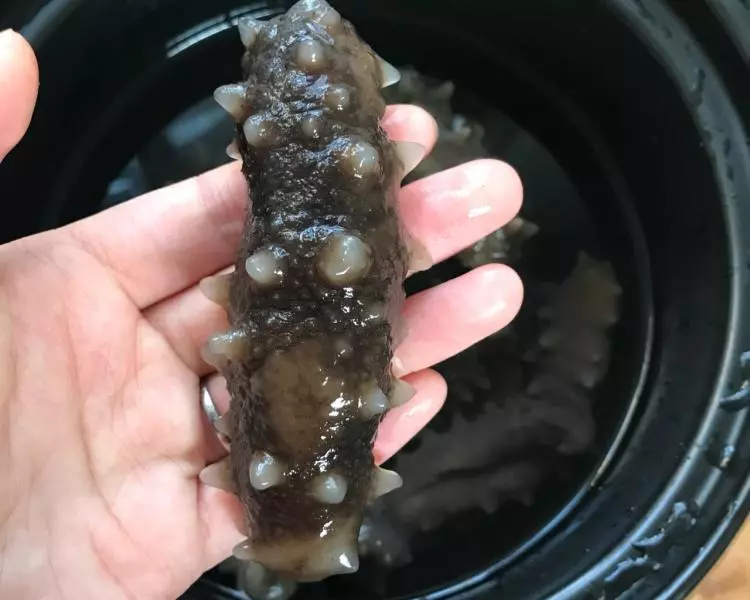
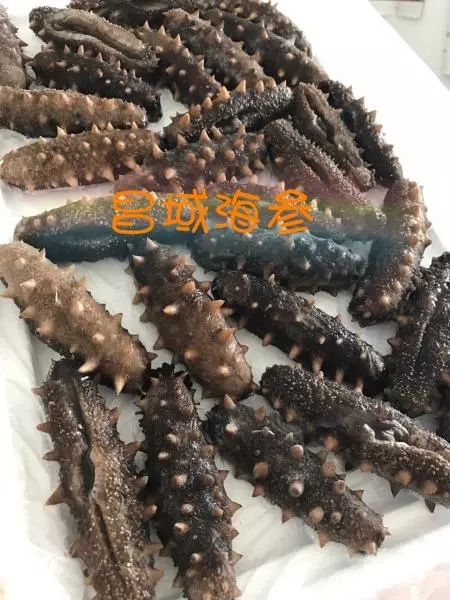
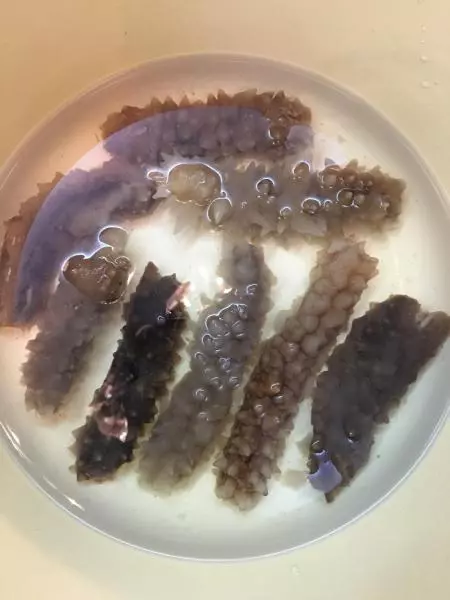
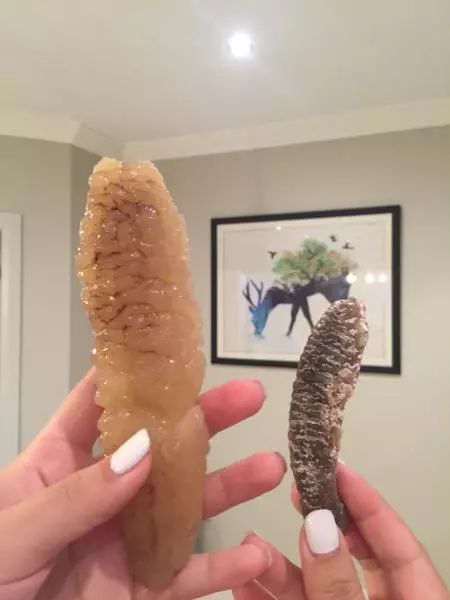
1这就是拉缸盐海参的样子,类似于盐渍海参,区别是盐渍海参的工艺时间更长(小tip:时间短的,营养流失更少)。

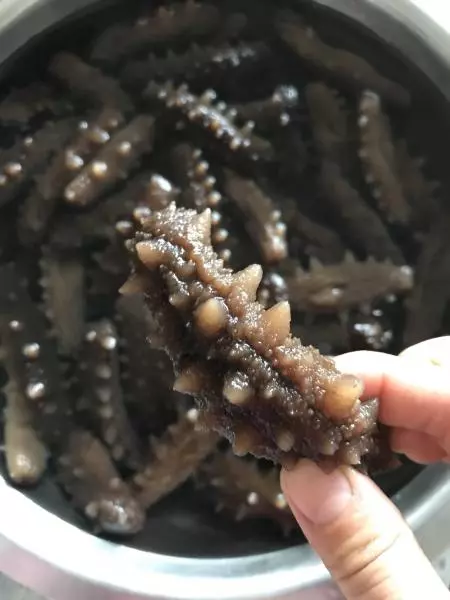
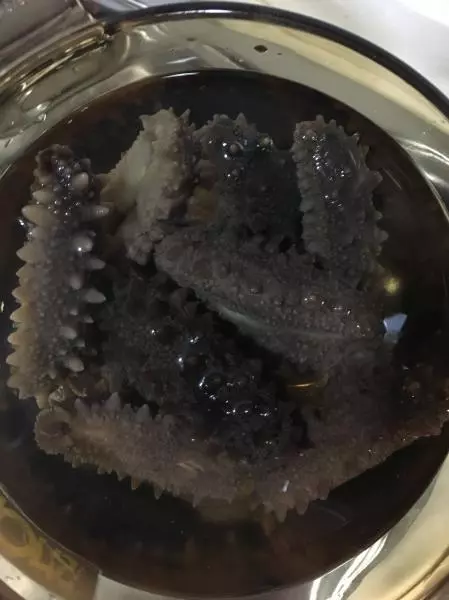
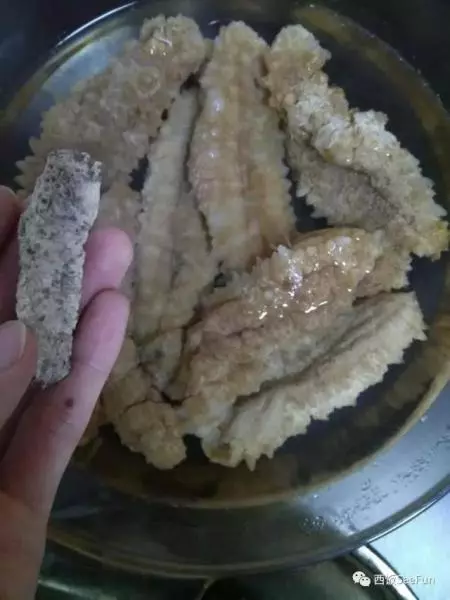
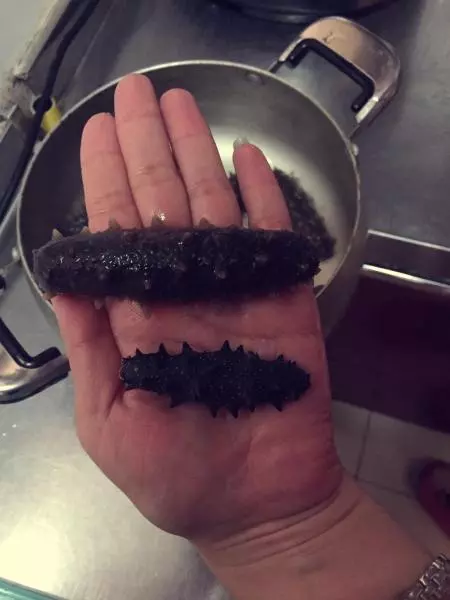
2海参先不用洗,直接入冷水,中火煮海参,专锅专用,这个小锅只用于煮海参,煮的过程中不能沾到一滴油,全程无油状态!否则海参容易化皮。 煮的过程中,海参会变小变硬,第一遍煮40分钟。

3自然晾透之后,用水洗干净海参内壁和沙嘴,然后再换新水复煮30分钟(第二遍,30分钟就可以)。

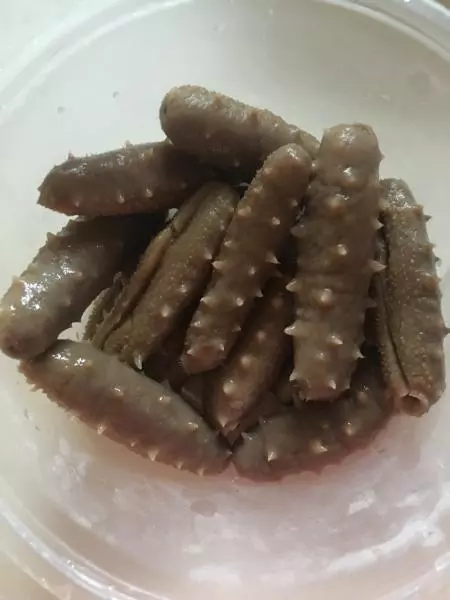
4煮完两遍之后的海参。自然晾透。

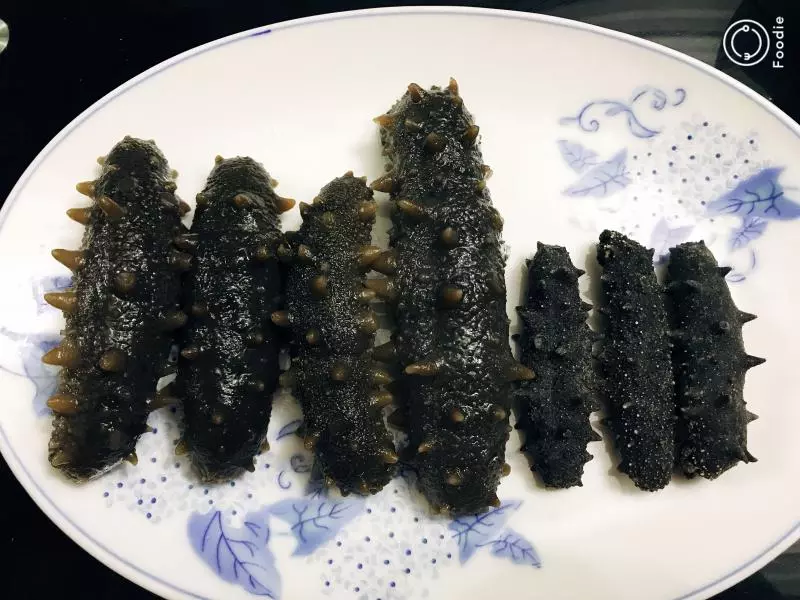
5晾透之后,放到有盖子的器皿里进行泡发,倒入没过海参的纯净水,注意一定是纯净水!!【←重要】 放到冰箱冷藏层里即可,需要食用时就从冰箱里取出,期间注意适当换水。

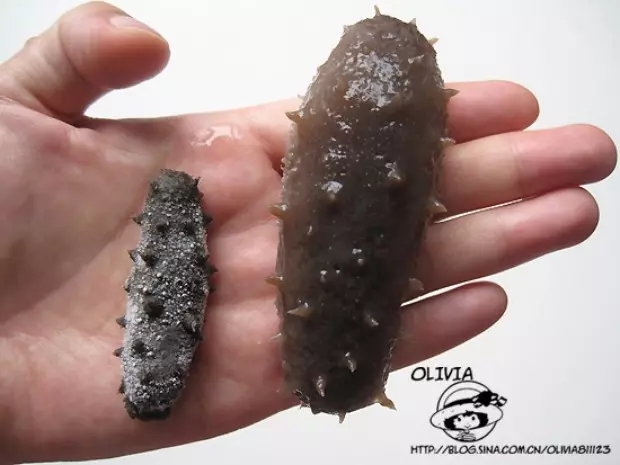
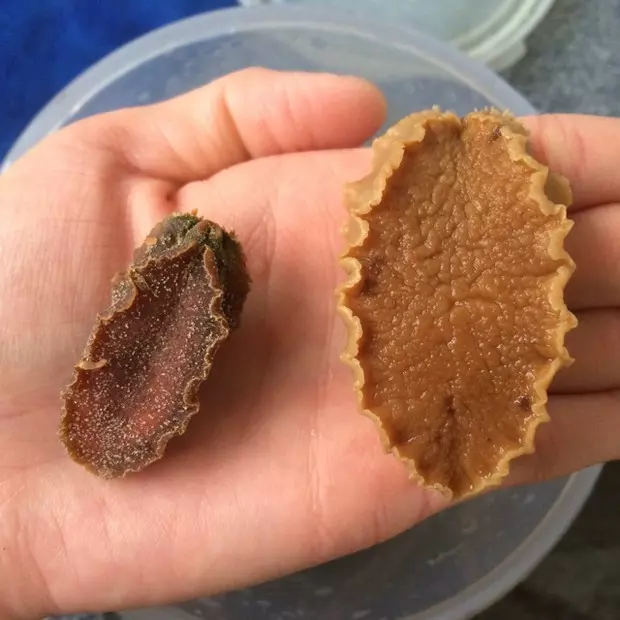
6我属于体寒体质,不能吃冷的食物,所以就直接放到保温杯里,里面倒入烧热的纯净水,这样第二天早上就可以吃到温热的海参了,推荐给体寒的姐妹们! 图中,保温杯泡发一天的海参。

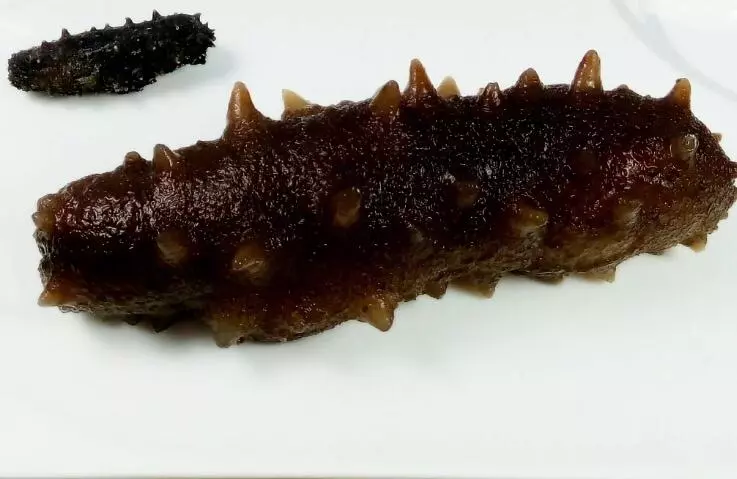
7泡发两天的海参。

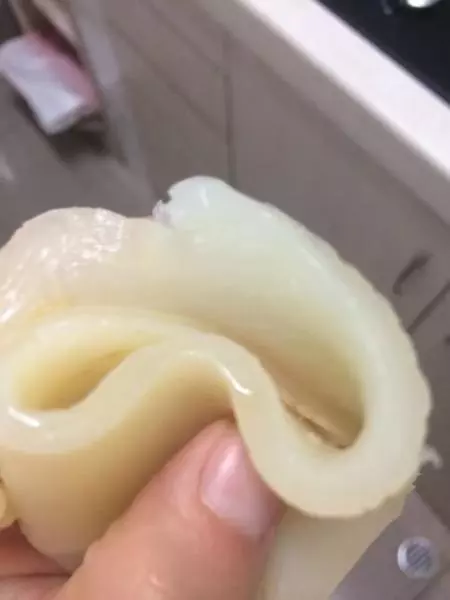
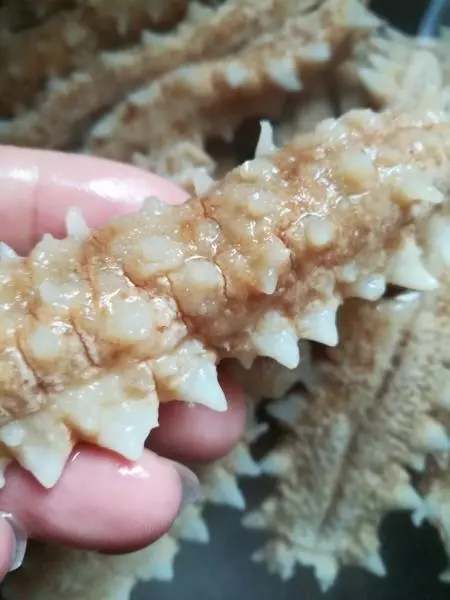
8横断面大小。

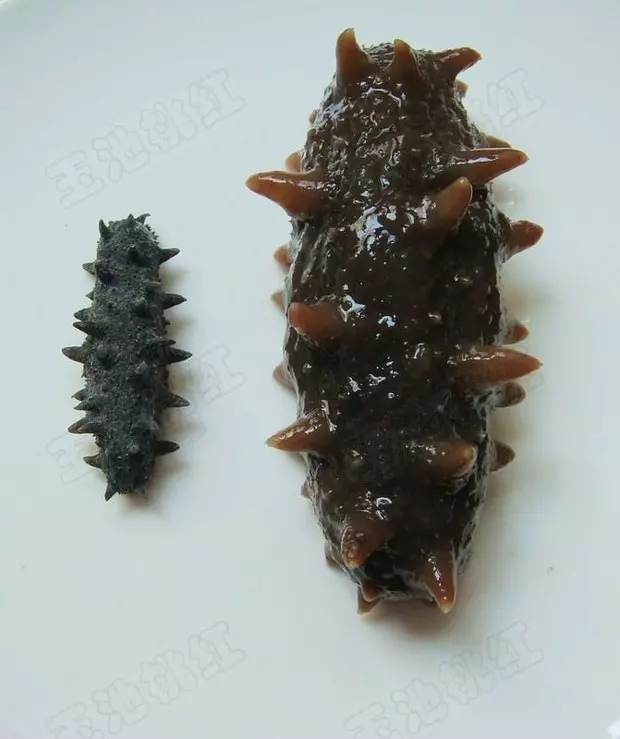
9海参太大,我和老公分着吃,一根海参俩人吃,也妥妥的!!

小技巧
1.之前的上海客户说,她拿到海参直接用高压锅压20分钟,洗干净,纯净水开始泡发,这个方法我没试过,有兴趣的朋友可以试下!? 2.不经常吃海鲜的朋友可能会觉得腥,吃不惯海产的腥味,那可以试试煮小米粥搭枸杞,北方朋友可以切块蘸豆瓣酱,南方朋友可以切块蘸糖或蜂蜜食用。