原料
高筋面粉: 250克, 全蛋液: 40克, 红茶水: 130-135g, 盐: 2g, 酵母: 3g, 黄油: 20克, 红茶碎: 2.5g, 黄油(奶酥): 80g, 淡奶油(奶酥): 10g, 糖粉(奶酥): 50g, 奶粉(奶酥): 80g
步骤
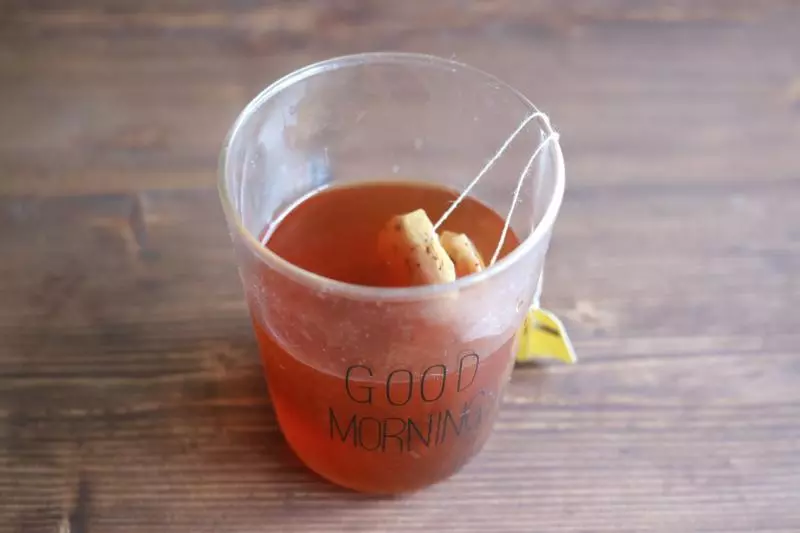
1首先来准备一下材料,两个伯爵红茶的茶包泡一杯茶,然后放在冰箱冷却备用
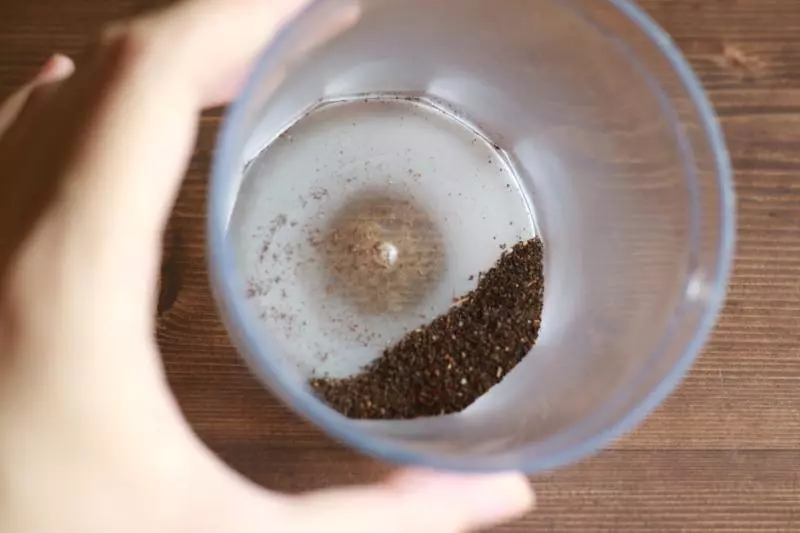
2面团中的红茶末用料理机打碎
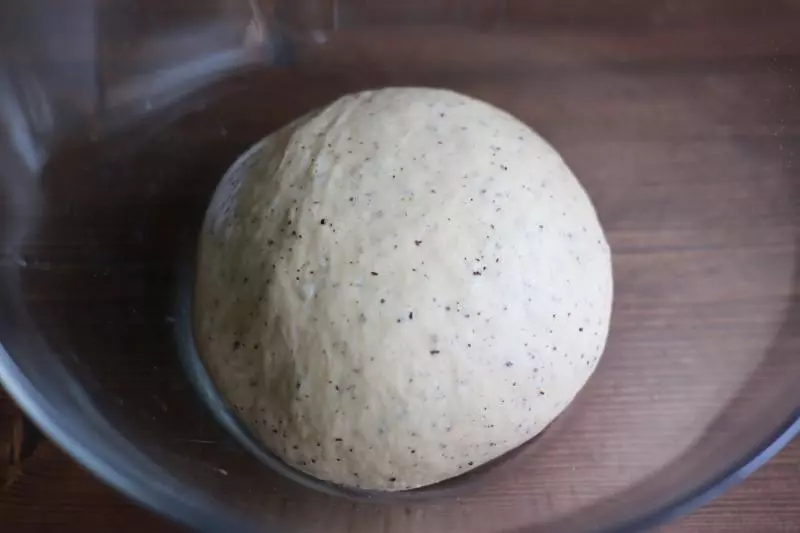
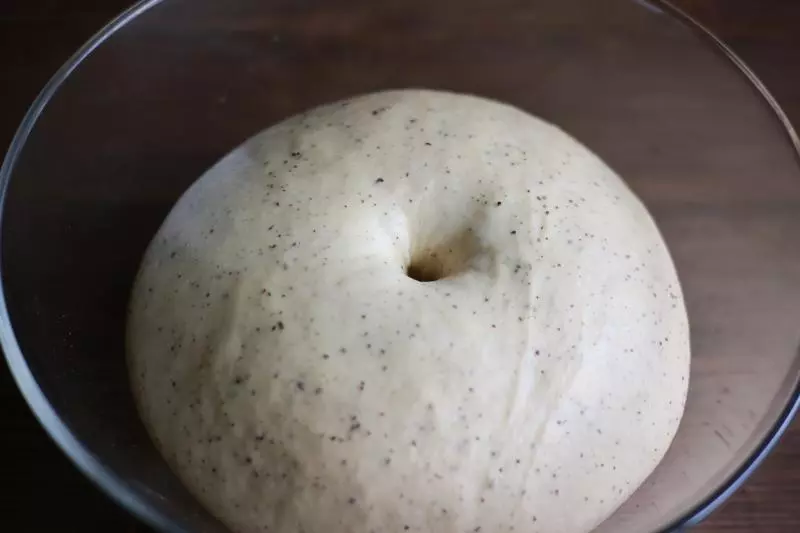
3将除黄油以外的面团材料用面包机揉至扩展阶段(能拉出厚膜),然后再加入软化好的黄油继续揉至完全阶段(能拉出手套膜),放在温暖的地方发酵至两倍大
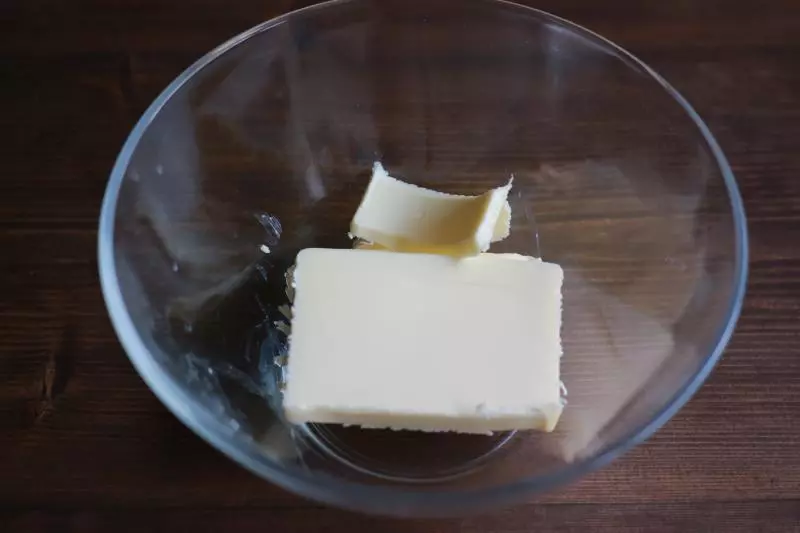
4接下来利用面团发酵的时间做一下奶酥,黄油充分软化
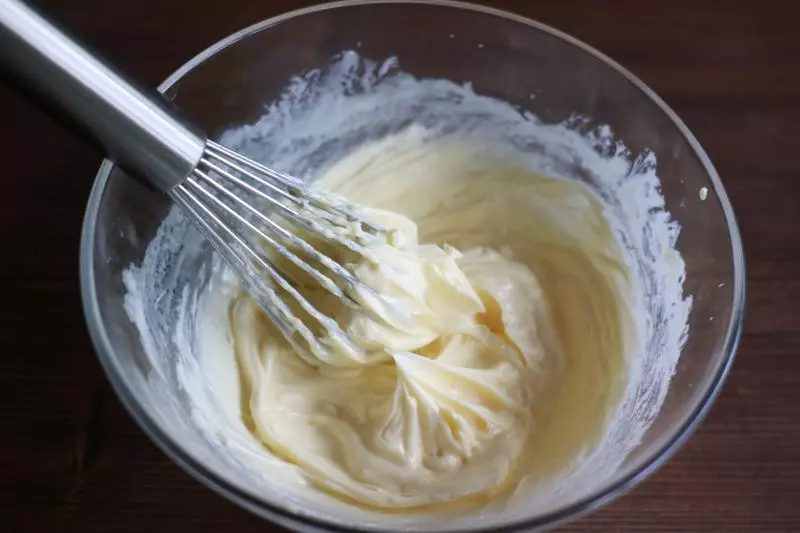
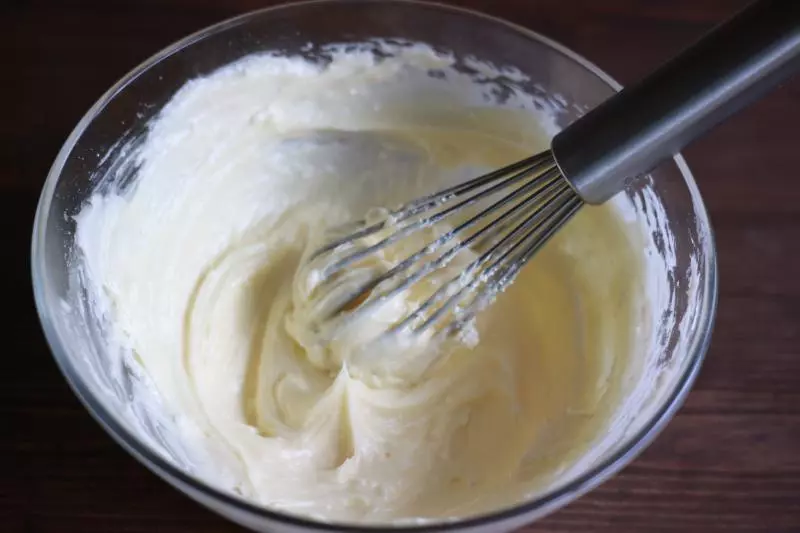
5加入淡奶油

6用手持打蛋器搅打顺滑,黄油不需要打发
7接着加入糖粉
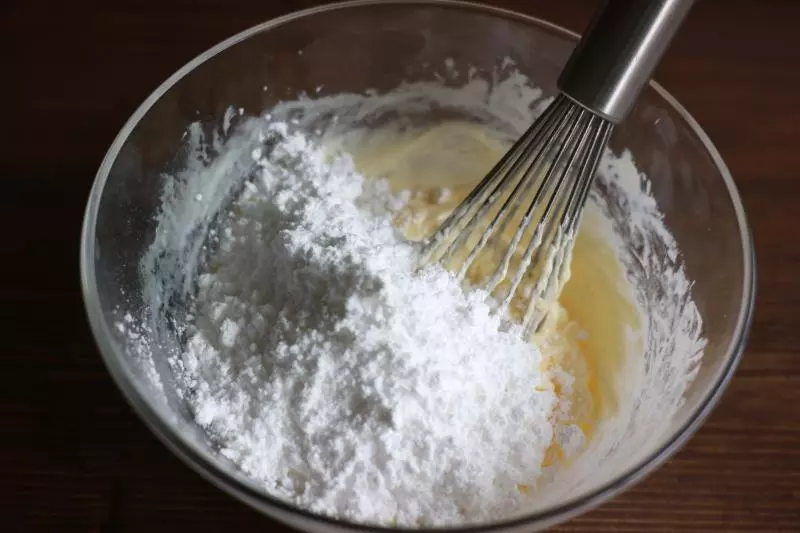
8继续用打蛋器搅拌至黄油与糖粉充分融合
9然后加入奶粉
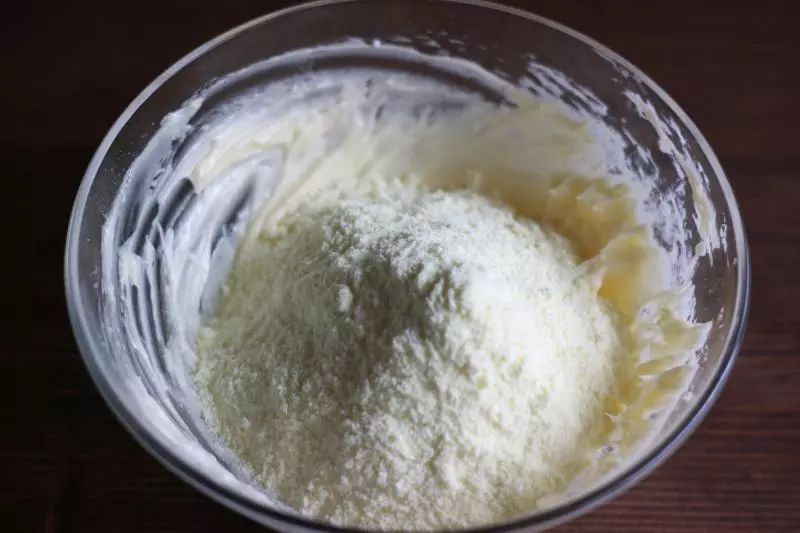
10用刮刀搅拌均匀,奶酥馅儿就做好了,放至一旁备用

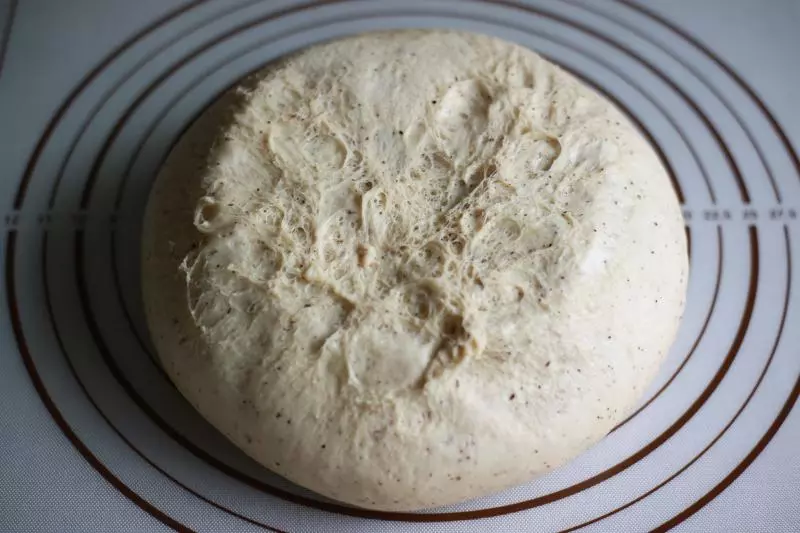
11等到面团发酵至两倍大
12取出排气
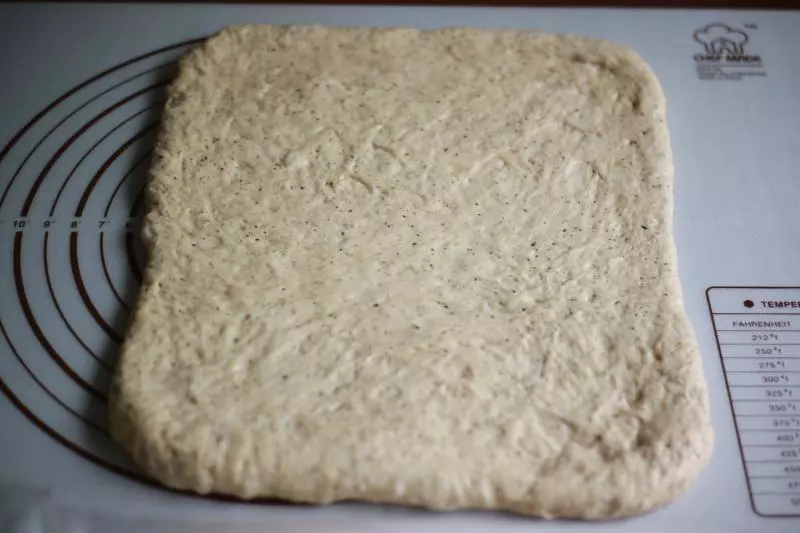
13醒发十分钟后,擀成25*30左右的长方形
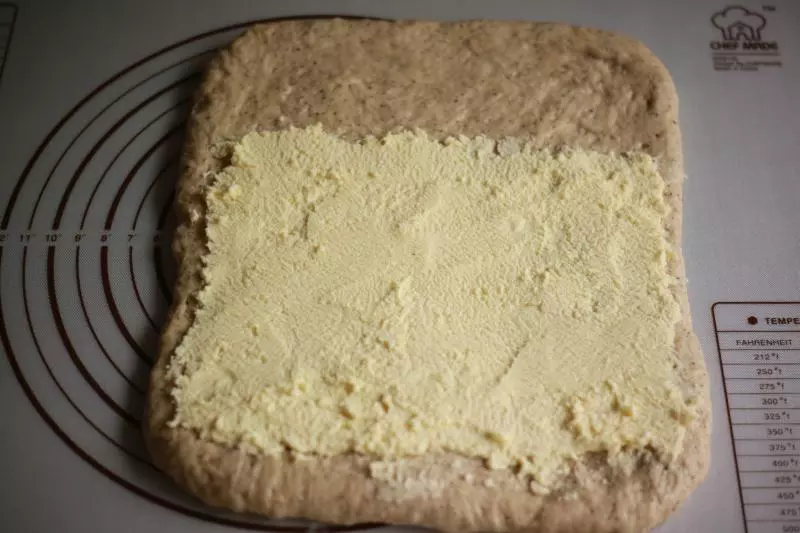
14在面团2/3处抹上奶酥馅儿
15将面团上下第一次三折
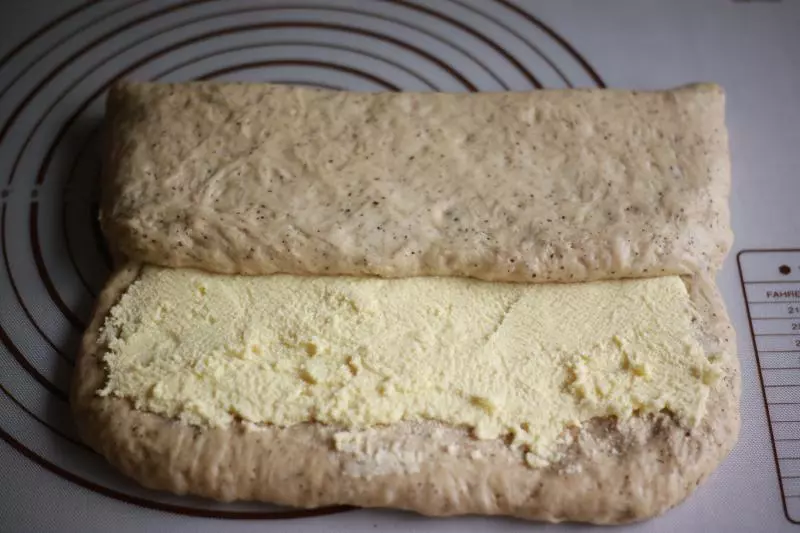
16捏紧收口
17然后再左右第二次三折

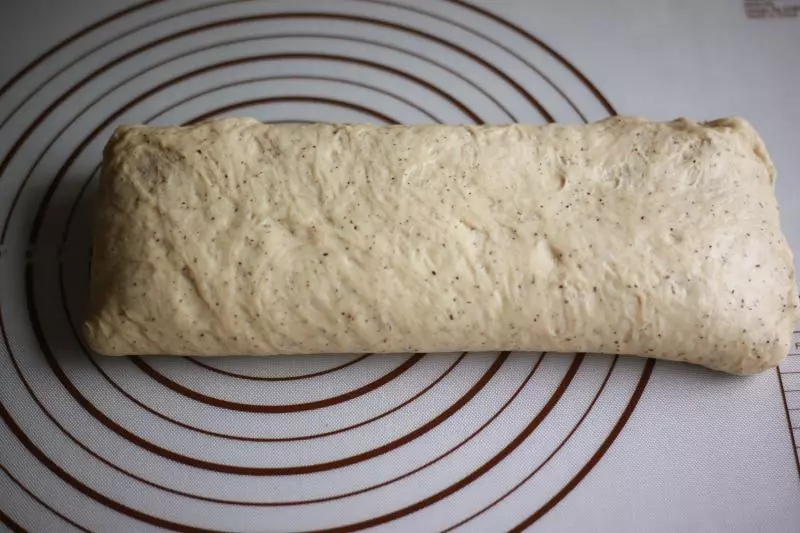
18捏紧收口,面团松弛十分钟

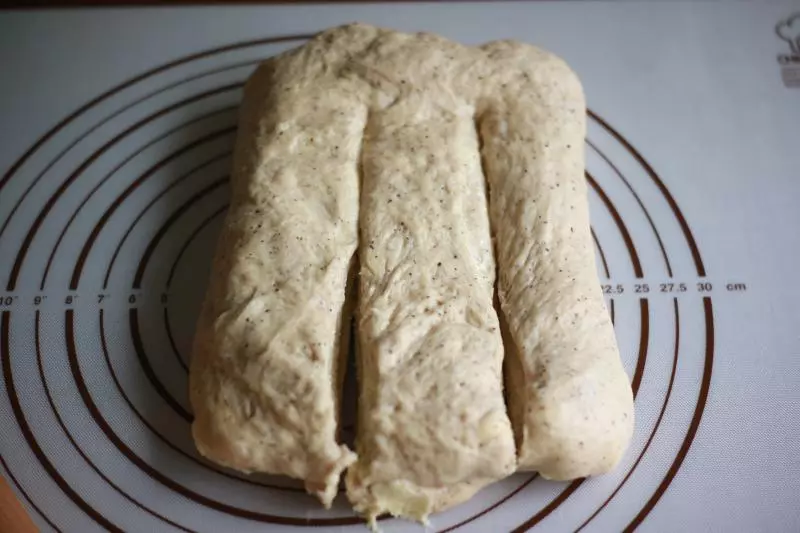
19松弛好的面团擀长,切成均等的三条,顶部不要切断
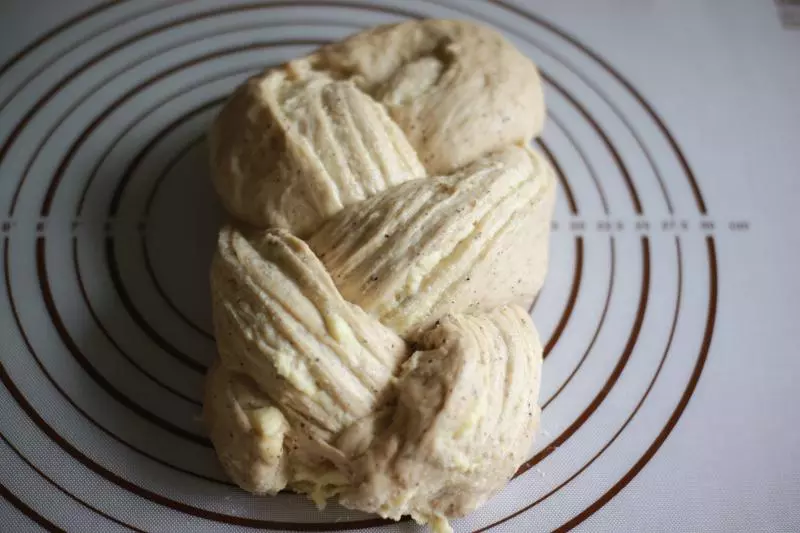
20编成辫子
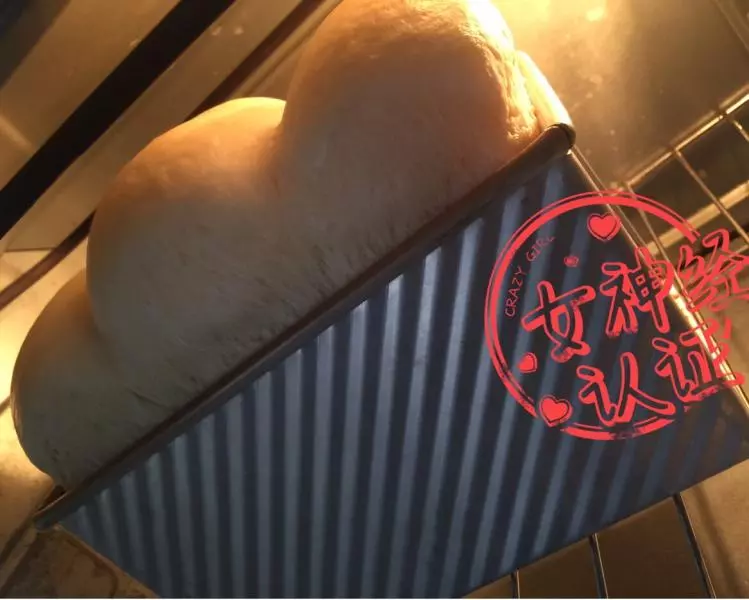
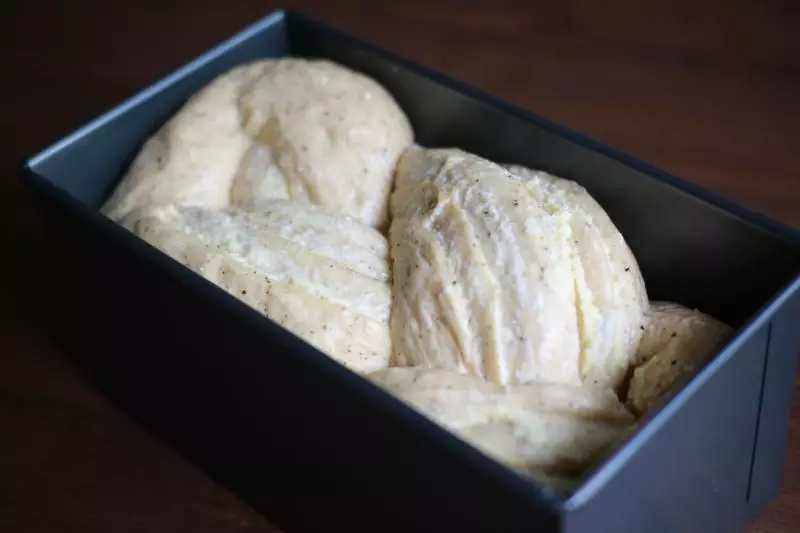
21放入模具中,发酵第二次
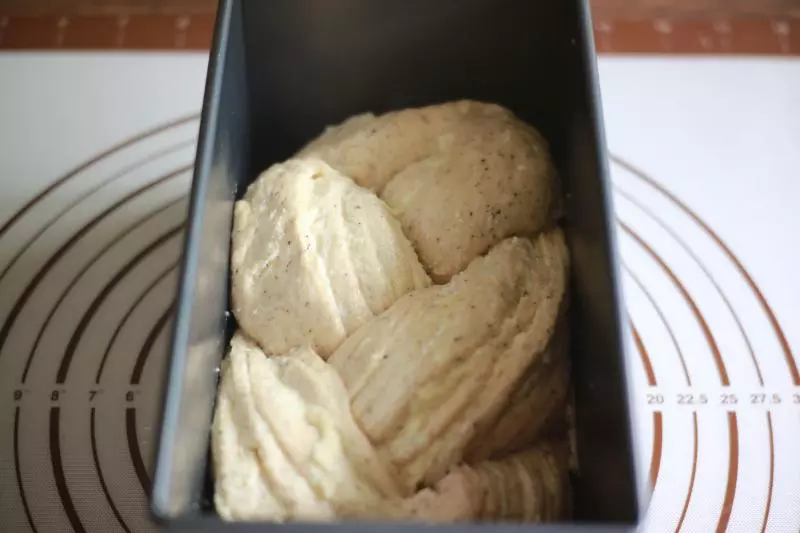
22发酵至九分满
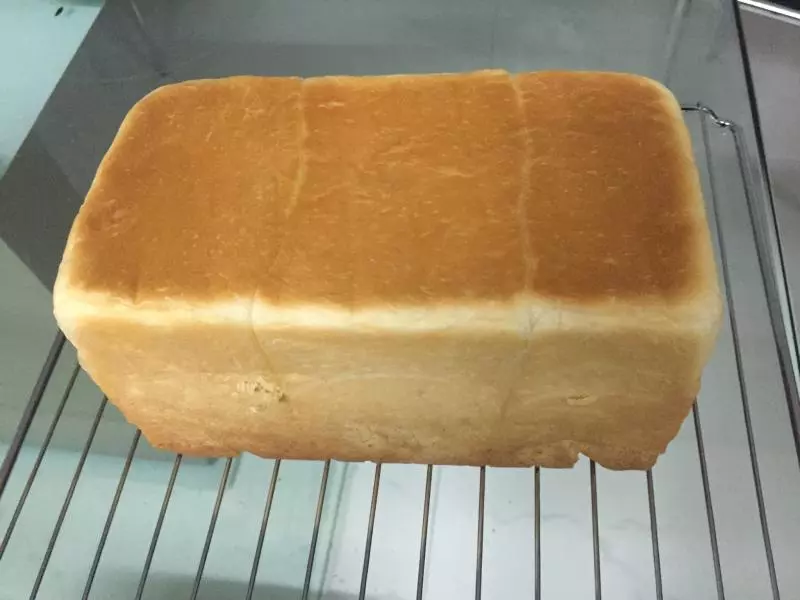
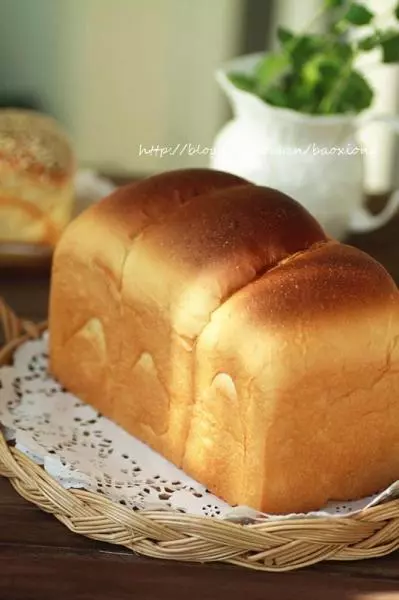
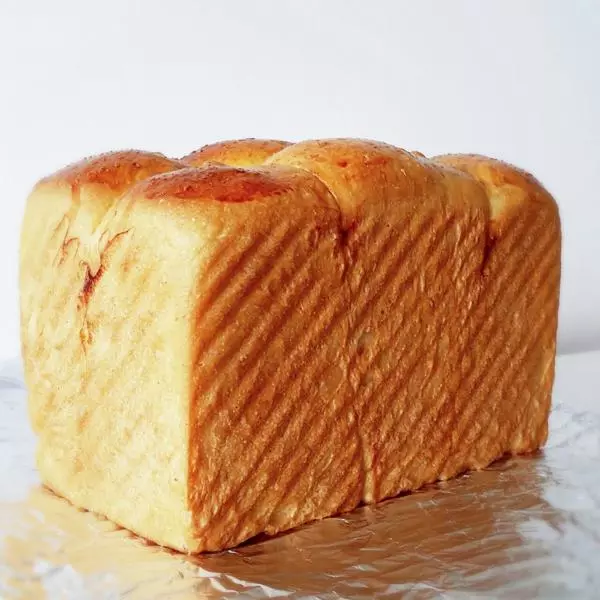
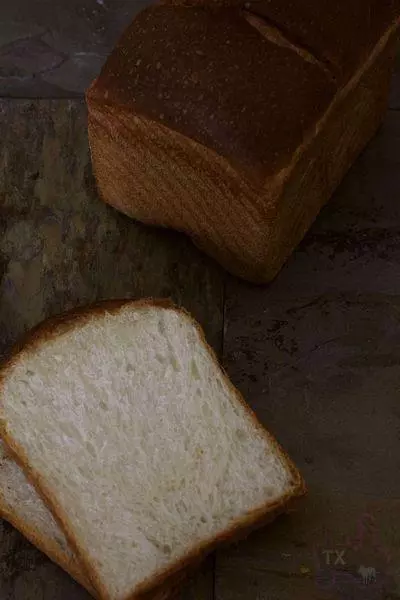
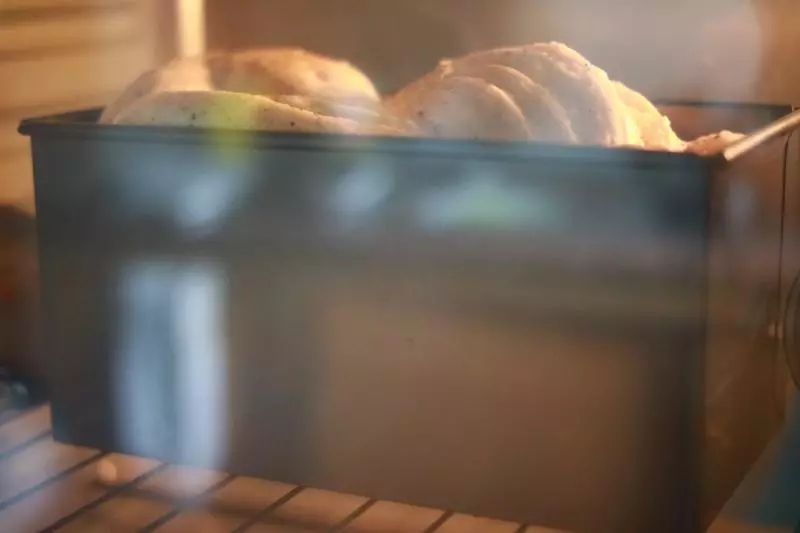
23170度烤35分钟左右即可出炉,奶酥容易上色,所以要注意加盖锡纸
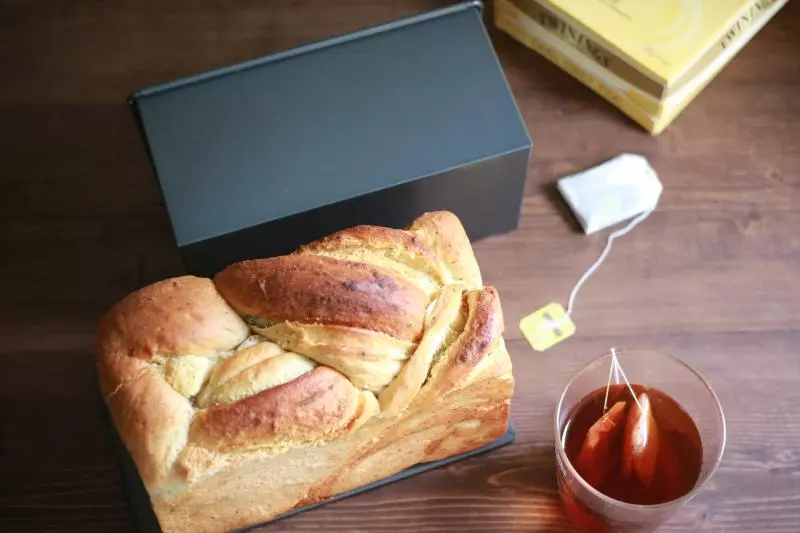
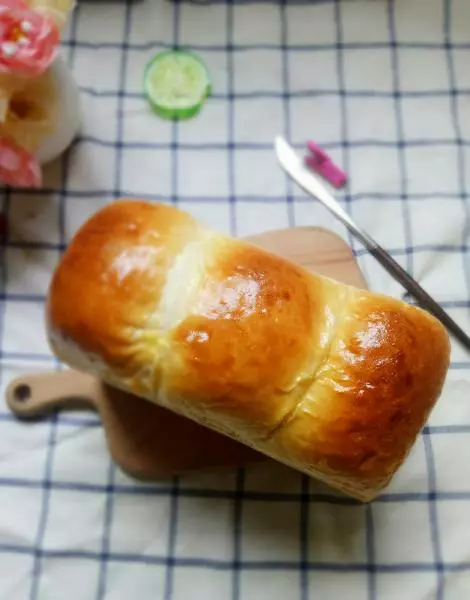
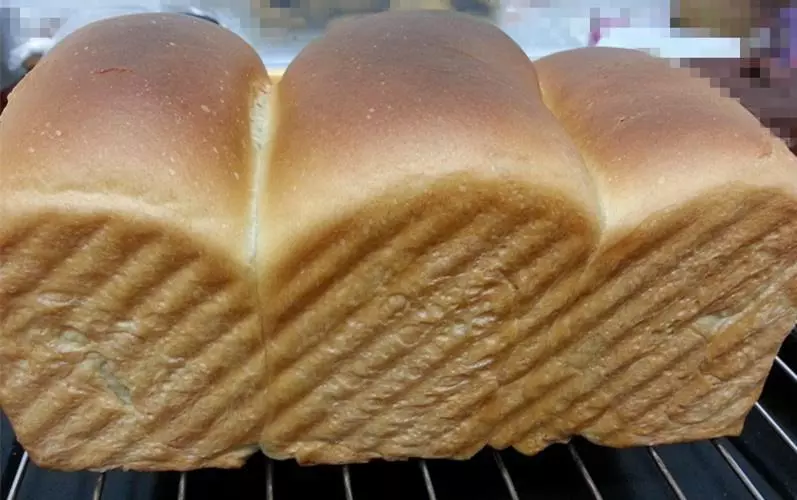
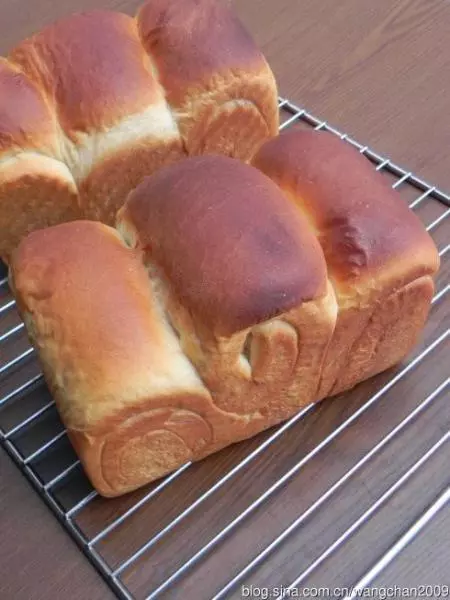
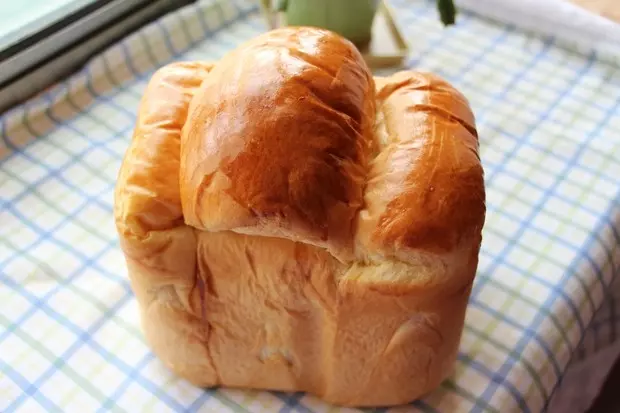
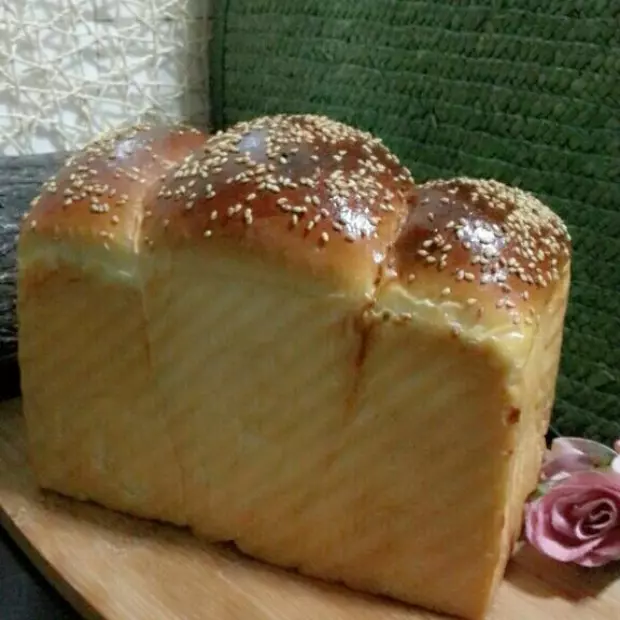
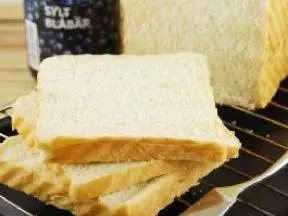
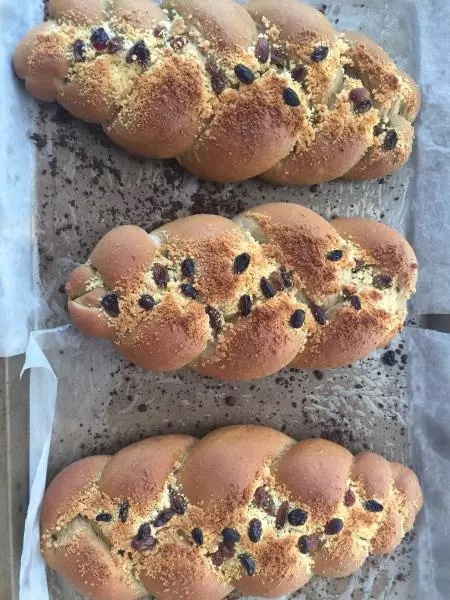
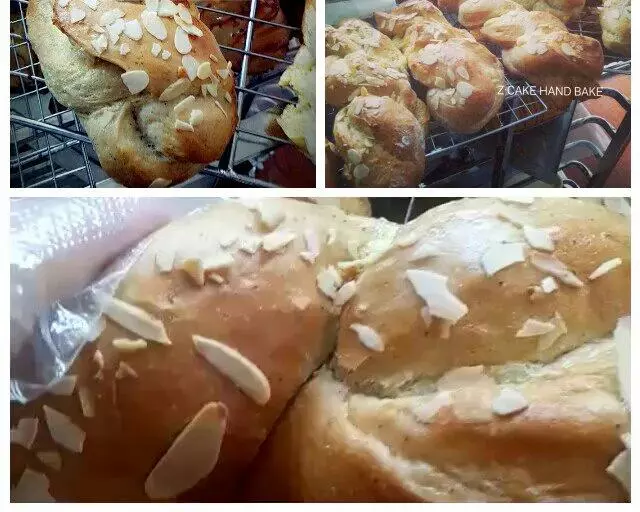
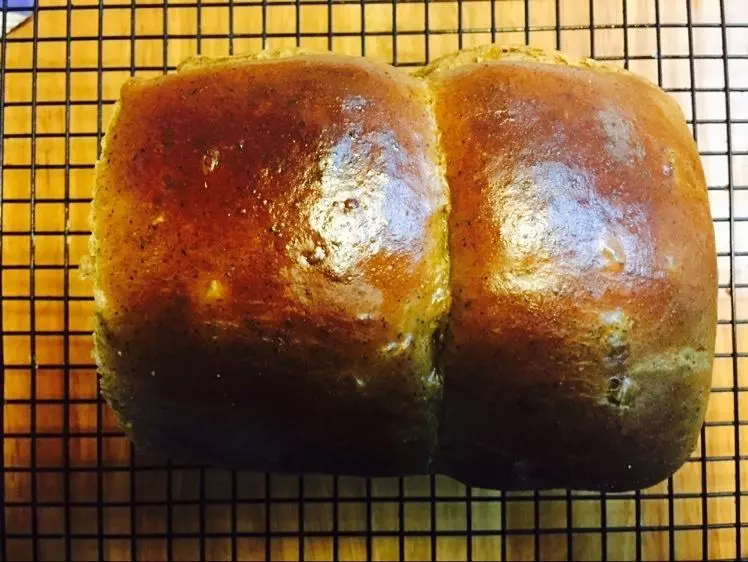
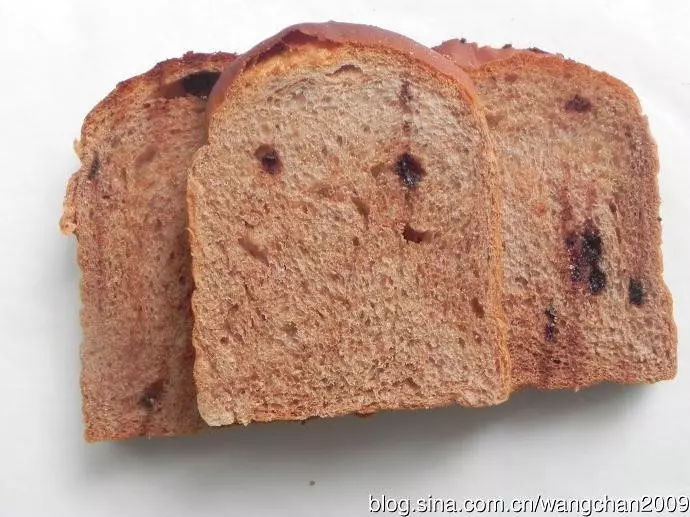
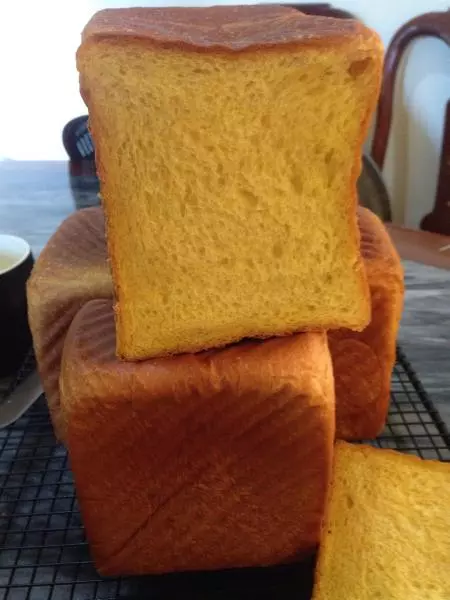
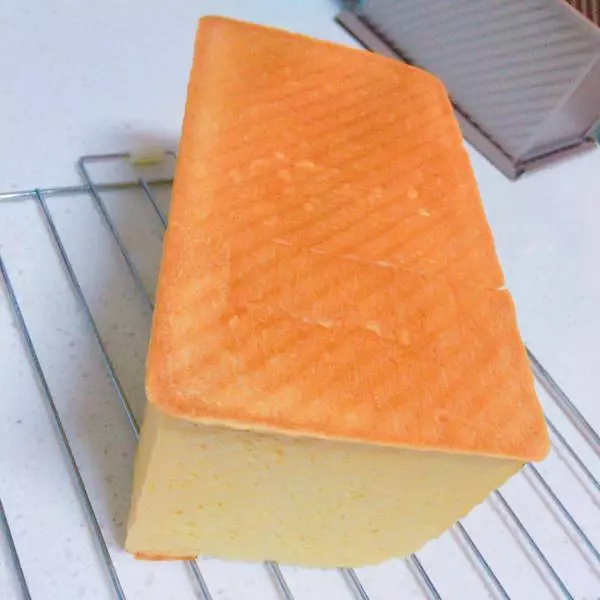
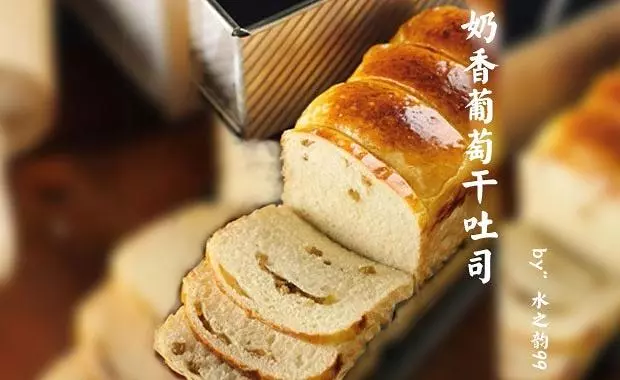
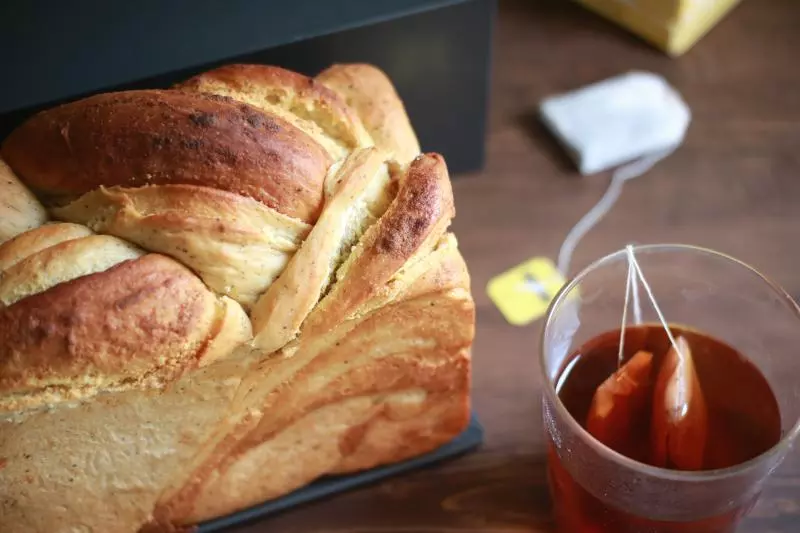
24成品
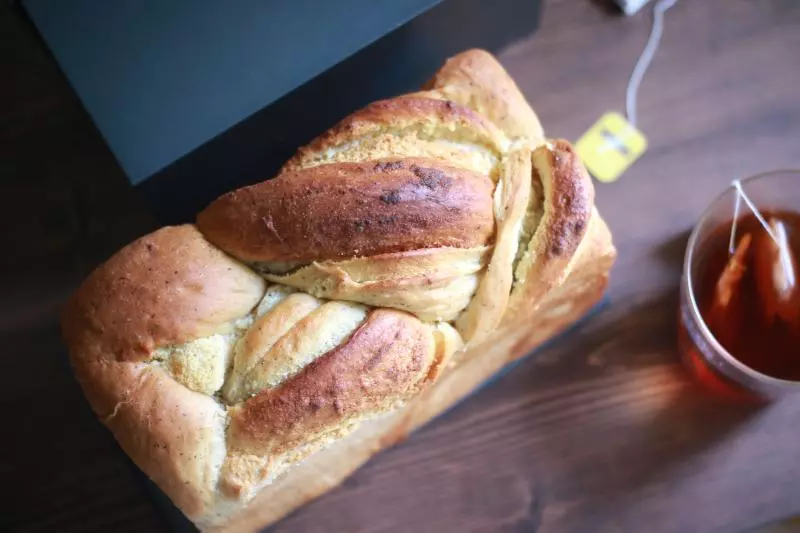
25成品
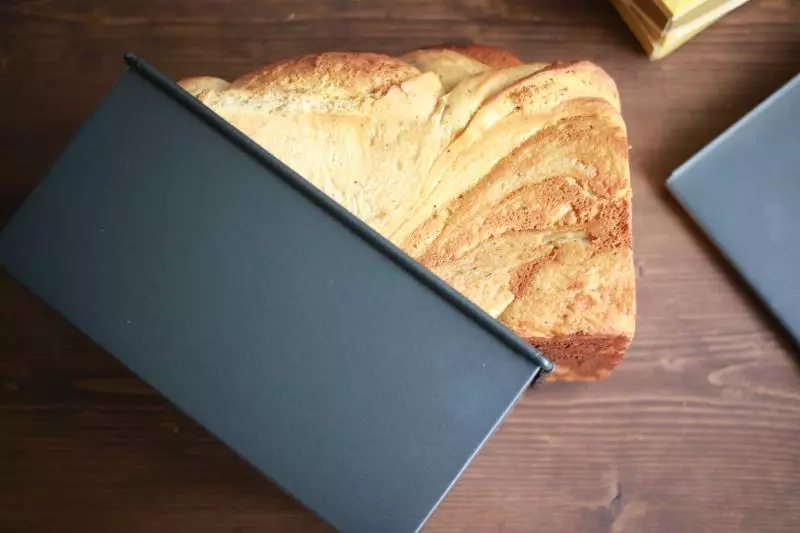
26成品