简介
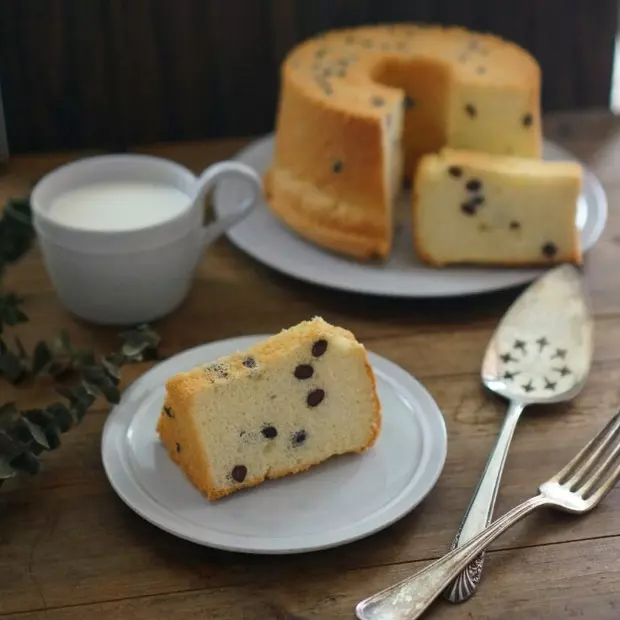
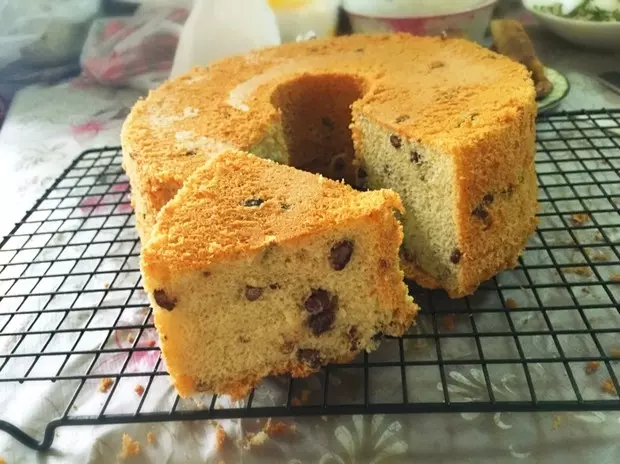
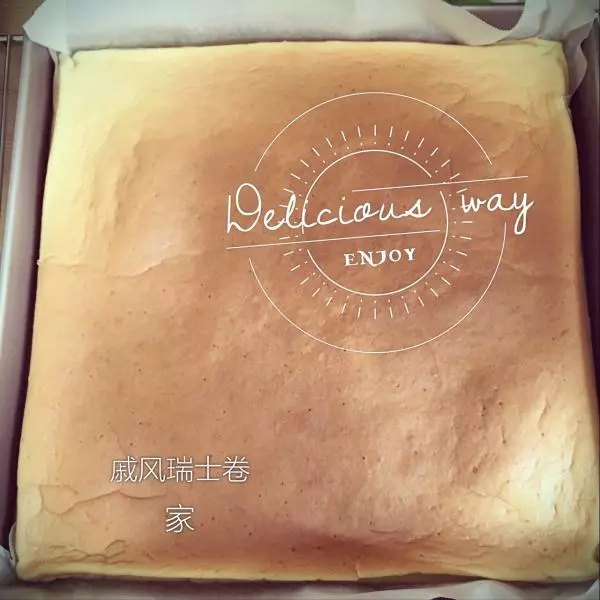
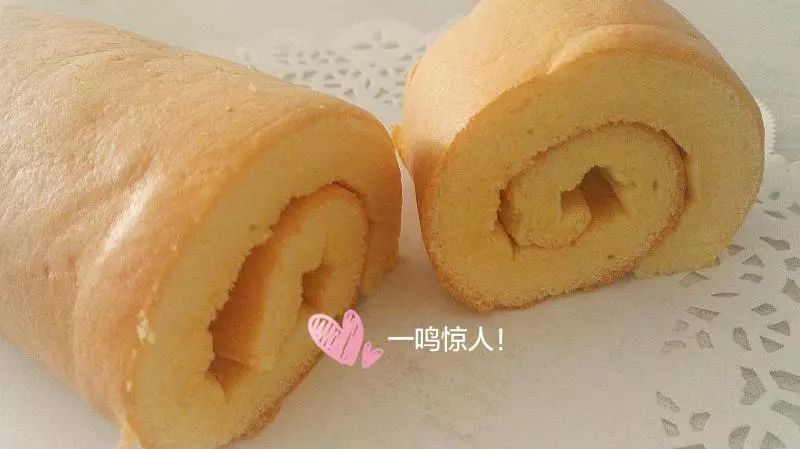
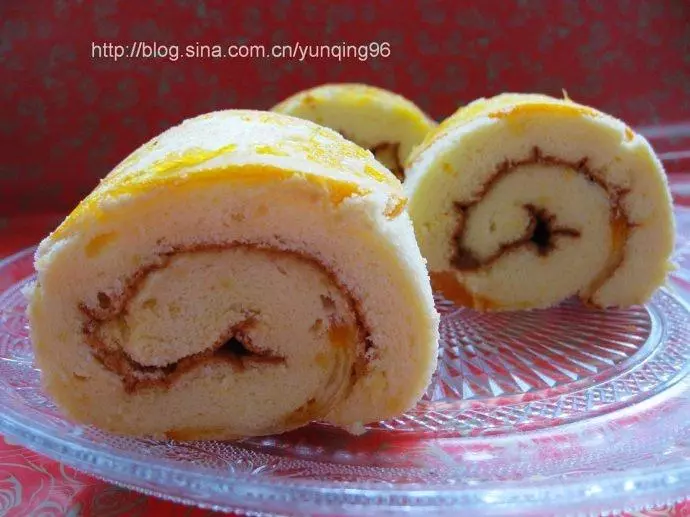
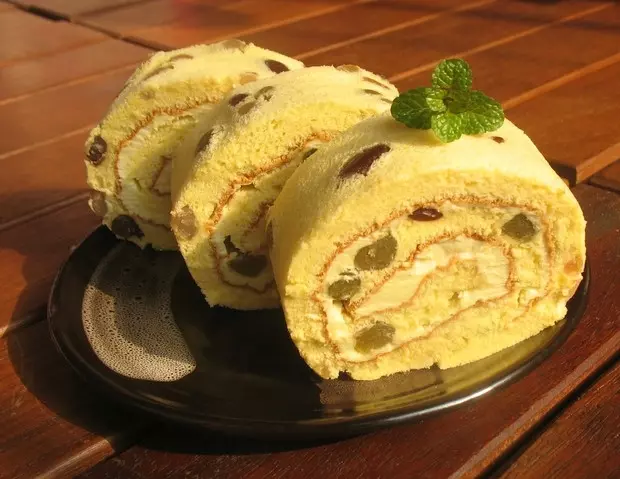
继续蛋糕卷,今天做的是蜜豆戚风蛋糕卷,颗粒状的蜜豆加入面糊中,香甜可口,配上戚风蛋糕的绵密,夹馅的奶香味十足,肯定是值得一做的蛋糕卷。配方来自《孟老师的美味蛋糕卷》。烤盘26*36公分。 准备,先在烤盘里垫上烘焙用过的油纸,烤箱预热,低筋面粉过筛。鸡蛋打到搅拌盆里,蛋黄和蛋白分开,装蛋白的盆要无水无油,不能有蛋黄混进去。烤箱预热,上火190度,下火160度。
原料
蛋黄 80克(约4个), 细砂糖(蛋黄用) 20克, 色拉油 40克, 鲜奶 40克, 低筋面粉 80克, 蛋白 180克(约4个), 细砂糖(蛋白用) 80克, 蜜豆 100克, 无盐黄油(馅用) 80克, 糖粉(馅用) 20克, 动物性淡奶油(馅用) 50克
步骤
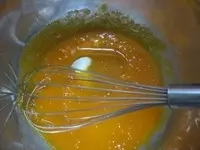
1蛋黄用细砂糖加入蛋黄里,慢慢加入色拉油,用打蛋器搅拌均匀成细致的蛋黄糊。
2再加入室温的牛奶,搅拌均匀。
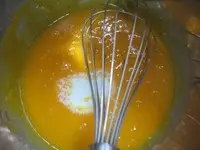
3在蛋黄糊中筛入面粉。

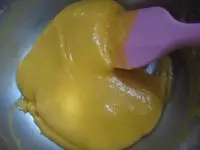
4翻拌成均匀的蛋黄面糊。
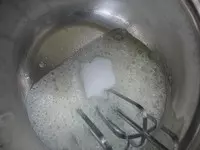
5蛋白打出大气泡加入1/3的细砂糖。中速搅拌。
6打出细小的气泡,再加入1/3的细砂糖。
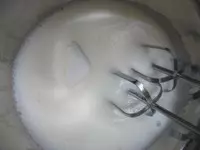
7搅拌出细腻的气泡后加入最后一部分细砂糖。
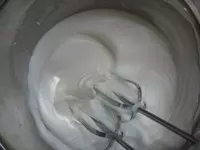
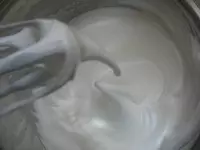
8搅拌到打蛋器能拉出长弯钩。不需要打到干性发泡
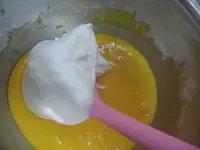
9取1/3的蛋白霜加入到蛋黄面糊中,翻拌均匀。
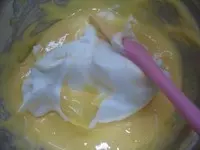
10再加入1/3的蛋白霜翻拌均匀。
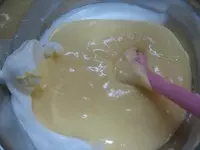
11翻拌均匀的蛋黄糊倒入蛋白霜中,翻拌均匀。
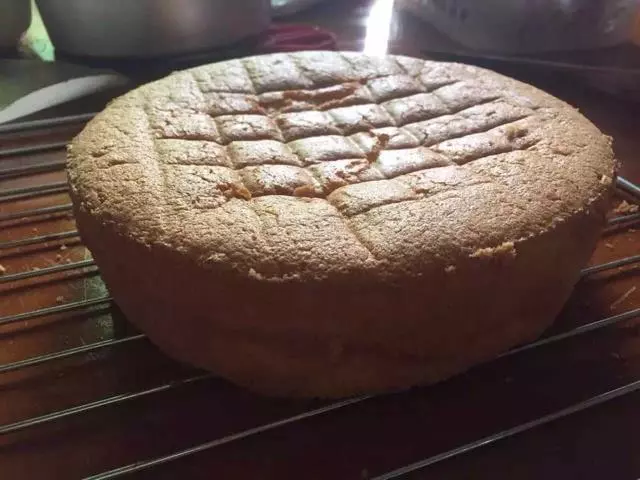
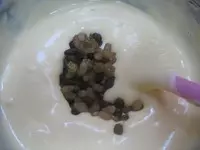
12在蛋糕面糊中加入打散的蜜豆。翻拌均匀,倒入烤盘,用刮刀抹平表面。轻轻敲几下烤盘,震去大气泡。入预热好的烤箱,上火190度,下火160度,中层,12分钟。表面呈金黄色,触感有弹性即可。
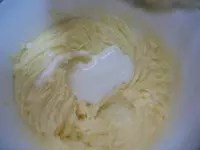
13黄油软化,加入糖粉搅打至蓬发,细腻。

14慢慢加入回温的淡奶油。
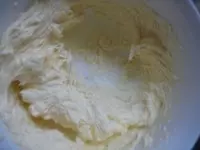
15搅打均匀的简易奶油霜
小技巧
淡奶油需要提前恢复室温。蜜豆要先打散。