原料
鸡蛋: 3个, 牛奶: 50g, 玉米油: 30g, 糖粉: 45g, 低筋粉: 50g
步骤
1全部材料合影 平时:此方适合28*28 烤盘或者35*25烤盘 我家烤盘是30*25(34升烤箱自带的烤盘),做出来刚刚好!

2取1/3糖量+牛奶+玉米油,煮到细砂糖溶解(温度大概在65-70度之间)。

3筛入低筋粉。

4混合均匀,这一步就是烫面了。

5蛋白和蛋黄分开,将蛋黄液倒入烫面团中。

6蛋黄糊完成。

7剩下2/3糖量分三次加入蛋白中,用电动打蛋器打发。

8打发至湿性,即提起打蛋器,蛋白呈“弯角”。(也可偏干一点点,烫面版蛋白不要过软。)

9先取1/3蛋白霜与蛋黄糊翻拌均匀。

10将翻拌好的面糊倒入剩下的2/3蛋白霜中。

11用“切拌法”(不要画圈,炒菜你会吧?就像炒菜一样,把底下的食材翻到上面来)翻拌均匀,面糊就可以了。

12烤盘铺上油纸或油布,将面糊倒入烤盘中。

13端起烤盘在台面上墩几下,振荡出里面的空气。

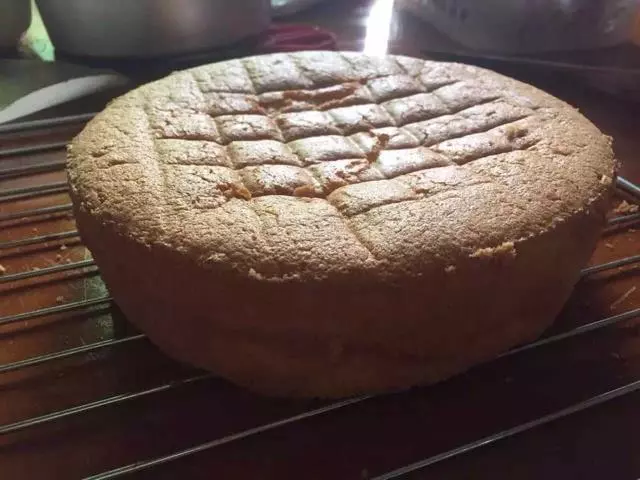
14烤箱提前预热,放入烤盘,160度,中层上下火20——25分钟。

15烤至表面上色后取出。

16倒扣过来,趁热撕掉油布(纸)。

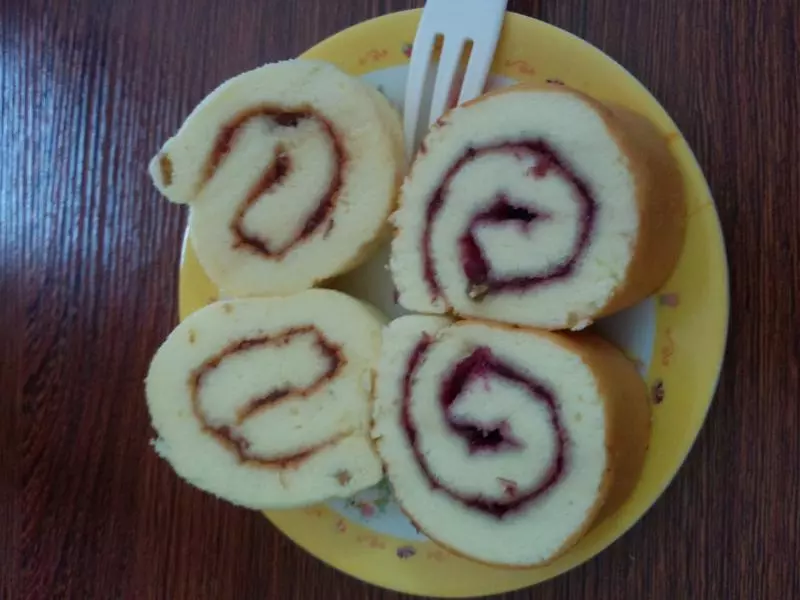
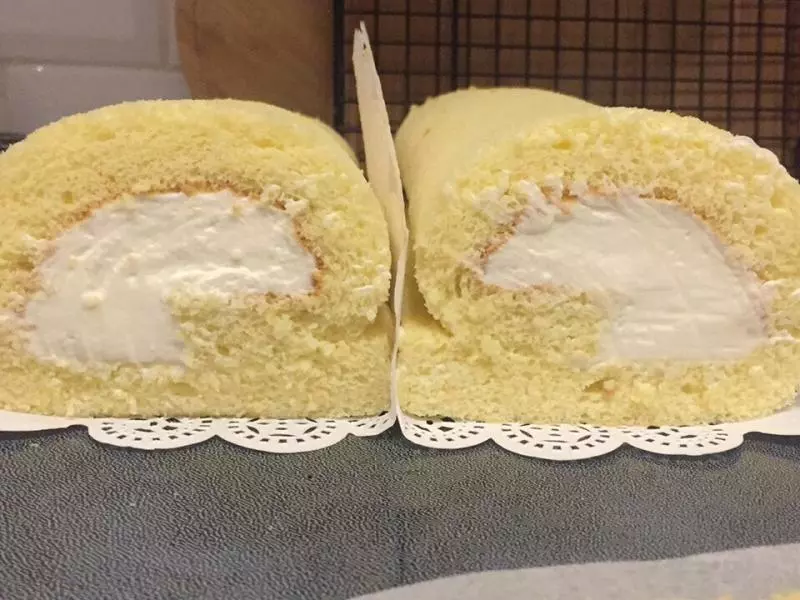
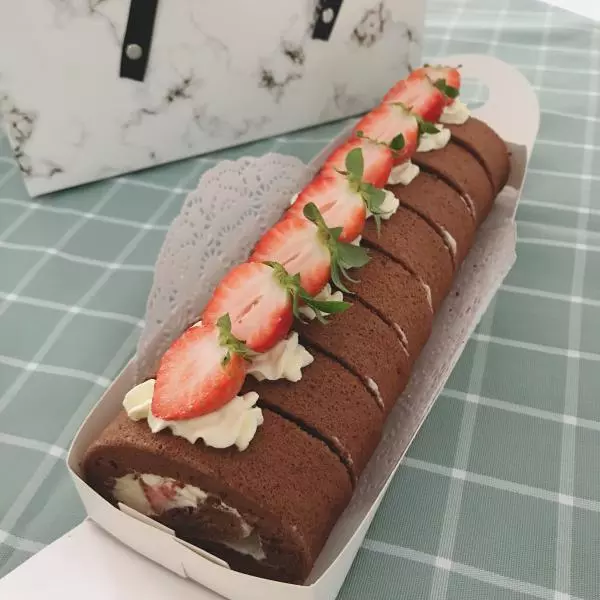
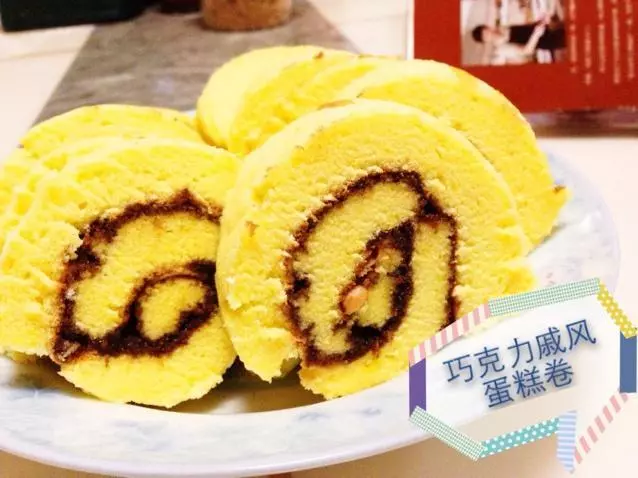
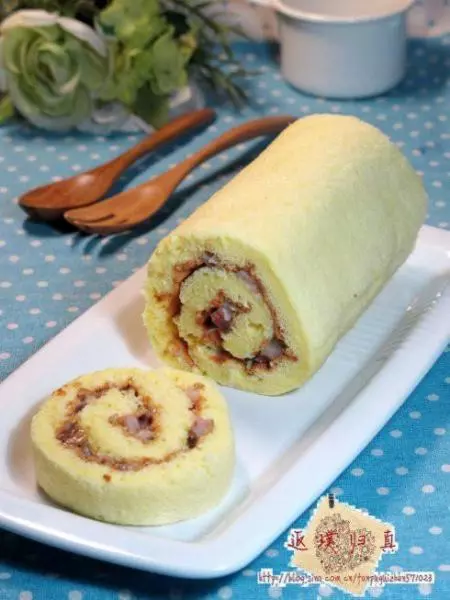
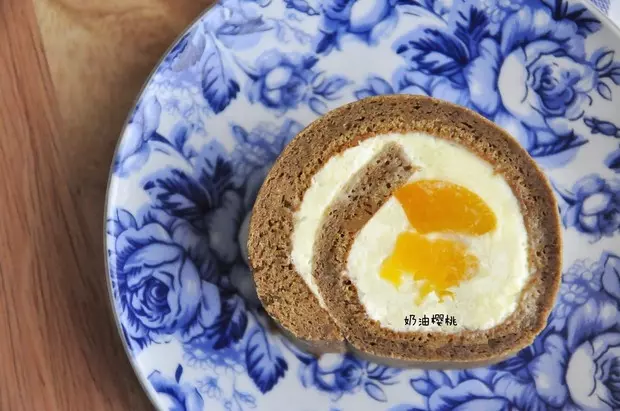
17抹上一层草莓酱。

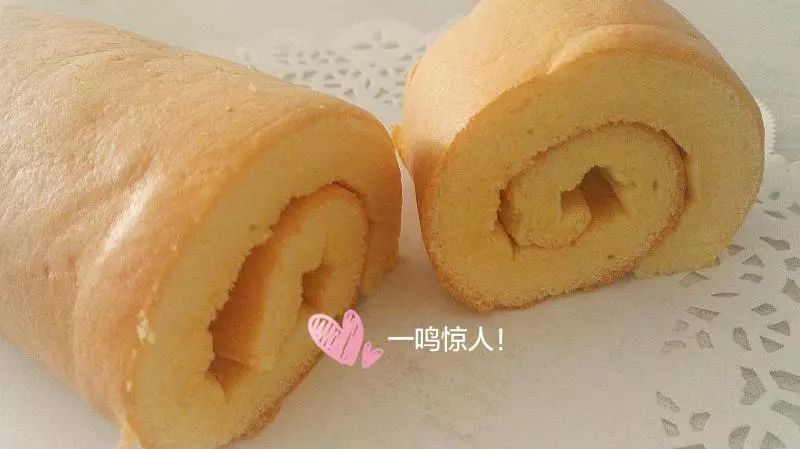
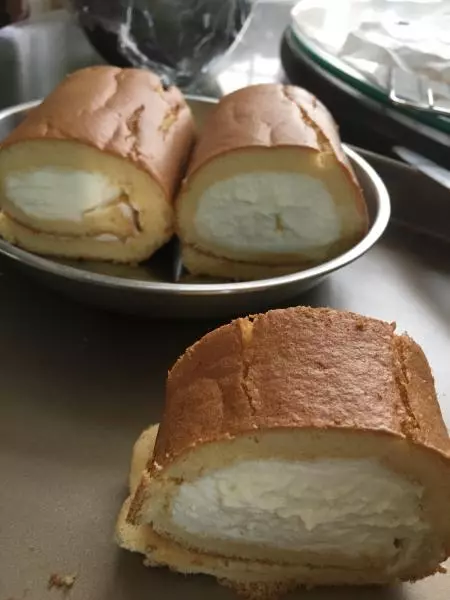
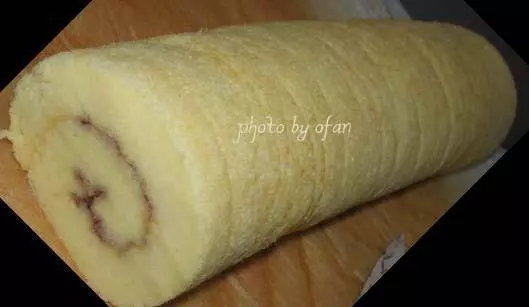
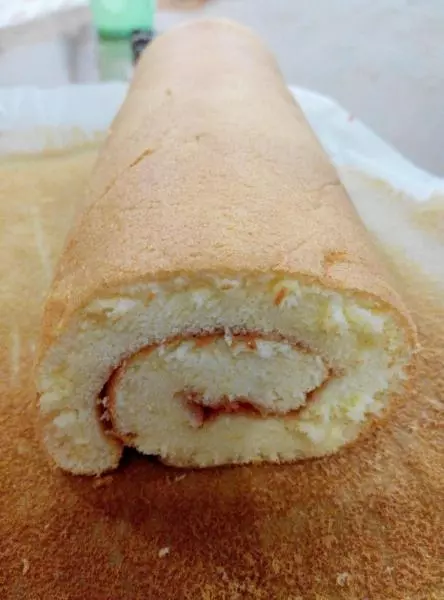
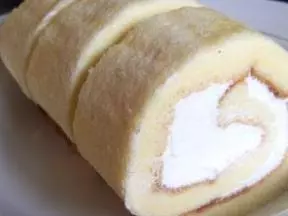
18卷起,冰箱冷藏20分钟。

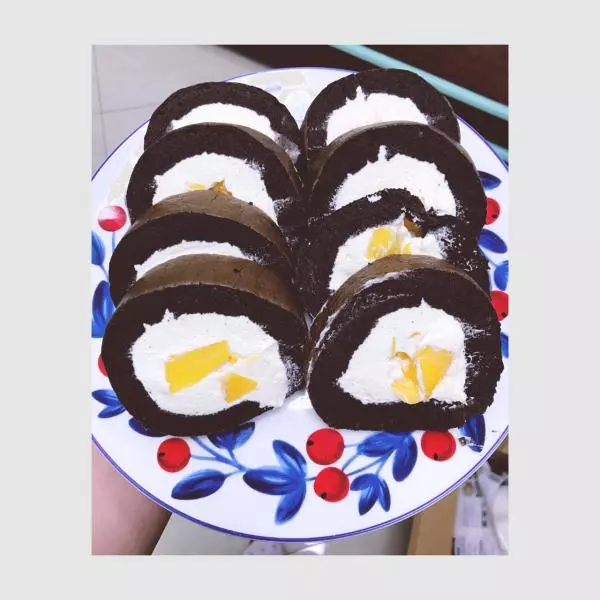
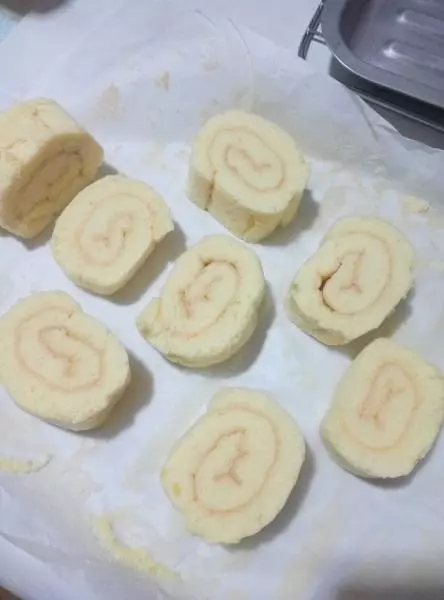
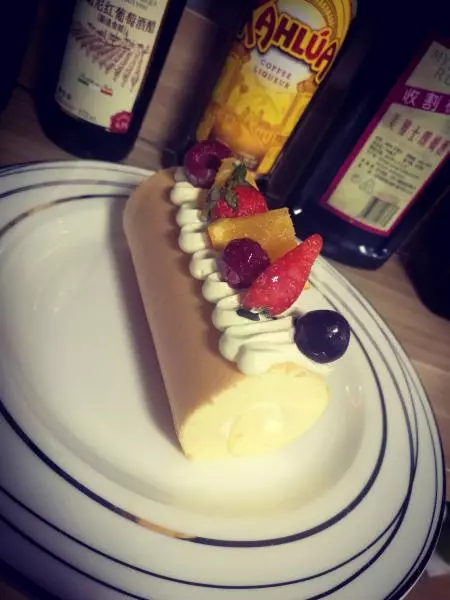
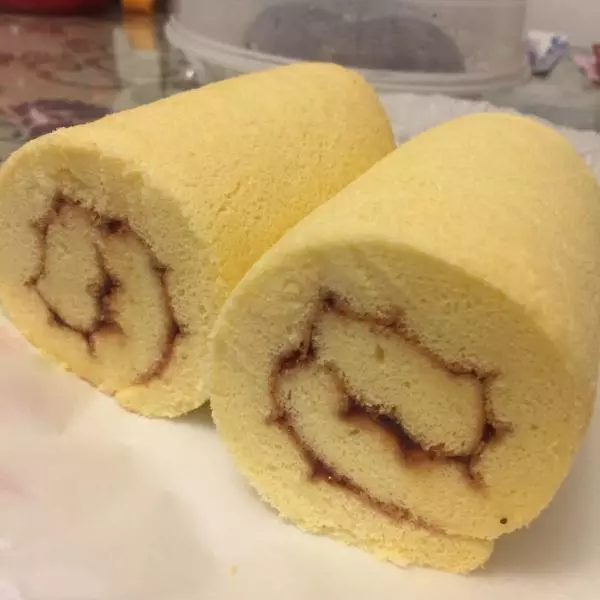
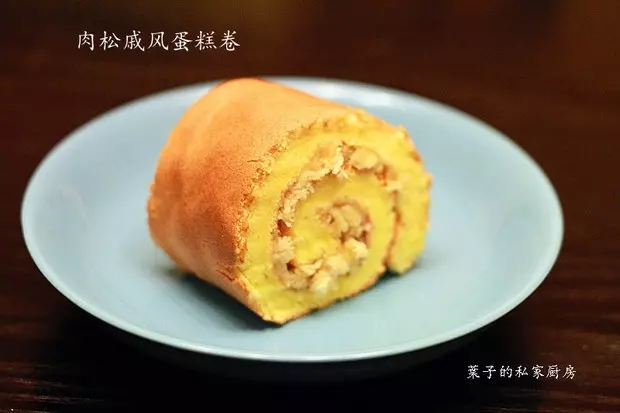
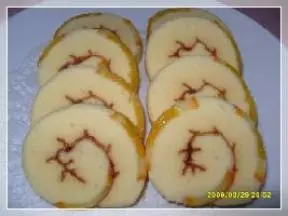
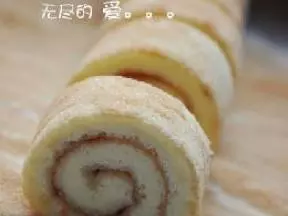
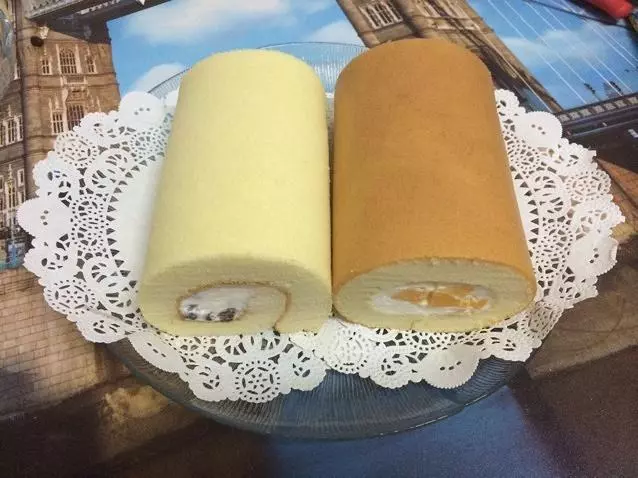
19切片,食用。