原料
鸡蛋: 4个, 低筋面粉: 65克, 细砂糖: 30+25克, 牛奶: 48克, 食用油: 32克
步骤
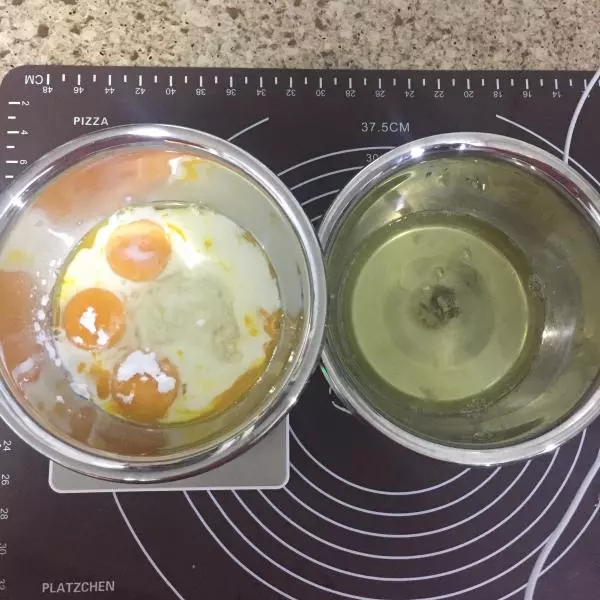
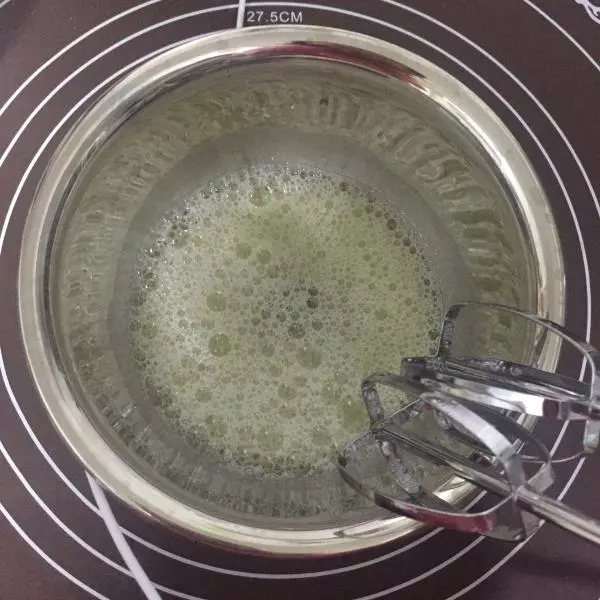
11,器具都要无油无水,所以要擦干 2,把蛋清和蛋黄分离(蛋清里不能有一点蛋黄哦) 3,把牛奶,油,25g糖,全部加入蛋黄中,搅拌均匀
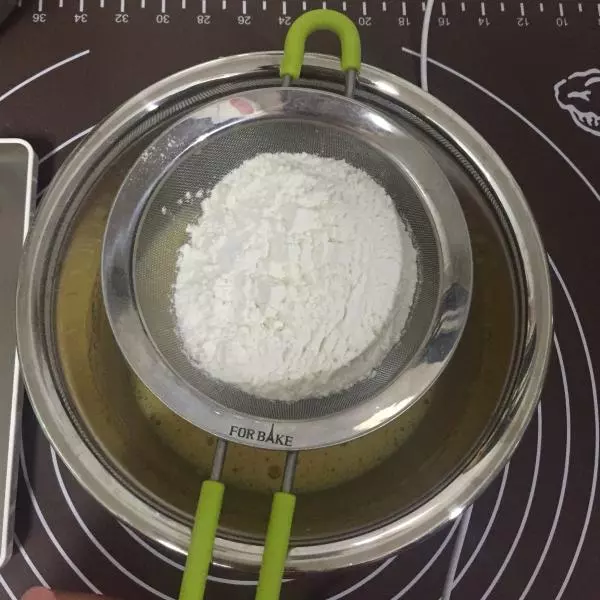
24,把65g低粉,过筛一次加入蛋黄液中,搅拌均匀,蛋液就做好了,先放在一边
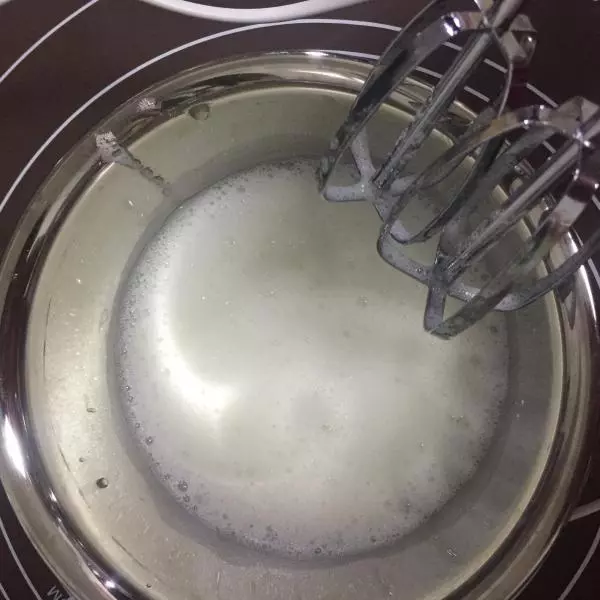
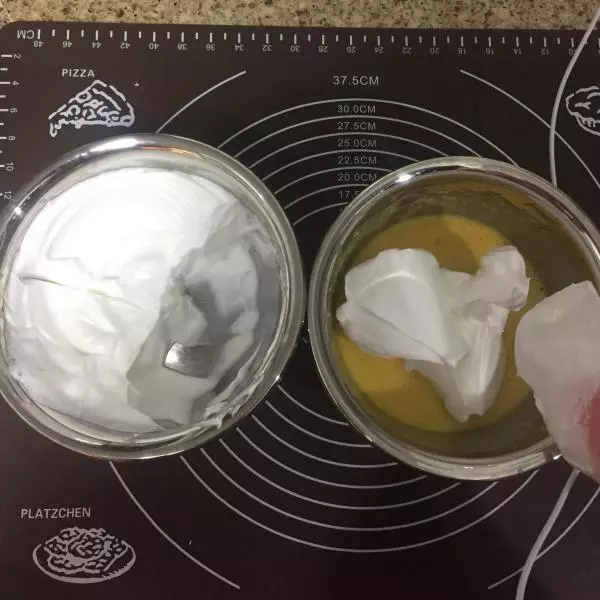
35,打发蛋清,30克糖分3次加入, 第一次打出粗泡泡加入1/3
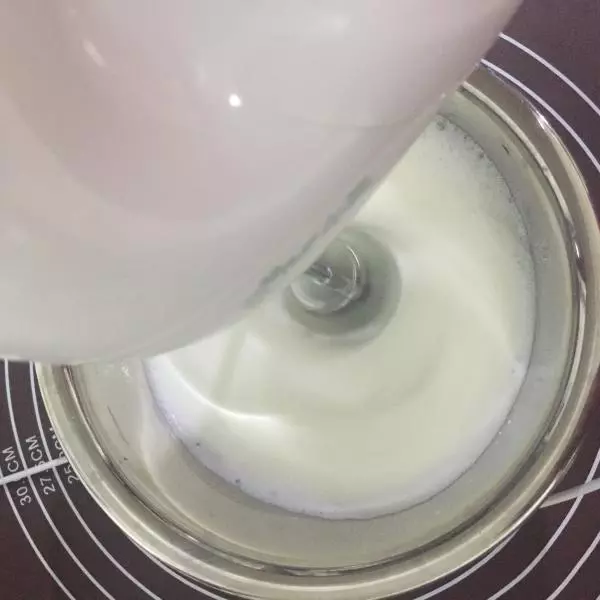
46,第二次变成密集的小泡泡,再加入1/3糖
57,开始出现纹路了,再加入1/3糖
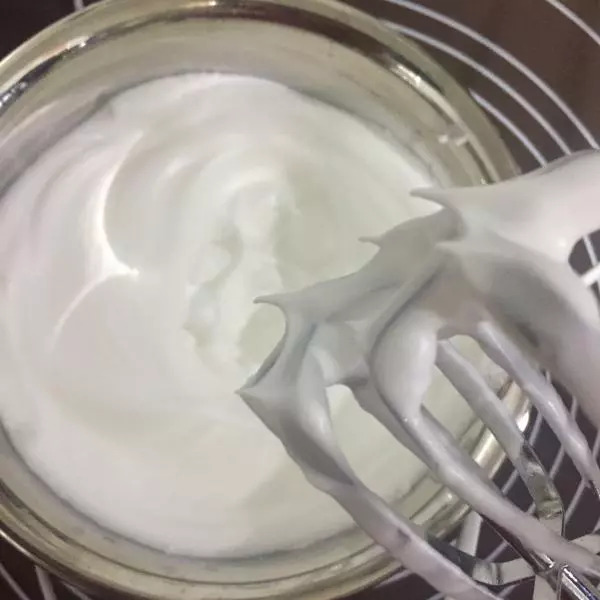
68,重要的一步,打发到湿性发泡,出现弯钩,我用的是小熊牌,全程高速打发,用了3分24秒
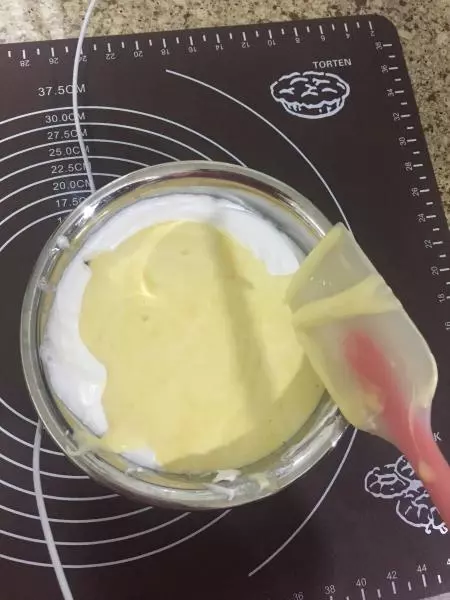
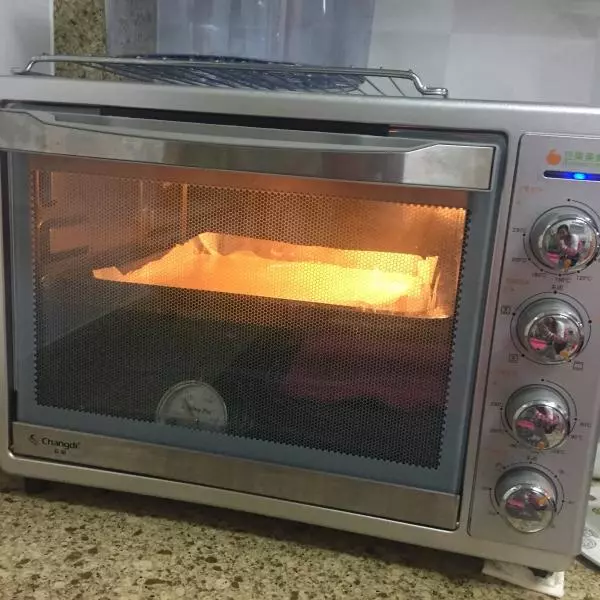
79, 这时烤箱可以预热起来,我家是长帝牌,把温度调至150度,30分钟 10,把打发好的蛋白挖出1/3,加入蛋液中,用切的手法搅拌均匀(不知道如何搅拌,请见我的戚风蛋糕配方,里面有动图)
811,再倒回打发的蛋白中,继续切的手法,搅拌均匀,蛋糕液就做好了
912,我用的是烤箱自带的烤盘,用调理纸或锡纸,铺一层在烤盘上,不然烤出来的蛋糕怎么拿出来
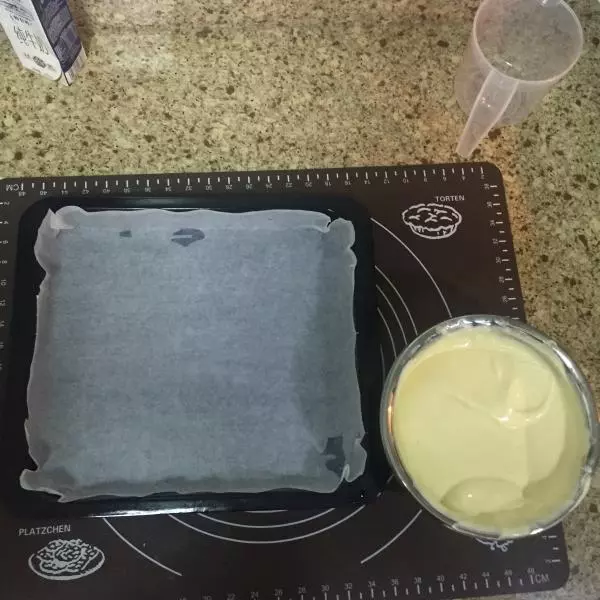
1013,把蛋糕液倒入烤盘中抹平,在桌上放块布,烤盘在上面轻轻震几下,把蛋糕液里的气泡震出来
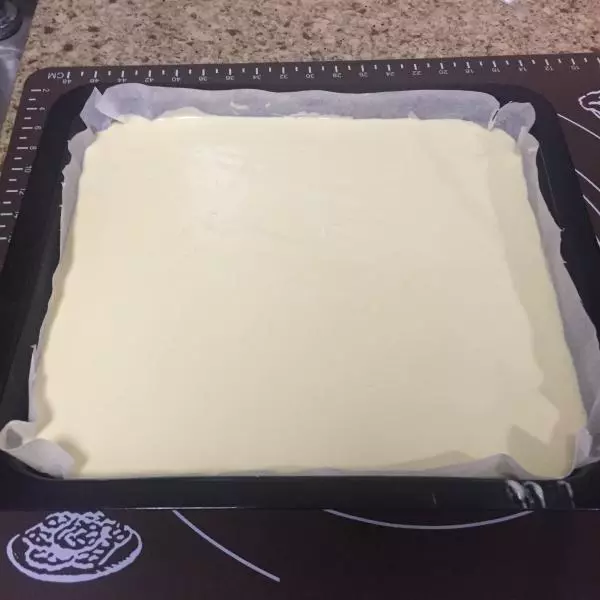
1114,放入烤箱中层,150度,18分钟
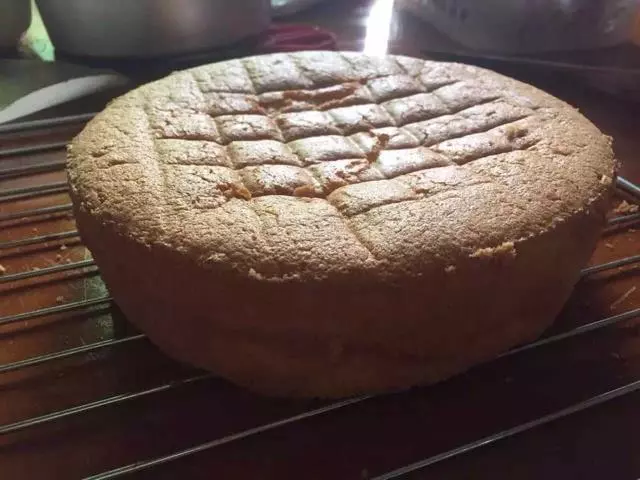
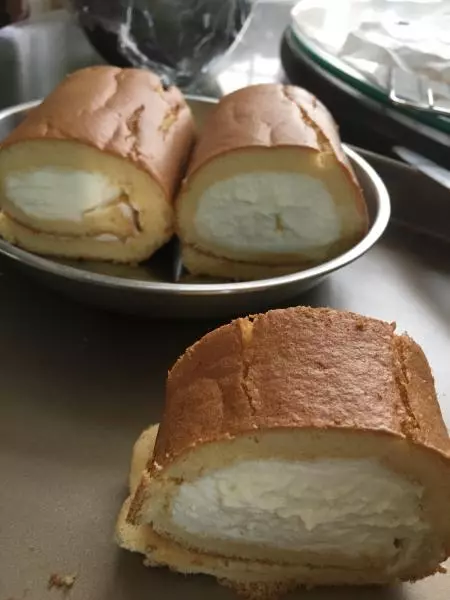
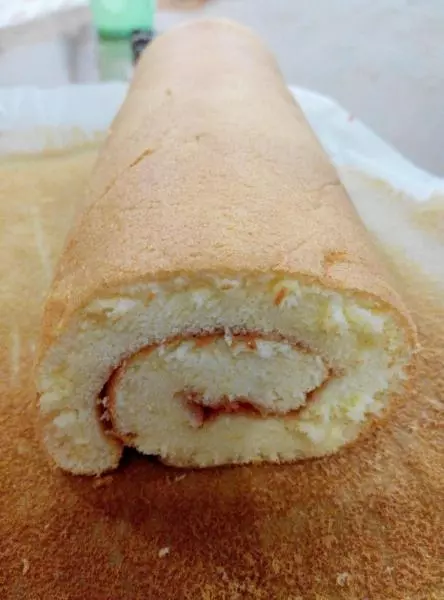
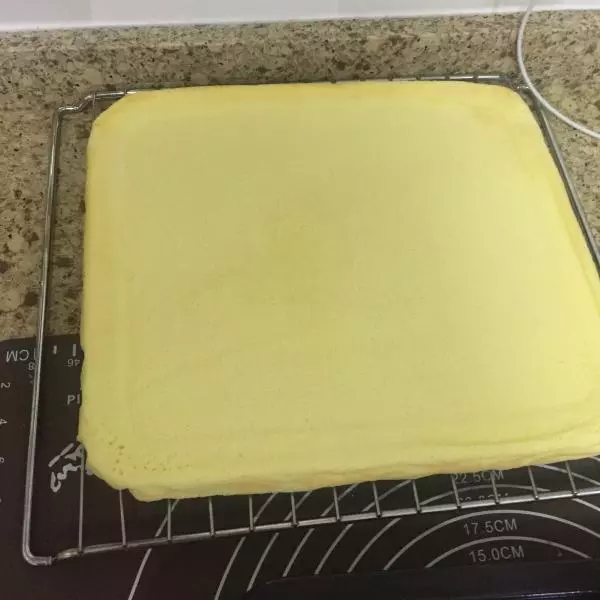
1215,叮,烤好了! 连着纸把蛋糕从烤盘里拿出来,反过来平铺在架子上,上下通风,把调理纸撕掉,就这样让它冷却
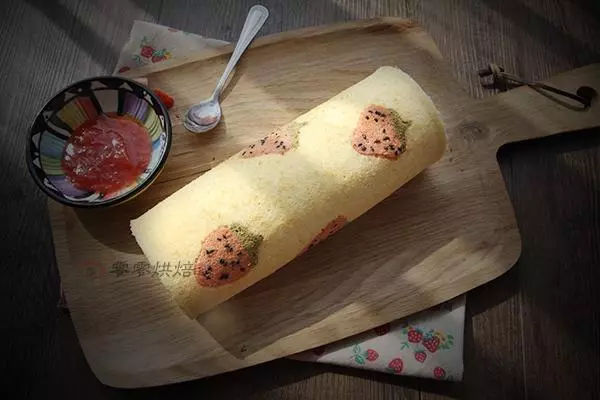
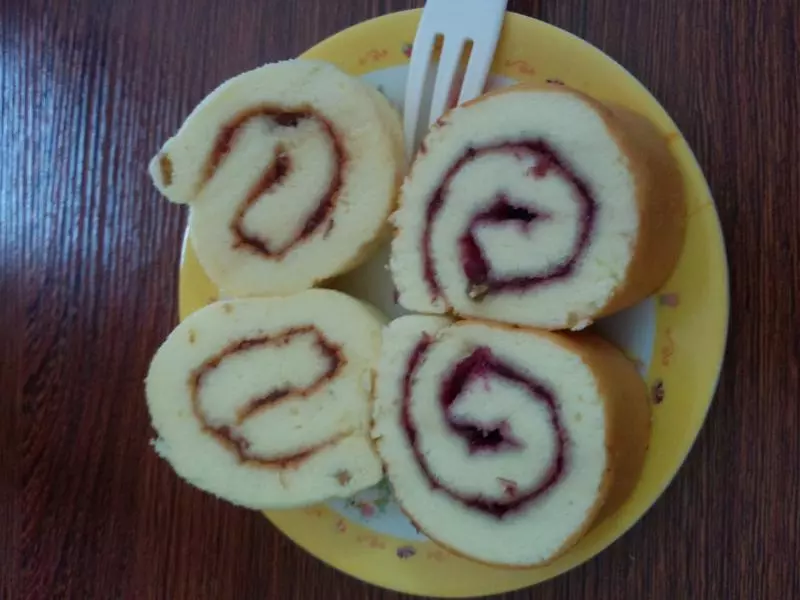
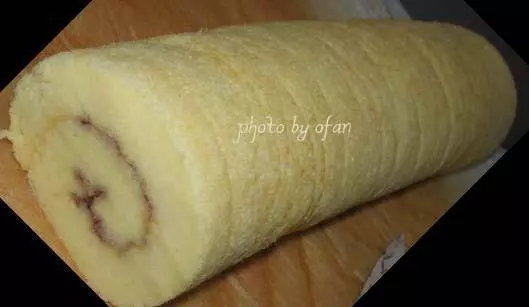
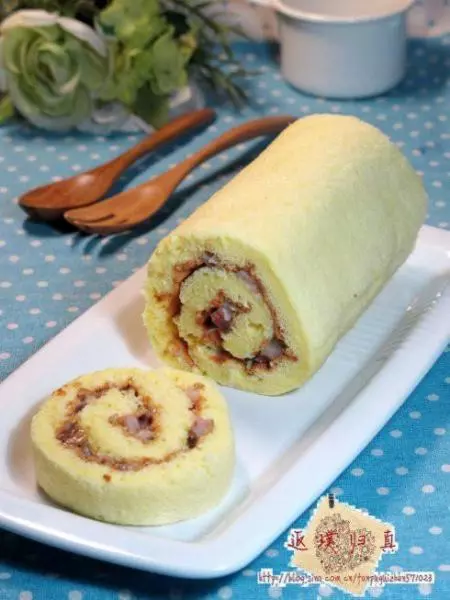
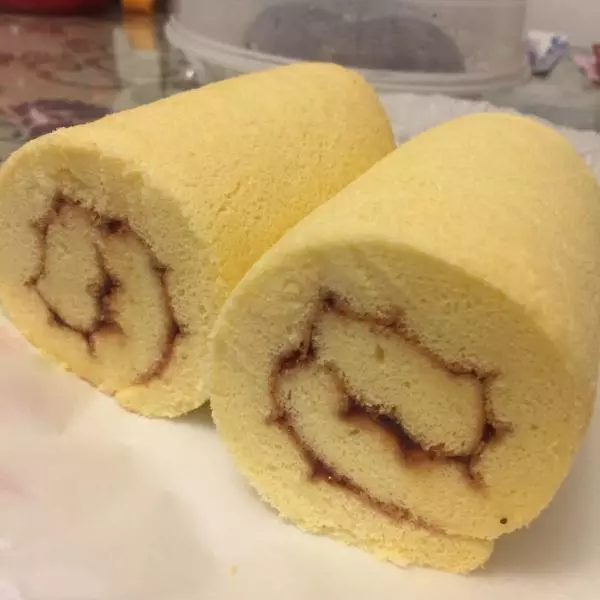
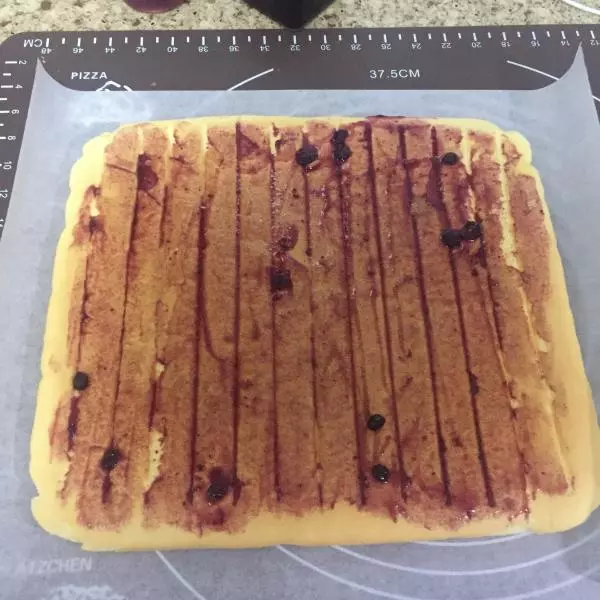
1316,待蛋糕凉掉后,准备新的调理纸,把蛋糕反过来放(就是烤蛋糕颜色深的那面对着自己) 涂果酱,家里草莓酱用完了,只能用蓝莓酱代替了,果酱不推荐牌子,但是不要选太稀的果酱,因为蛋糕吸水
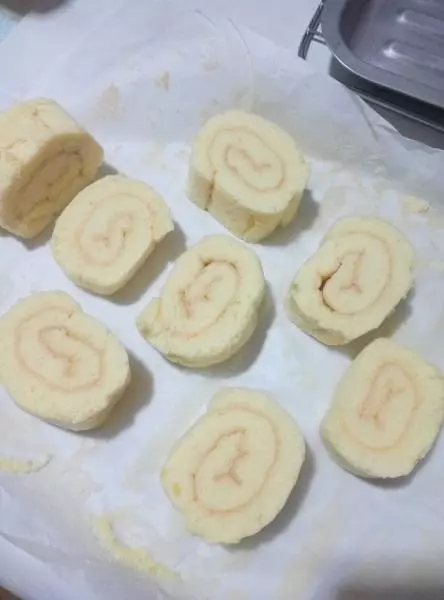
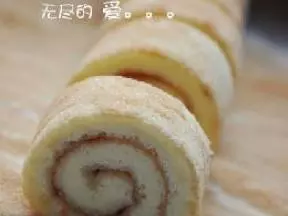
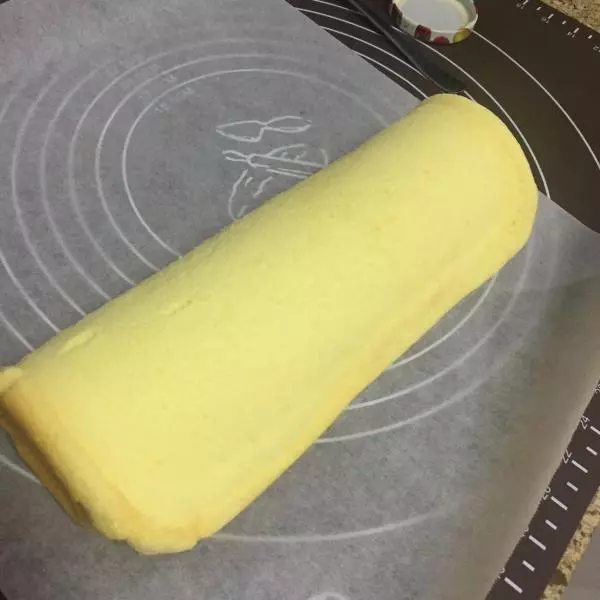
1417,把蛋糕卷起来,开始卷的那头容易断,但是断的也被卷在里面看不出,另外不用卷的很紧,不用卷的太小…就顺着卷
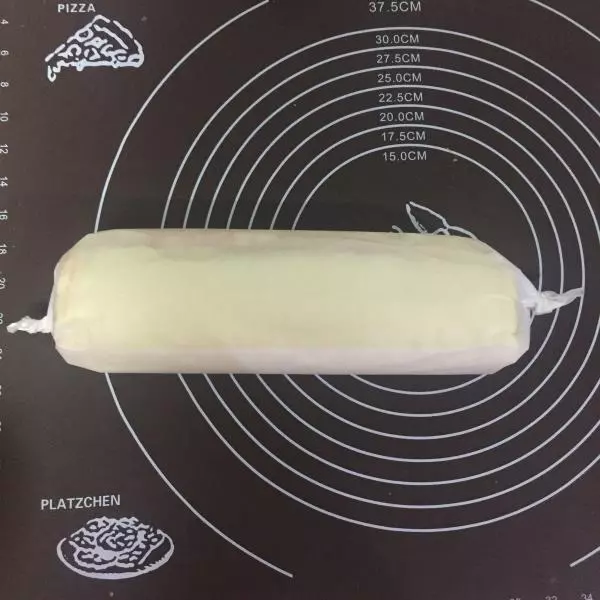
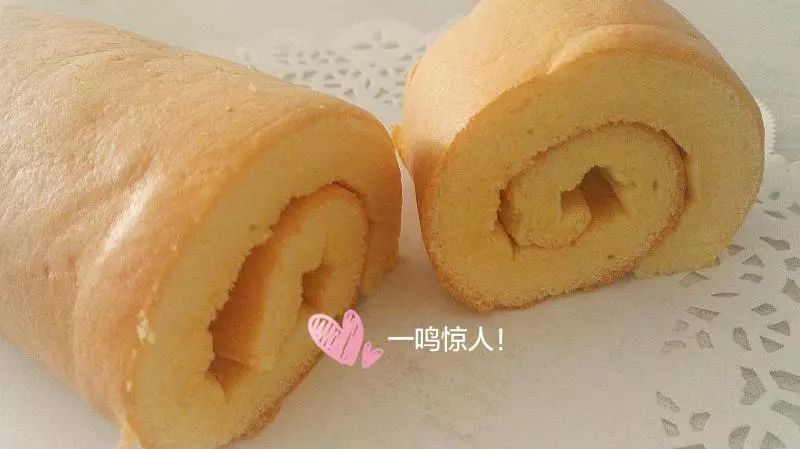
1518,卷好之后,用锡纸或调理纸包一圈,两头一拧,像个大白兔奶糖(推荐用锡纸,因为好定型),最后一步放冰箱冷藏,不是速冻那层哦!一般我晚上做,第二天当早饭吃的… 如果你急着吃,其实过个十几分钟也能拿出来的