原料
蛋黄 4颗(50-60克的大鸡蛋), 低筋面粉 60克, 玉米淀粉 15克, 沙拉油 40克, 鲜橙汁 45克, 细砂糖 20克, 蛋白 4颗, 细砂糖 40克, 红色食用色素 3滴, 低筋面粉 1小匙, 动物鲜奶油 150克, 细砂糖 20克, 新鲜草莓 10颗, 抹茶粉 1小匙, 清水 适量(调成煳状)
步骤
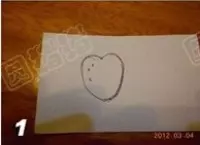
1取一张名片,在上面画上一颗草莓的外形,剪下备用
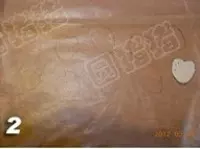
2取一张烘焙用油纸,剪成烤盘大小,在纸的中间,用深色签字笔画上对称的草莓外形
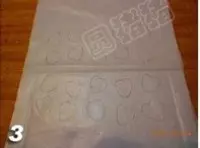
3留意是画在纸,宽的一面。(图上为展开的外形),将画好图形的烘焙纸反面放在烤盘上。(这样蛋糕糊就不会粘到油墨)
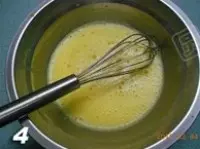
4将蛋黄加细砂糖20克打散,加入沙拉油,鲜橙汁打散,搅拌至砂糖溶化
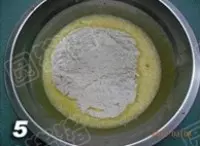
5筛入低筋面粉和玉米淀粉
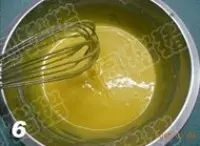
6用打蛋器顺时针搅拌成面糊状。即为蛋黄面糊
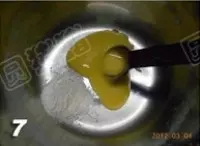
7取一小盆,将2小匙的蛋黄面糊,加低筋面粉1小匙
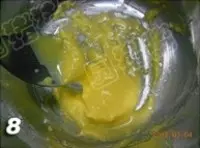
8拌匀
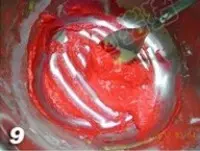
9再加入红色色素拌匀
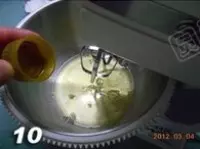
10蛋白加入2滴白醋,用低速打发,转4档高速打发
11分3次加入细砂糖

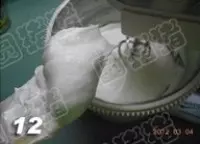
12直至蛋白打成短小直立的状态
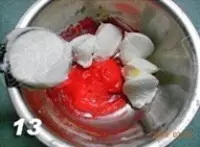
13取6大匙打发蛋白加入红色面糊中
14拌匀
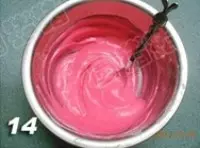
15将红色蛋糕糊装入裱花袋中

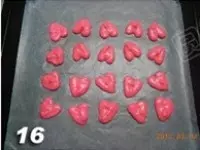
16按着蛋糕纸上画好的形状,挤上花形。画好的样子。将烤箱调170度,上下火,将烤盘放入烤箱中层烤1分钟取出。(这一步很重要,是让花形变干,容易定形)
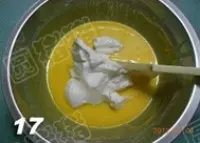
17剩下的蛋白霜取1/3加入原来的黄色蛋黄糊中拌匀
18再倒回全部的蛋白霜中
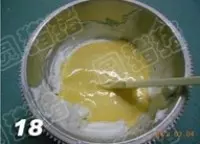
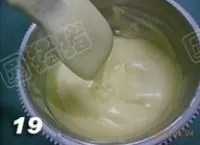
19拌匀,拌好的样子
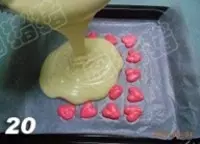
20将蛋糕糊倒入烤盘中
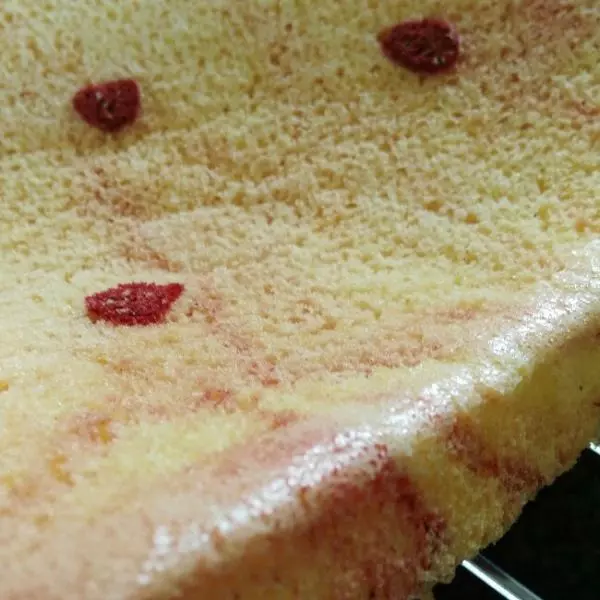
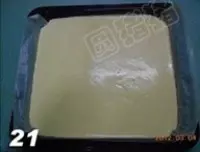
21用橡皮刮板,刮平整。将烤箱调150度,上下火,将烤盘放入烤箱中层烤30分钟取出
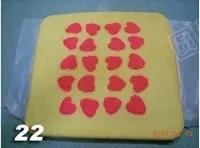
22烤好的蛋糕撕去烘焙纸,放凉至微温
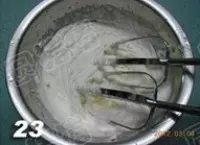
23将冷藏过的动物鲜奶油,加细砂糖20克,打至十分发(成短小直立的尖锋)
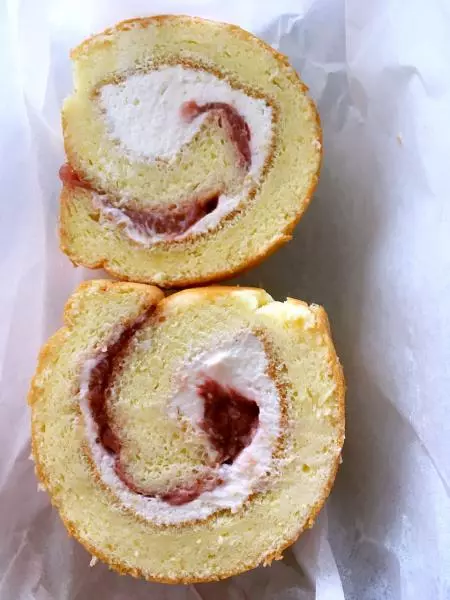
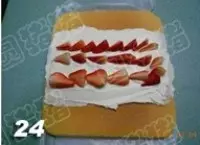
2425. 将鲜奶油涂在蛋糕上面,(没有印花的一面)摆上切块的新鲜草莓)
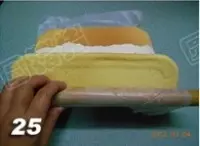
25借助擀面棍将蛋糕卷起
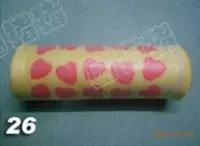
26用烘焙纸将蛋糕卷包起,放入冰箱冷藏4小时定形
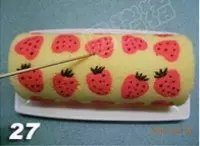
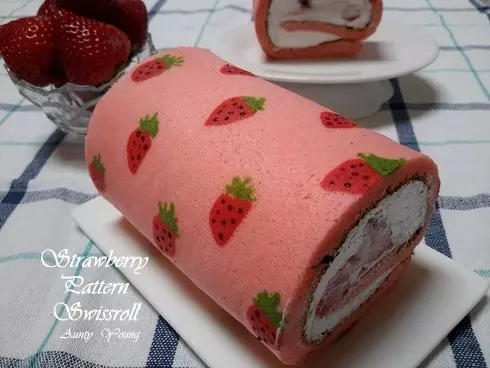
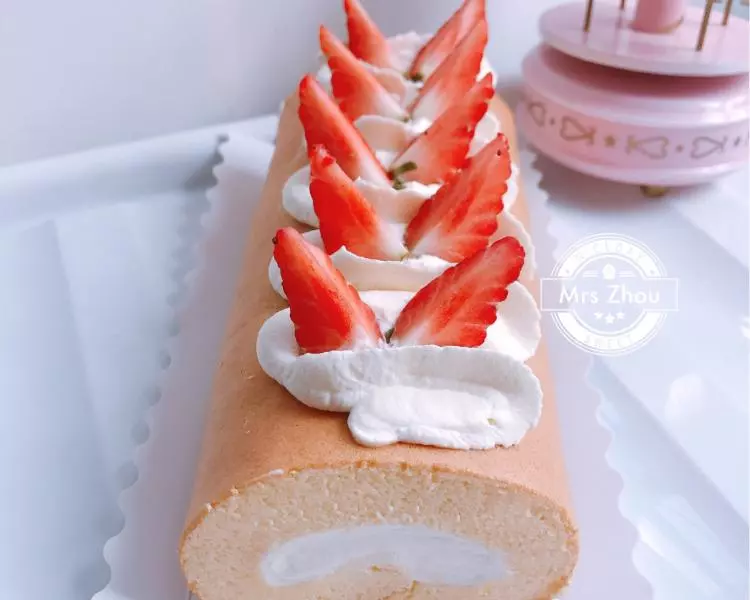
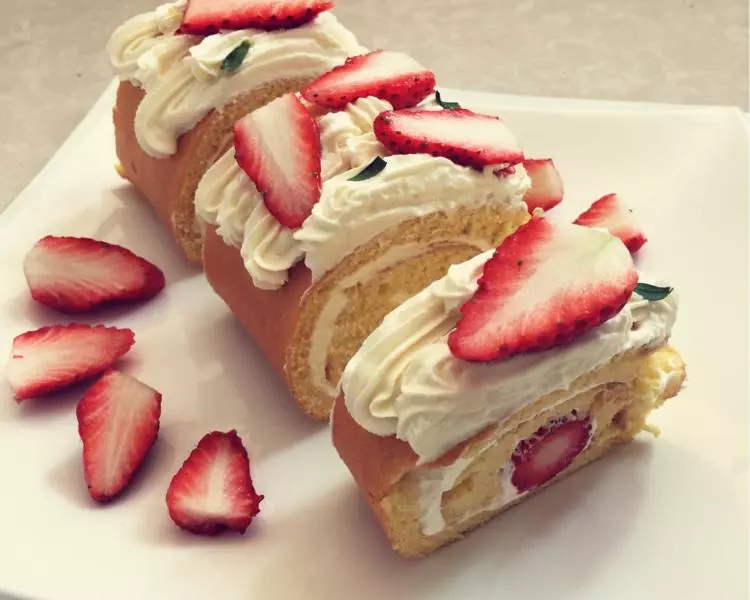
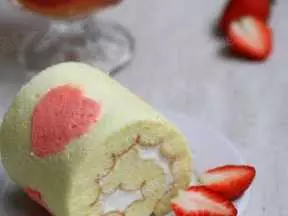
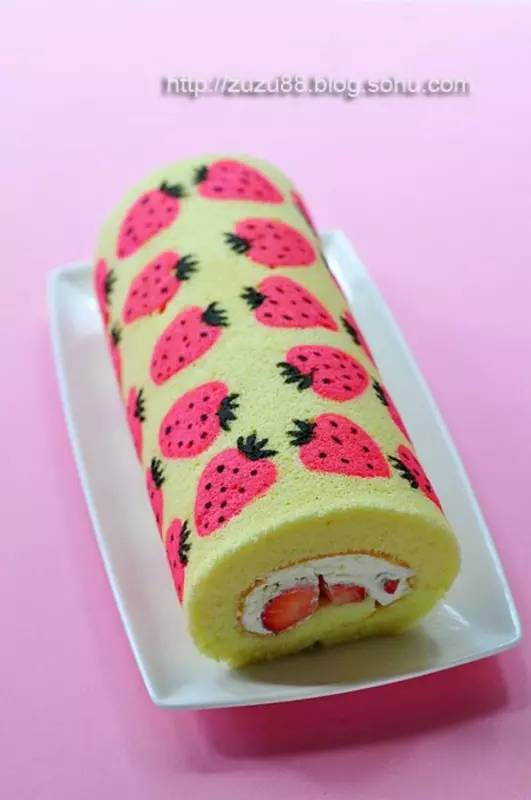
27切去蛋糕两端不平整的头尾,取抹茶粉1小匙,加少量清水调成面糊状。用竹签在上面点上草莓籽,画上叶子即完成