原料
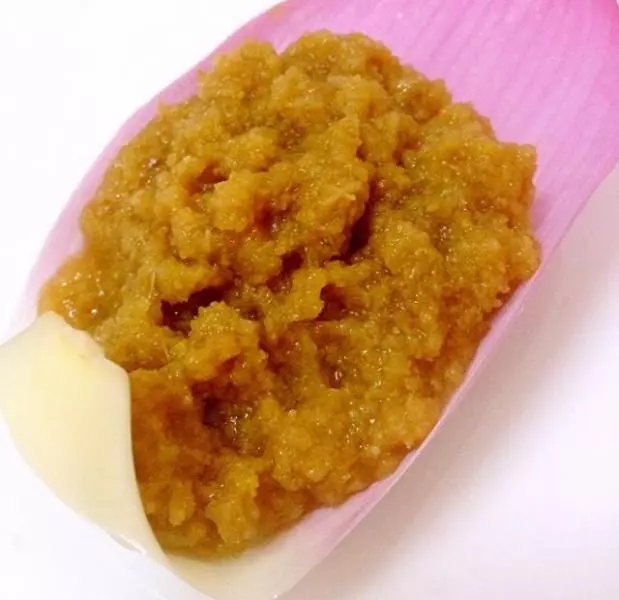
普通面粉 120克, 水 62克, 猪油 20克, 白砂糖 18克, 低筋面粉 200克, 猪油 100克, 绿豆沙 400克(豆沙馅平均分成十份)
步骤
1水油皮配料放盆中,活成柔软的面团,盖保鲜膜醒30分钟
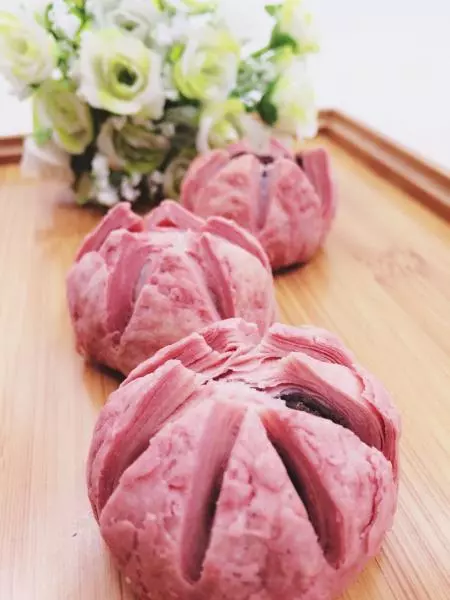
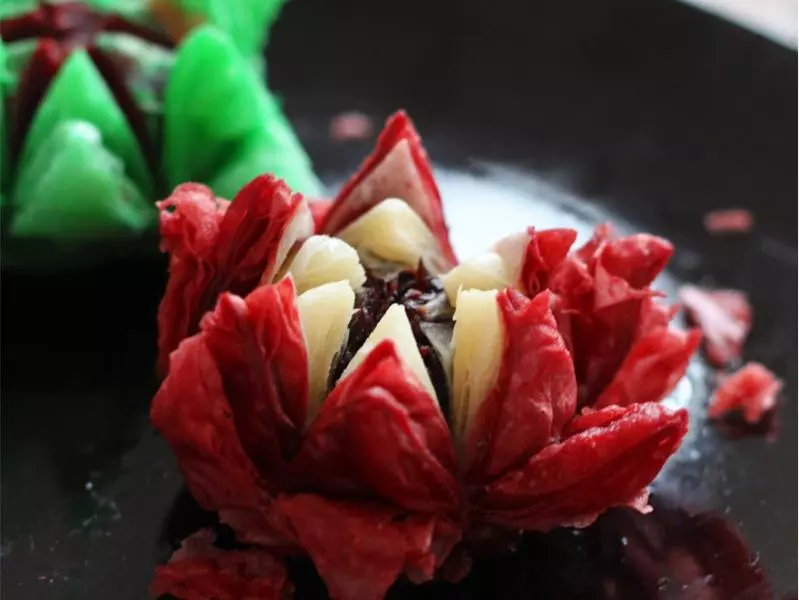
2红色水油皮配料放盆中,同样活成柔软的面团,盖保鲜膜醒30分钟
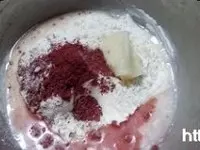
3油酥配料放盆中,揉成油酥面团备用
4醒好的面团放案板上揉匀

5水油面团和红色水油面团分别分成十个均匀的小剂子,油酥面团分成20个剂子

6拿一个水油皮剂子按扁,放一个油酥剂子

7捏紧封口,收口朝下放案板上

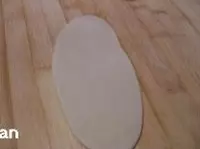
8用擀面杖擀成长椭圆形
9从上至下卷起来

10按扁

11再擀成长椭圆形(这次擀好的比上次要长许多,窄许多)

12从上至下卷起来,盖保鲜膜备用

13拿一个红色水油皮面团,包裹油酥面团

14捏紧封口,收口朝下放案板上

15擀卷的方法和白色水油皮面团是完全一样的,卷好以后,暂时不用的盖保鲜膜

16拿一个面卷,竖着放案板上

17用擀面杖擀成圆形面片

18白色在下边,红色放上边

19放40克豆沙馅

20一定要捏紧封口,收口朝下放案板上

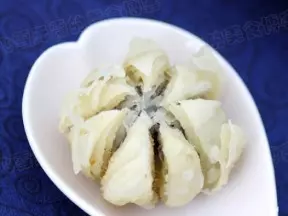
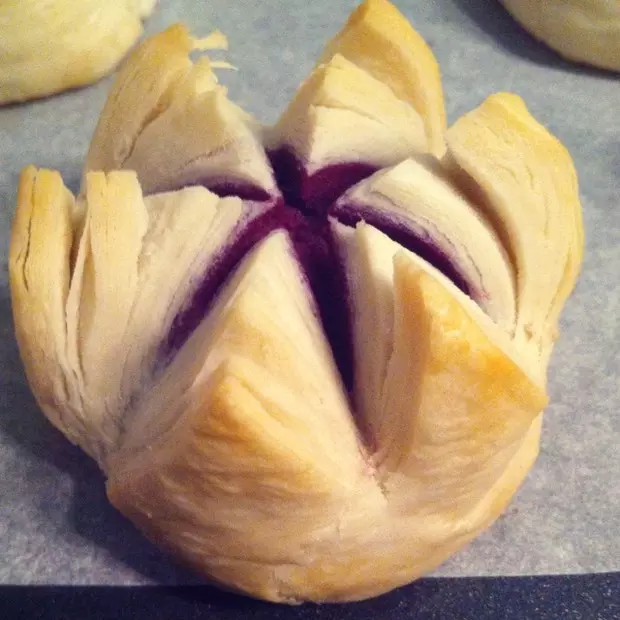
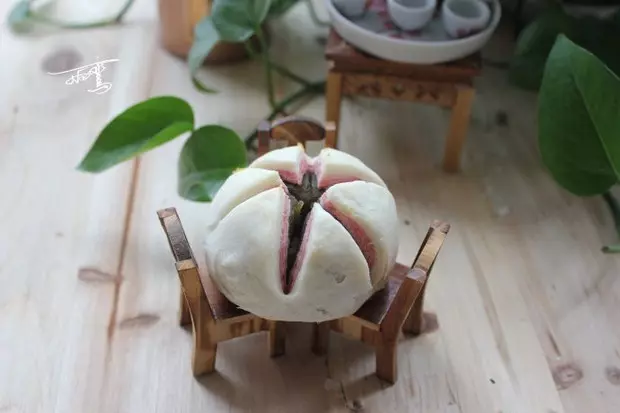
21用尺子在面团上边平均压三道压痕

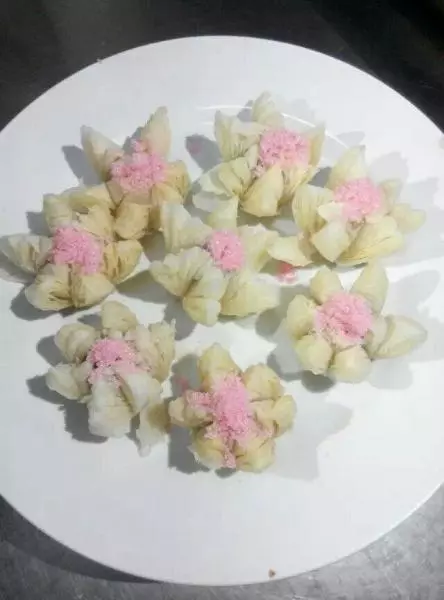
22用锋利的刀片,在顶部切开,深度切至豆沙馅部分

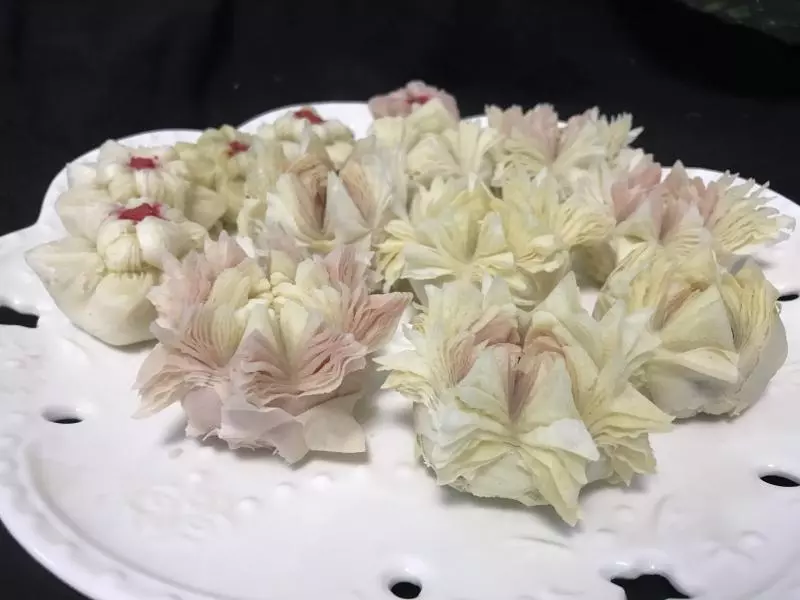
23烤盘铺锡纸,放上包好的荷花酥

24烤箱预热184度,中层,上下火烤35分钟左右(看颜色差不多了,就在上边盖一层锡纸,别让烤好的荷花酥烤成黄色啊,那样就不好看啦,这个荷花酥,必须是白白的才好看!烤的时间看自己烤箱的功率自己掌握,我先烤了25分钟,没熟,又加了10分钟,这次就没啥问题了)