简介
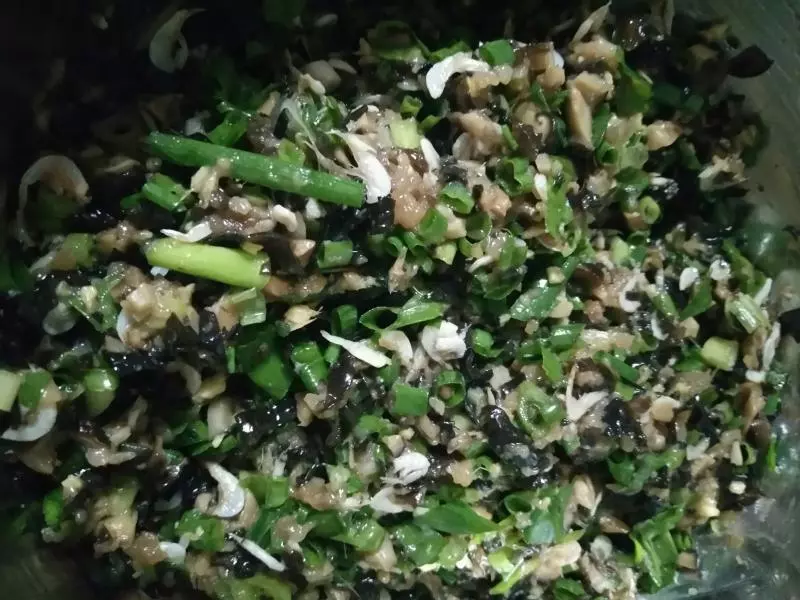
三鲜馅有好多种调配方法,每个地方都有些许不同,其实家常饺子都是这么随意的。 一般是猪肉,韭菜,虾仁,还有加海参的,也可以像我这样,冬菇,木耳,冬笋配猪肉。 总之加你喜欢的材料就可以了。 如果想加虾仁的话,把虾的泥肠去掉后,洗干净加入即可。 可以整只虾加入,也可以切碎了加入。
原料
猪肉末 300g, 冬菇木耳冬笋 泡发后挤干水分共300g, 饺子粉(中筋面粉) 500g, 鸡蛋 1只, 姜末 1大勺, 生抽 3大匙, 料酒 1大匙, 盐 根据口味放, 油 (芝麻油更香), 泡冬菇水隔渣 1杯(250ml), 水 250g
步骤
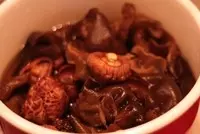
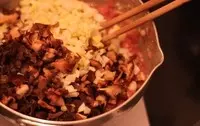
1木耳冬菇洗干净后泡水,充分泡发之后挤干水分。冬笋放入热水中煮3分钟左右
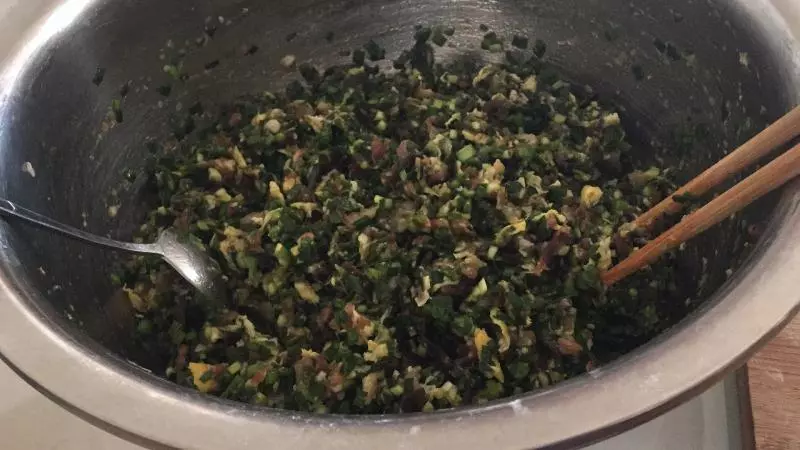
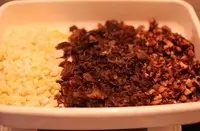
2全部配料切成小粒
3猪肉末加入姜末,鸡蛋,生抽,料酒,盐拌匀
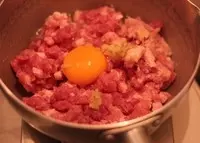
4顺着一个方向搅拌上劲儿

5慢慢加入泡发冬菇的水,一点点加,水分完全被肉馅吸收后再加下一次,直至完全吸收。打水的肉馅吃起来比较嫩

6加入切碎的全部配料
7拌匀,尝试咸淡度,不足的再加盐调味。如果想加虾仁的话,把虾的泥肠去掉后,洗干净加入即可。可以整只虾加入,也可以切碎了加入

8面粉放在面盆里,转圈均匀的加水

9用筷子搅拌成不见干粉的柳絮状
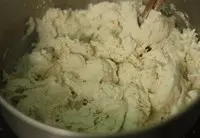
10洗干净手,把柳絮状的面粉手揉成团。此时的面盆应该是光滑干净的。所谓三光:手光,盆光,面光

11成团后比较硬没有关系,表面不光滑没有关系,盖上湿布或者保鲜膜醒10分钟

1210分钟后再揉一次,可以再醒再揉,直至出现软化的光滑的面团。醒发可以让原本比较干硬的面团,软化下来,好揉。所以此程序可以重复几次

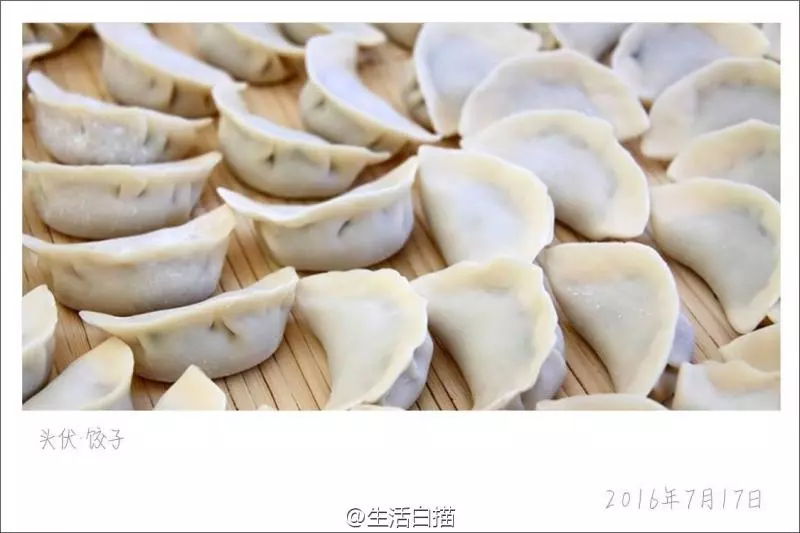
13取1/3的面团,搓成均匀的长条

14切成大小均匀的面剂子
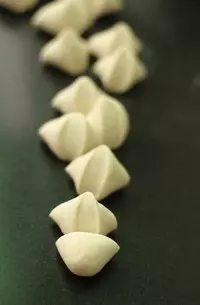
15撒上大量的面扑(面粉),把面剂子按扁成圆片

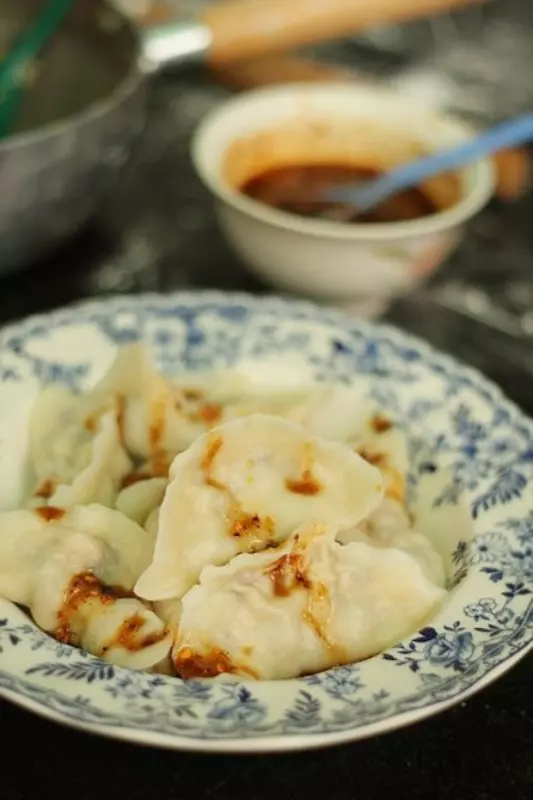
16一手转动面剂子,一手拿擀面杖,从边擀开

17要多放些面扑,避免粘连

18开始包的时候,如果速度比较慢,也要用湿布或者保鲜膜盖住面皮,避免表面干燥

19煮饺子的锅要大,水要宽

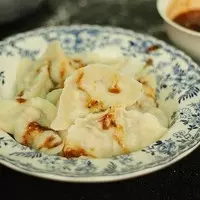
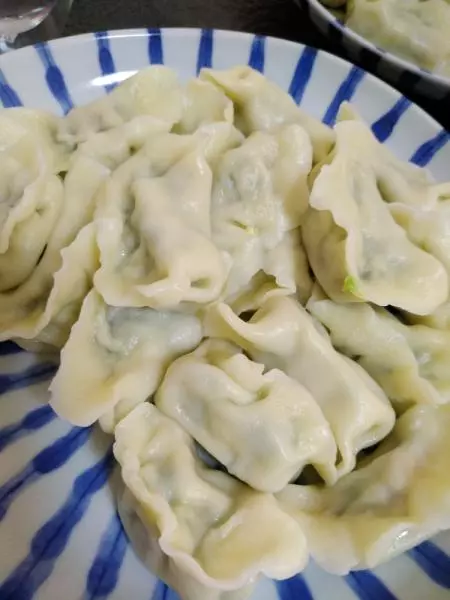
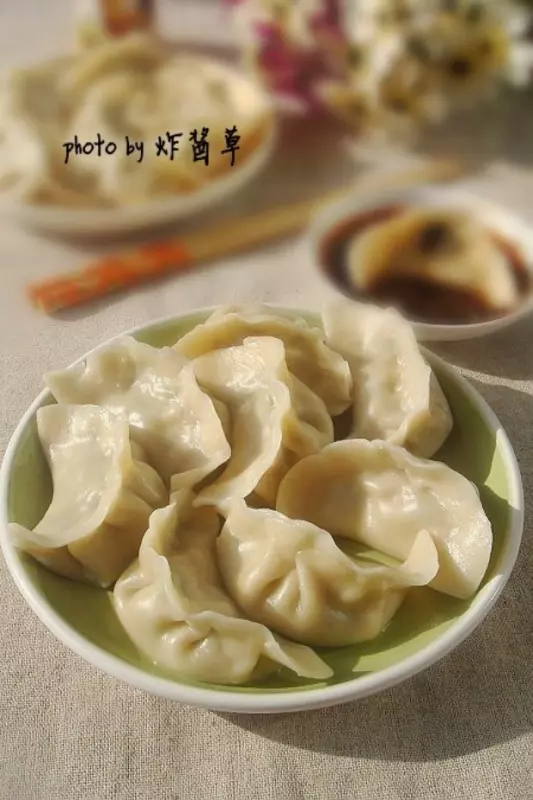
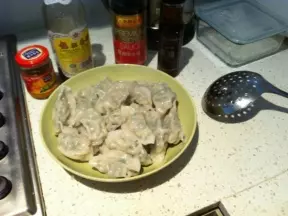
20沾上蒜蓉辣椒醋汁,开吃