简介
今天朋友生日,所以想做个蛋糕给他,我一般都只做蛋糕体,比较少用奶油,因此技术不好,这个蛋糕比较适合新手哦~没有裱花,用大量水果堆砌。蛋糕体是2个,一个6寸,一个8寸。PS:编辑了N次,有些图片的顺序还是错乱,所以大家可以结合文字注意下……
原料
鸡蛋 8只, 低筋面粉 130克, 糖(蛋白) 90克, 糖(蛋黄) 45克, 牛奶 60克, 调和油 60克, 淡奶油 600ml, 糖(淡奶油) 20克, 盐(淡奶油) 2克, 糖霜 适量, 奇异果,草莓,蓝莓,火龙果,芒果 适量
步骤
1准备两个干净无水无油的盆,分开蛋白和蛋黄

2在蛋黄中加入45克糖

3轻轻搅拌均匀使糖融化,不要过度、用力搅拌,防止蛋黄乳化

4加入调和油60克搅拌均匀

5加入牛奶60克搅拌均匀

6面粉过筛入蛋黄液中

7面粉与蛋黄液轻轻搅拌均匀,不要过度搅拌

8蛋白用打蛋器打到大粗泡时加入1/3糖(30克),继续搅拌

9粗泡消失后再加入1/3糖,继续搅拌

10搅打到蛋白液表面出现交明显纹路时加入剩下的1/3糖,打致干性发泡

11干性发泡:就是用打蛋器将蛋白液打至搅拌棒从蛋白中提起时是坚挺的小尖角就可以了

12取将近1/3蛋白加入蛋黄糊中,上下搅拌,严禁划圈,不然蛋白会消泡,蛋糕就发不起来了。搅拌均匀后再加入1/3蛋白继续搅拌至基本看不出蛋白后,最后再加入1/3搅拌均匀。

13搅拌后呈现的状态是粘稠的淡黄色细腻液体。

14倒入蛋糕模具中,用刮刀刮平表面。离桌面20cm左右松手往桌面震出大气泡。如果使用活底模具,要在模具外裹上一层锡纸,防止蛋糕液漏出。

15入烤箱,上下管170度,中下层,大概一小时,左右。
16成品如图,从烤箱中取出立即倒扣晾凉,凉透后再脱模,不然蛋糕容易塌掉。

17晾凉后,用刀小心脱模。

18选好高度,用牙签平均插好,再用锯齿刀小心分割蛋糕体。

19将分割好的8寸蛋糕体一片放在裱花台。

20取出准备好的各种水果备用。

21取600ml淡奶油,加入20克细砂糖,2克盐,用打蛋器搅拌。

22搅拌至淡奶油打发,变粘稠,表面有明显波纹,搅拌棒取出有坚挺小尖角就可以了。

23用刮刀将淡奶油抹在第一层蛋糕体表面,简单刮平。

24放上水果,水果粒尽量不要太大。

25盖上另一层8寸蛋糕体,再抹上一层奶油。

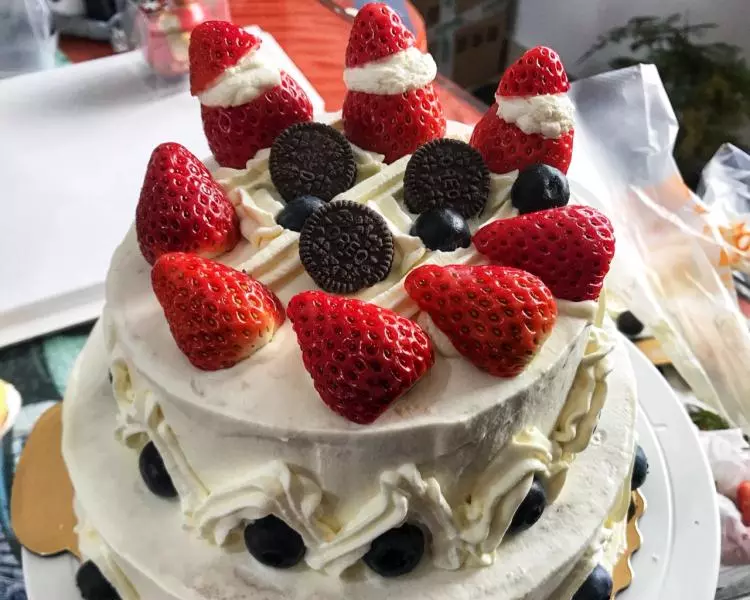
26放上一片6寸蛋糕体,外围放一圈草莓。

27再抹上一层奶油,放上一层水果粒。

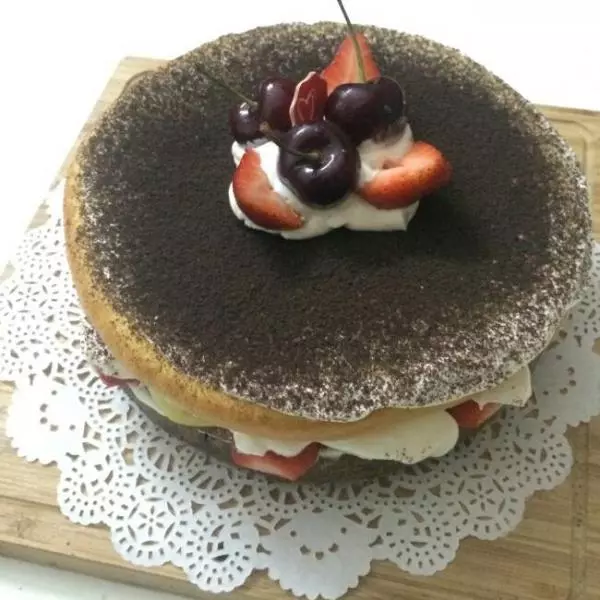
28盖上最后一片6寸蛋糕体,抹上奶油

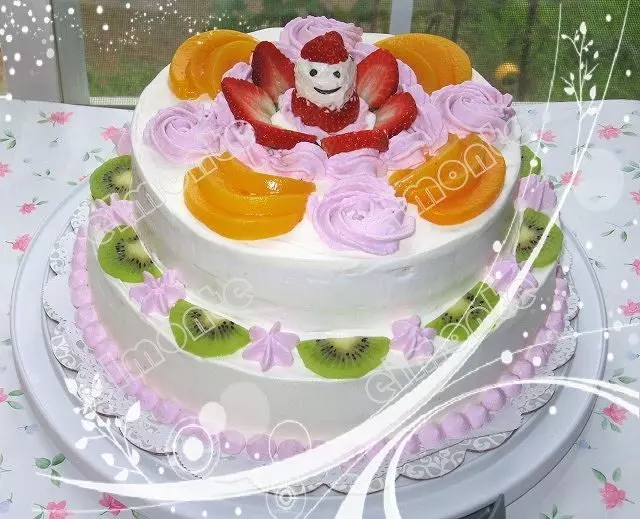
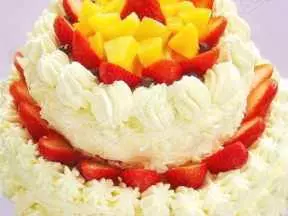
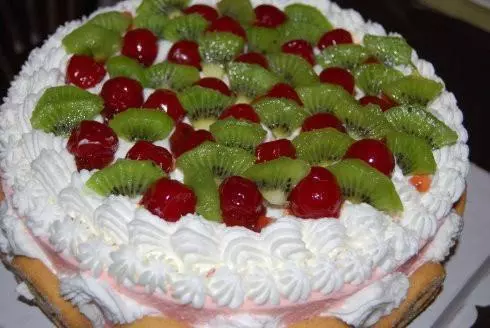
29最后在上面放上各种水果,均匀撒上一层糖霜。也可以在蛋糕体侧面贴上杏仁片做装饰。

30最后一步:包装纸盒和丝带~