原料
蛋黃 6個 細砂糖 20克 牛奶 120克 玉米油 75克 低粉 135克: , 蛋白 6個 細砂糖 80克 檸檬汁 數滴:
步驟
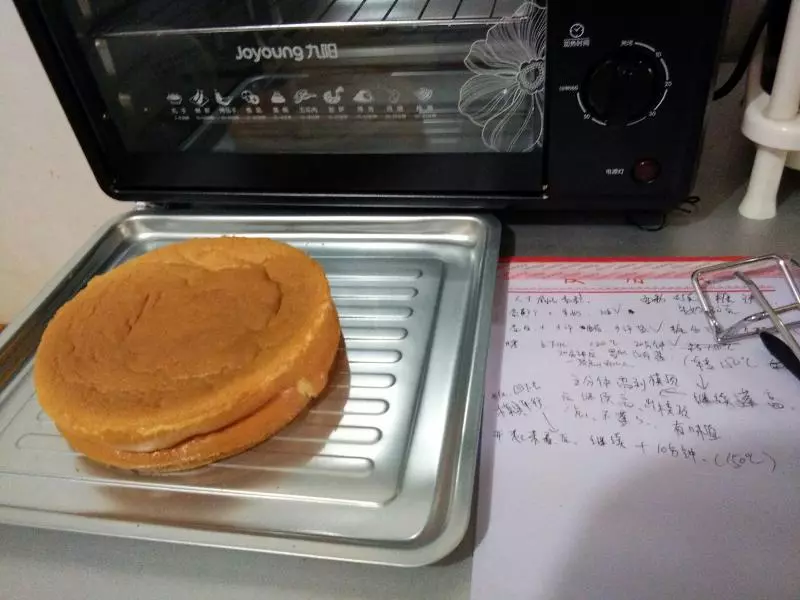
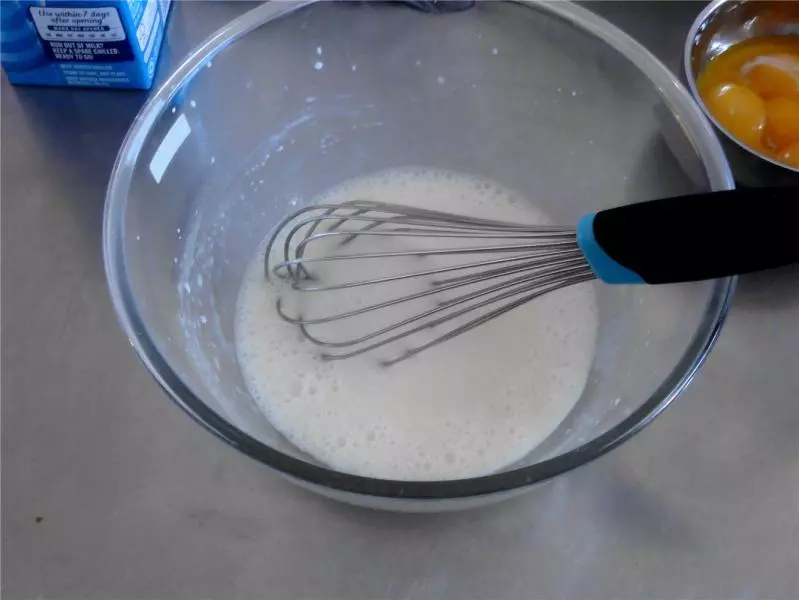
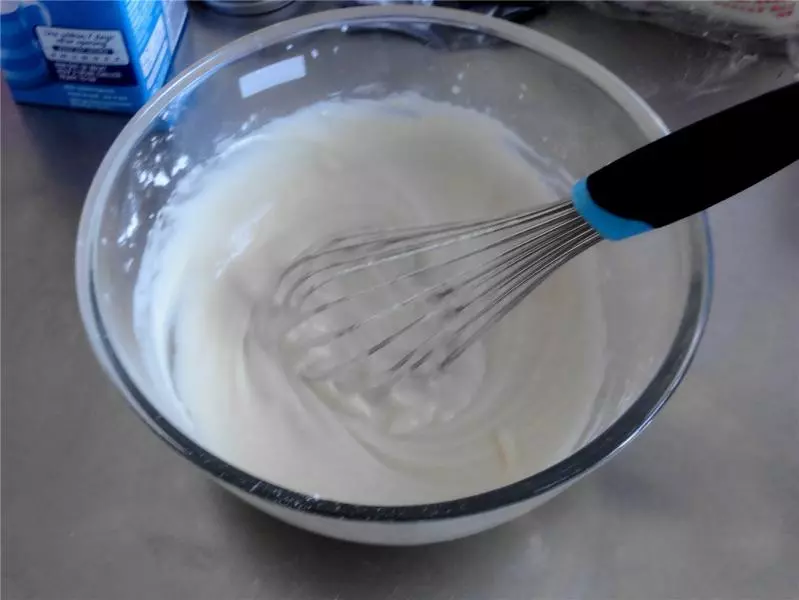
1烤箱上下管140度預熱 蛋白和蛋黃分離備用 牛奶和玉米油加入細砂糖,攪拌均勻
2篩入低筋麵粉
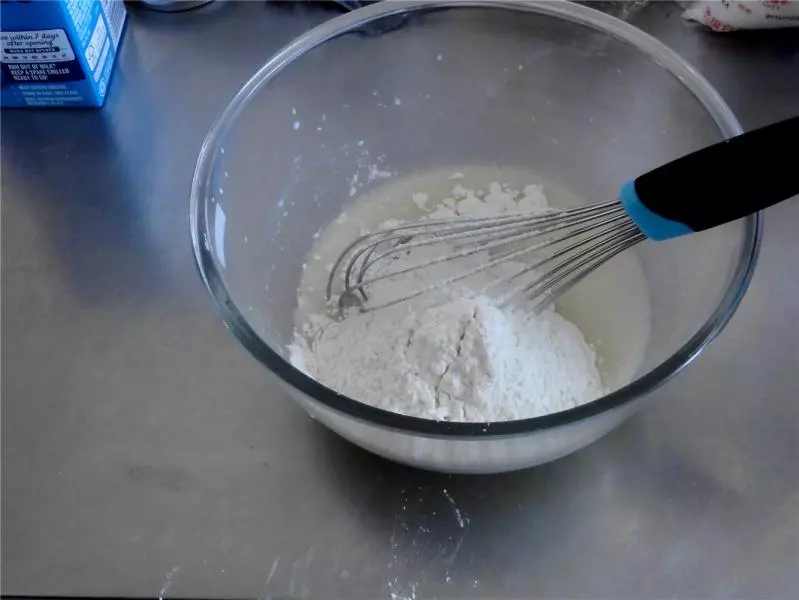
3用手動打蛋器之字形拌勻
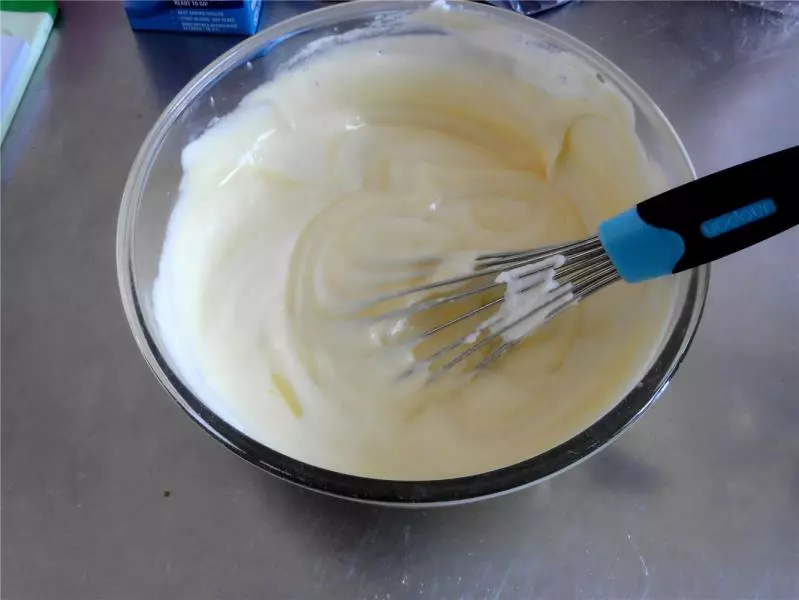
4加入蛋黃,
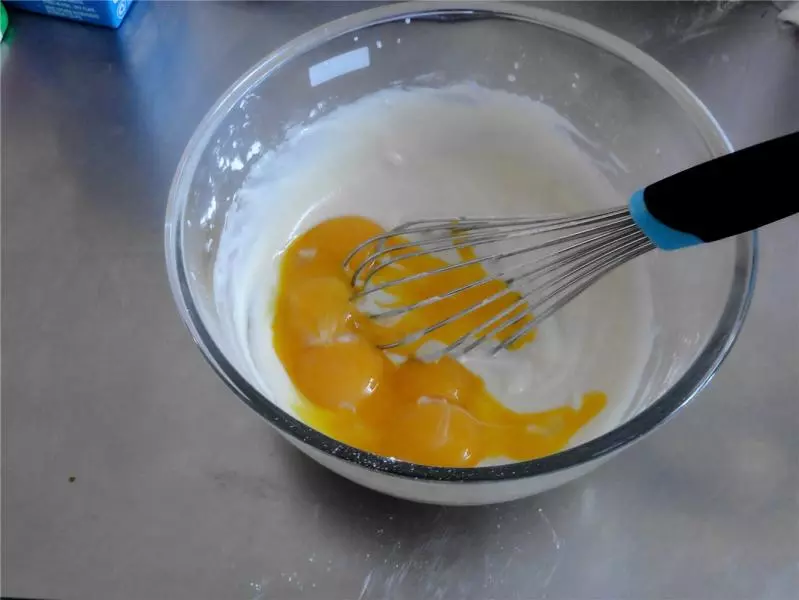
5攪拌均勻
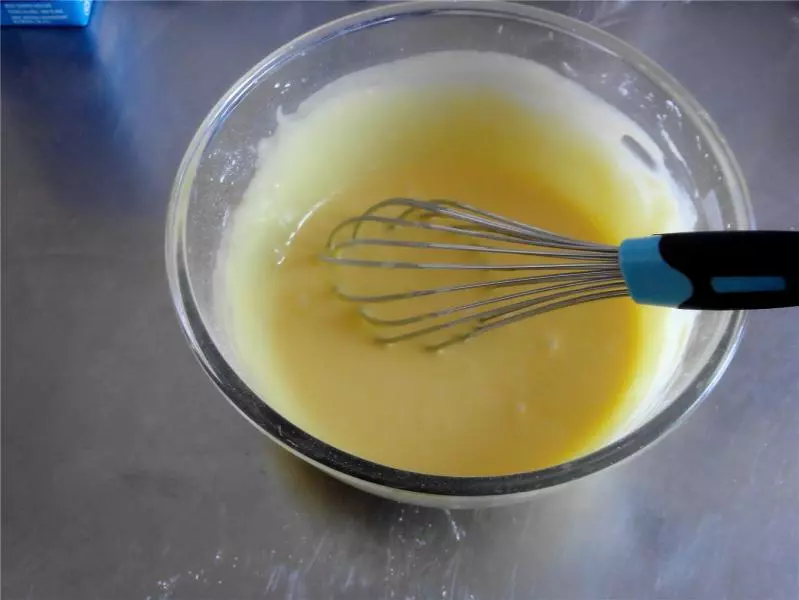
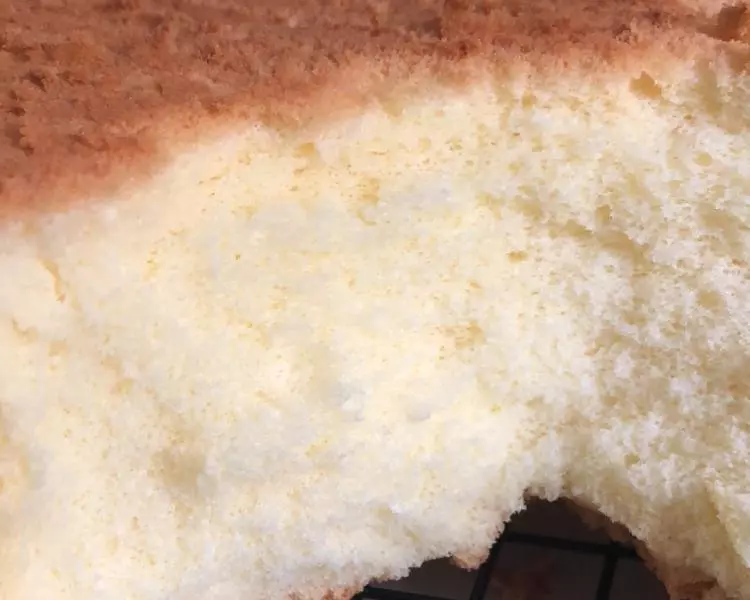
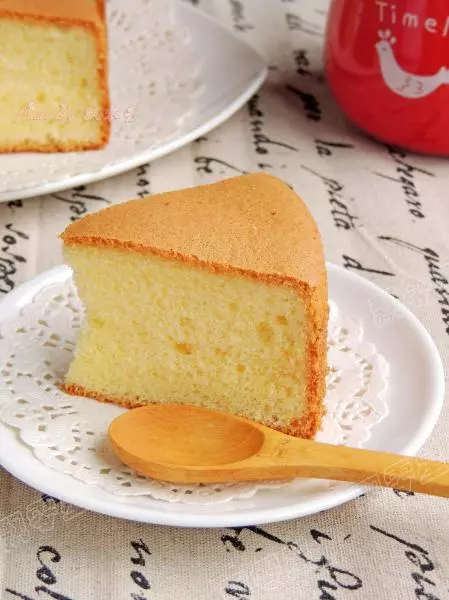
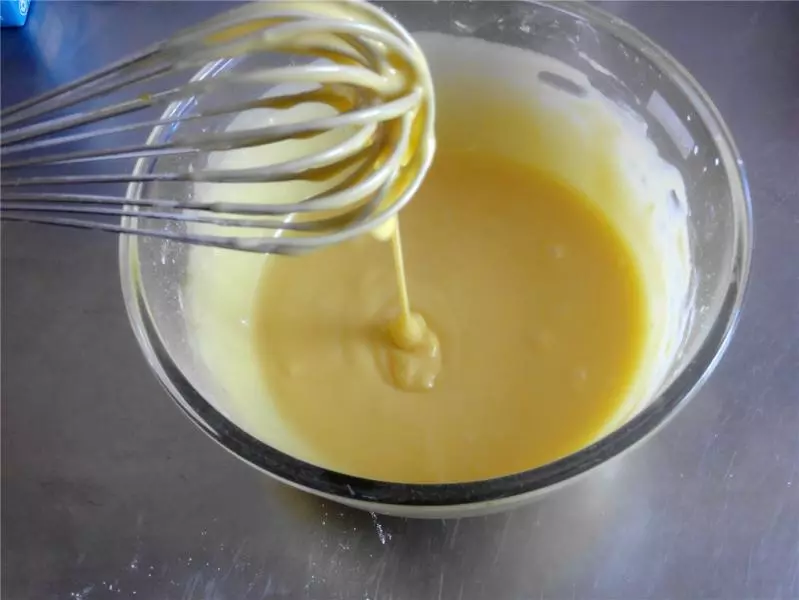
6拌好的蛋黃糊細膩有光澤
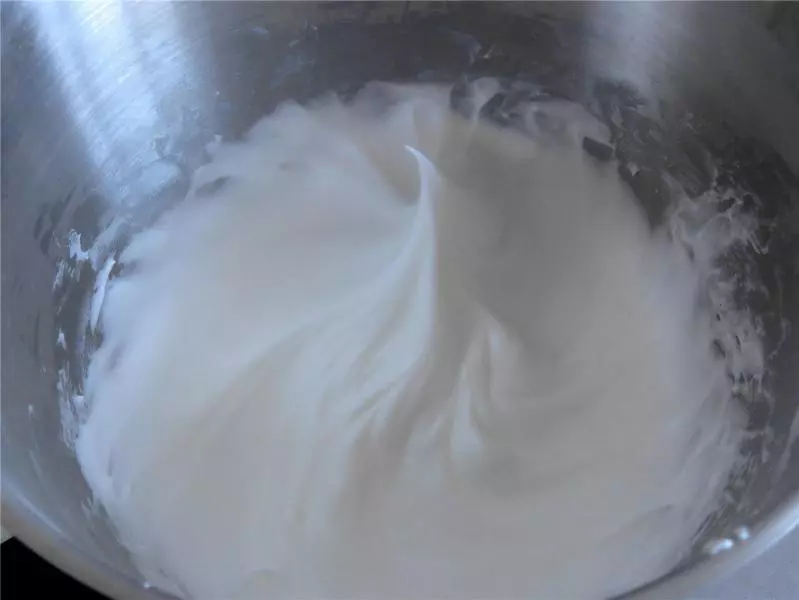
7攪打蛋白加入檸檬汁,有粗大氣泡時即可加入1/3的細砂糖繼續攪打。 蛋白霜漸漸濃稠出現紋路時,第二次加糖,繼續攪打。 蛋白霜紋路更加明顯時,加入剩餘的糖,繼續低速攪打能拉出粘稠的尖角即可
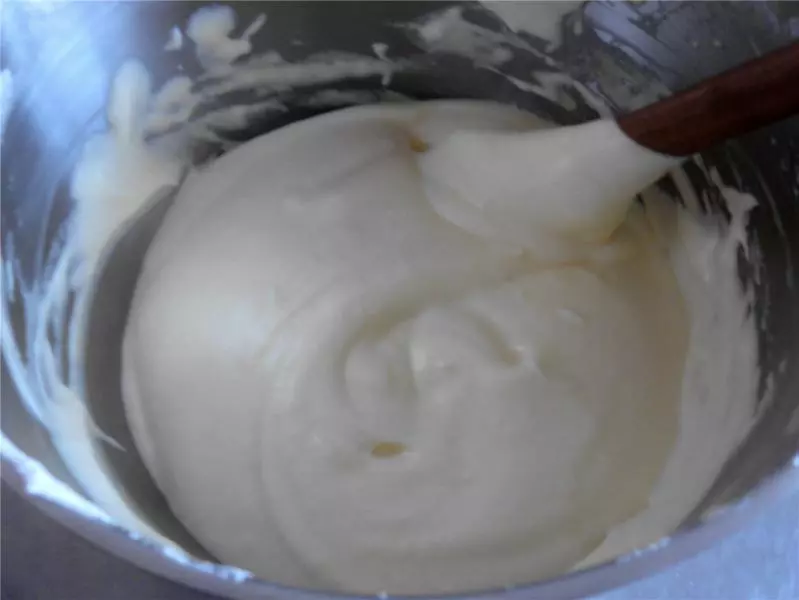
8取三分之一蛋白霜與蛋黃糊混合均勻
9倒回蛋白霜盆子,繼續自下而上翻拌均勻
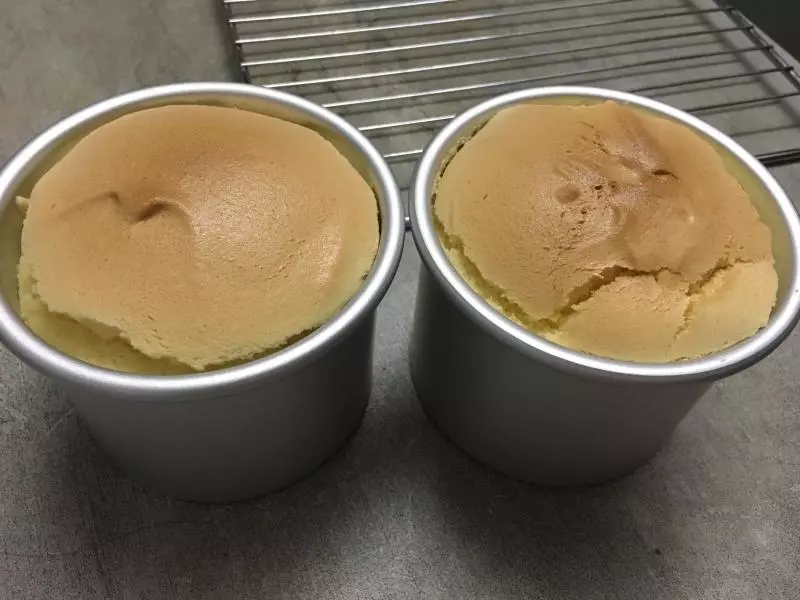
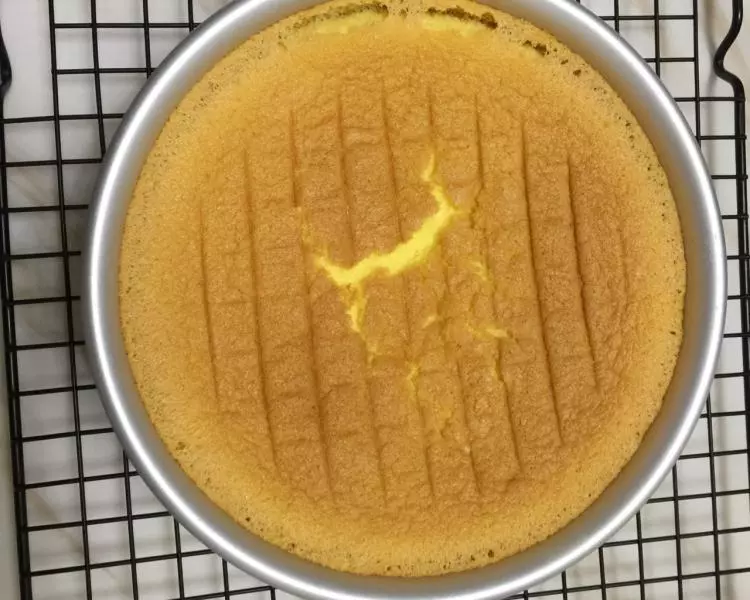
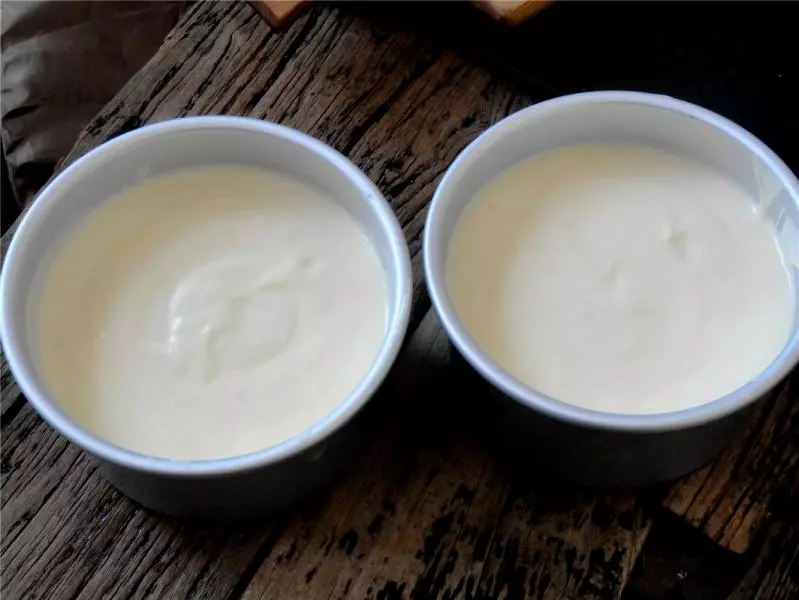
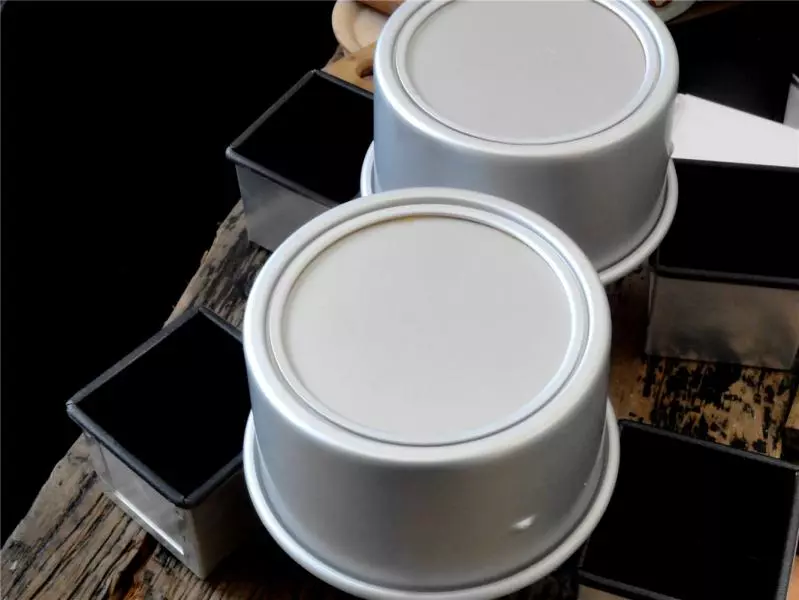
10將蛋糕糊裝入模具 輕輕震動使麵糊分布均勻
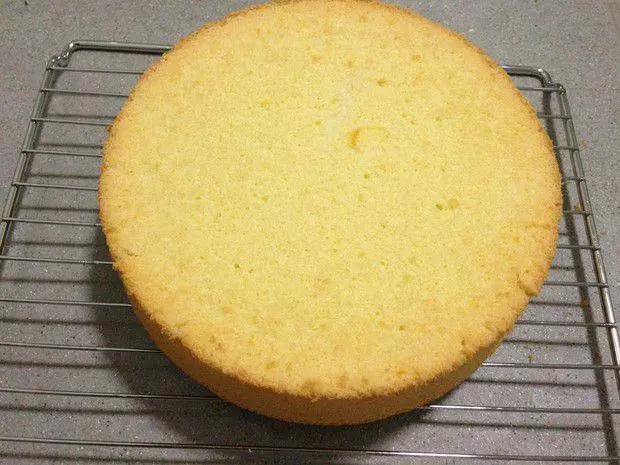
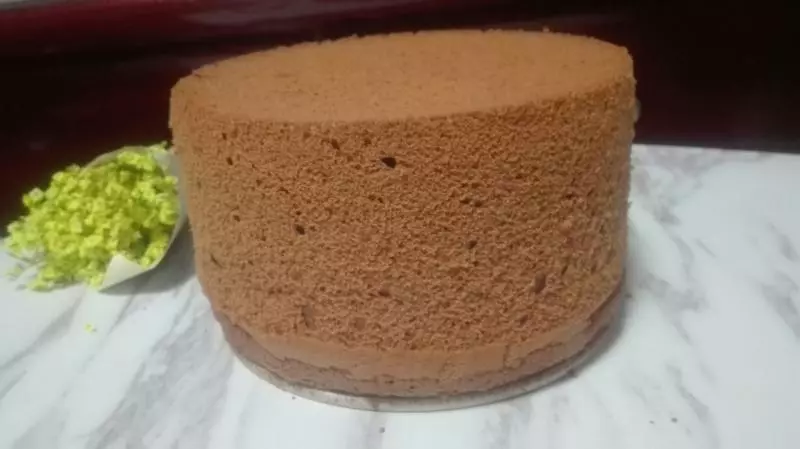
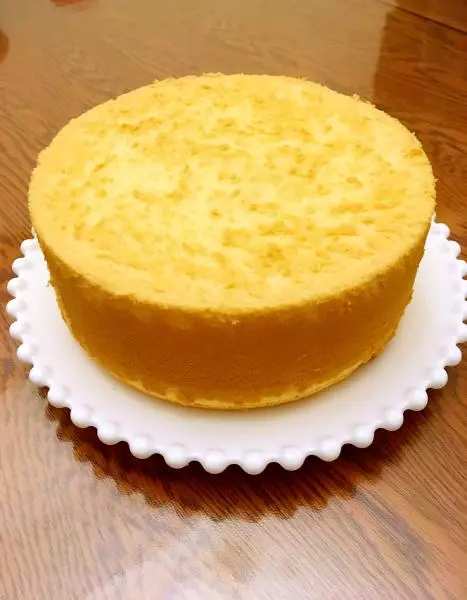
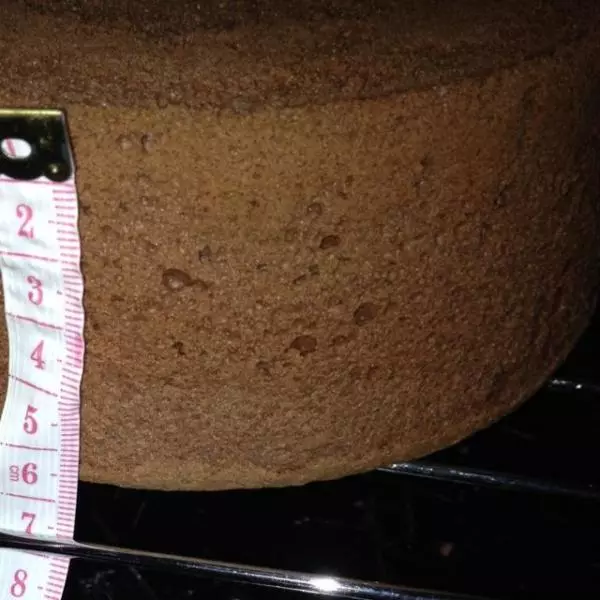
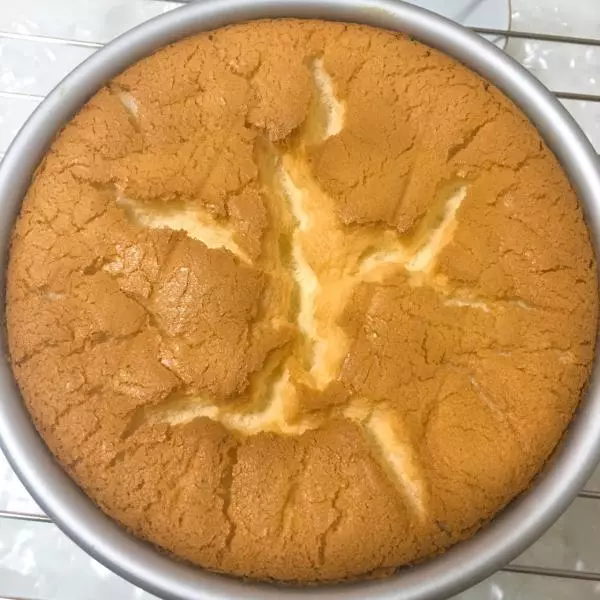
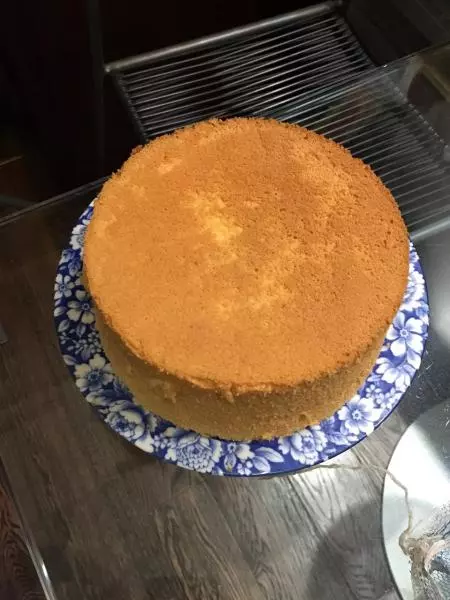
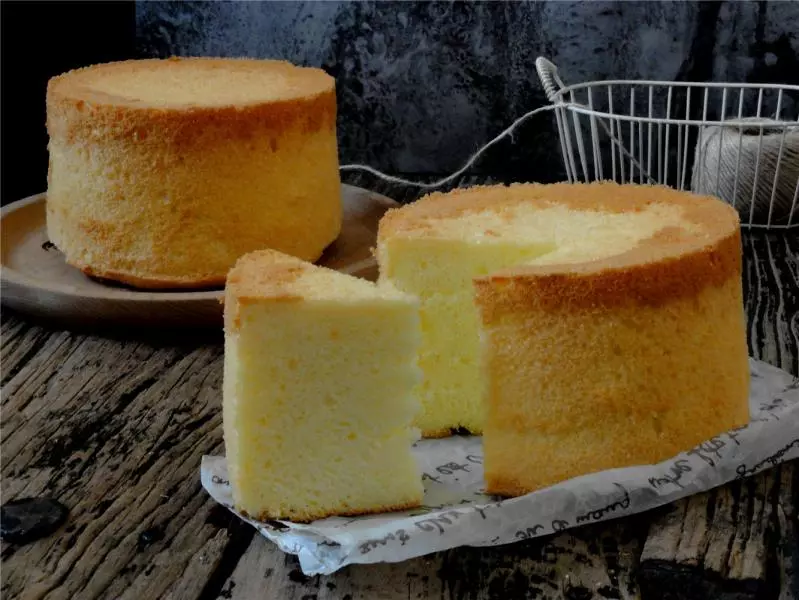
11放入預熱好的烤箱 中下層140度烘烤50分鐘

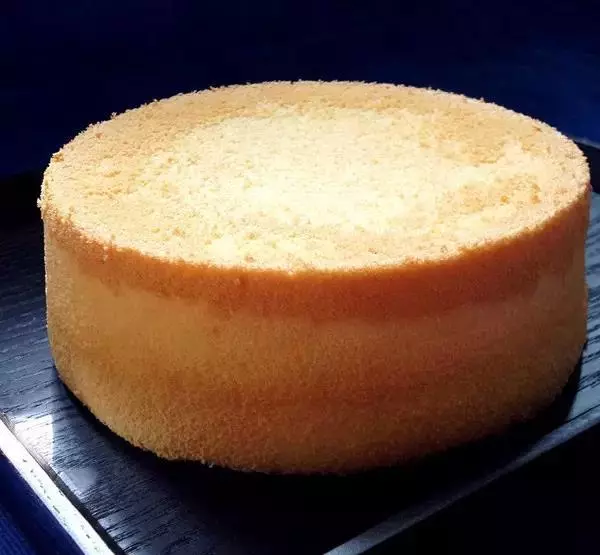
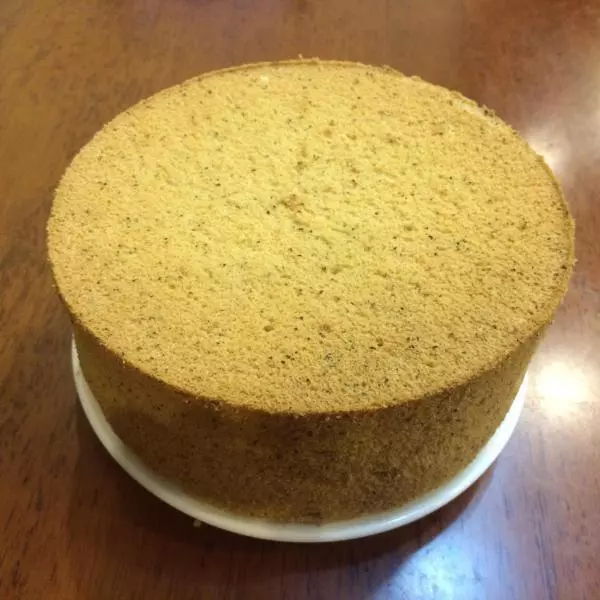
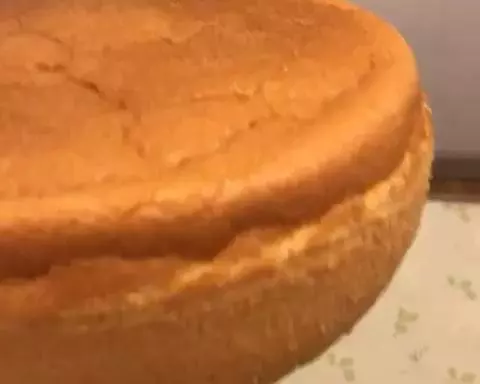
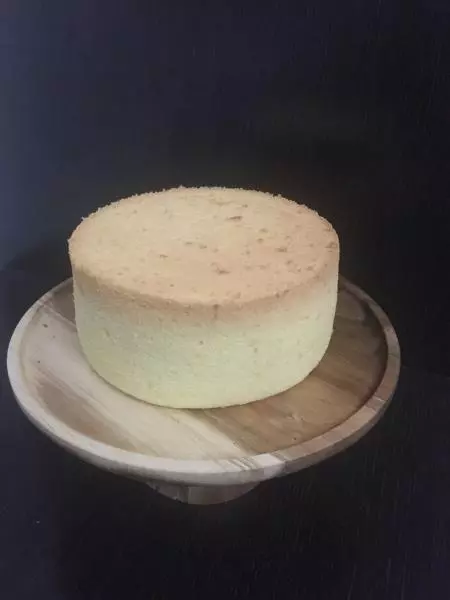
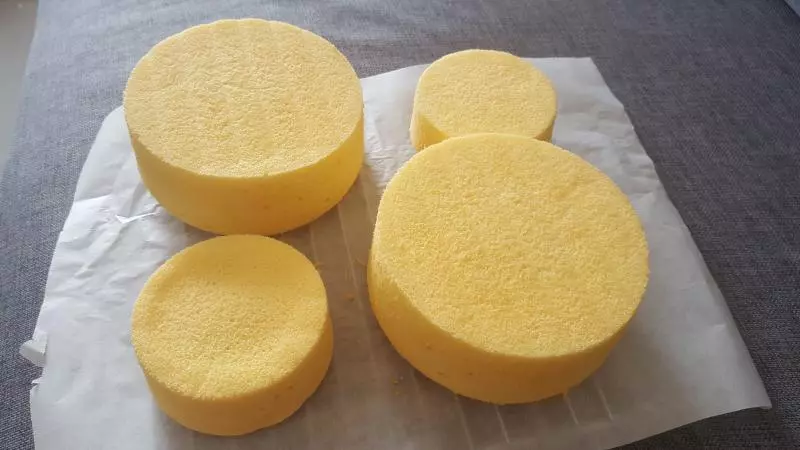
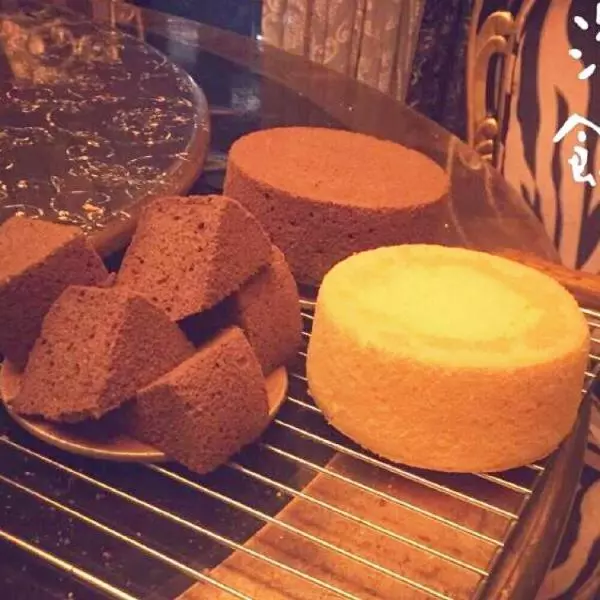
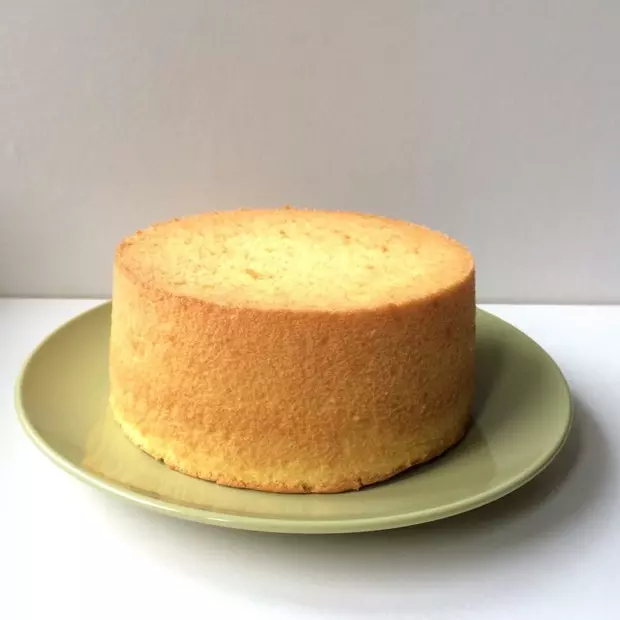
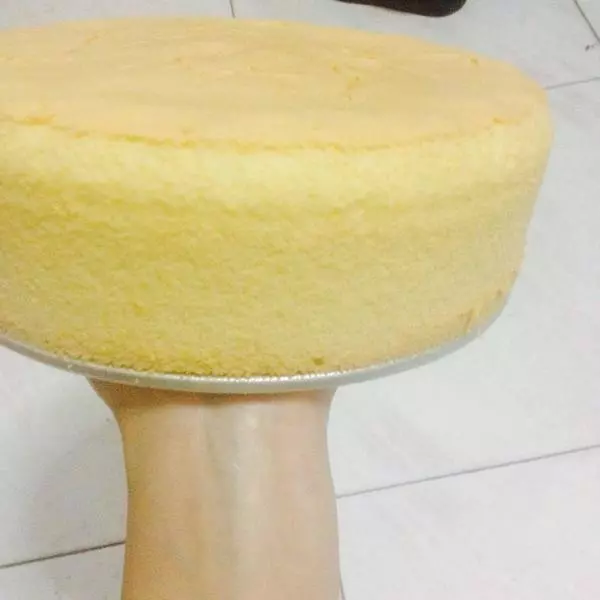
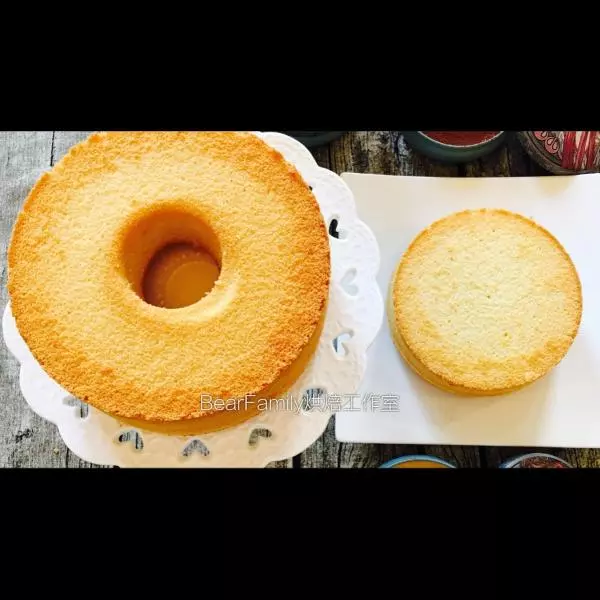
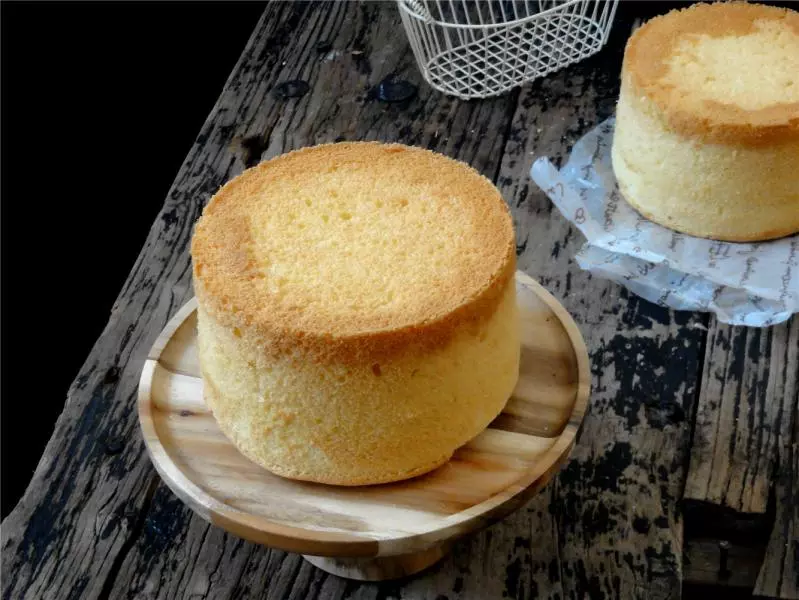
12出爐輕震倒扣冷卻後脫模
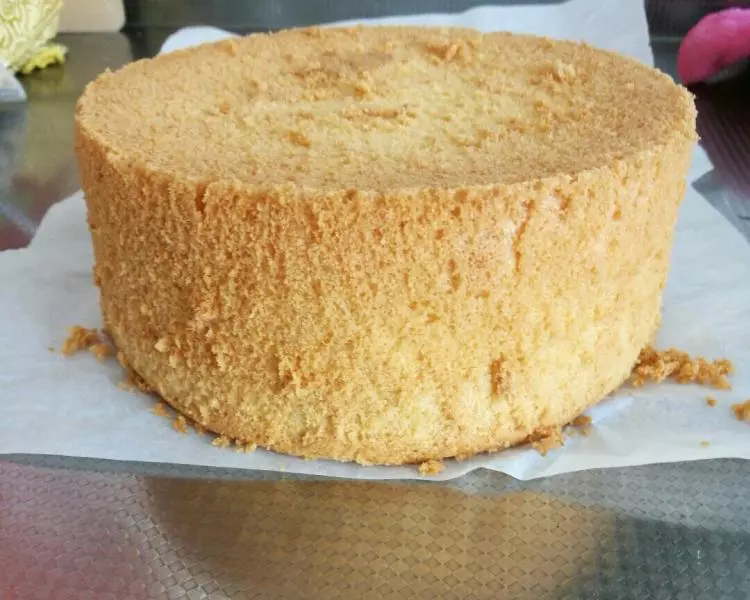
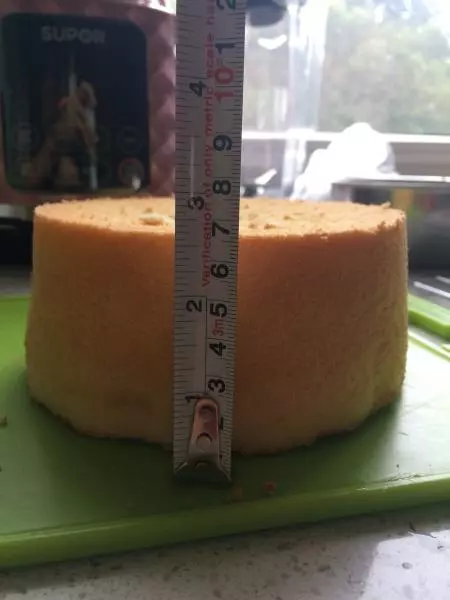
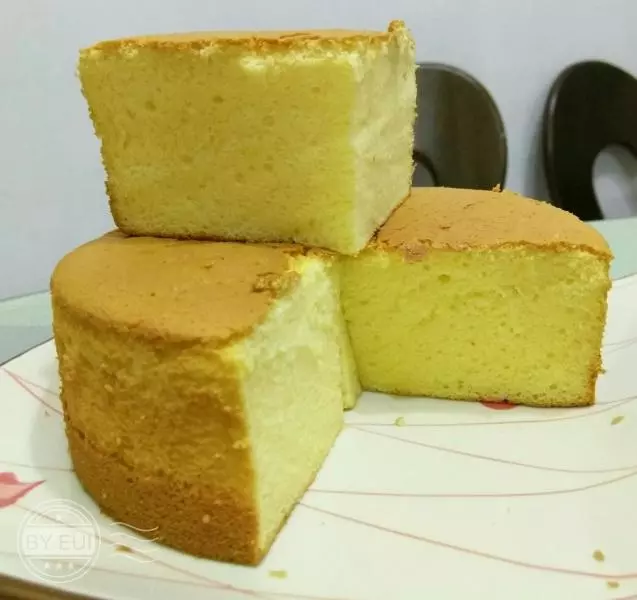
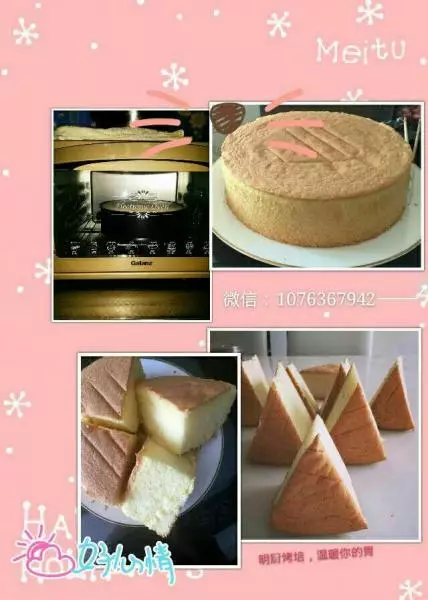
13脫模
小技巧
1、雞蛋選中號就可以,一定要新鮮的 2、烘烤的溫度時間請根據自己烤箱調整