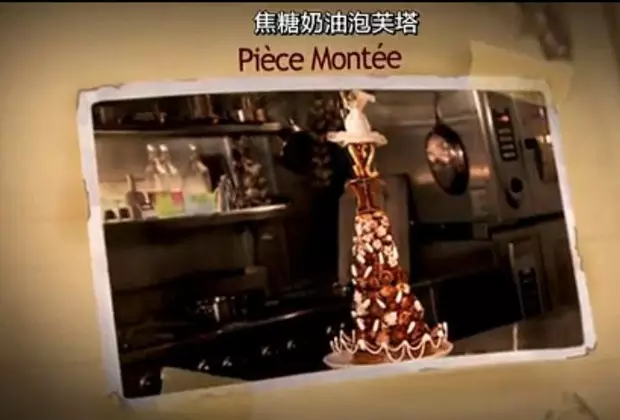
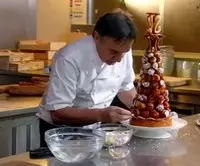
簡介
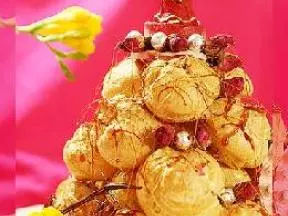
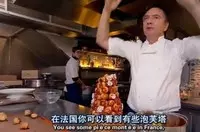
主廚說製作很費時間....,他這個泡芙塔是做來送給助手亞當的新婚禮物!!!!
原料
泡芙 80個, 金色脆片材料:, 翻糖 480克, 液體葡萄糖(葡萄糖漿) 320克, 杏仁片 400克, 黃油 適量, 裝飾:, 粘連的焦糖 奶鍋半鍋, 杏仁糖或者玫瑰糖球 適量, 白糖霜 適量
步驟
1用手指泡芙的麵糊製作
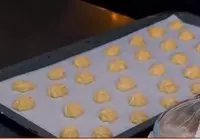
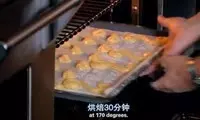
2170烘烤30分鐘(供參考)
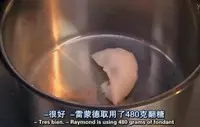
3翻糖放入奶鍋中
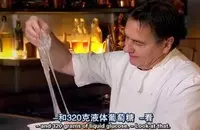
4再放入液體葡萄糖漿

5主廚的葡萄糖漿是這樣的很厚
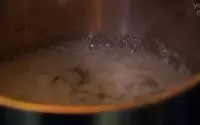
6中火加熱
7加一些些黃油

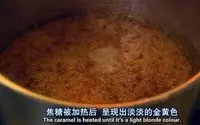
8熬製成漂亮的焦糖色
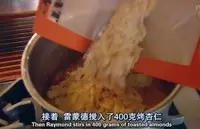
9倒入杏仁片
10攪拌在一起成團
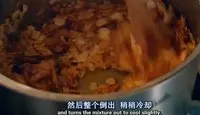
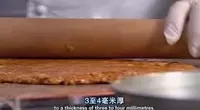
11整個倒出,在烤墊上涼涼,擀成3-4mm的厚度,要花點力度(注意很燙,操作要小心)
12脆片一旦冷卻就會變硬,回爐軟化

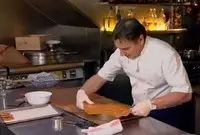
13軟化的脆片裝入塗油的烤盤中(目測8寸有的,固底)
14裝好,剪去多餘的邊邊
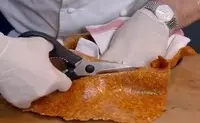
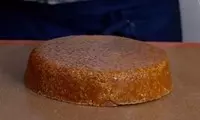
15就是這樣
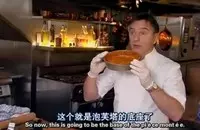
16泡芙塔底兒就完成啦....
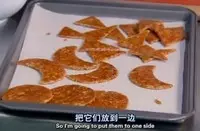
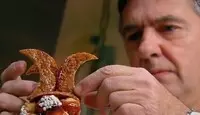
17剩下的脆片用小慕斯圈裁剪
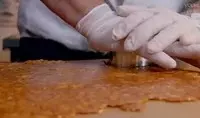
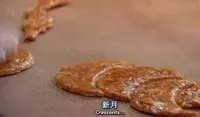
18圓形

19月牙形
20三角形
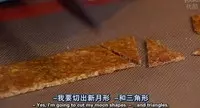
21裁好放一邊備用
22出爐的泡芙....好多吖

23橙香奶凍,原味奶凍中刮入橙皮
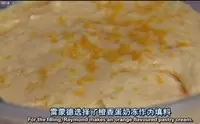
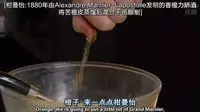
24再加入香橙力嬌酒,拌勻
25裝入裱花袋擠入泡芙里
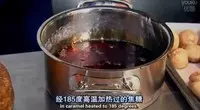
26185高溫加熱的焦糖
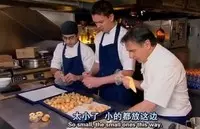
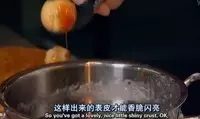
27一部分的泡芙蘸一下焦糖
28放在粗砂糖上

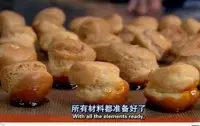
29準備完成,就可以開始造塔啦
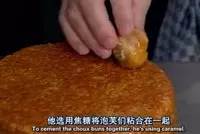
30泡芙蘸一下焦糖粘連在塔底,一個一個粘
31在一層一層往上疊加
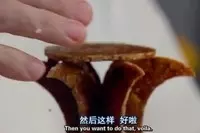
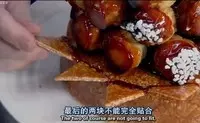
32疊完再泡芙的頂層粘上圓脆片

33再粘上月牙脆片
34再粘上圓脆片
35再粘上S形泡芙
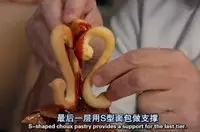
36再粘上圓脆片

37再底層粘上三角形脆片
38粘連的位置
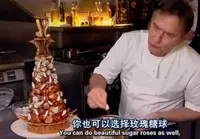
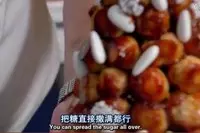
39準備好的杏仁糖或者玫瑰糖球
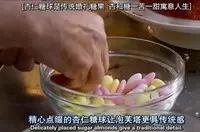
40點綴在泡芙上
41裝飾
42最後用白糖霜掛絲帶
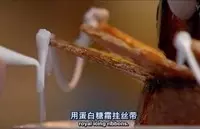
43完成啦!!

小技巧
主廚說:我們會在製作上花很多時間,但是完成的喜悅是任何都無法比擬的