原料
低粉 90克, 藍莓 30克, 雞蛋 1個, 蜂蜜 35克, 色拉油 50ml, 牛奶 40克, 檸檬汁 1小勺, 燕麥片 10克, 泡打粉 1小勺, 酸奶 70克, 低粉 80克, 糖水櫻桃 50克, 黃油 40克, 細砂糖 30克, 全蛋液 40克, 泡打粉 1/2小勺, 櫻桃糖水 1大勺
步驟
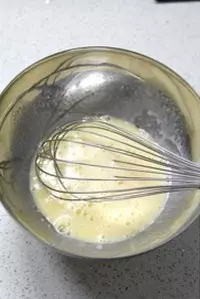
1所有液體材料加糖混合攪打均勻
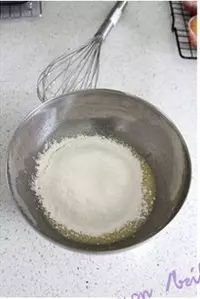
2粉類混合過篩兩次後篩入液體材料中拌勻
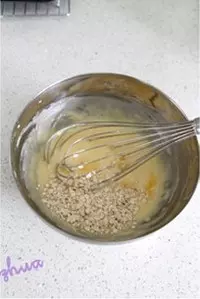
3加入燕麥片拌勻
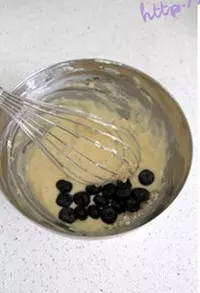
4最後加入藍莓粒混拌
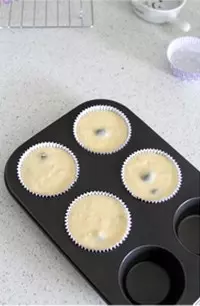
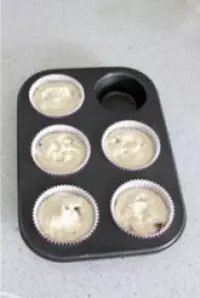
5擠入模具中8分滿,烤箱預熱180度烤18分鐘左右
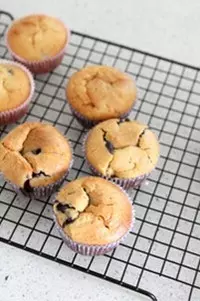
6取出後放網架上晾涼
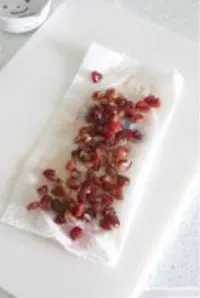
7糖水櫻桃瀝干水分切小丁備用
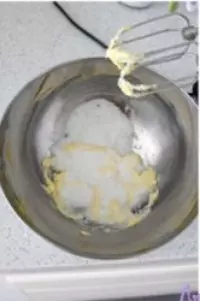
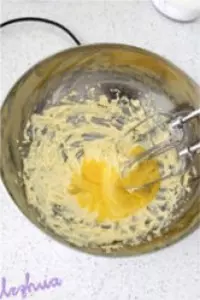
8黃油室溫軟化,加入糖攪打均勻
9分次加入全蛋液打發
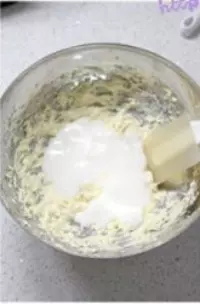
10加入酸奶用橡皮刮刀混合均勻
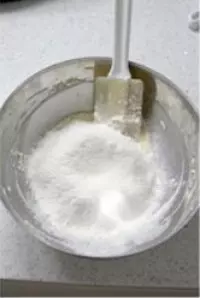
11篩入提前過篩兩次的粉類稍拌勻
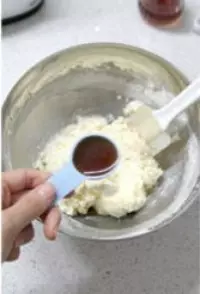
12加入一大勺櫻桃糖水拌勻
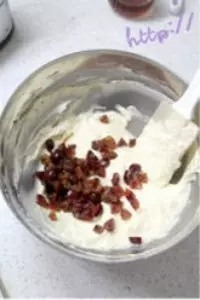
13加入櫻桃丁
14裝入裱花袋中
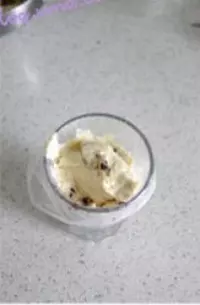
15擠入模具中8分滿,烤箱預熱180度烤25分鐘左右
小技巧
1.蛋液要分次加入,每次都要混合均勻後再加下一次,然後加入酸奶用橡皮刮刀拌勻即可,不要用電動打蛋器以免造成水油分離。 2.蛋糕的烘烤溫度依據個人烤箱而定,用牙籤插入取出後沒有黏糊糊的麵糊即可。 3.做好的杯蛋糕晾涼後放保鮮盒裡密封保存,天熱時冷藏保存,吃之前提前室溫回溫再品嘗。