原料
皮:: , 黄油: 250克, 全蛋液: 60克, 低筋面粉: 300克, 中筋面粉: 25克, 糖粉: 40克, 杏仁粉: 25克, 奶粉: 40克, 馅:: , 菠萝渣: 600克, 冰糖: 150克, 麦芽糖: 120克
步骤
1熬馅。将称好的菠萝渣,少量菠萝汁,冰糖倒入平底锅,大火不停翻炒。
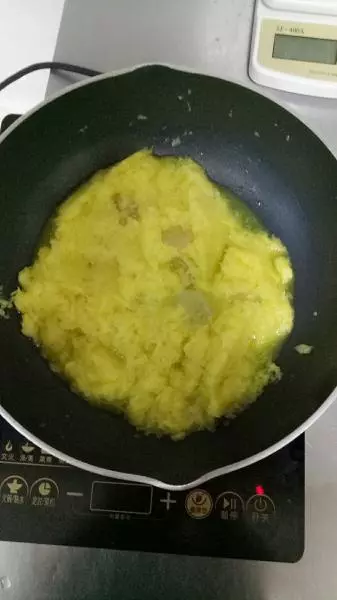
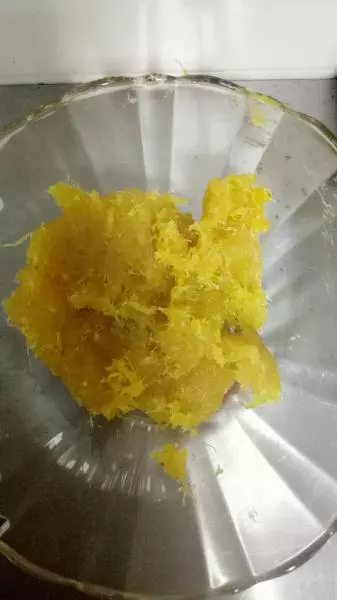
2水分快干的时候倒入麦芽糖,小火继续不停翻炒,直至馅比较粘稠,有拉丝的感觉时,馅就完成了。然后冷却,放冰箱冷藏待用。
3做皮。准备材料,黄油切小软化。(用手指按压一下,有一点软即可)
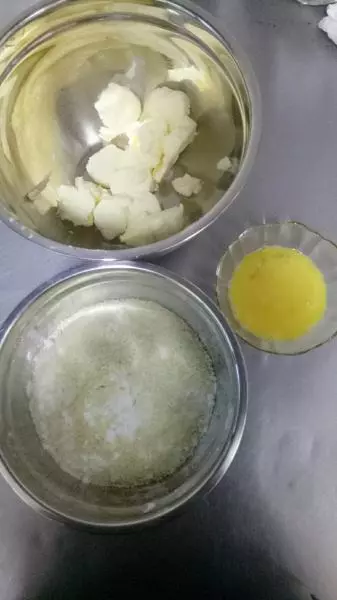
4用打蛋器低速打散黄油,再加入全蛋液中速打发均匀,色呈乳白色即可。
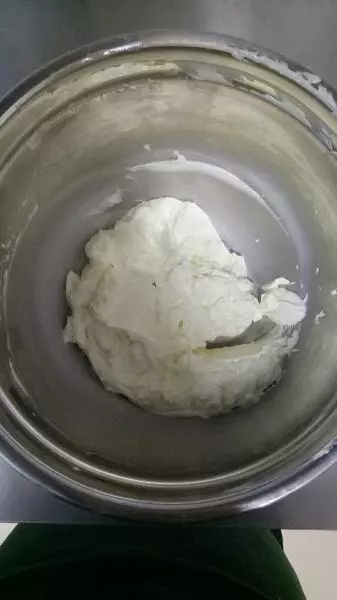
5筛入其他粉类食材,拌匀至无颗粒。然后放入冰箱醒发15分钟左右。(时间无限制,软硬刚好即可)
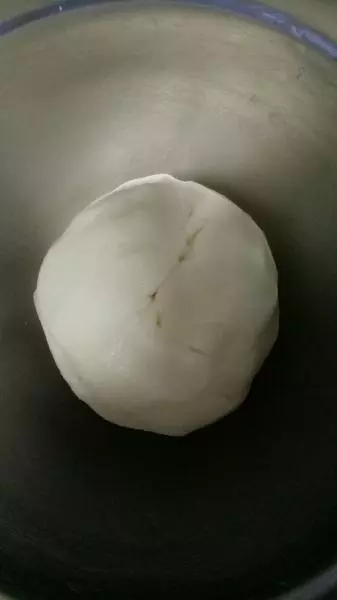
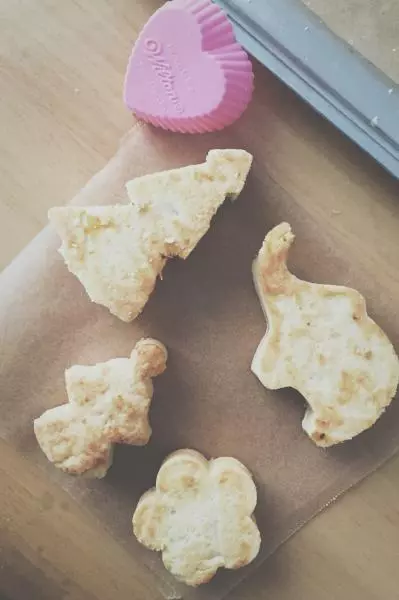
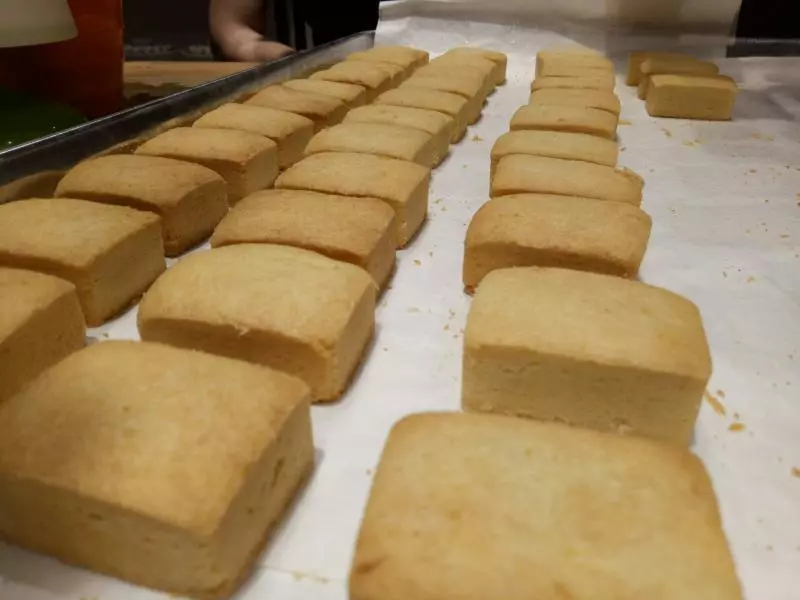
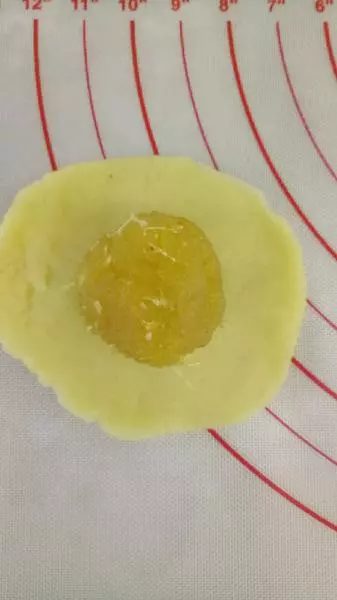
6预热烤箱170度,烤盘铺硅油纸,将皮分成22g/个,馅15g/个,包好揉圆,放入模具,用手掌按压至整个模具即可。烤大概30分钟(期间需要翻面)
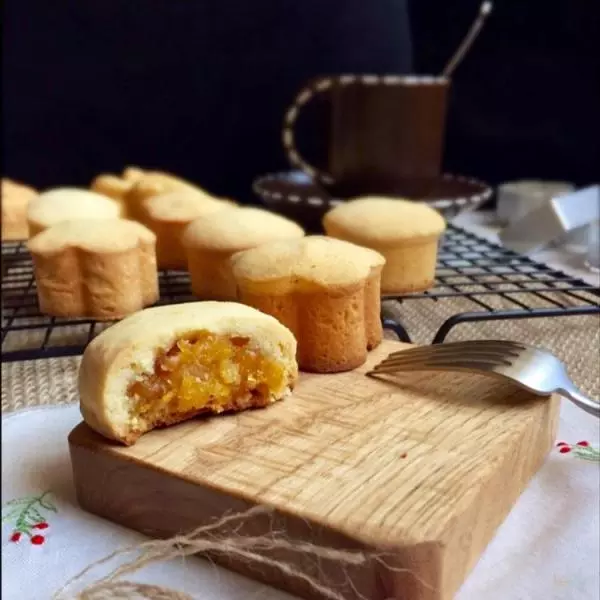
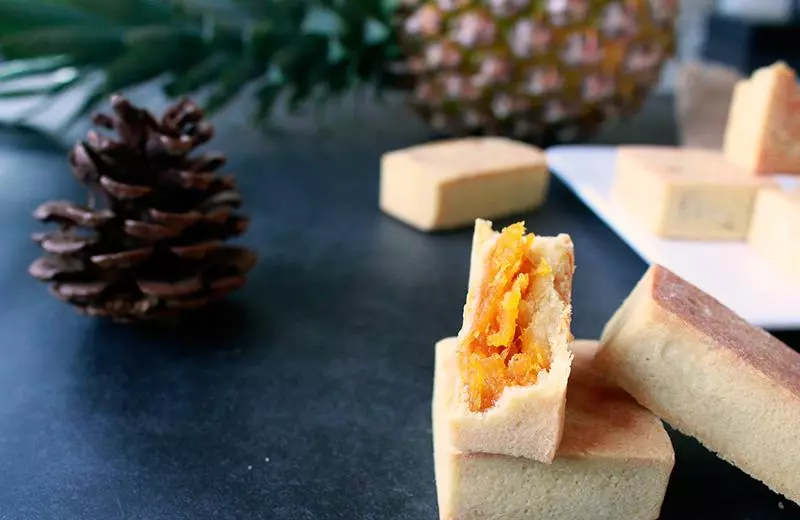
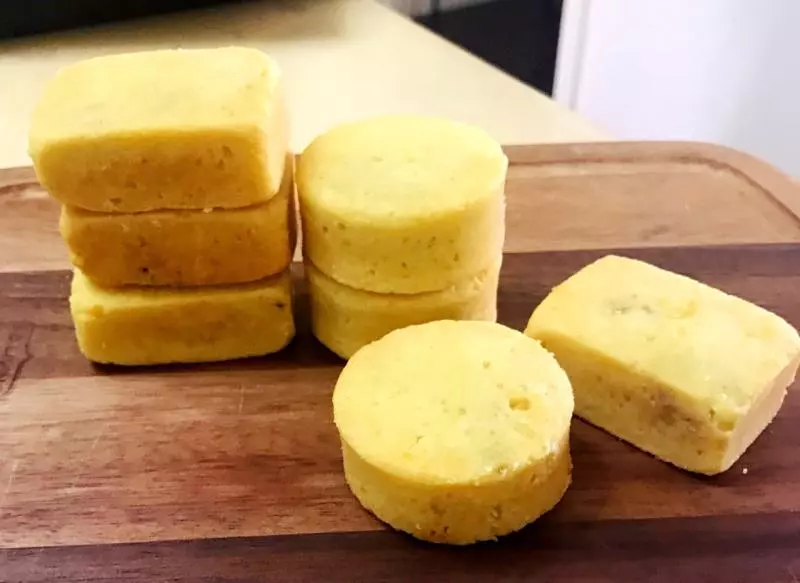
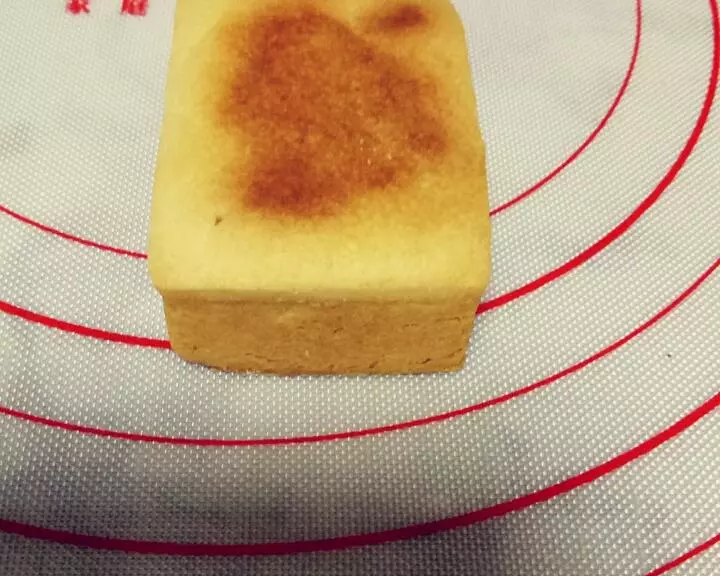
7脱模,冷却。美味的凤梨酥出炉咯!(喜欢颜色浅一点的也可以缩短烘烤时间,我个人喜欢颜色深点)
小技巧
1,不同烤箱的温度不同,需根据自己的烤箱来调整温度。 2,定型的时候需要速战速决,黄油熔点很低,很容易融化掉。 3,烤箱温度普遍下温度调低20度