原料
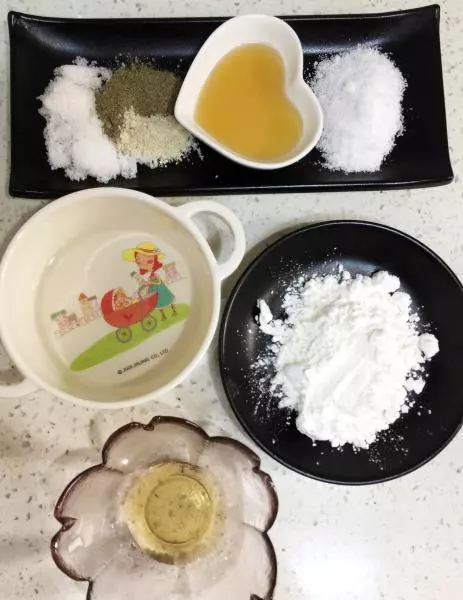
肥瘦猪肉2:8比例: 2:8比例, 白砂糖: 12g, 淀粉: 20g, 胡椒粉: 3g, 黄酒: 8g, 纯净水: 40g, 盐: 14g, 蜂蜜: 10g, 五香粉(其他香粉也可): 2g, 生姜: 多片, 羊肠衣: 2根, 味精: 1g
步骤
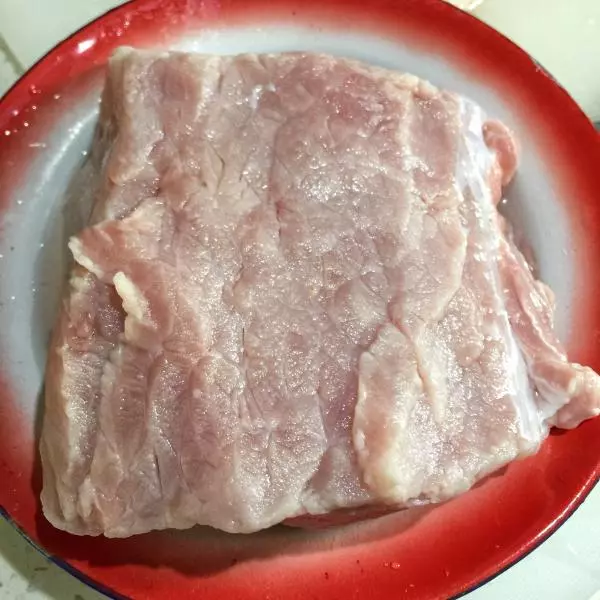
1猪肉洗净,肥、瘦肉切分开。
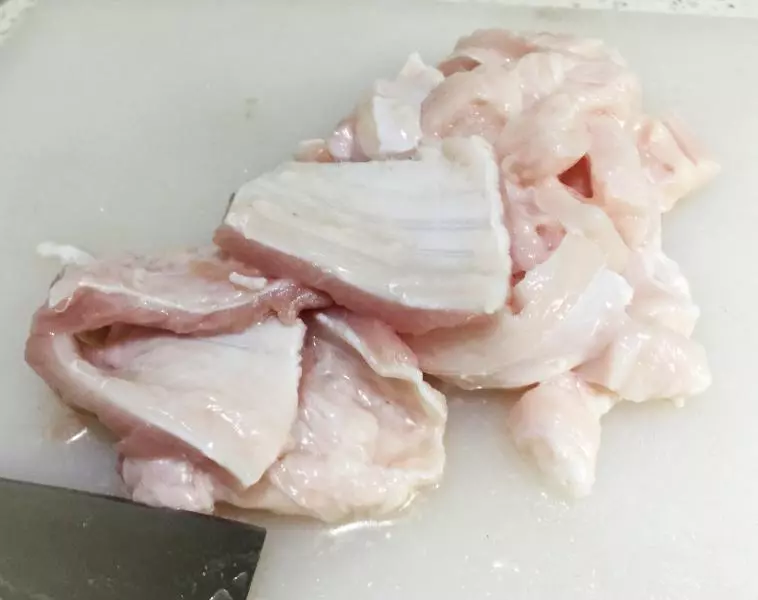
2肥肉去皮切块放入破壁机准备启动搅。
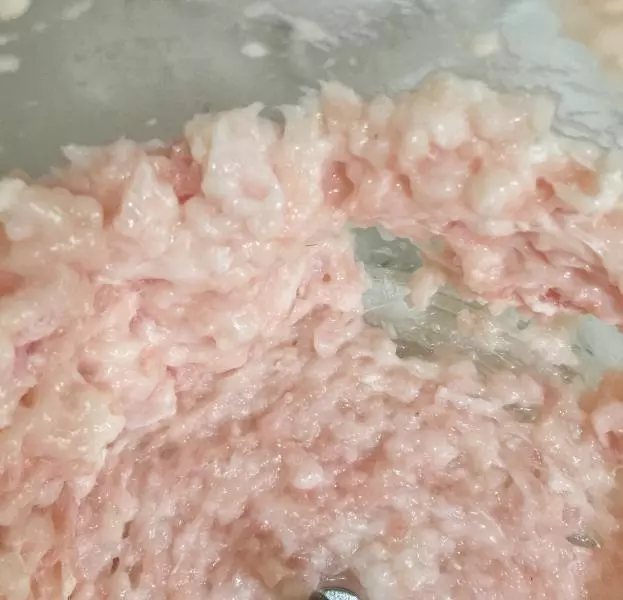
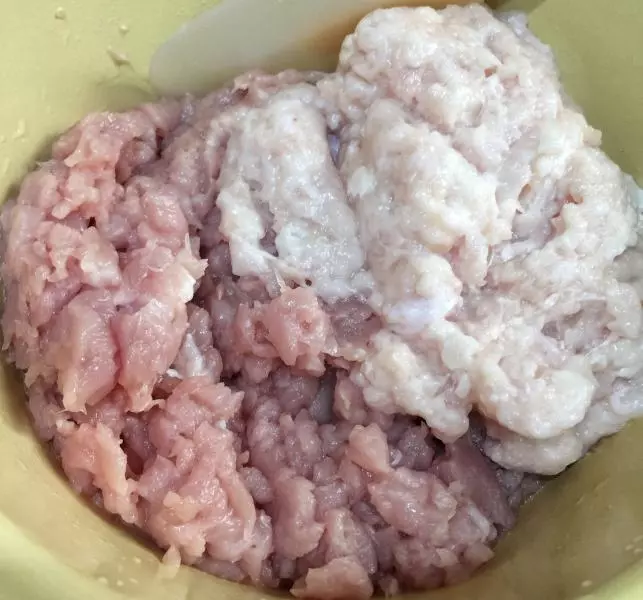
3肥肉搅碎成泥。
4瘦肉切块放入破壁机搅,稍微搅成小块就可,不需要太小。
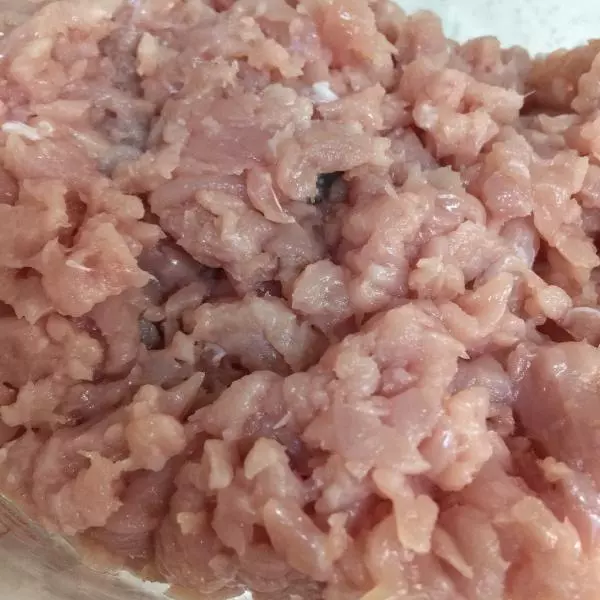
5我用破壁机一点动,搅的比较细小。【瘦肉不需要搅碎成泥】成小块也可以,但肥肉一定要搅碎成泥。装入碗里准备加料。
6称取好所需佐料。
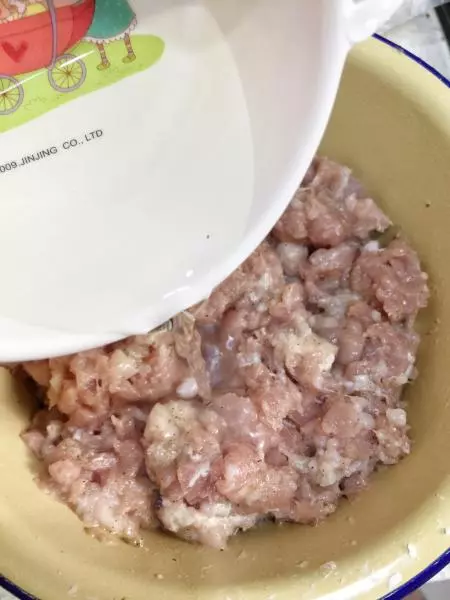
7除了纯净水,把所有称取好的佐料放入肉碗里,用筷子顺着一个方向搅均匀。
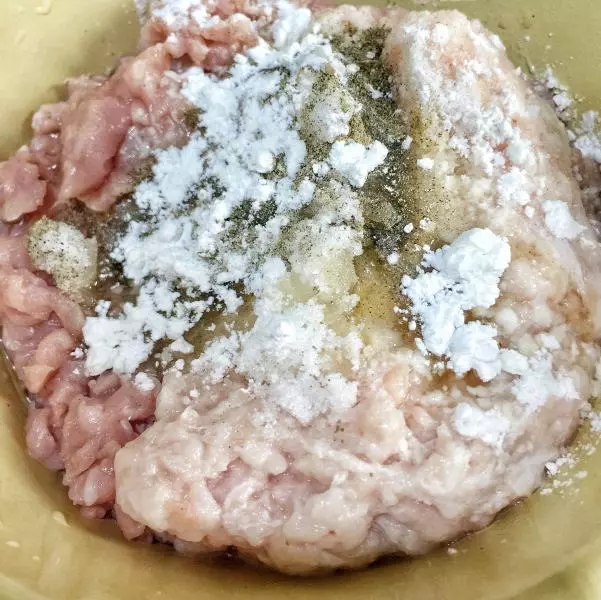
8开始边搅边加水,不能一下子把水都倒里面。我先用筷子搅,后来带的一次性手套抓翻肉料,这样也更入味,做出来也更香更Q
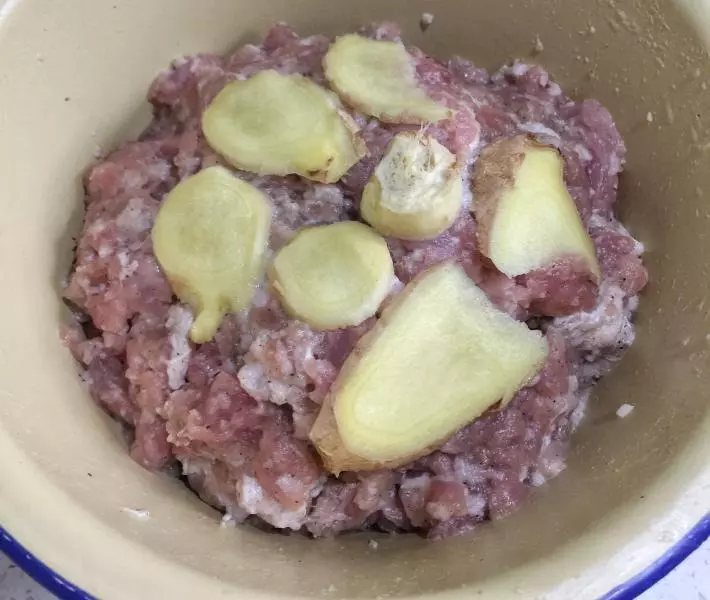
9搅好后,放上几片生姜,盖好保鲜膜,放入冰箱冷藏6小时。
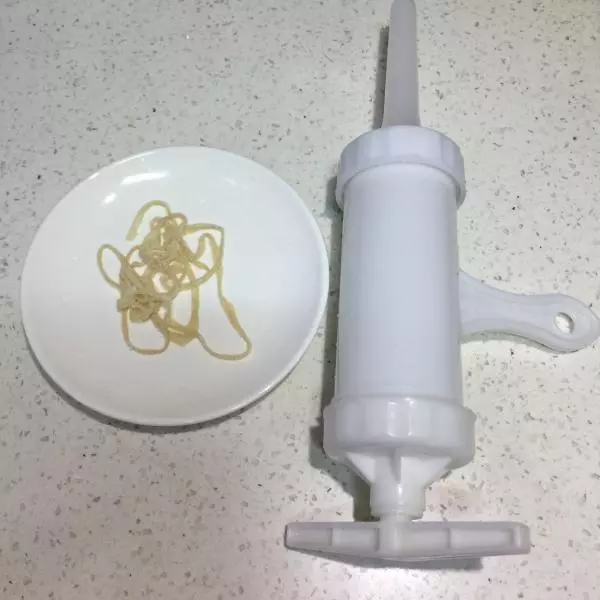
10在灌肠之前提前一小时把羊肠衣拿出来泡,清水泡一小时,可以加点黄酒泡【羊肠衣在菜场、网上都可以买到,我在网上买的另送的灌肠器】
11六小时后冰箱取出肉碗,再次翻动下肉。

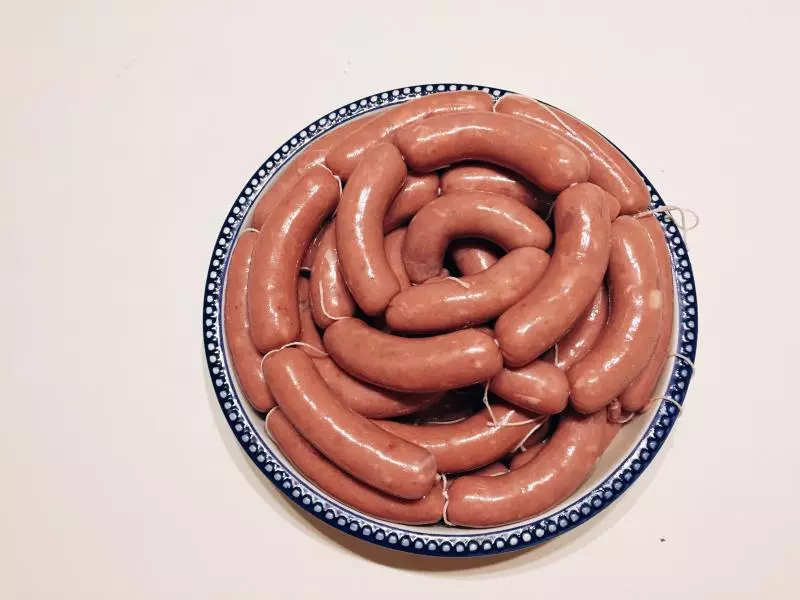
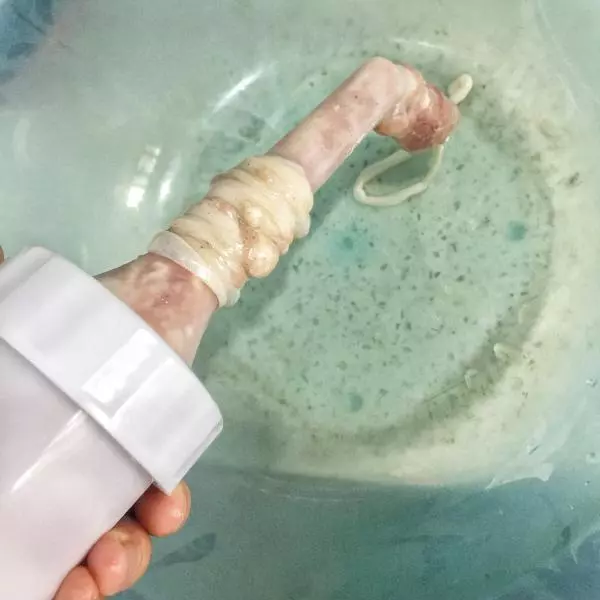
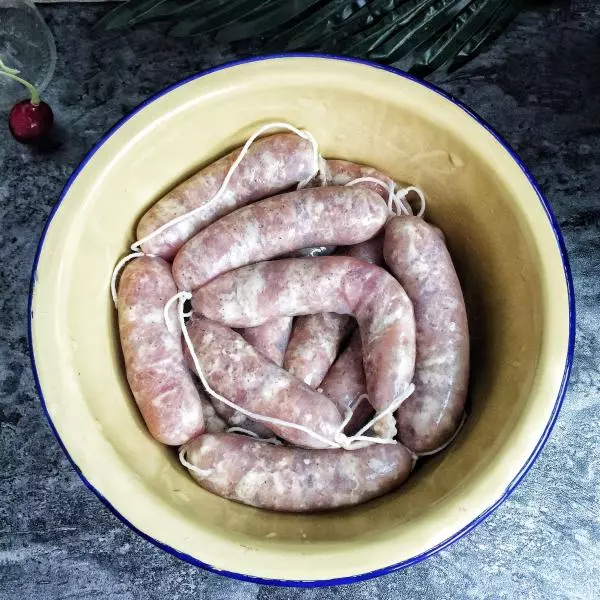
12找到肠衣口开始灌制,不要灌的太粗,早餐吃的还是细细就可以了,太粗也容易破。
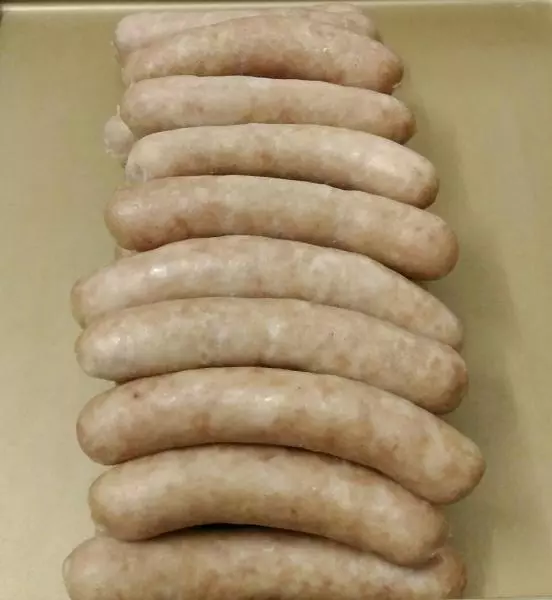
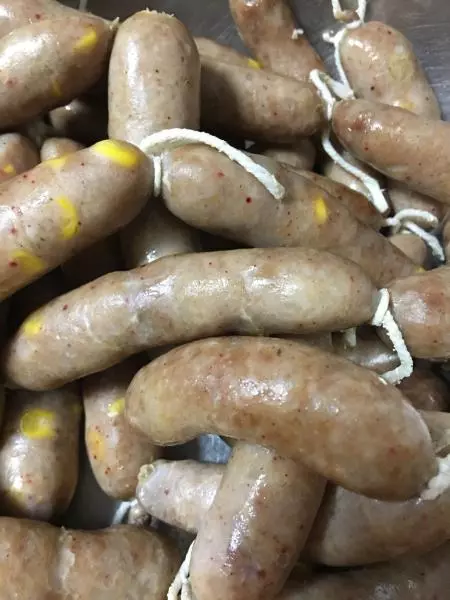
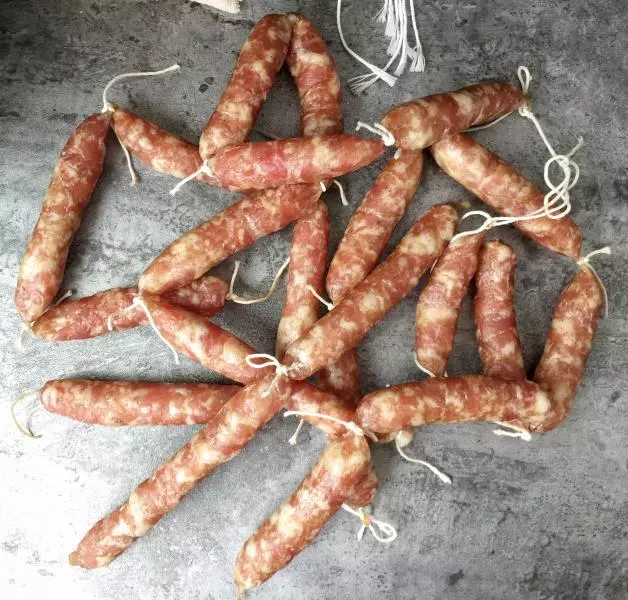
13灌好后用牙签在每根肠上戳七八个小洞,鼓起来的要戳破,然后晾晒风干,由于阴天,我用电风扇吹了一天,吹干至皮皱。
14吹干后至皮皱。
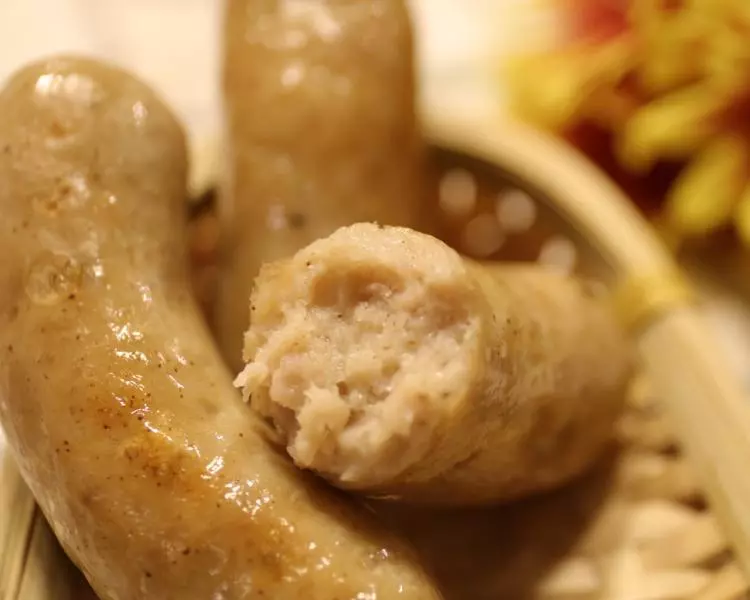
15风干后,锅里放入清水,开小火煮至出现白沫就可,不需要煮沸腾。
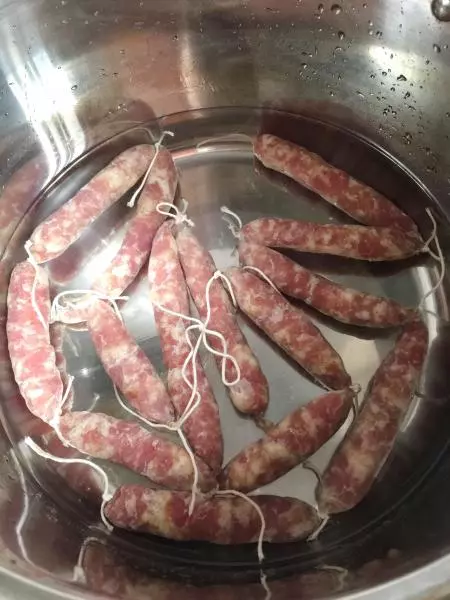
16煮后凉冷然后可真空包装好放冰箱冷冻方便下次吃多少取多少。
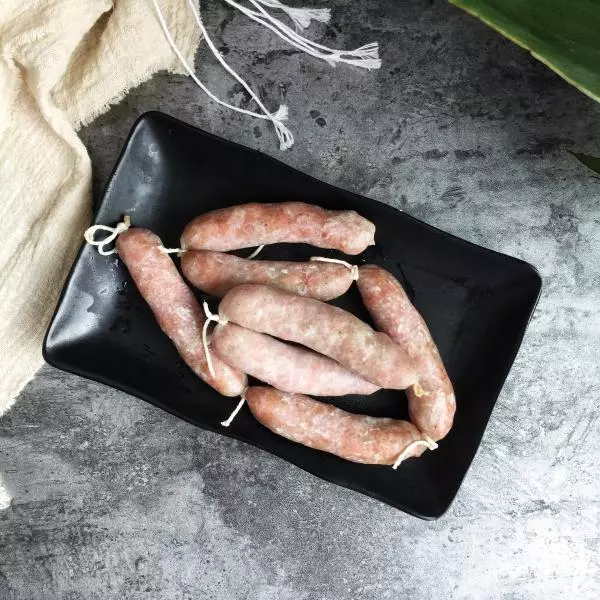
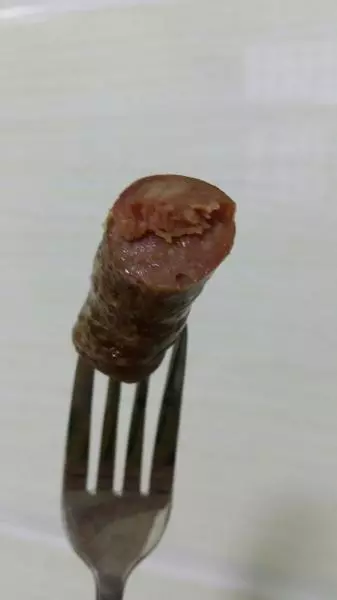
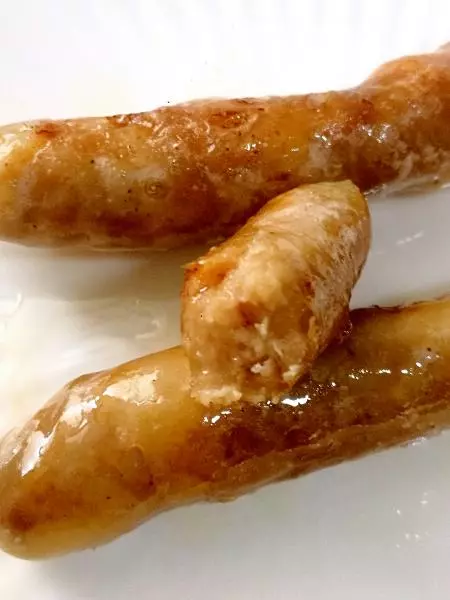
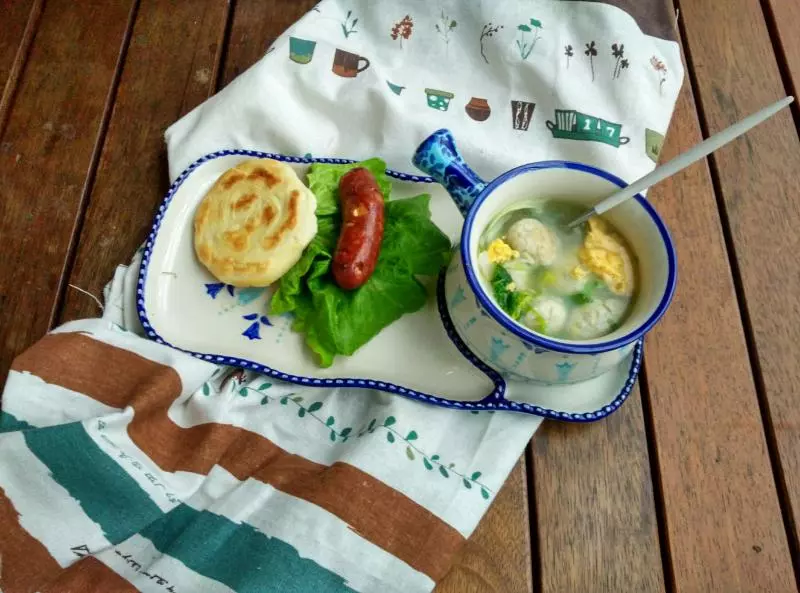
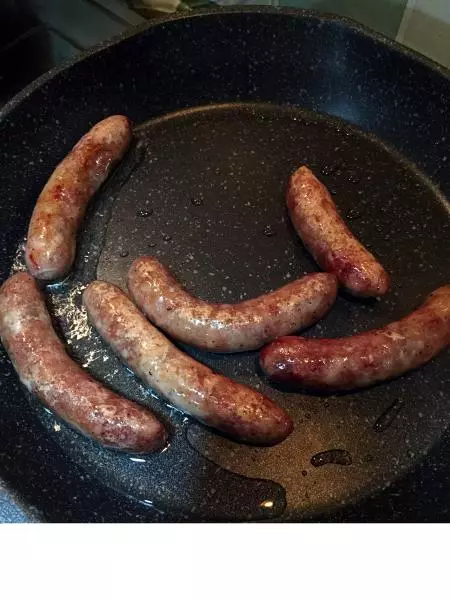
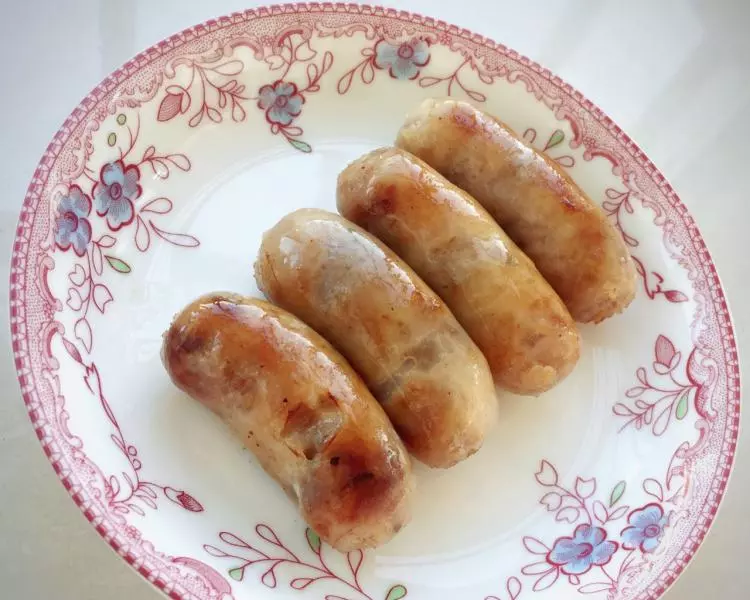
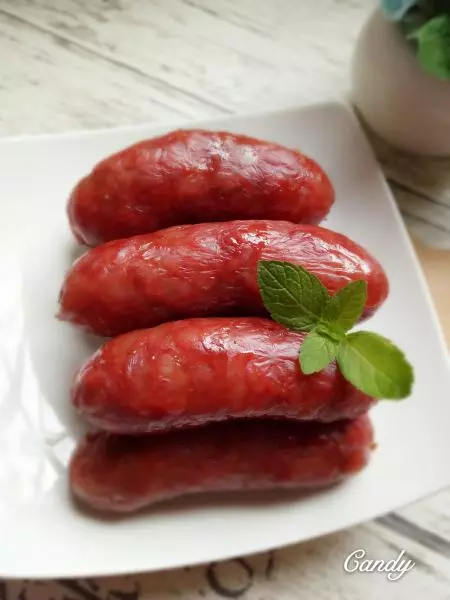
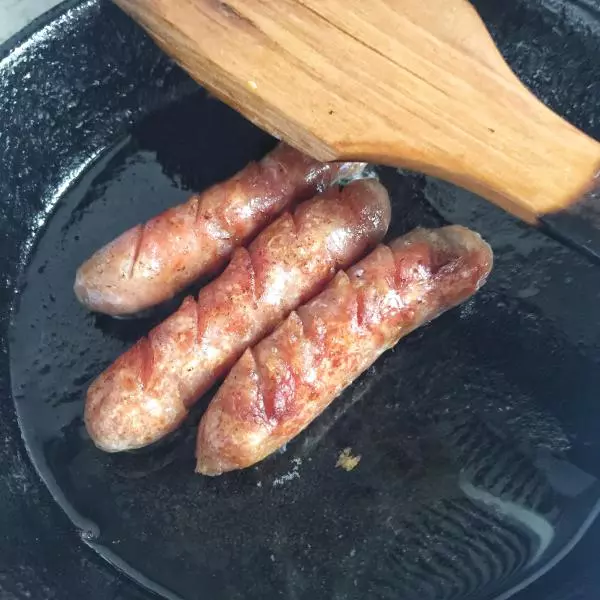
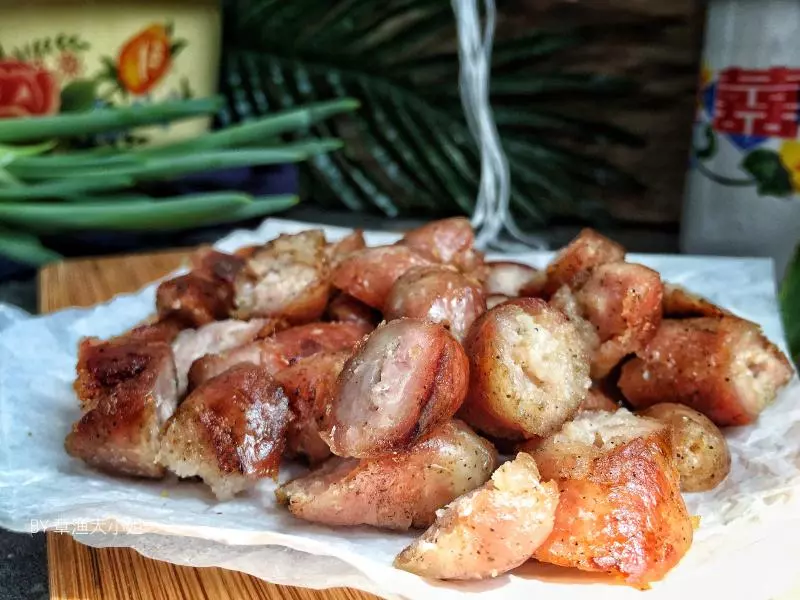
17迫不及待的煎了几根,味道正正好适合个人口味。
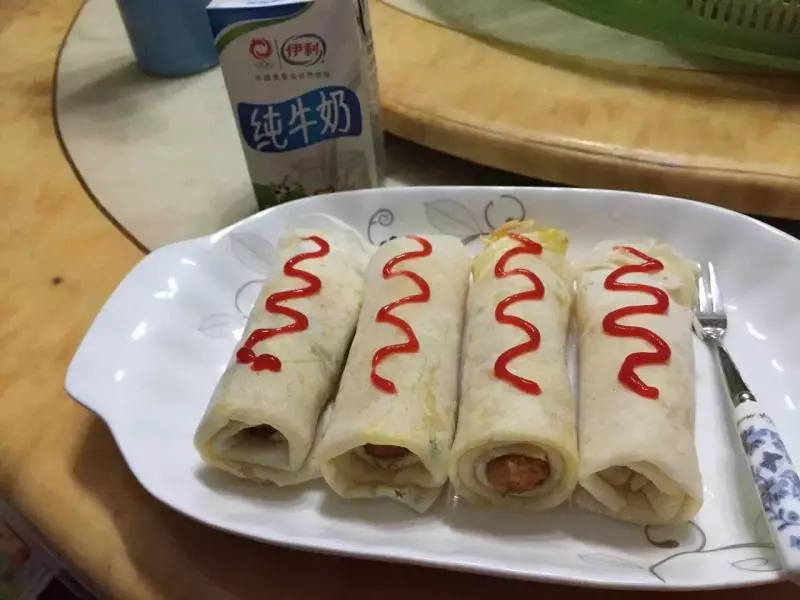
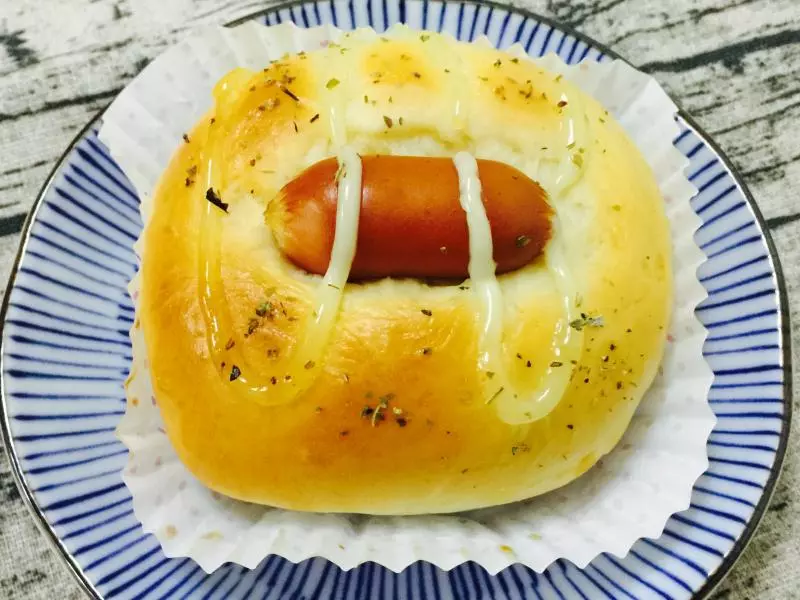
18摆拍!
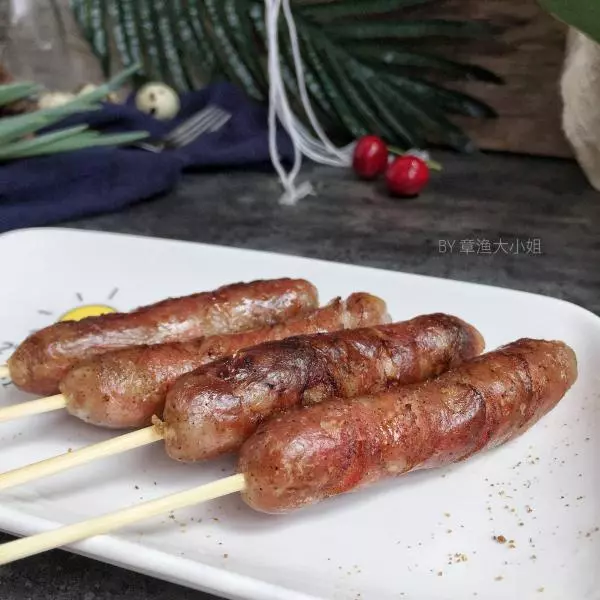
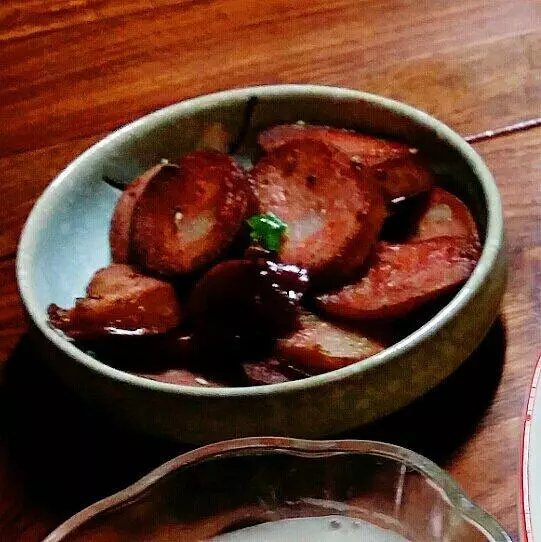
19再摆拍!
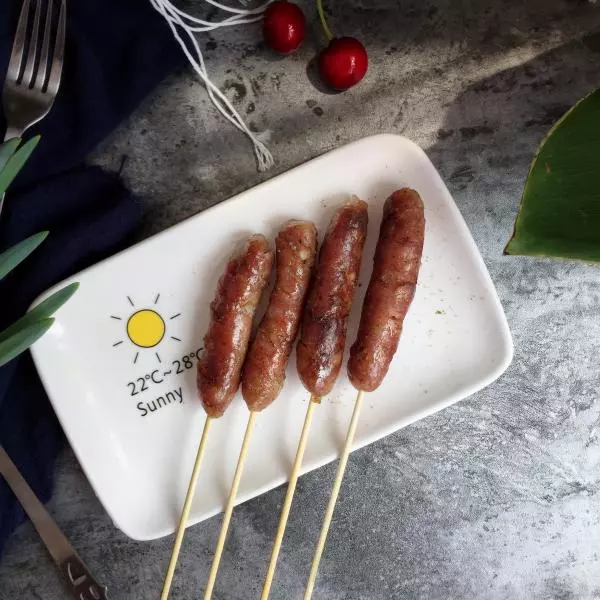
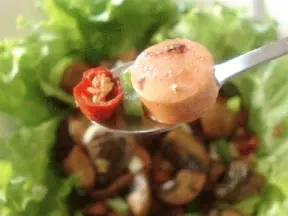
20再来一张!
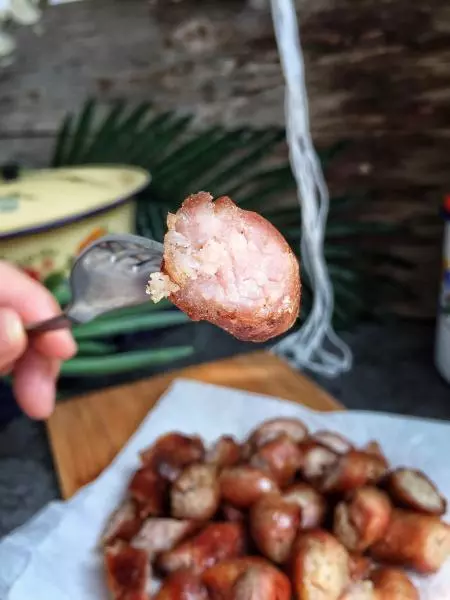
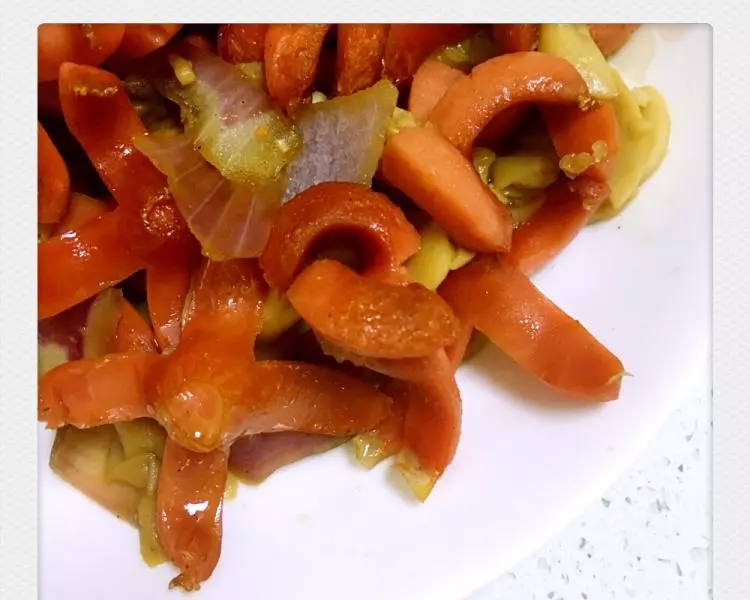
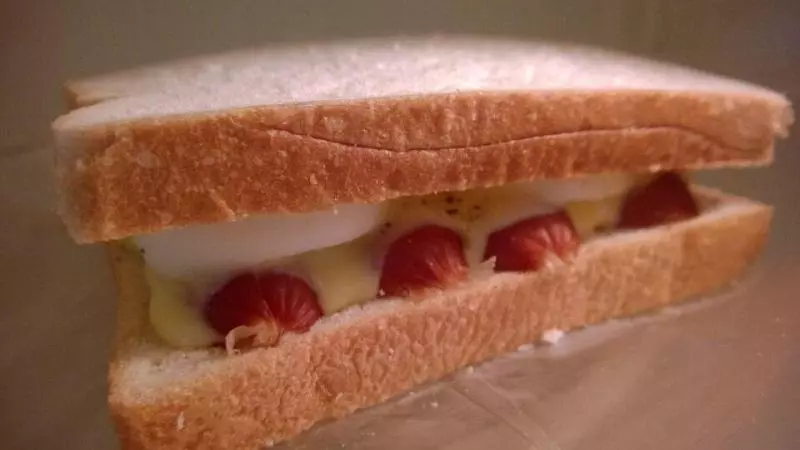
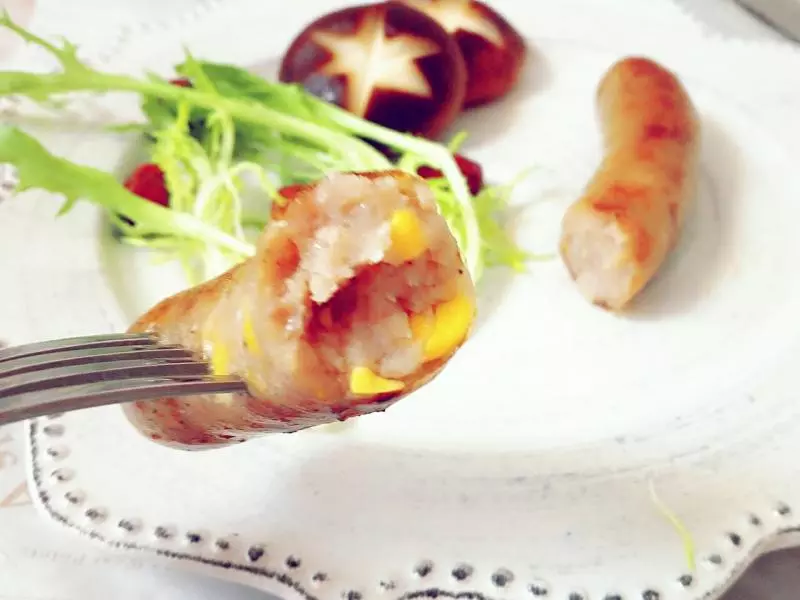
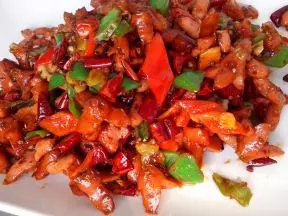
21再拍一张切块的!
小技巧
顺着一个方向搅拌入味!不用煮至沸腾,小火热了就可。煎了撒点孜然也好吃。