原料
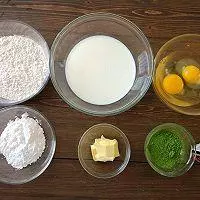
主料: , 鸡蛋: 2个(每个55-60克左右), 牛奶: 210克, 低筋面粉: 80克, 黄油: 20克, 抹茶粉: 6克, 糖粉: 30克, 香草精: 2克, 柠檬汁: 2克, 夹馅:: , 淡奶油: 250克, 糖粉: 25克, 蜜豆: 50克, 装饰:: , 抹茶粉: 3克
步骤
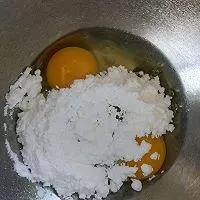
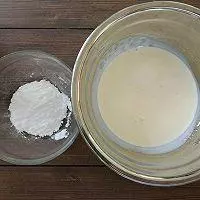
1先准备好千层皮的材料。
22个全蛋加入30克糖粉。
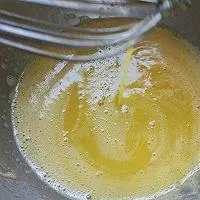
3用蛋抽搅拌到直线流淌的状态。
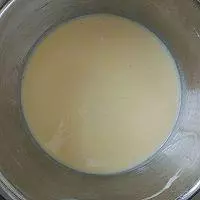
4加入210克纯牛奶搅拌均匀。
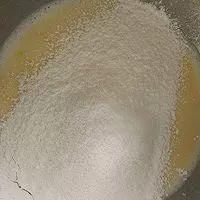
5筛入80克低筋面粉,用蛋抽搅拌均匀。
6把面糊用网筛过滤。

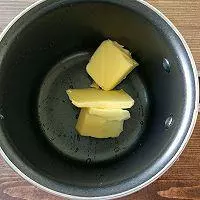
720克黄油放入奶锅中加热融化。
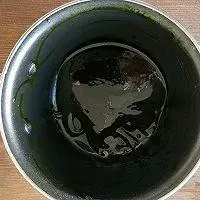
8加入6克抹茶粉搅拌均匀。
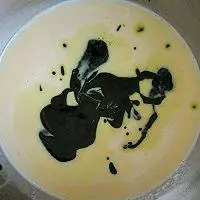
9把黄油和抹茶的混合物加入到面糊中拌匀。
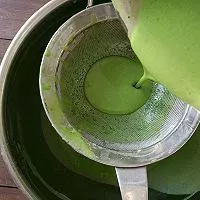
10在过滤一次面糊.
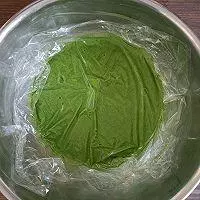
11用保鲜膜贴面盖上静至30分钟。
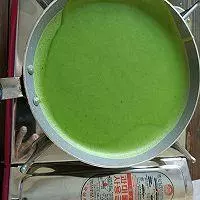
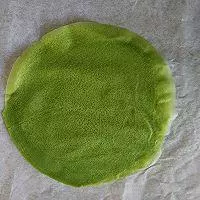
12平底不粘锅中,倒入一勺面糊,晃动锅的把手,使面糊均匀布满锅底,锅的温度试着有一点烤手就可以,温度太高饼皮容易煎糊。
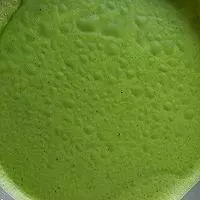
13中间鼓起很多小气泡就熟了。
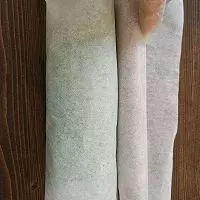
14用手轻轻撕下来。
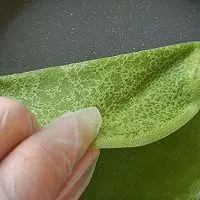
15放在油纸上面,把剩下的面糊全部煎好,最后上面盖上保鲜膜,防止表面结皮,如果当时不用的话,饼皮用保鲜膜包好,可以放在冰箱冷藏,可保存2-3天左右。
16250克淡奶油加入25克糖粉,没有糖粉用细砂糖也可以等量代替。
17用电动打蛋器打到8分发的状态

18取一个千层皮,铺在油纸上,饼皮靠着锅底的那一面朝上放,加入一勺打发的淡奶油抹平。
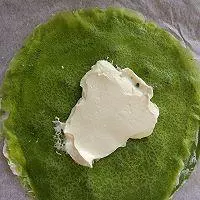
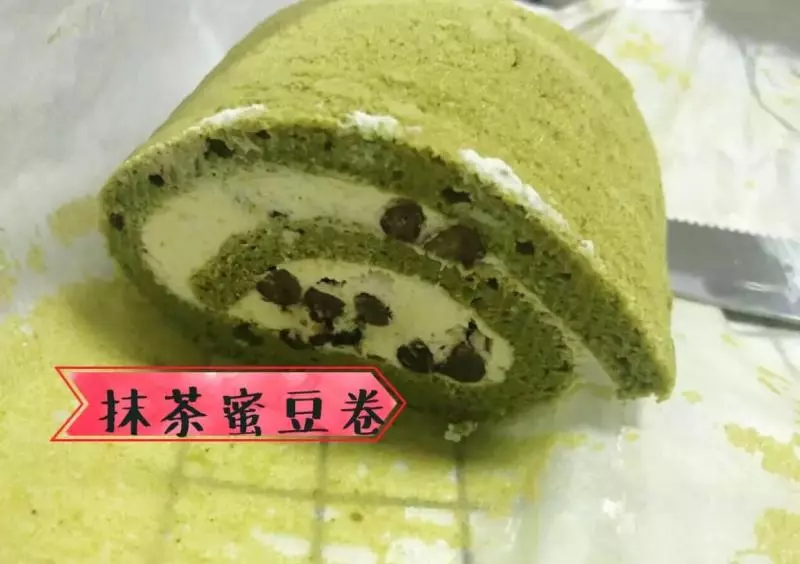
19两边尽量不要抹到,卷的时候会不好卷,撒入适量的蜜豆,依次重复4层。
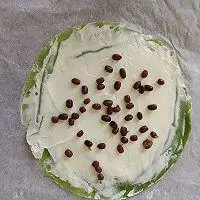
20最顶层不要在盖千层皮了,上面是淡奶油和蜜豆。把两边先卷起来一点。

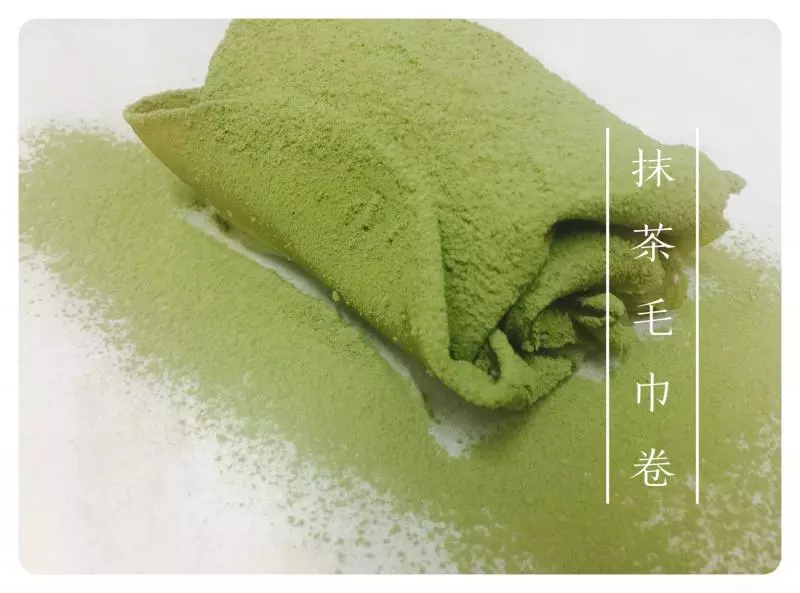
21擀面棍放在油纸下面,轻轻抬起擀面棍,一边抬一边向前卷,最后收紧。放入冰箱冷藏2小时以上定型。
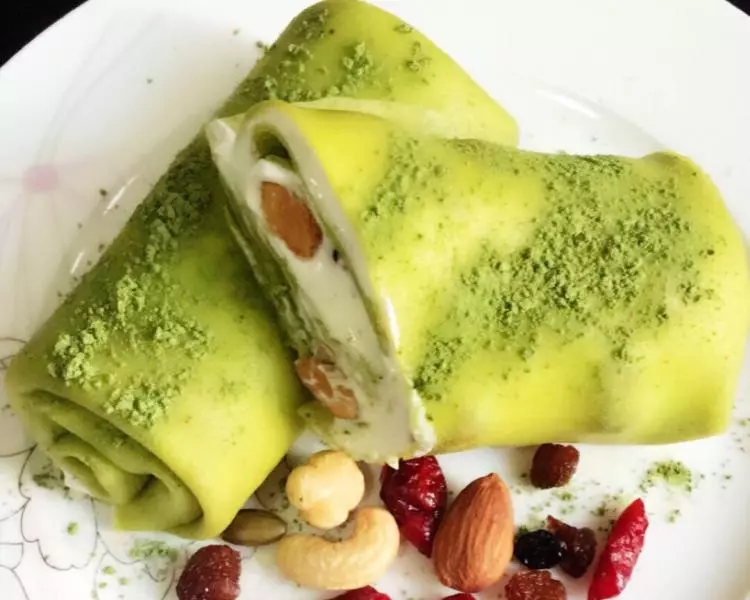
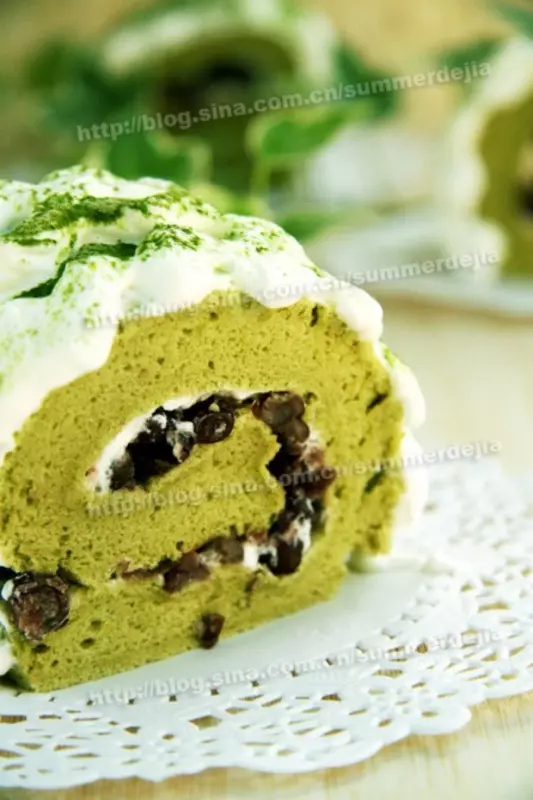
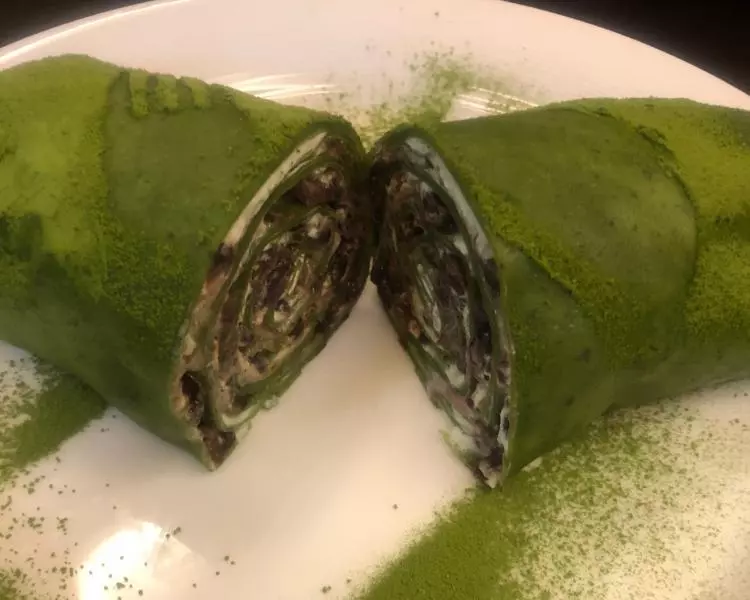
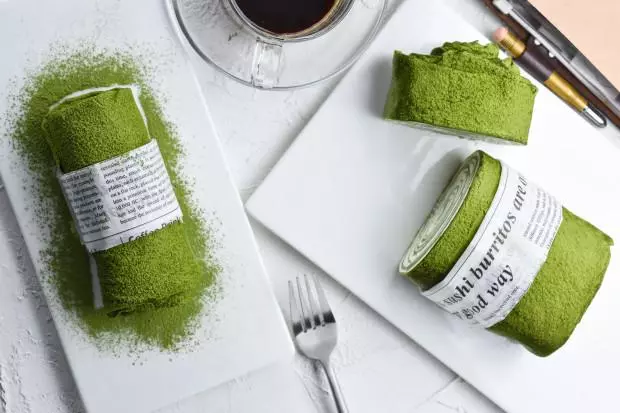
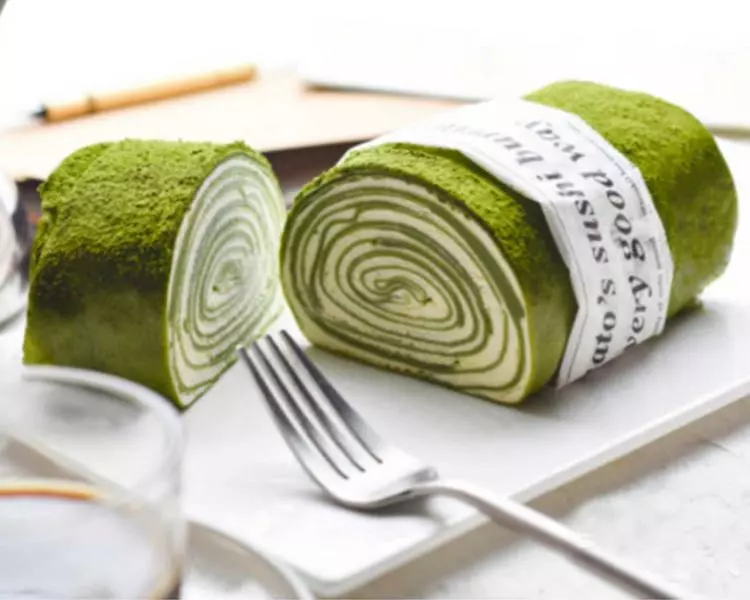
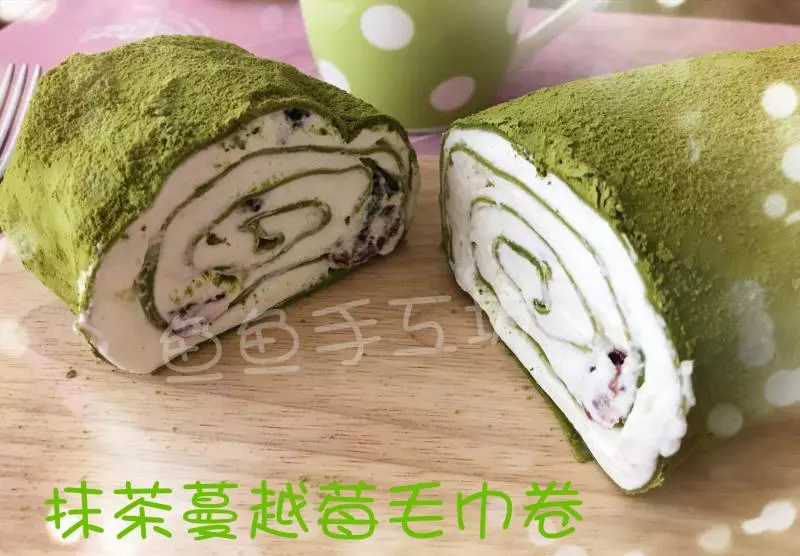
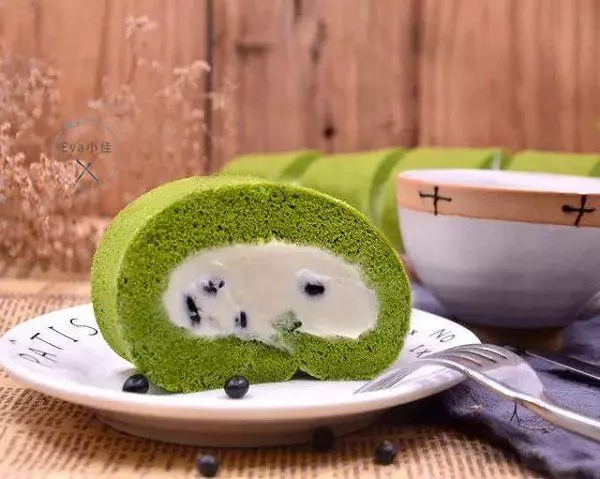
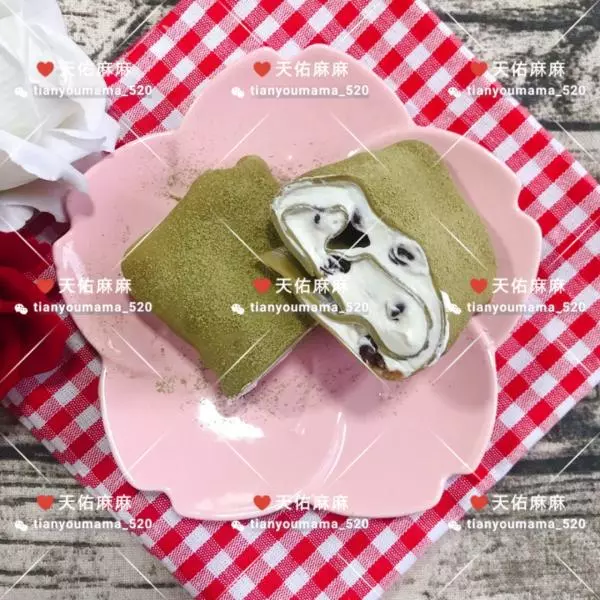
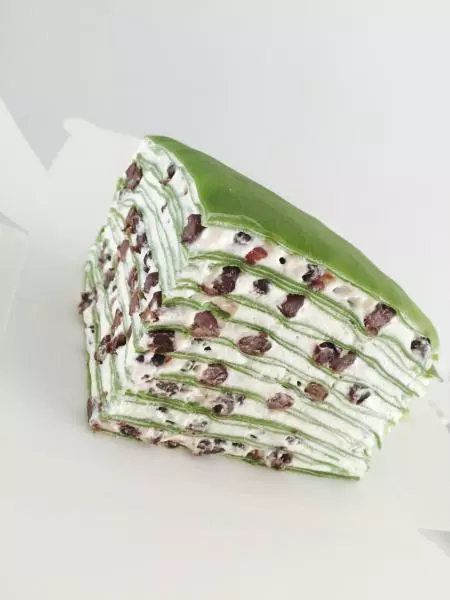
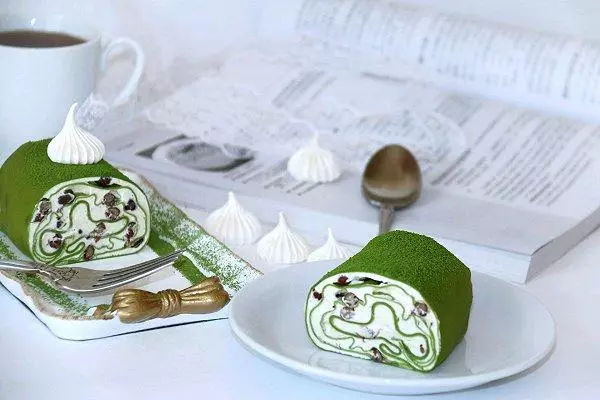
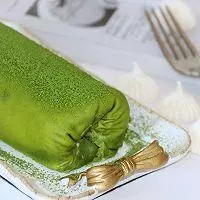
22最后撒一点抹茶粉装饰
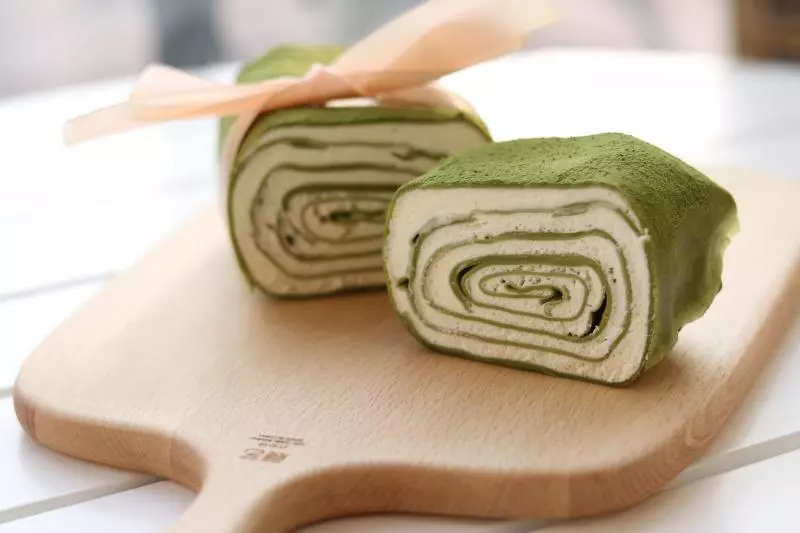
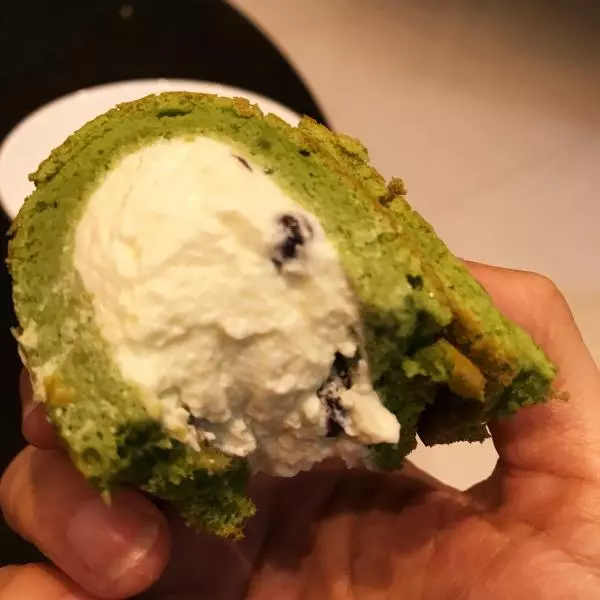
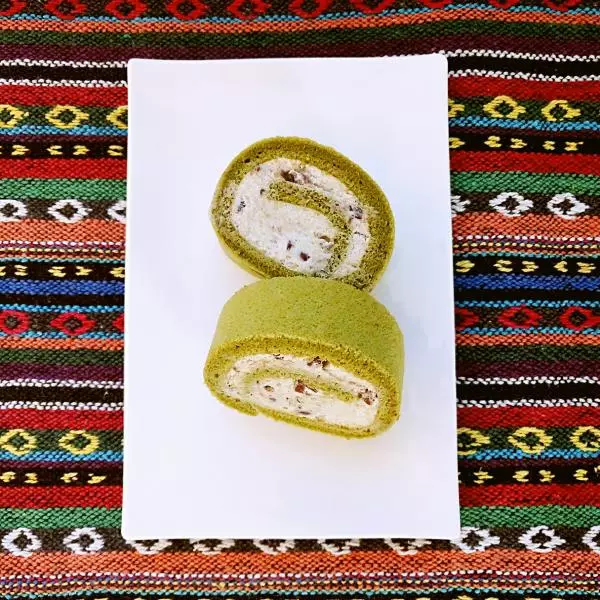
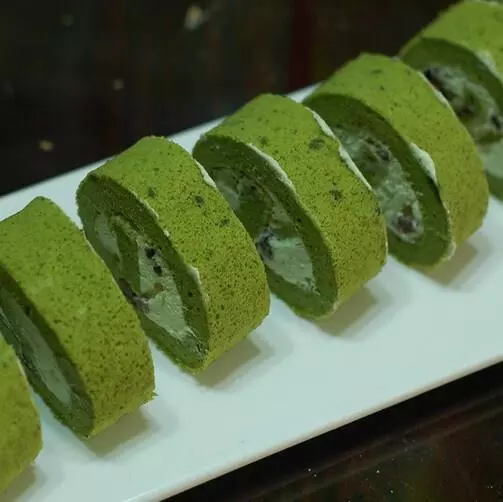
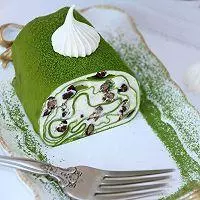
23成品切开图。
小技巧
1.千层皮可以做成其他口味,等量替换抹茶粉或低筋面粉就可以了,原味的把抹茶粉去掉,换成低筋面粉。 2.黄油融化后,要和抹茶粉融合,如果抹茶直接加入到面糊中很难拌匀,会有一些小颗粒。 3.煎皮的时候锅的温度有点刚刚烤手,温度不能太高,如果锅的温度很高,可以端起锅柄煽动几下来降温。 4.煎好的千层皮随时记得盖上保鲜膜,防止干皮。 5.做好的饼皮密封好冷藏可以放2-3天。 6.淡奶油打到8分发,比较硬挺,太软了容易滑动不好包,太硬了口感不好。 7.香草精和柠檬汁主要起到去蛋腥味和增加风味的作用,不放也可以,不是必要的材料。 8.成品需要冷藏2小时以上定型以后才能切。