原料
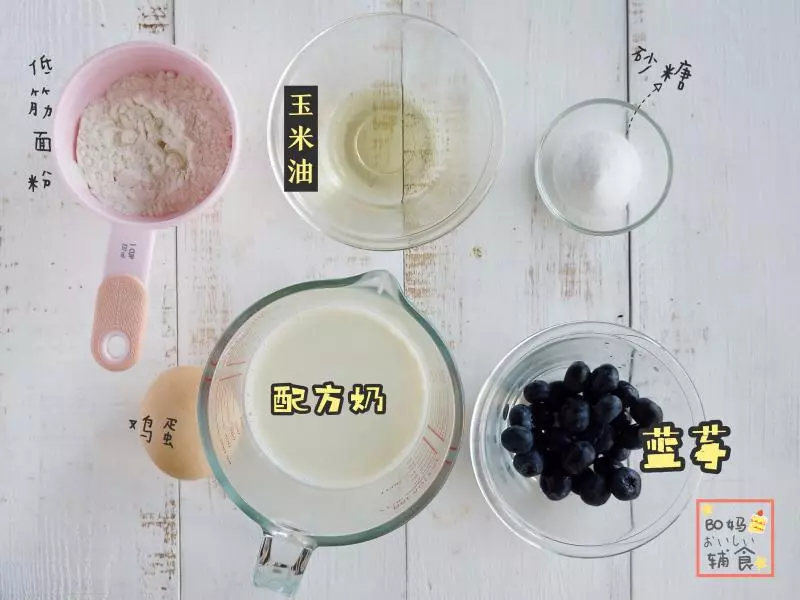
蓝莓: 50g, 低筋面粉: 40g, 玉米油: 10g, 砂糖(蛋白): 10g, 砂糖(蓝莓): 10g, 鸡蛋: 1个, 配方奶(牛奶): 40g
步骤
1准备食材。一岁以下宝宝忽略砂糖。大人或者喜欢甜味的砂糖可增量。
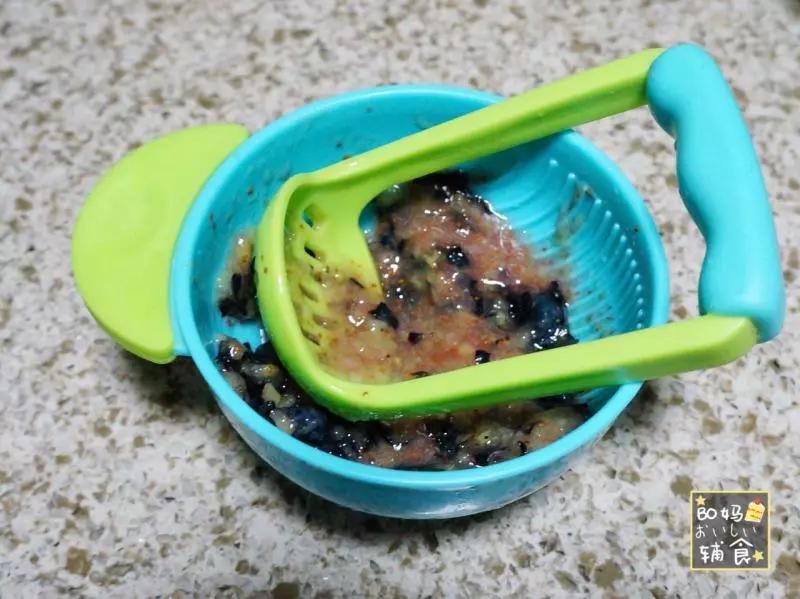
2先做个蓝莓馅。蓝莓馅可以跟我一样提前一天晚上做好,然后第二天早上就可以直接用了。将蓝莓用研磨碗碾压碎。
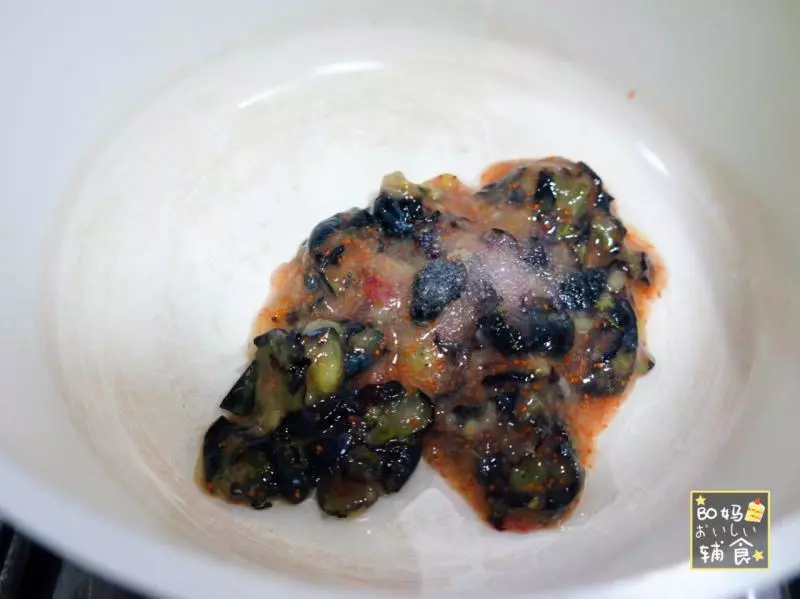
3碾碎的蓝莓倒入锅中,然后倒入砂糖。
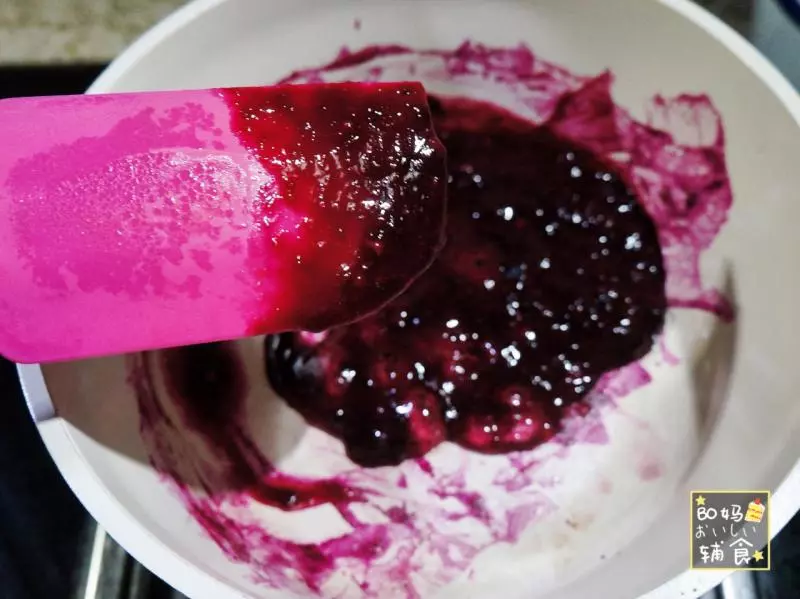
4一直炒至蓝莓可以稍微挂住刮刀的程度就可以啦。跟蓝莓酱做法基本一样,就是木有加柠檬汁,因为糖加的少怕酸就不加了。
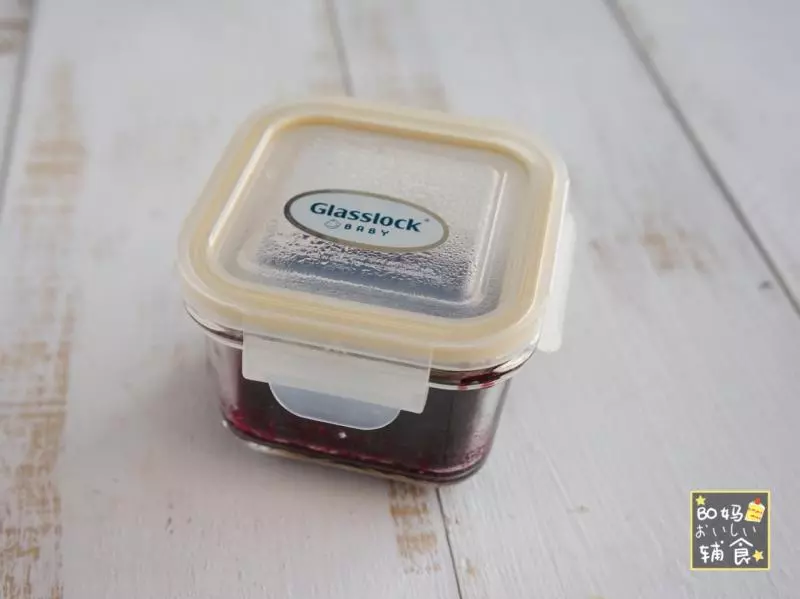
5如果是前一天晚上提前做,就炒好后装入辅食盒中,冷却后盖上盖子放入冰箱冷藏一下。当天做的话炒好先放一边。
6一个鸡蛋分离蛋清和蛋黄。盛蛋清的盆注意要无水无油。
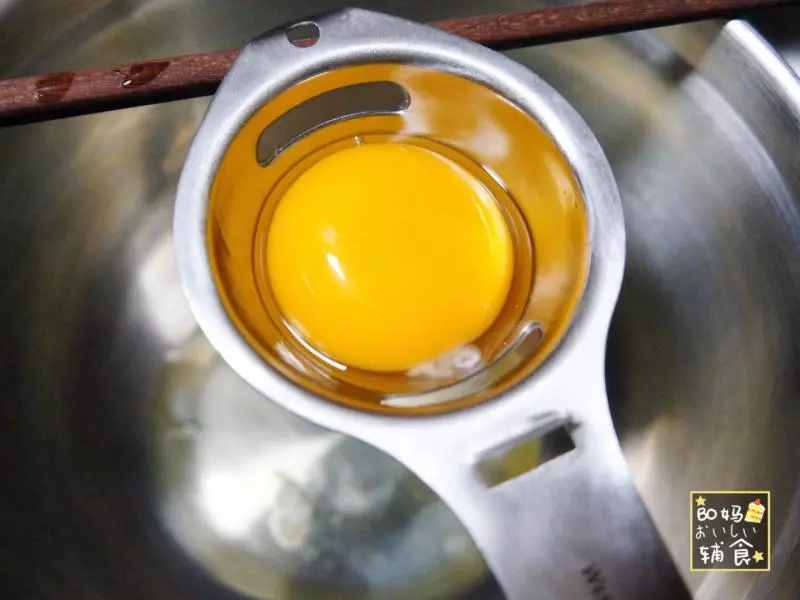
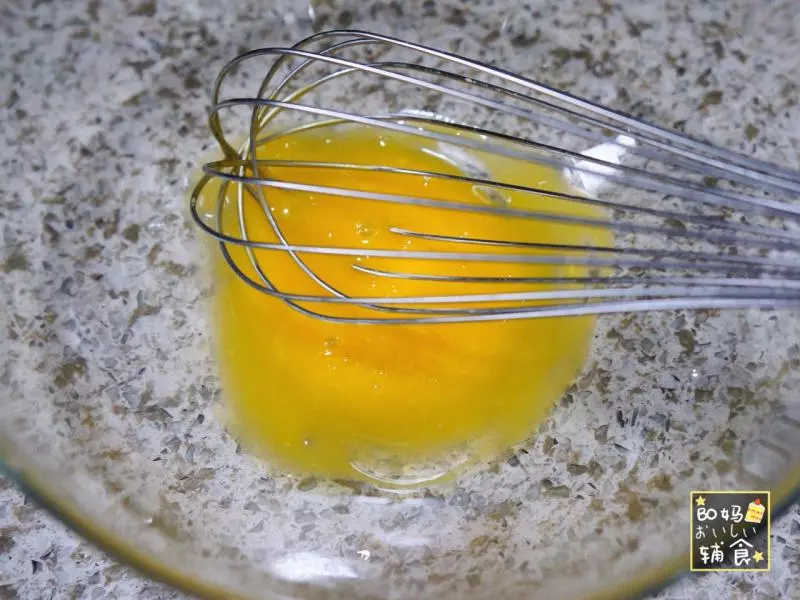
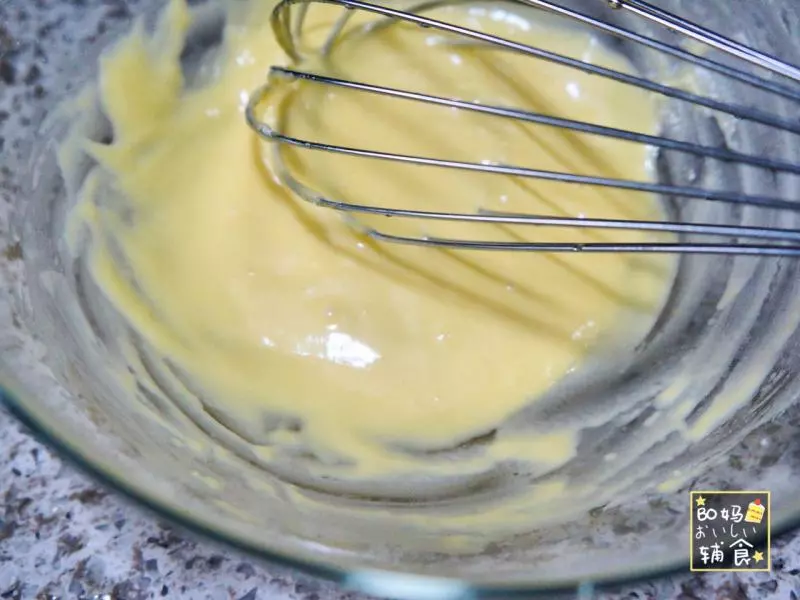
7蛋黄放入另一个盆中。先用手动打蛋器搅拌均匀。
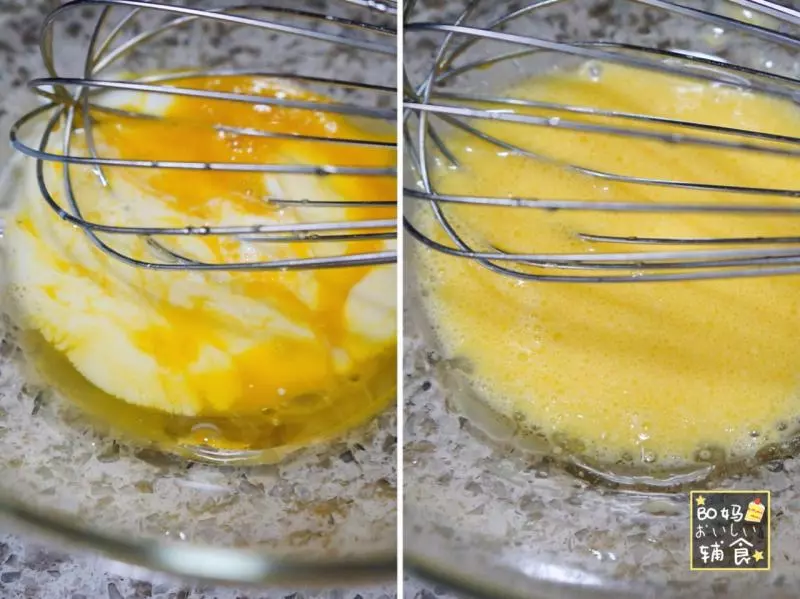
8倒入配方奶和玉米油,用手动打蛋器继续搅拌均匀。
9筛入低筋面粉。
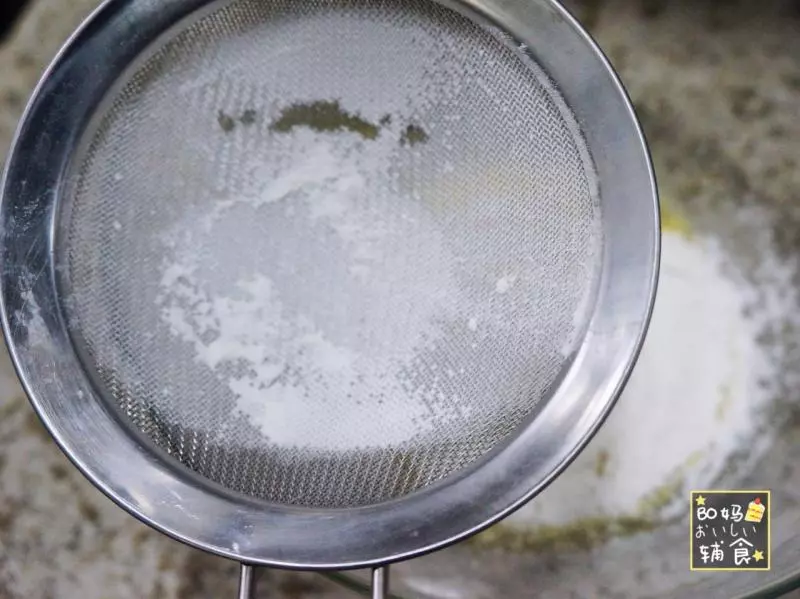
10用手动打蛋器划一字搅拌成均匀无颗粒的面糊。
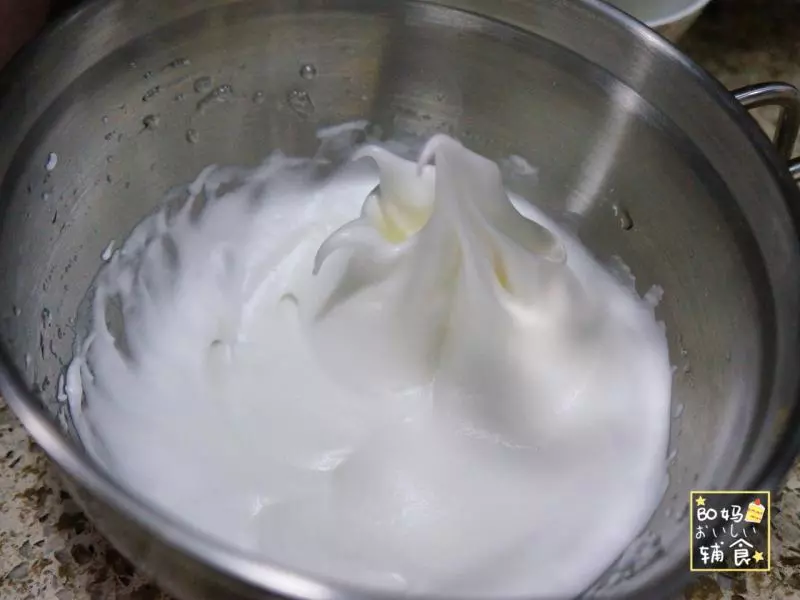
11蛋白盆中先滴入少量柠檬汁,有助于稳定蛋白和去蛋腥。分三次加入砂糖,直到蛋白打发到出现如图的小弯钩状,打蛋盆倒扣蛋白不会掉落的时候就可以啦!
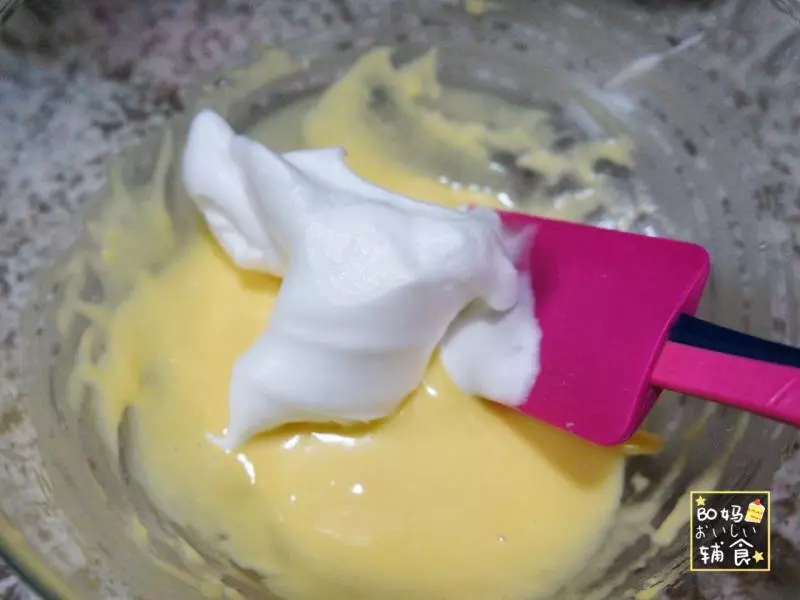
12取1/3打发好的蛋白,与蛋黄糊混合,用翻拌的手法,切记不要划圈搅拌,以免蛋白消泡。
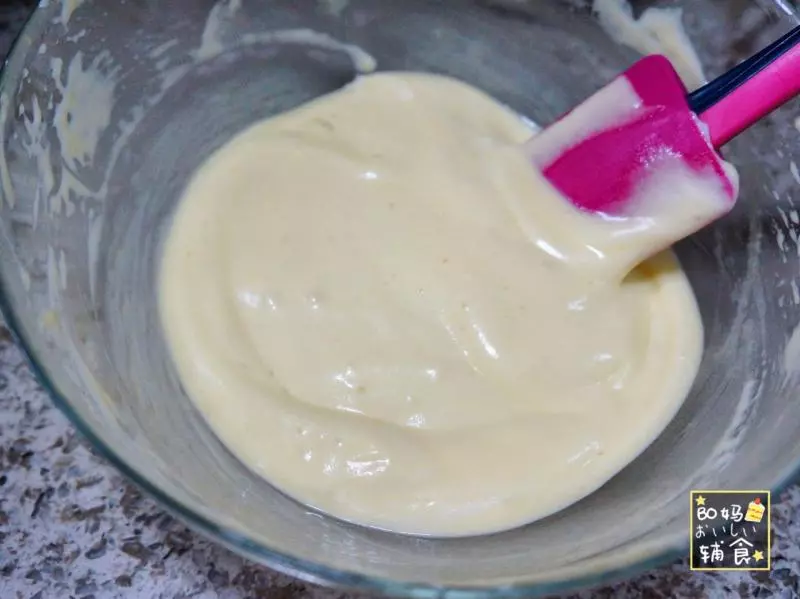
13混合好的蛋糕糊灰常的细腻。
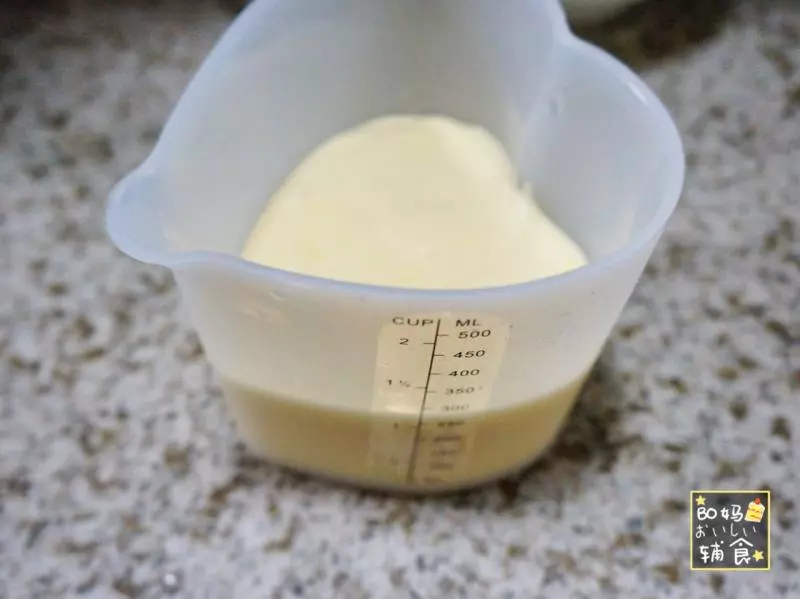
14将蛋糊倒入硅胶杯,这样一会更好操作。没有的话就不用也没问题。
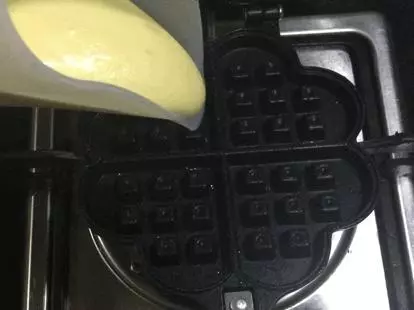
15用刷子仔细刷一层玉米油,无味油最好。

16倒入适量面糊,千万别倒多了。
17用刮刀将面糊摊开,摊满模具。在中间挤入少量蓝莓馅。
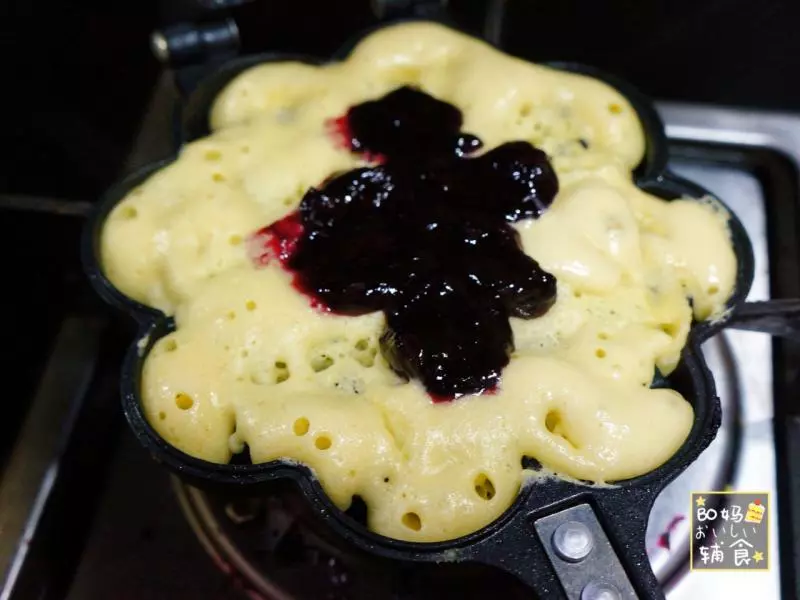
18表面再挤入少量面糊,将馅儿盖住。
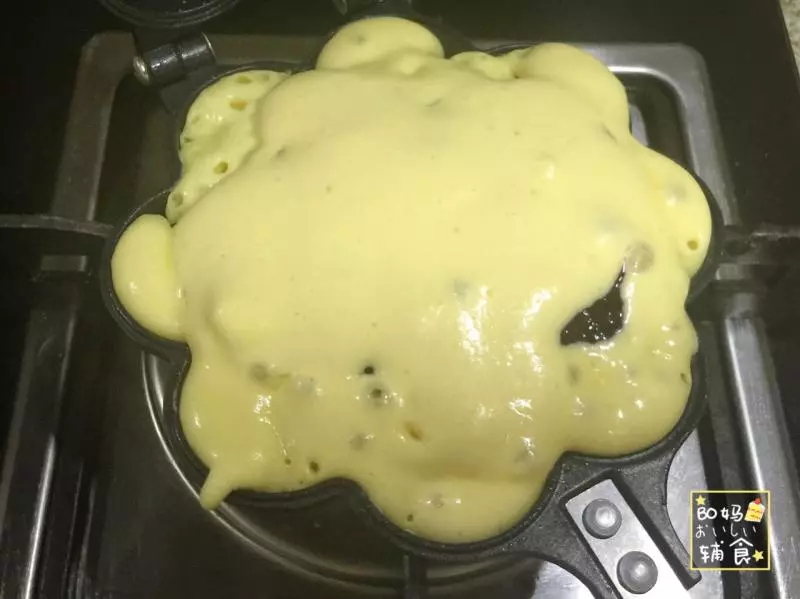
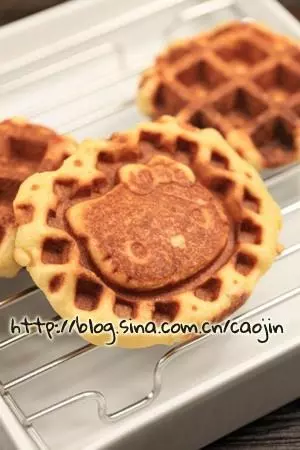
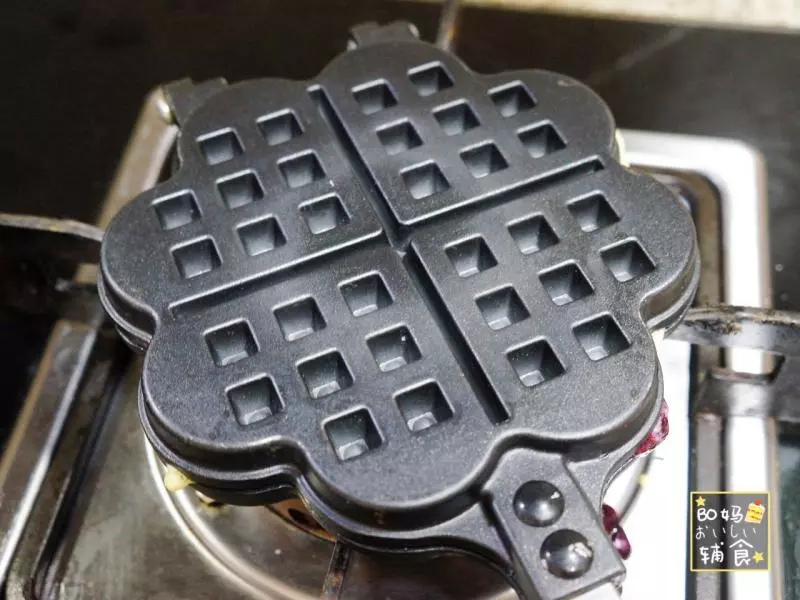
19扣上华夫饼模具盖子。小火慢煎。一面煎大概2分钟左右,看到有气从模具里跑出的时候翻面。翻面后再继续煎2分钟左右。这个时候可以轻轻打开盖子看看里面的情况,如果里面可以脱模,但是颜色上色还不够的时候就再继续每面各煎1分钟就差不多啦。不能脱模再继续稍微煎一会。但是如果 一直不能顺利脱模也不要煎太久,也许是其他问题导致不容易脱模,可以小心用刮刀挑起一边看看情况,以免最终煎糊啦!
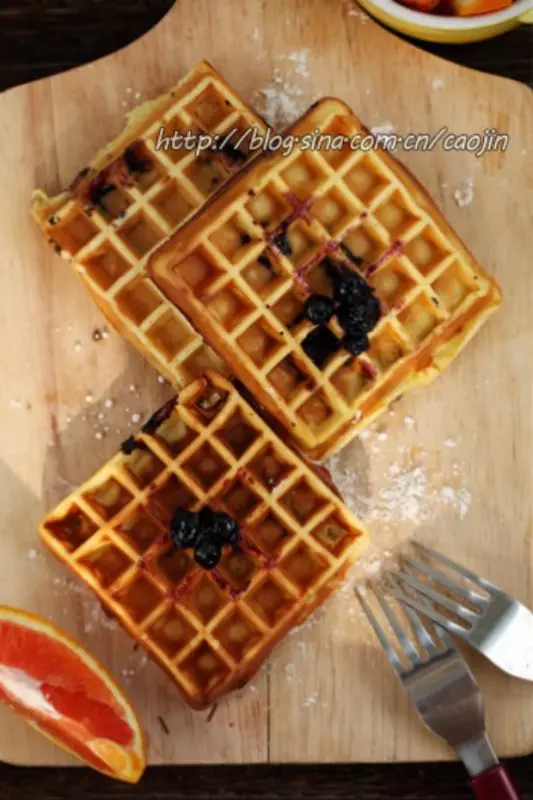
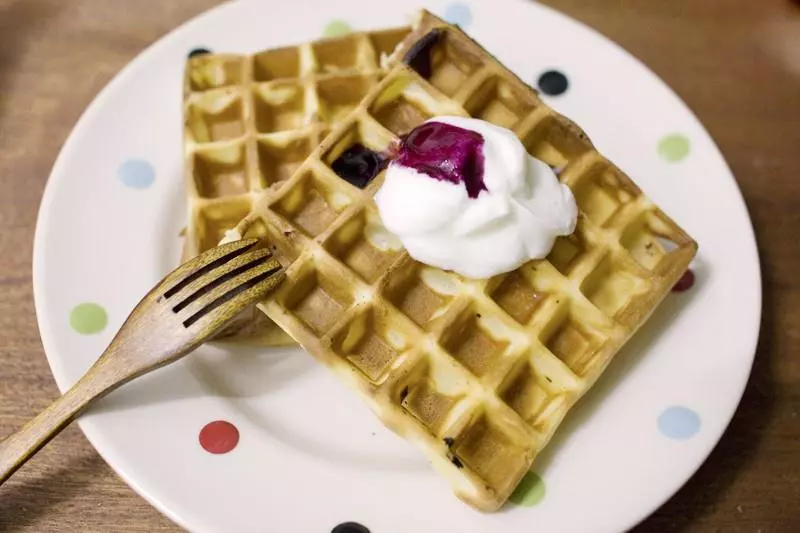
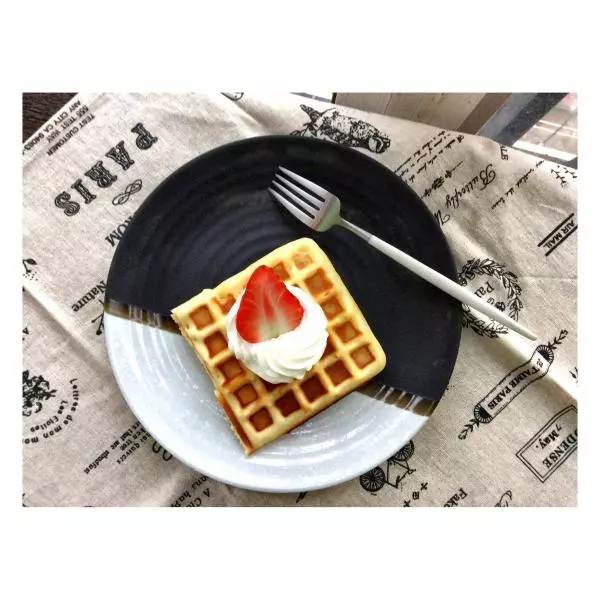
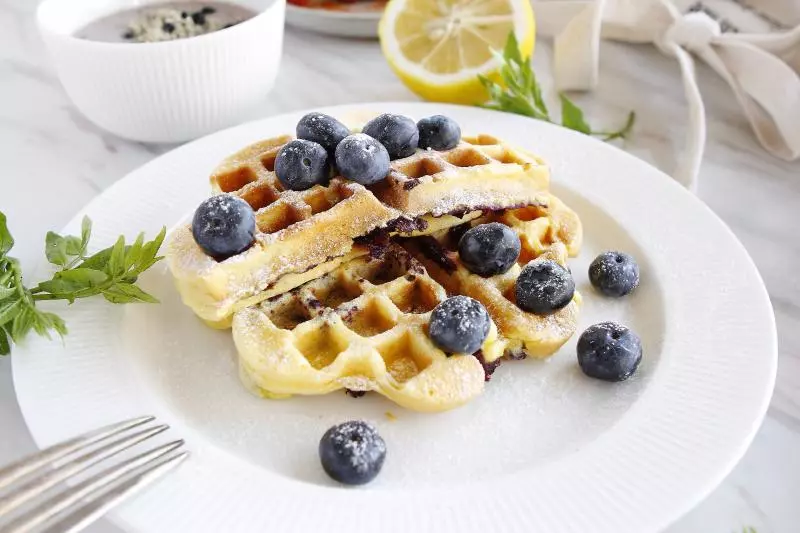
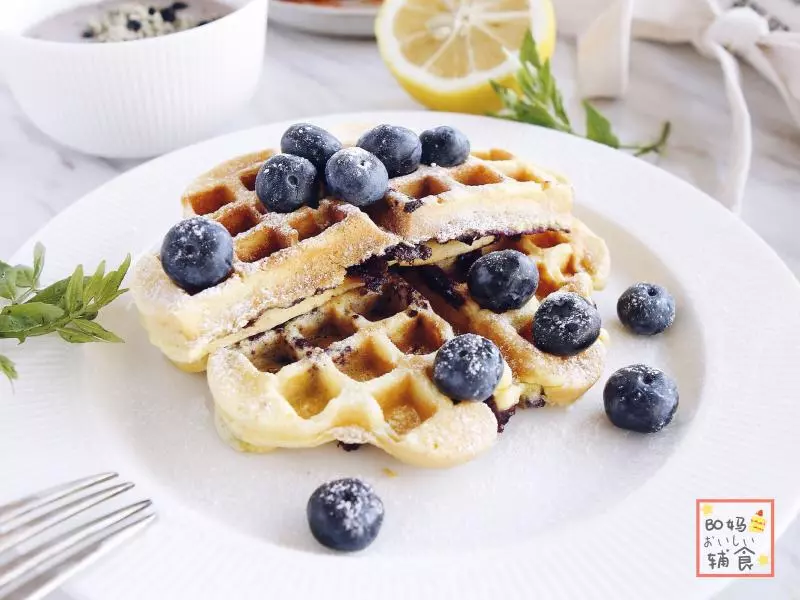
20煎好后盛出,表面可以撒糖粉或者酸奶或者枫糖做装饰,当然,不撒也没毛病!
小技巧
1、蓝莓馅一次不要加的太多,加太多容易露馅。 2、方子刚好煎两个饼的量,想做更多就翻倍哦! 3、1岁以下的宝宝不加糖,不加糖蛋白也是可以打发的,只是会粗糙一些,稳定性略差。