原料
生杏仁: 250克, 粗盐: 适量(贴士1)
步骤
1浸泡好的杏仁取出后去皮 如果用的是无皮的 这步就可以省略啦
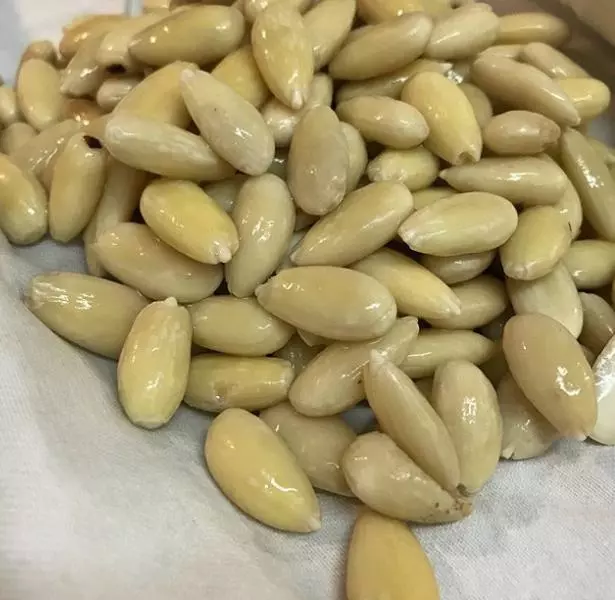
2清理干净的杏仁控干水分 可以用干净的厨房纸吸干
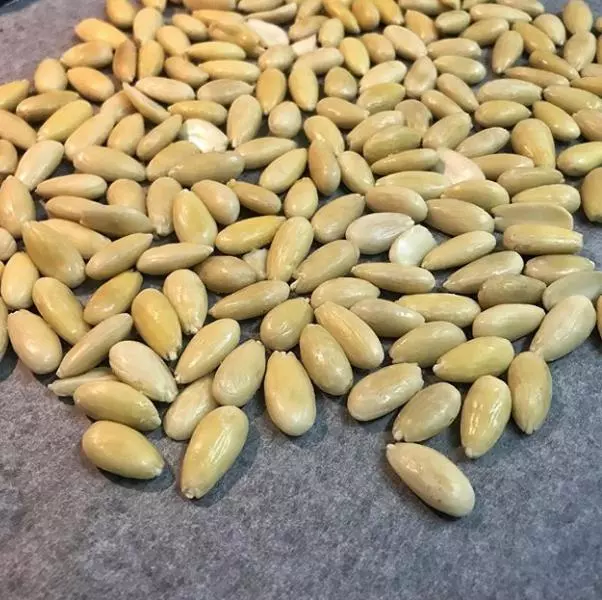
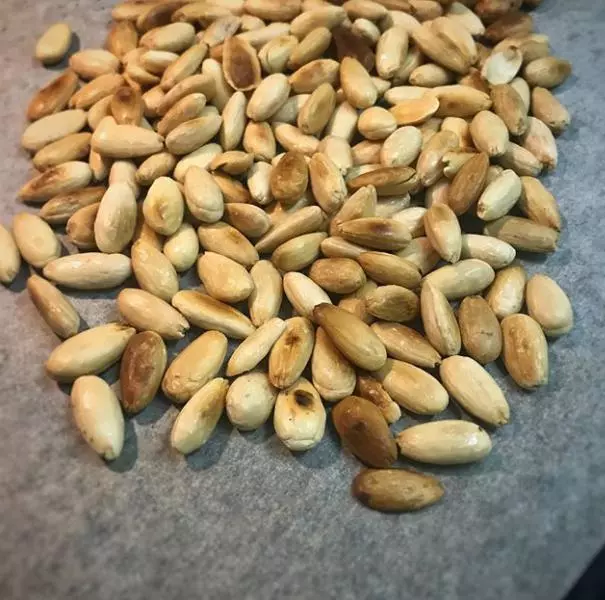
3虽然泡过的杏仁 味道好了不少 我还是喜欢再烤一下 烤完以后 更深层的香味会被激发出来 180摄氏度 烤10-15分钟 期间要注意观察颜色 不要烤焦了
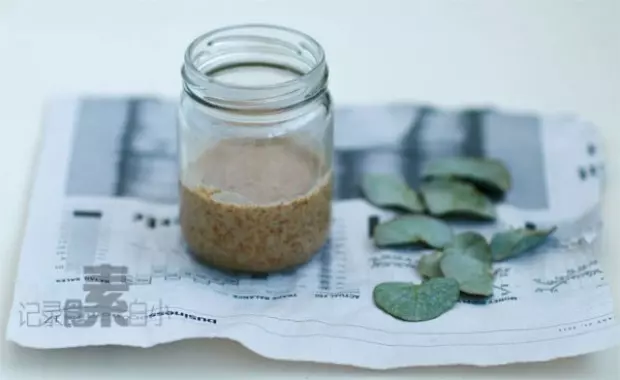
4从烤箱取出后 要晾凉下 然后再放入料理机或者Blender中
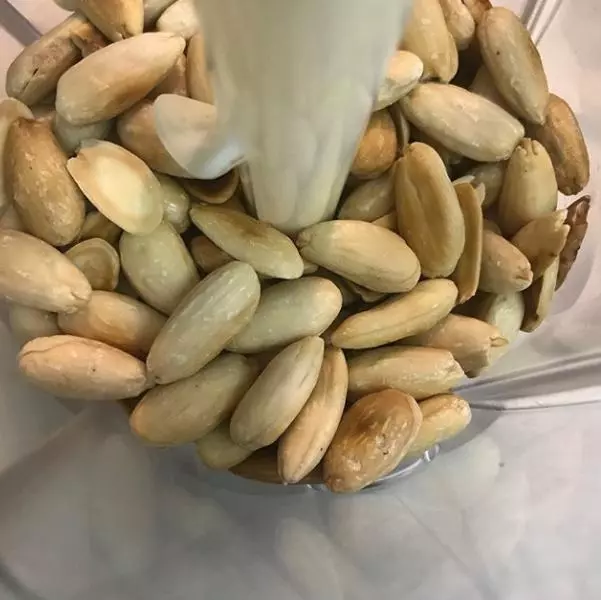
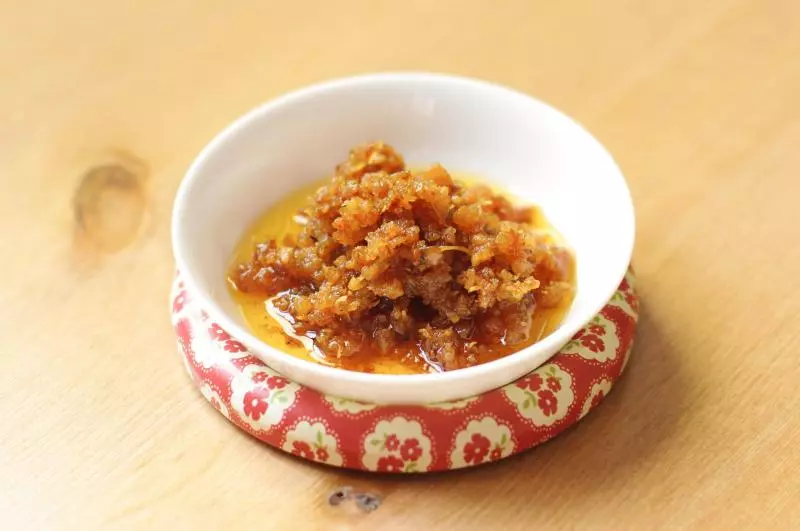
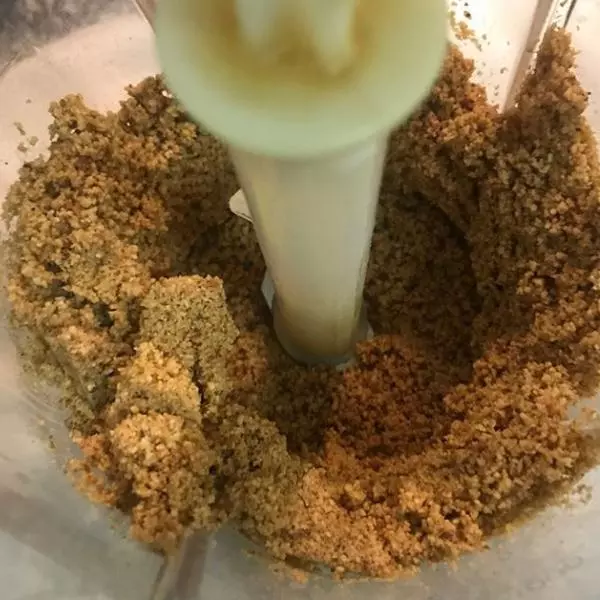
5开始搅拌吧 所有要的时间是根据使用的料理机功率大小来决定的 首先 会变成杏仁碎

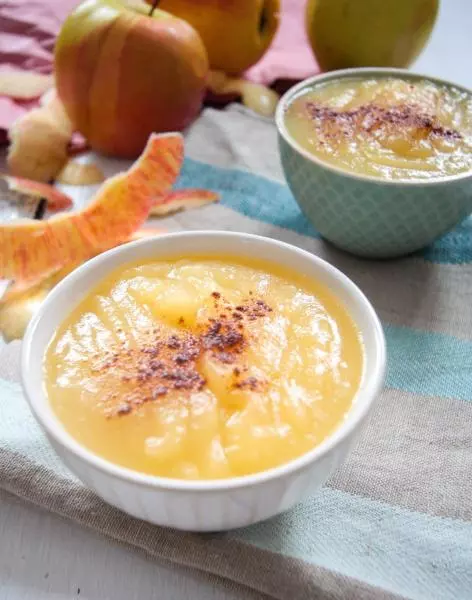
6继续搅拌 会开始变得丝滑些
7再继续 会发现开始出油了

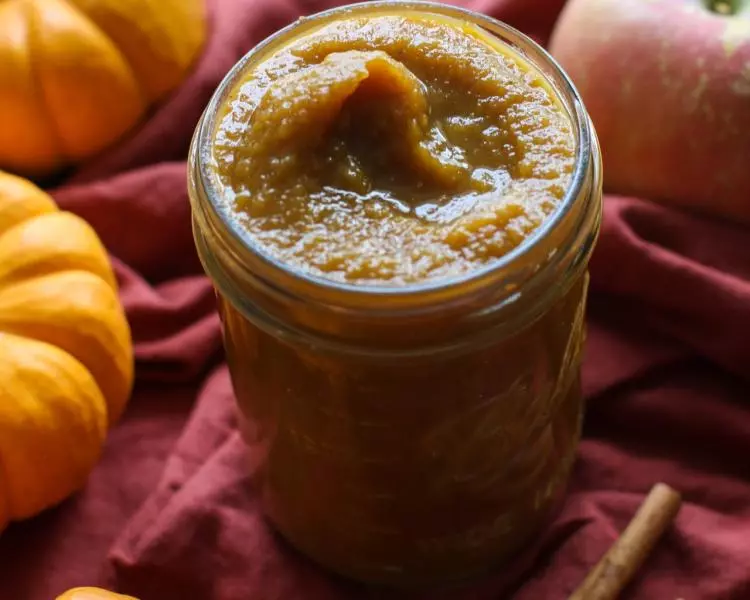
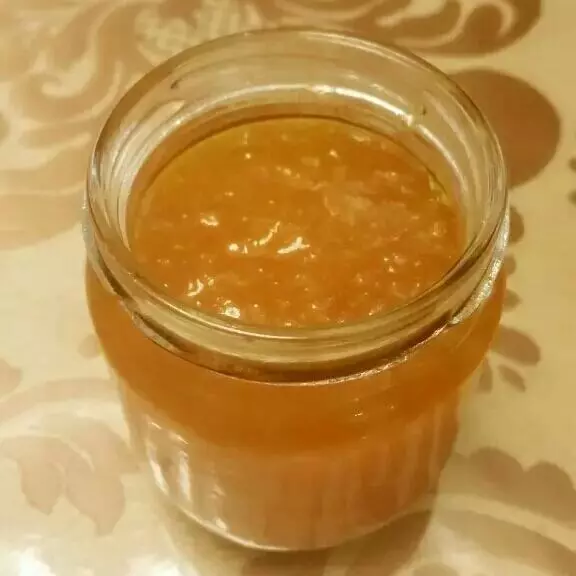
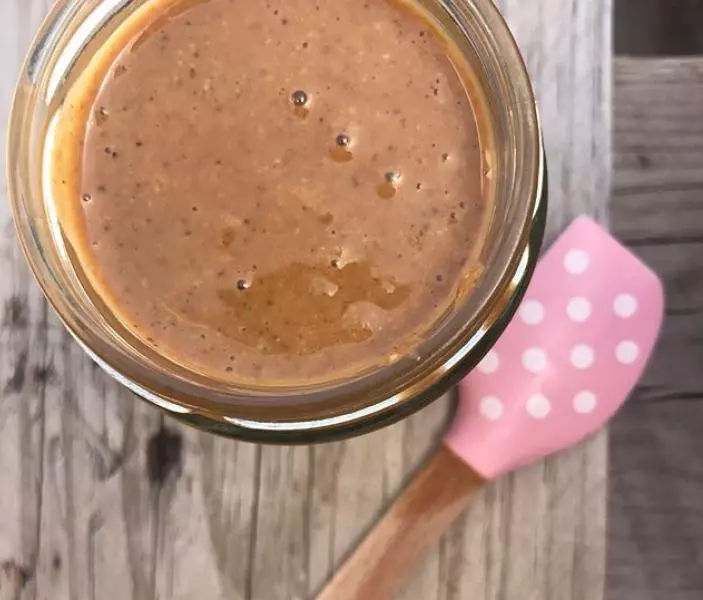
8一直搅拌到光滑细腻的杏仁酱状
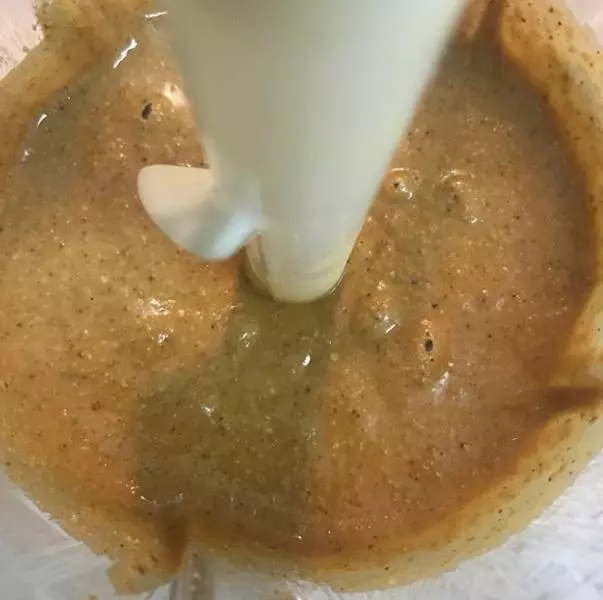
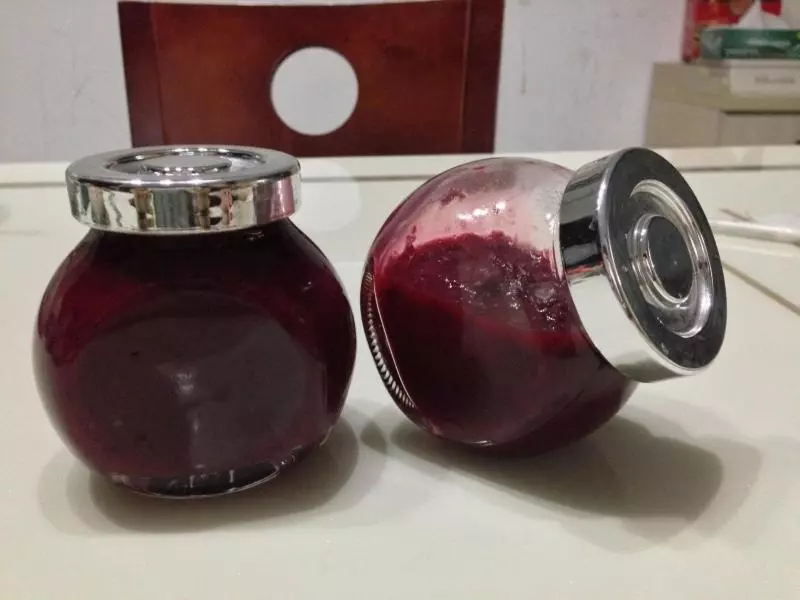
9最后加入粗盐 搅拌均匀 装入密封瓶中保存
小技巧
盐 我用了喜马拉雅粉盐 也可以用海盐或者其它粗盐