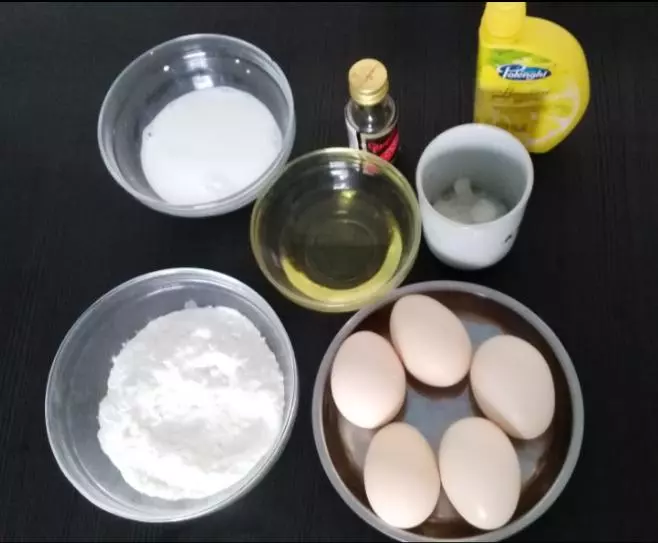
原料
低筋面粉: 90克, 鸡蛋: 5个, 牛奶: 65克, 玉米油: 35克, 香草精: 3克, 柠檬汁: 适量, 细砂糖: 35克, 裱花淡奶油: 25克, 糖粉用于淡奶油: 30克
步骤
1准备材料:
2将鸡蛋蛋白和蛋黄分离。

3将牛奶和玉米油倒入盆中进行搅拌成雾化状态(也就是油水合一),放入香草精搅拌均匀。

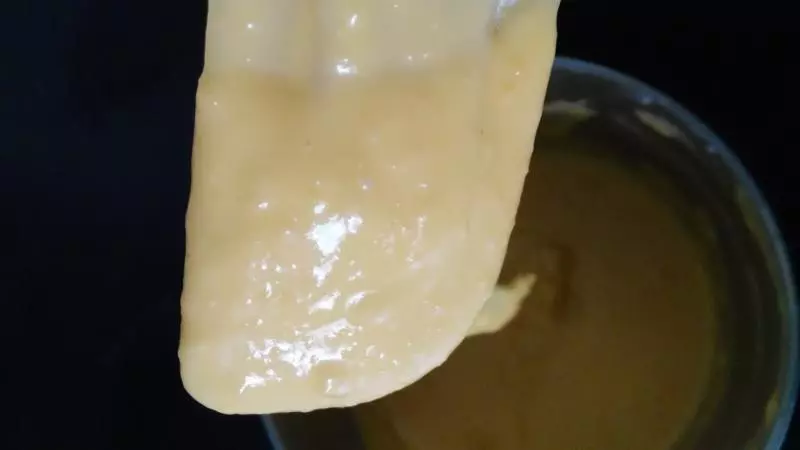
4将蛋黄放入2中翻板均匀后筛入低筋面粉翻板均匀无干粉无颗粒状态(一定要翻伴,搅拌易起筋)。
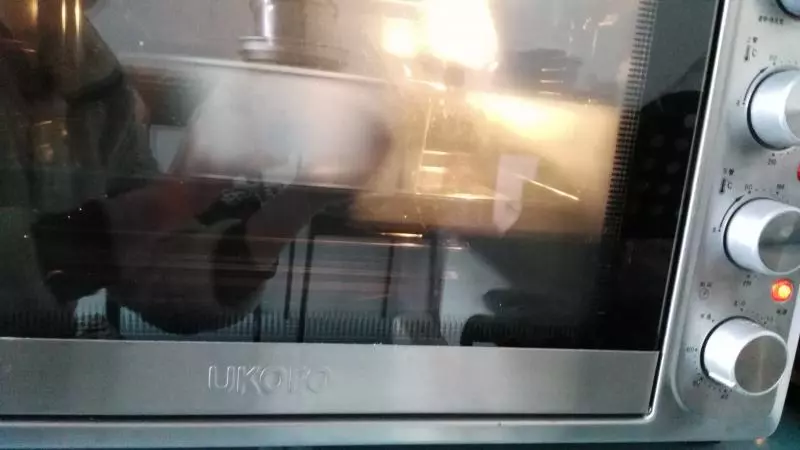
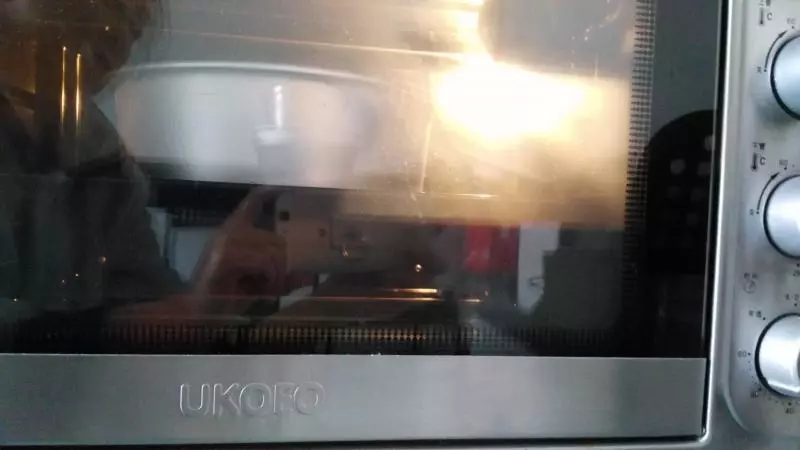
5预热烤箱上下火150度10分钟。
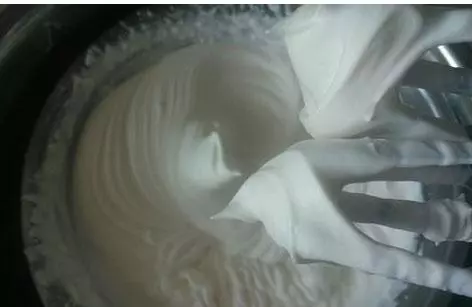
6在预热烤箱同时进行蛋白打发,蛋清中滴入柠檬水,用电动打蛋器进行打发。
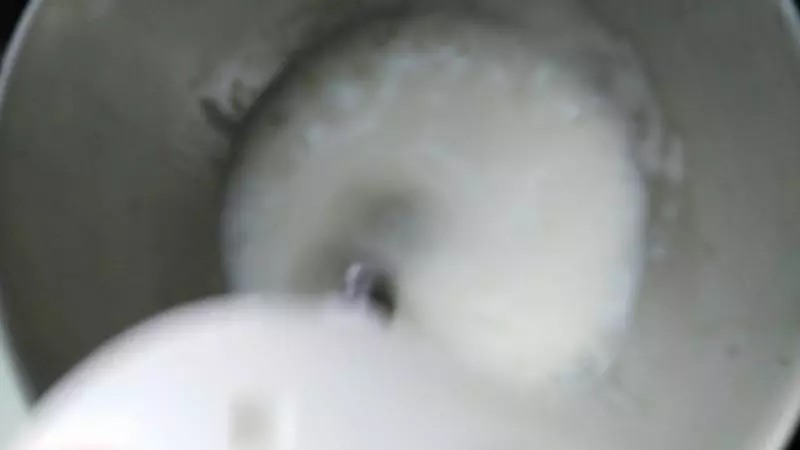
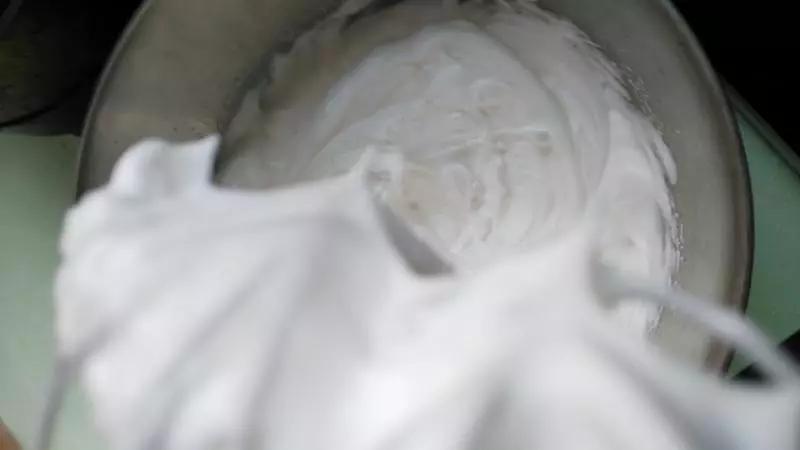
7将蛋白低速打至起打泡放入三分之一细砂糖,继续打至蛋白起小泡时再放入三分之一细砂糖,继续打至有纹路放入最后三分之一细砂糖打至硬性状态即可。
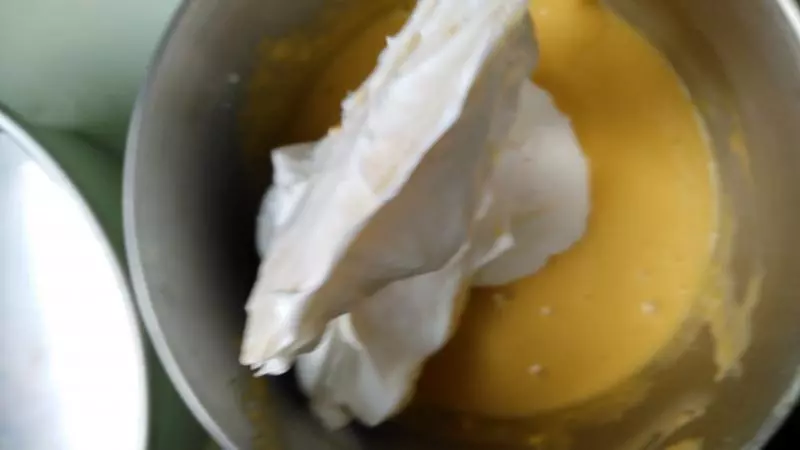
8将打好的三分之一蛋白与蛋糊融合翻伴均匀后将剩下打发好的蛋白一起跟入融合的蛋黄糊中继续翻伴,手法要快避免消泡(不能搅拌易消泡)。
9翻伴好的蛋黄糊倒入8寸蛋糕模具内,抹平表面,震动几下把蛋黄糊中的气泡震出,放入预热好的烤箱中层,向下管温度150度60分钟。
10烤好后出炉震两下马上倒扣。
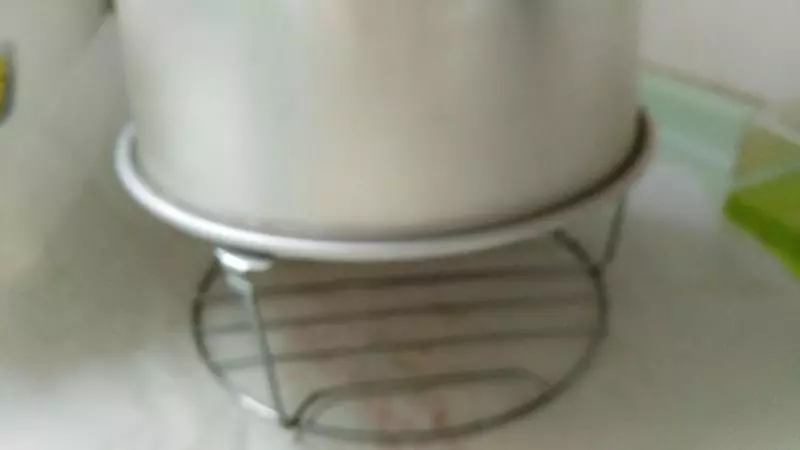
11凉透后脱模。
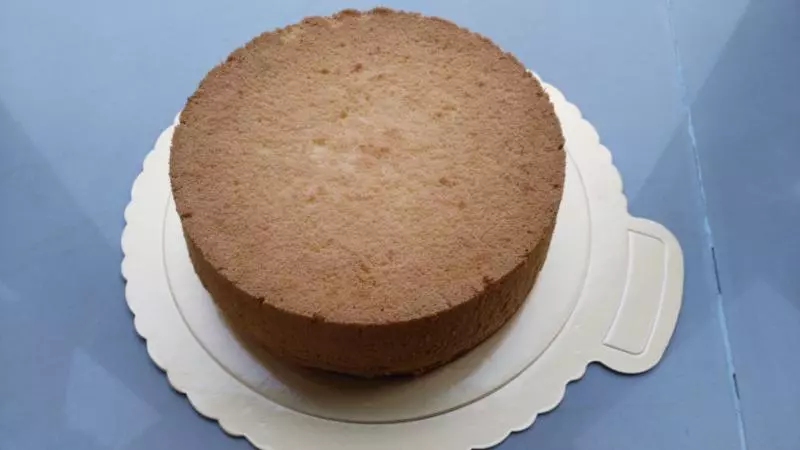
12将蛋糕一分为二。
13将淡奶油加入糖粉进行打发至拉出有坚挺的角即可,打发过了易油水分离。
14将淡奶油抹在一分为二的蛋糕片上。
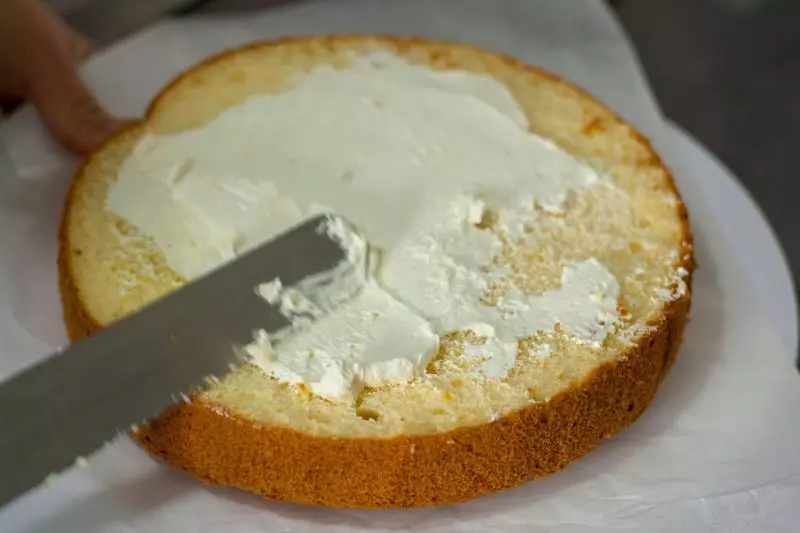
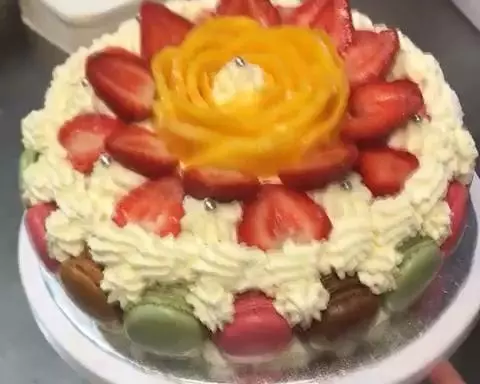
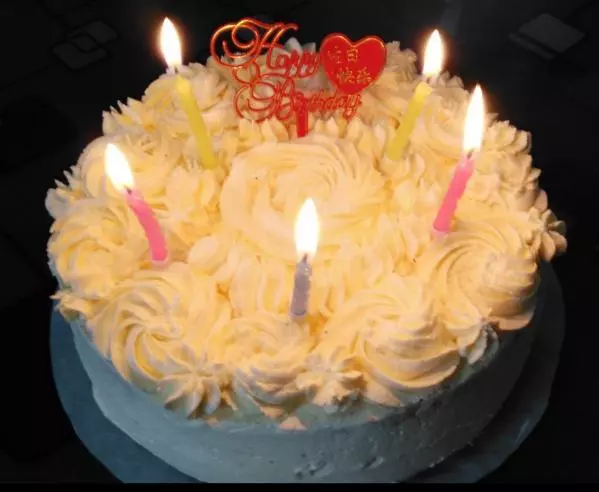
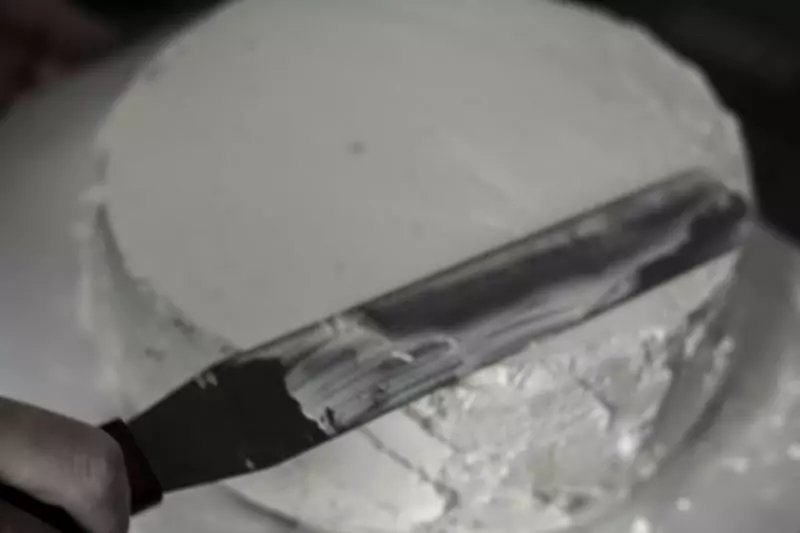
15将两片蛋糕片合起进行抹面。
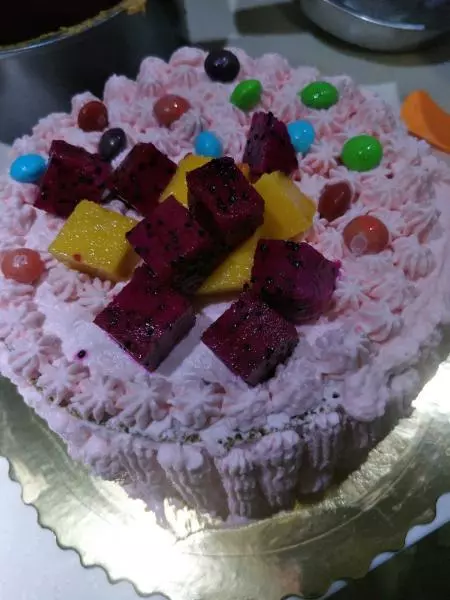
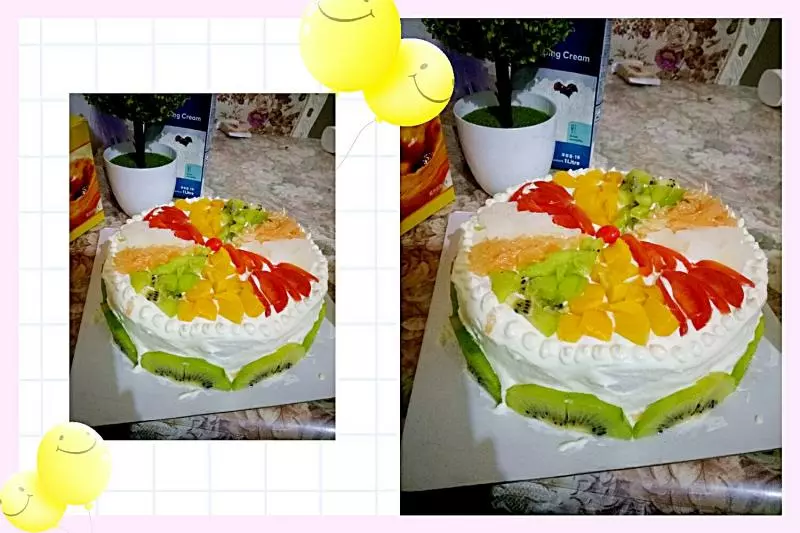
16将剩余淡奶油装入裱花袋裱花。
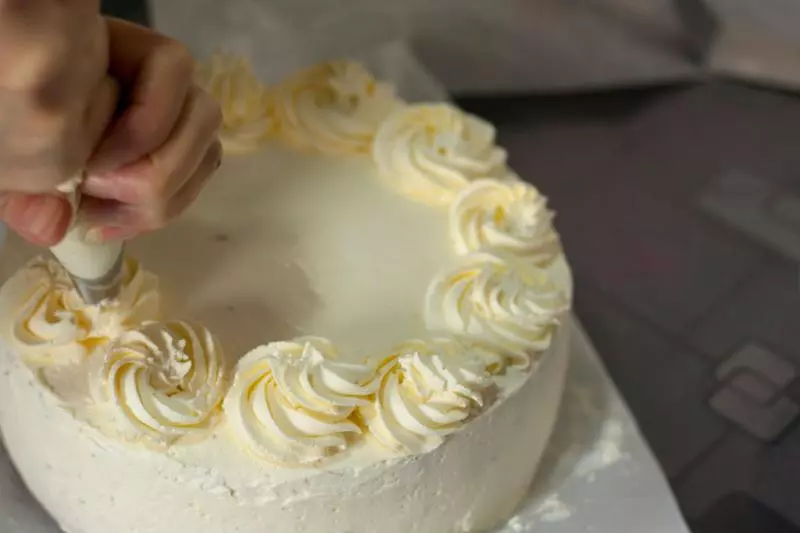
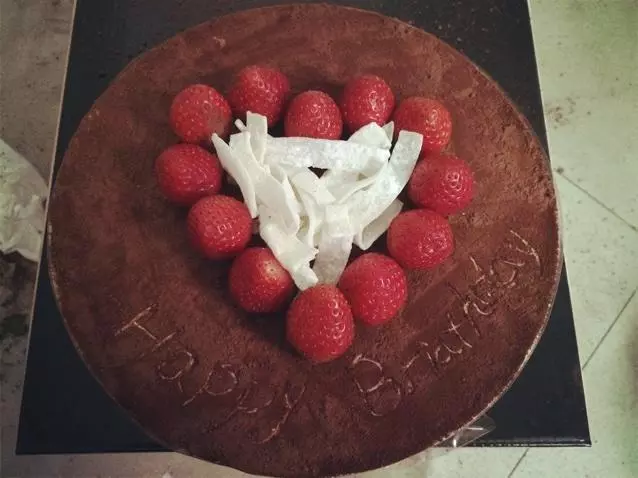
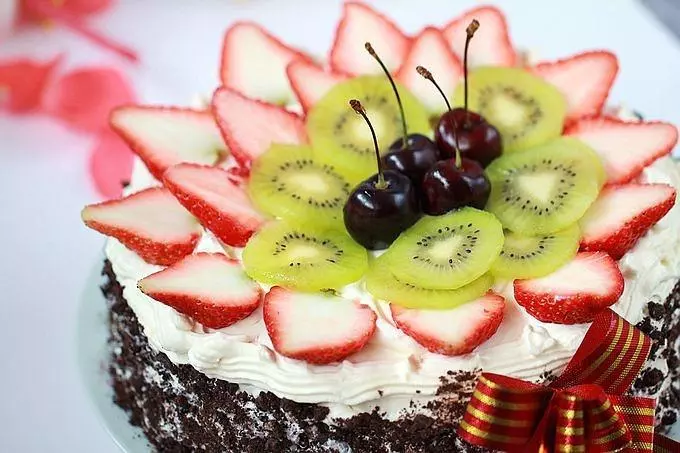
17裱花后的生日蛋糕美哒哒。

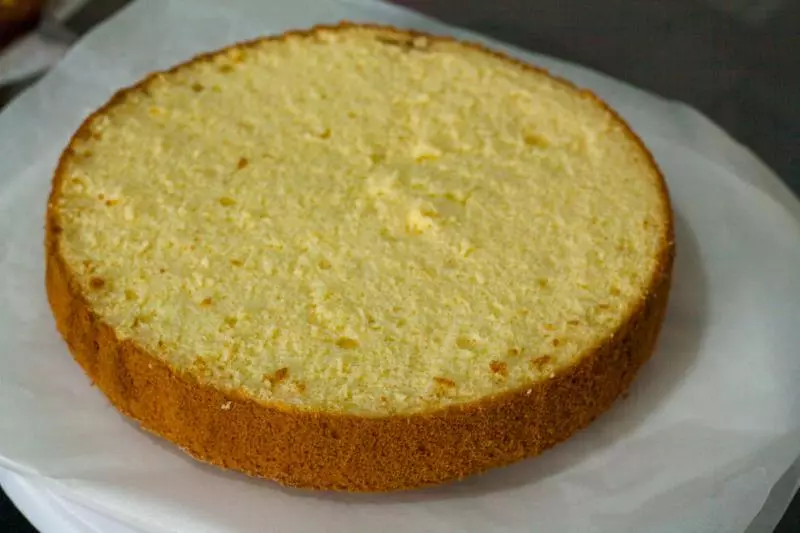
18蛋糕切面图 。
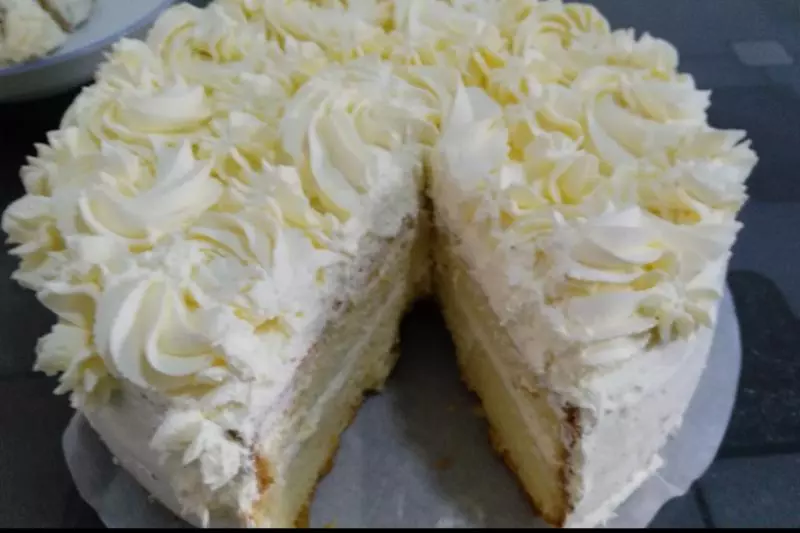
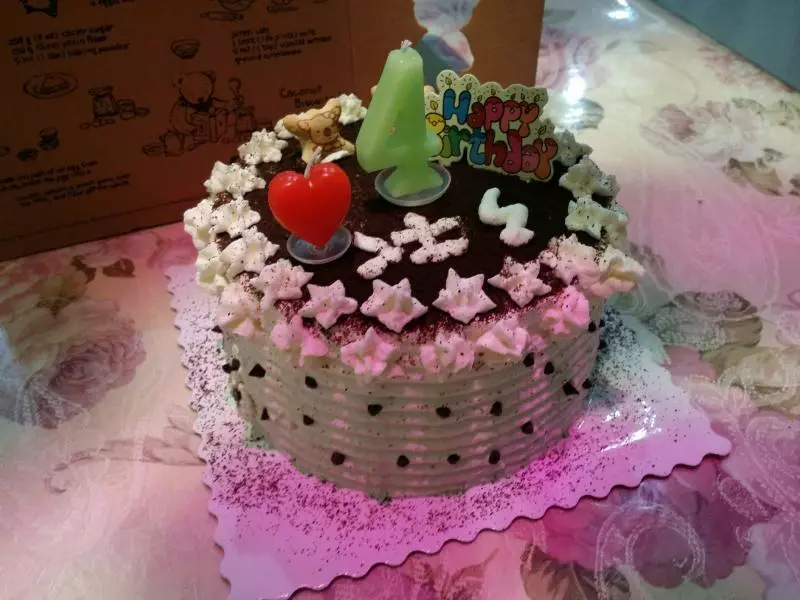
19祝生日快乐。

小技巧
1、翻伴手法就是上下翻伴,来回走Z字。 2、各家烤箱温差不一样,烘烤要根据自己烤箱温度而定。 3、烘烤切记中途不要打开烤箱,出炉后震后立即倒扣避免塌陷。