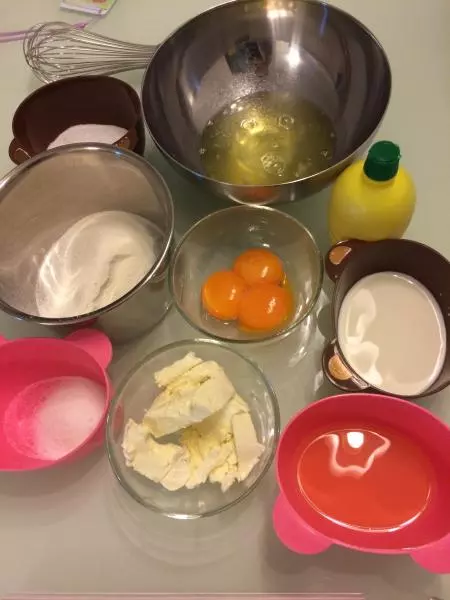
原料
奶油奶酪: 100G, 全脂牛奶: 100G, 蛋黄: 3个(约60G), 细砂糖(蛋黄用): 20G, 橄榄油: 30G, 低粉: 80G, 蛋白: 4个(约140G), 细砂糖(蛋白用): 50G, 柠檬汁: 3-5滴(如没,可以不加)
步骤
1材料准备:奶油奶酪软化,低粉过筛,蛋黄和蛋白分离,蛋白放在无油无水的打蛋盆里。
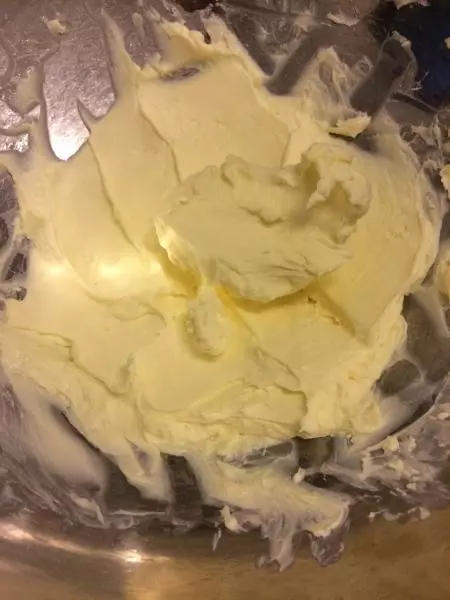
2把软化了的奶油奶酪拌至软滑,没结块。
3把室温的全脂牛奶分6-7次和奶油奶酪拌均匀,每次也要拌至没颗粒,再加入下一次的牛奶。
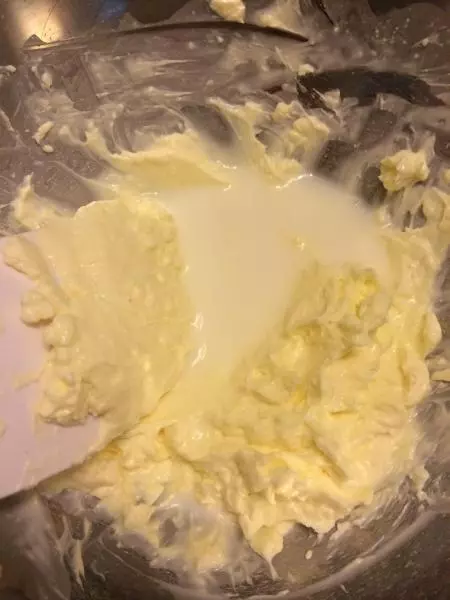
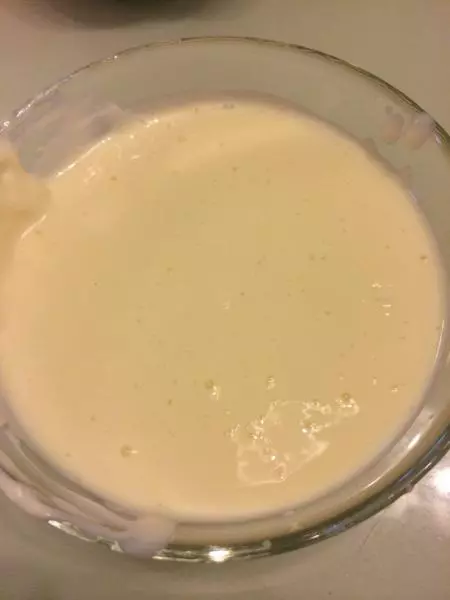
4如牛奶全部加入后,还是出现小奶酪颗粒,可过筛一次(用网眼较为粗的筛网),最后出来的应该是顺滑无颗粒的糊状。
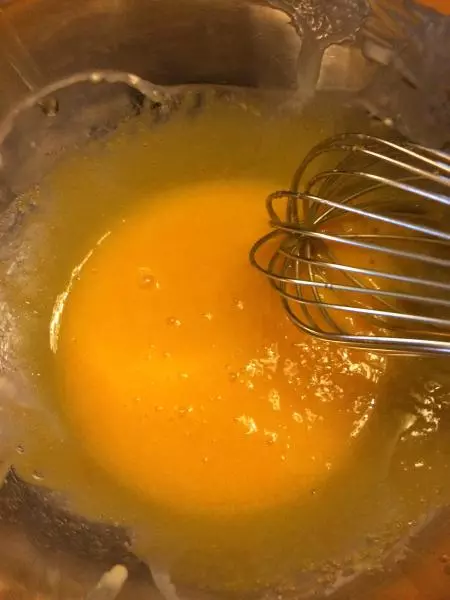
5蛋黄,细砂糖和橄榄油混合并用蛋抽搅拌均匀。
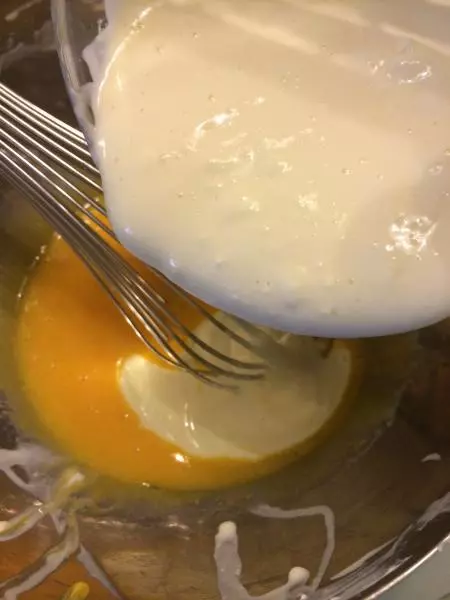
6把奶酪糊倒入蛋黄糊中搅拌均匀。
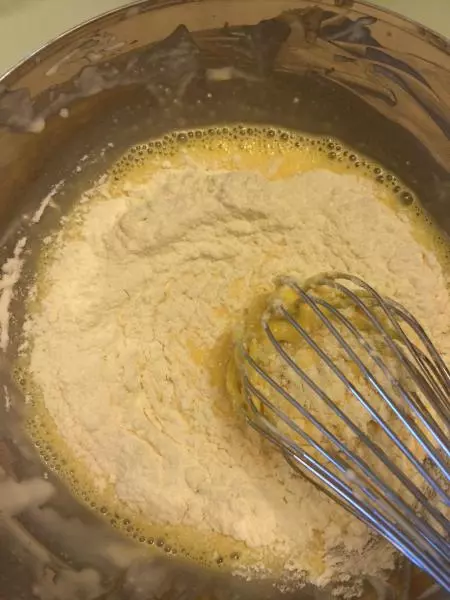
7筛入低粉,用蛋抽搅拌均匀。
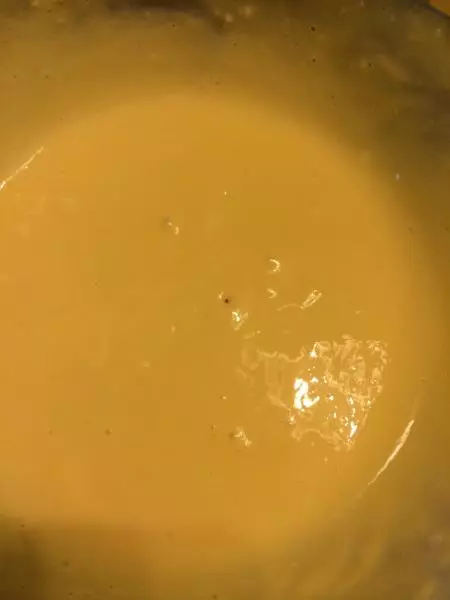
8搅拌均匀的蛋黄糊柔滑没颗粒。
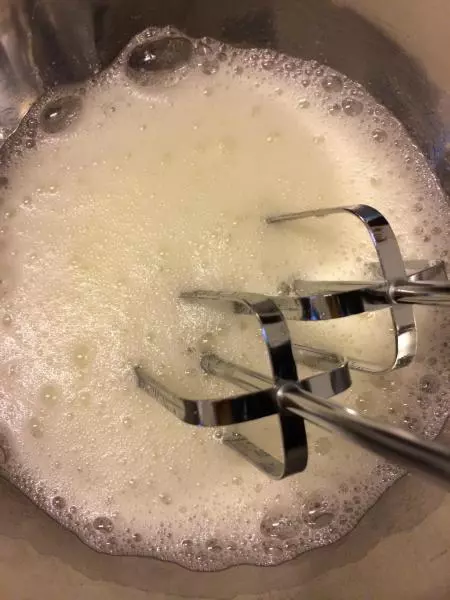
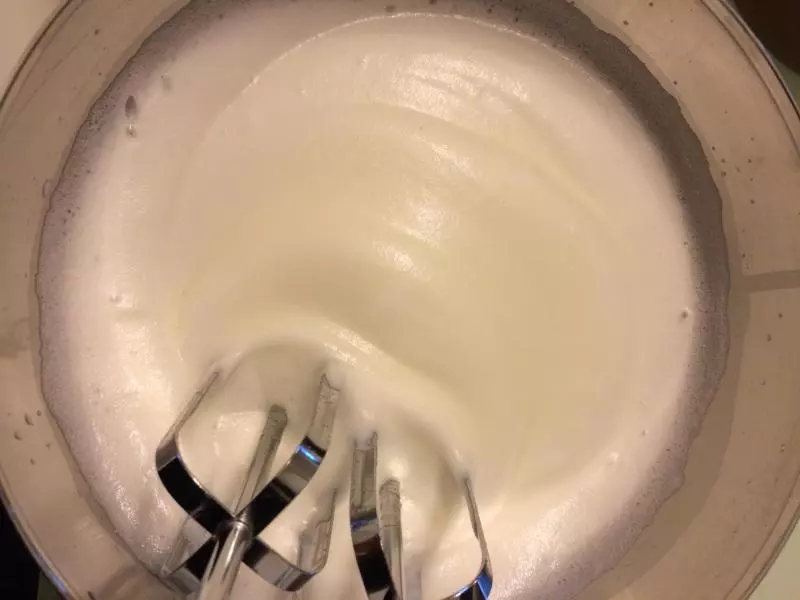
9开始打蛋白霜。如有柠檬汁,可以加3-5滴。低速把蛋清打至鱼眼泡时放入第一次等量细砂糖。
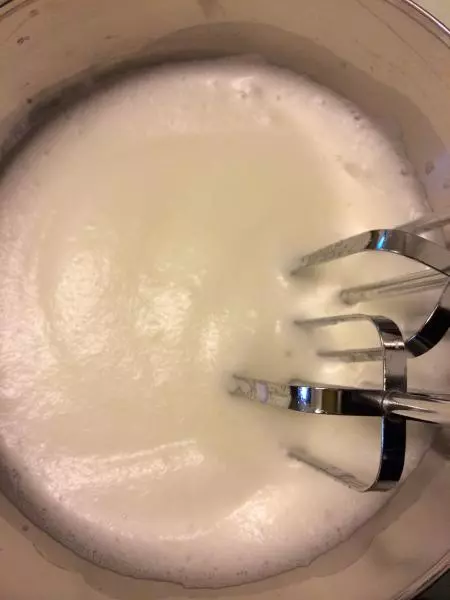
10继续中速打至细腻,没明显泡沫的时候,加入第二次等量细砂糖。
11继续中速打至略见纹路的时候,加入最后一次等量细砂糖。
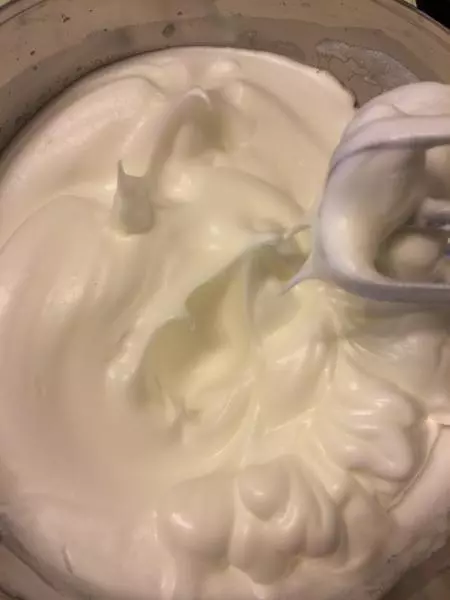
12蛋白霜打至9分发,带小弯钩即为完成打发。
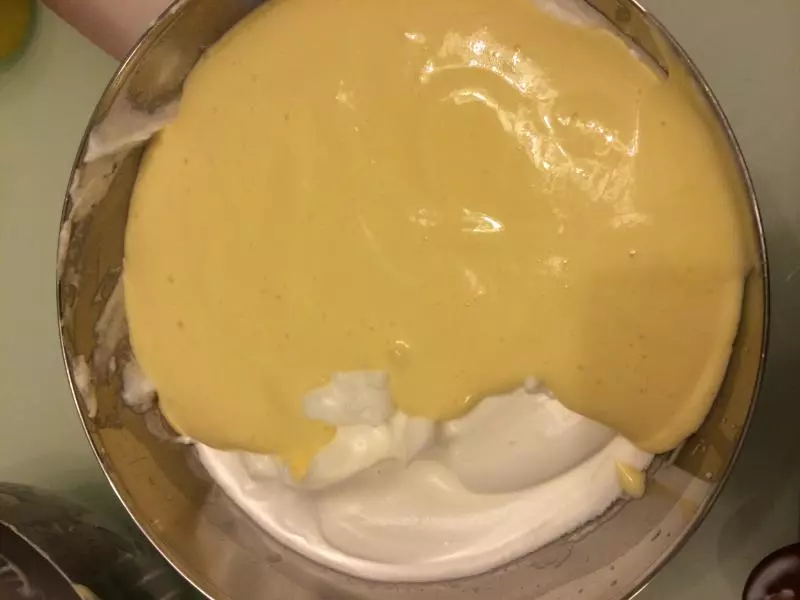
13取1/3蛋白霜至蛋黄糊中,翻拌手法拌均匀至看不到蛋白霜。
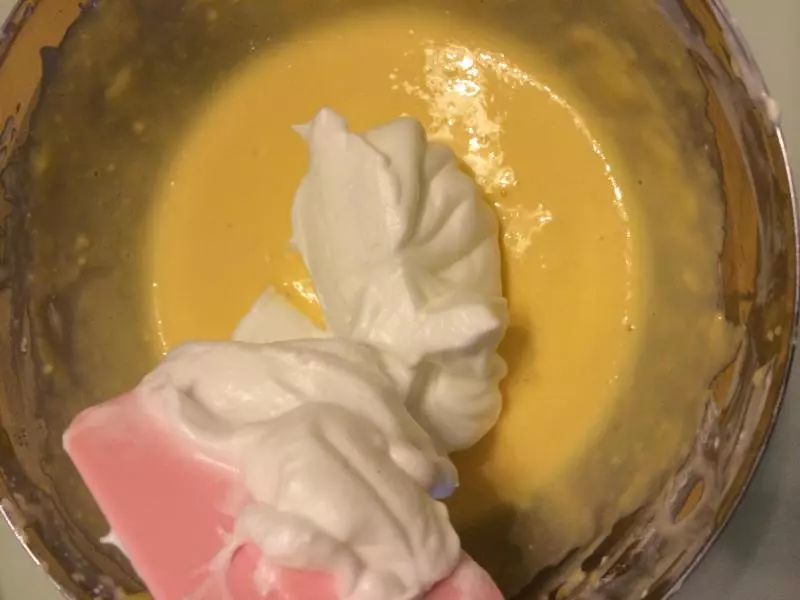
14再取1/3蛋白霜至蛋黄糊中,同样以翻拌手法拌均匀至看不到蛋白霜。
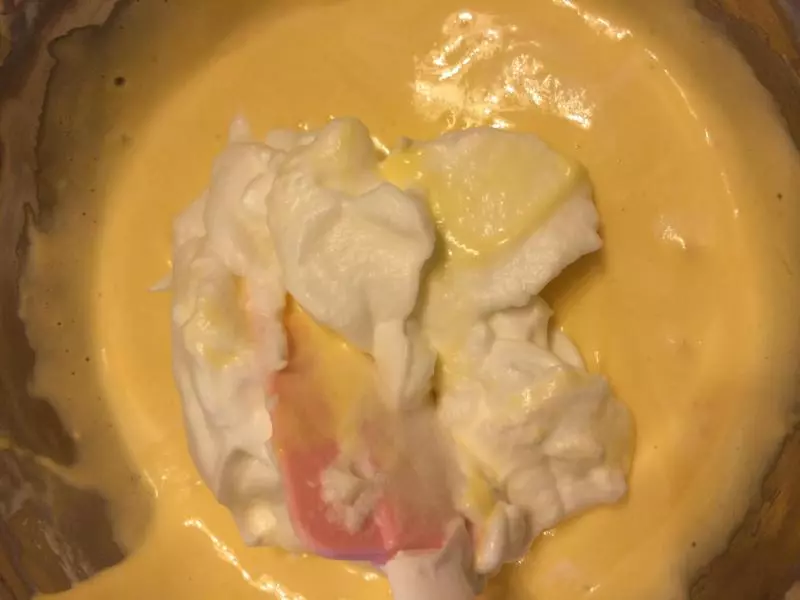
15把拌好的蛋黄糊倒入剩下的蛋白霜中,轻且快的翻拌手法拌至看不到蛋白霜。
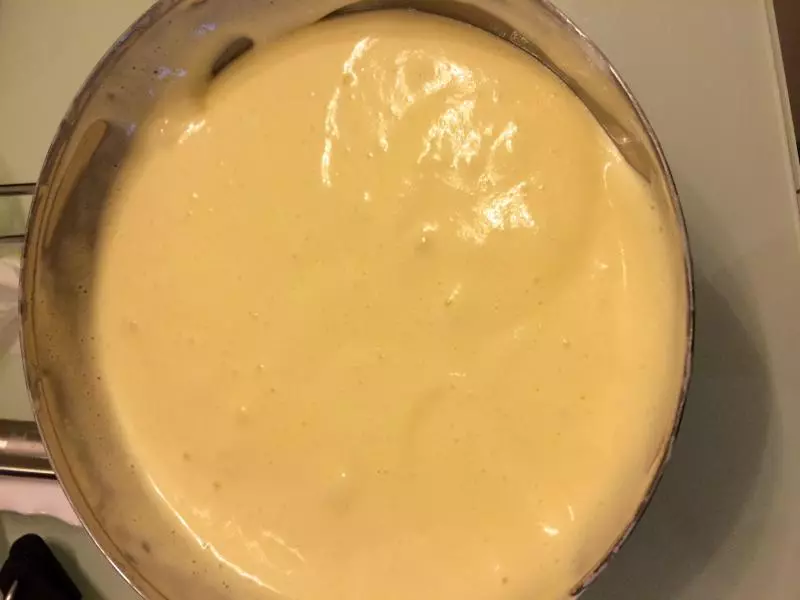
16完成的蛋糊细腻,没颗粒,没出现明显的冒泡(如出现明显且不间断的冒泡,则表示蛋糊消泡,会导致蛋糕难以发起来)。
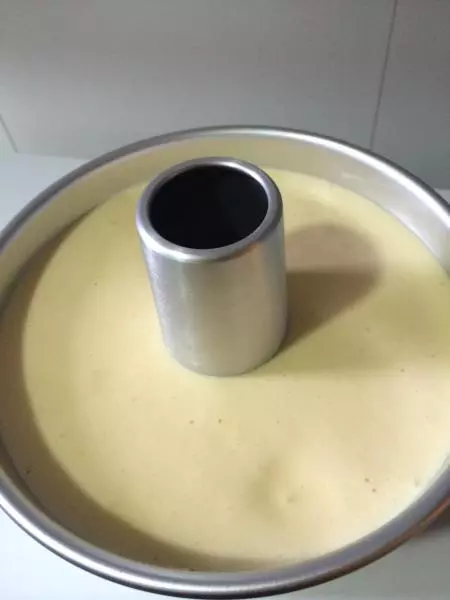
17把蛋糊从25CM高处倒入模具里,把较大的气泡去掉,然后震模2-3次,放入170度预热的烤箱中下层烘烤约40分钟。
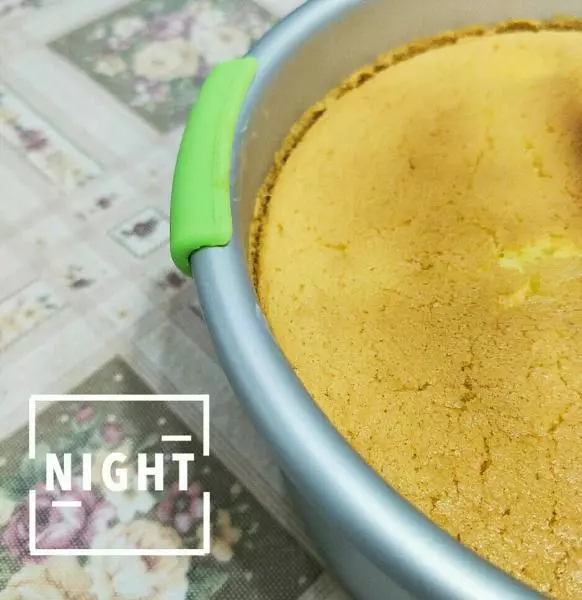
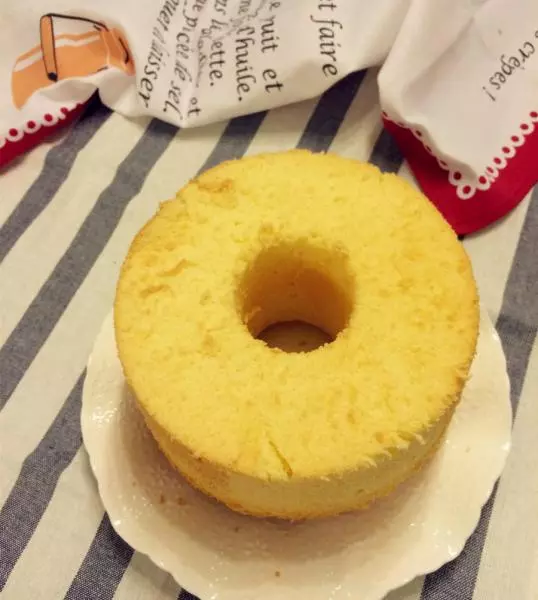
18出烤箱后马上摔模几下震掉热气,倒扣至凉,即可脱模。
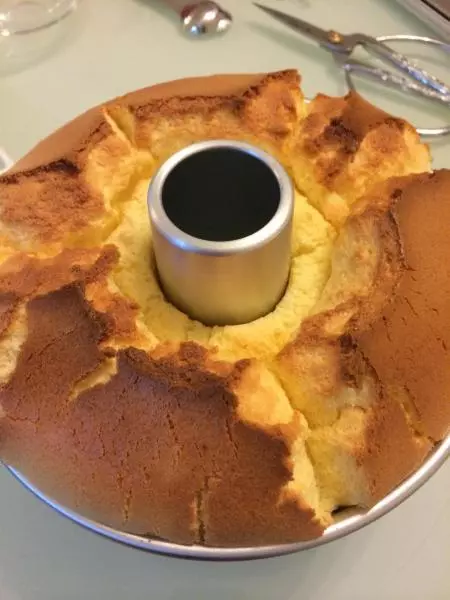
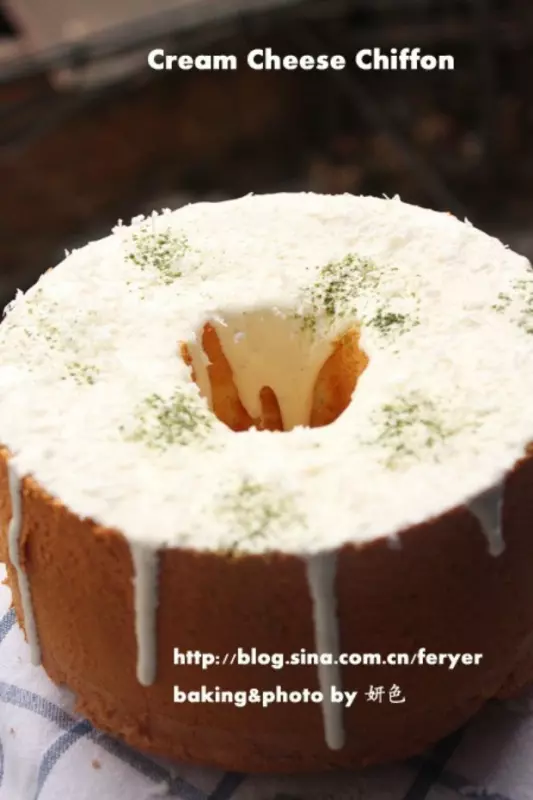
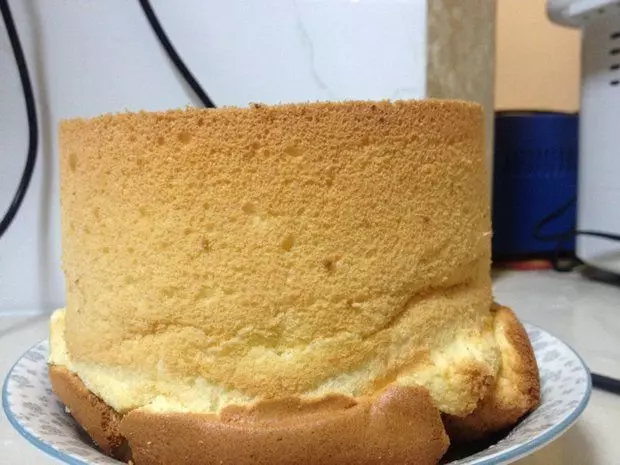
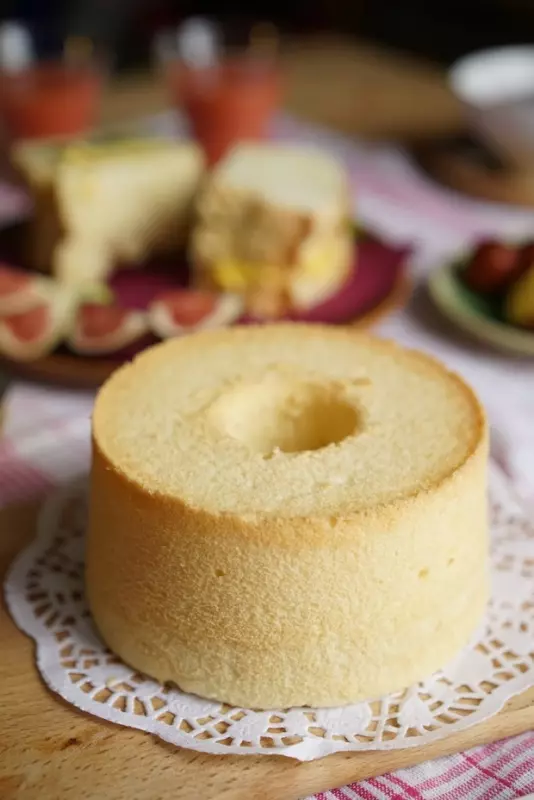
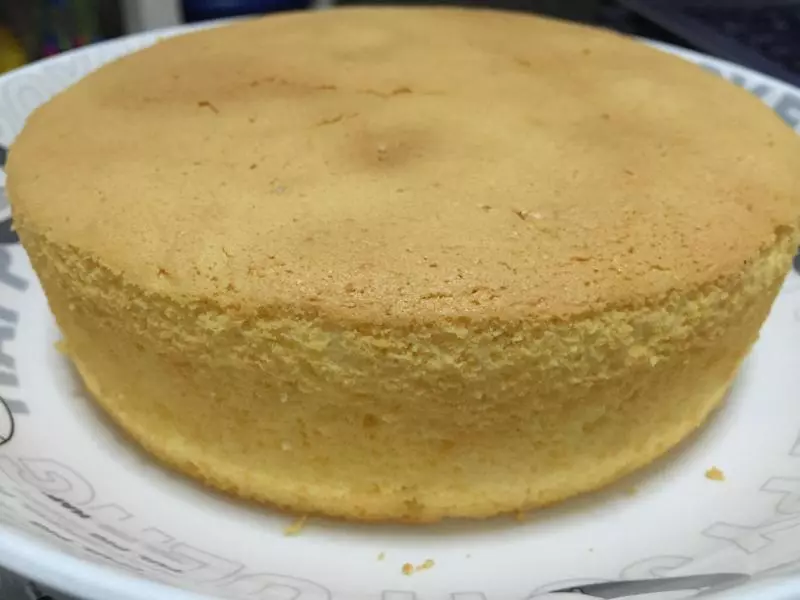
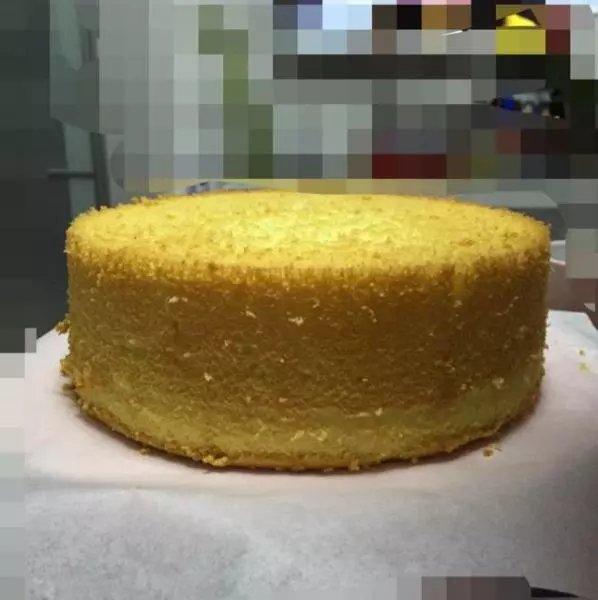
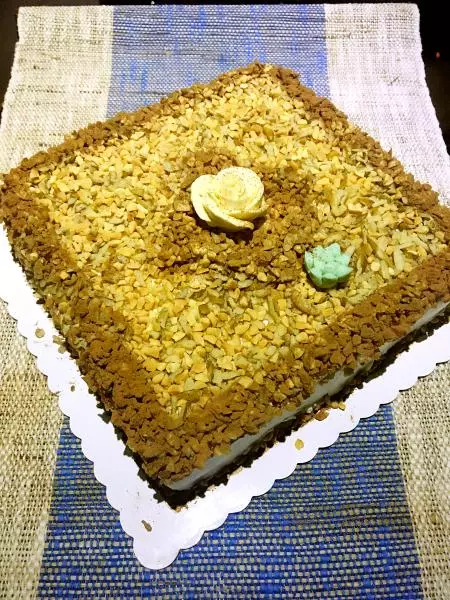
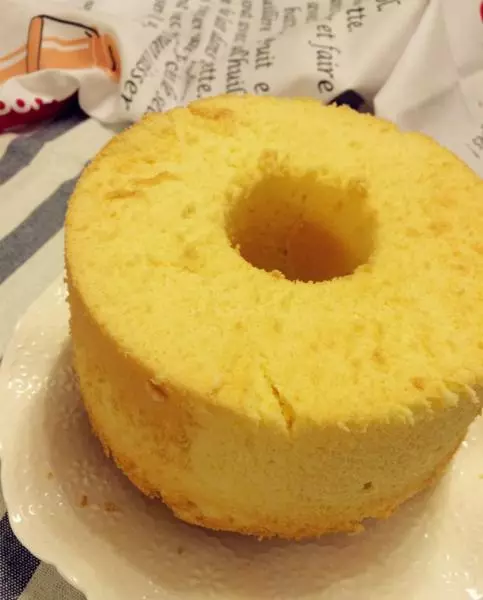
19成品涨得很高,蓬松且弹性哦
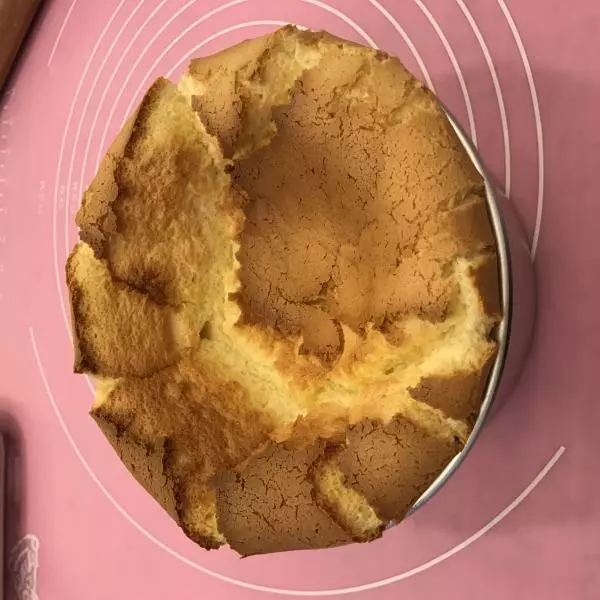
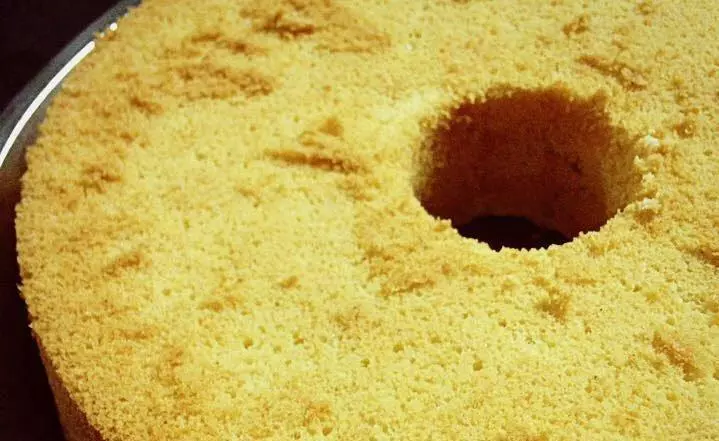
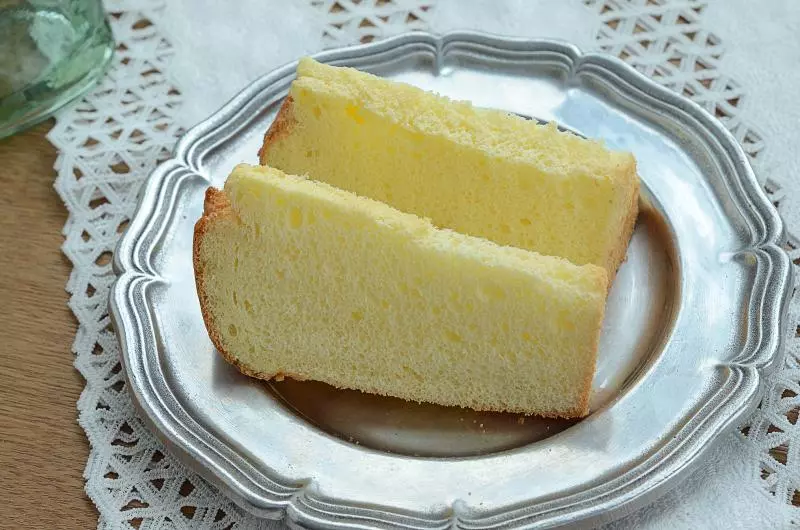
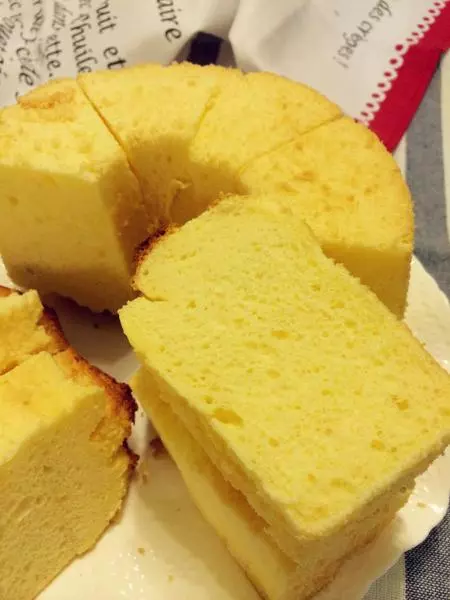
20看看内部结构(*^__^*)
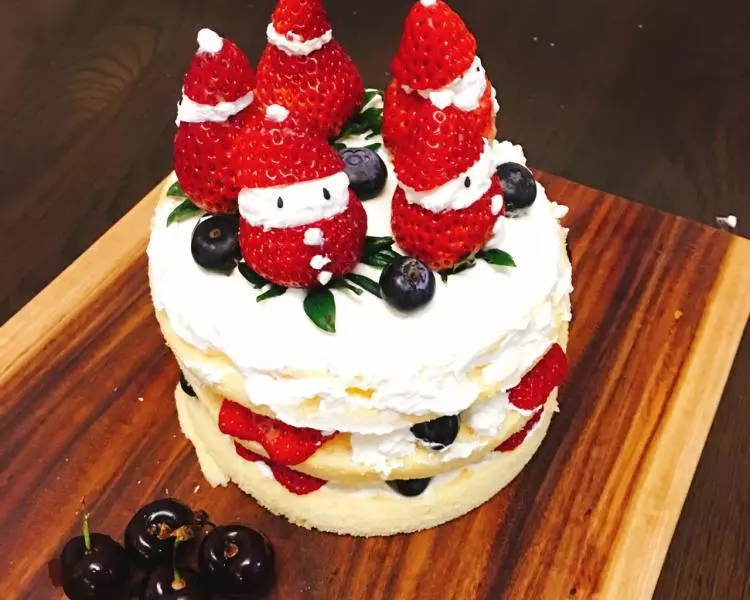
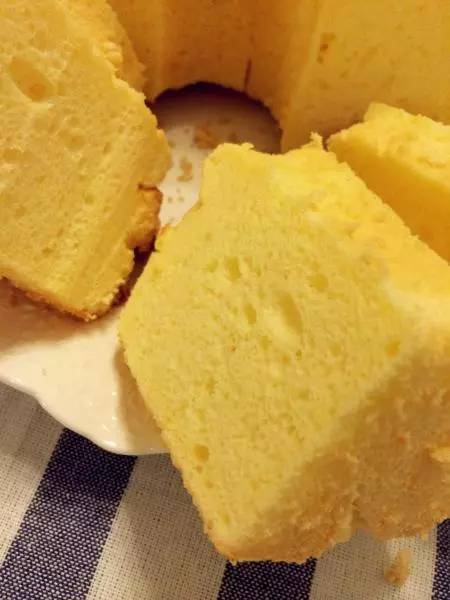
21再看看哦~
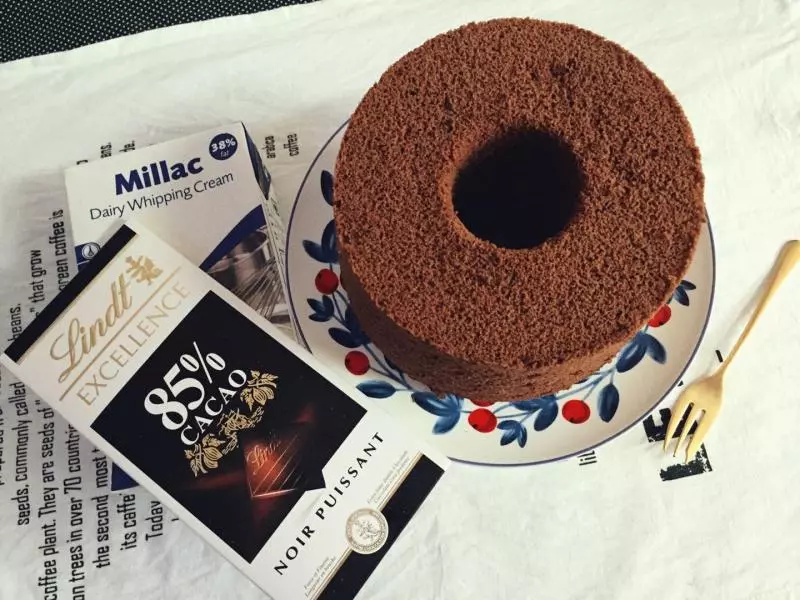
小技巧
模具为17CM的烟囱戚风; 全脂牛奶如在冰箱取出,需放在室内回温,否则会让奶油奶酪结块,难以拌均匀; *烘烤时间因每台烤箱脾气不一样可能略有差异,但切记一定要烤够时间,戚风涨得最高的时候并不是全熟的状态,最高之后会略微下降约0.5CM,这时才是烤熟的标志哦~