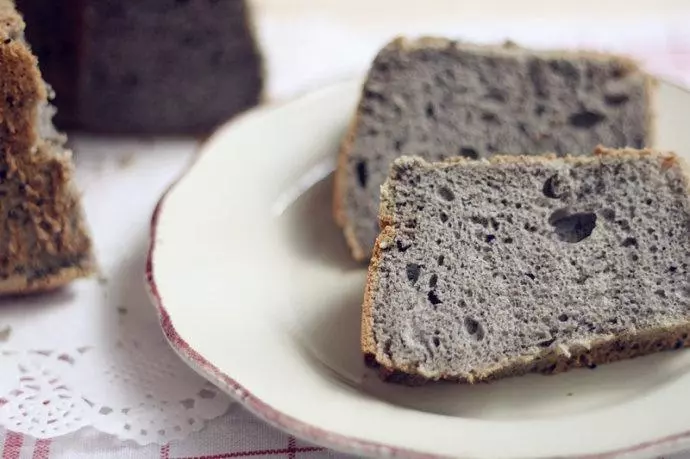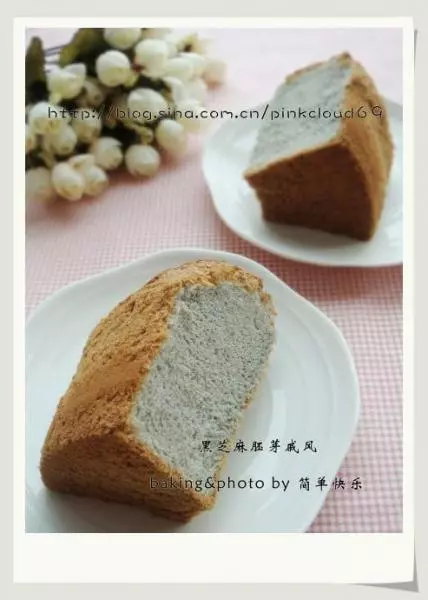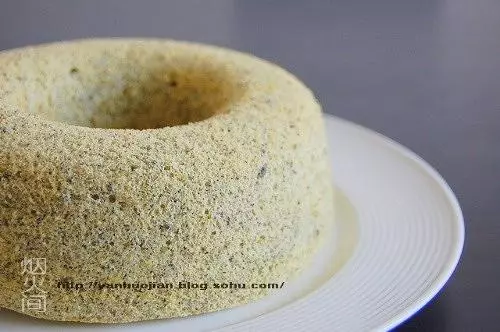
原料
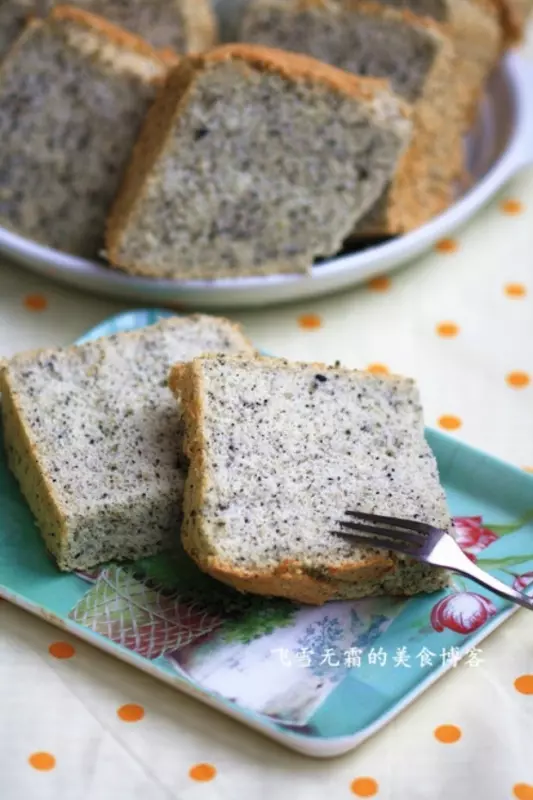
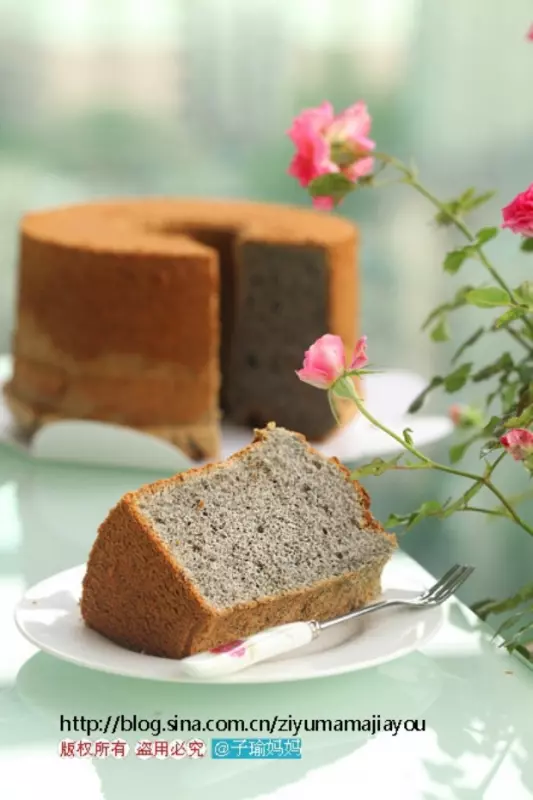
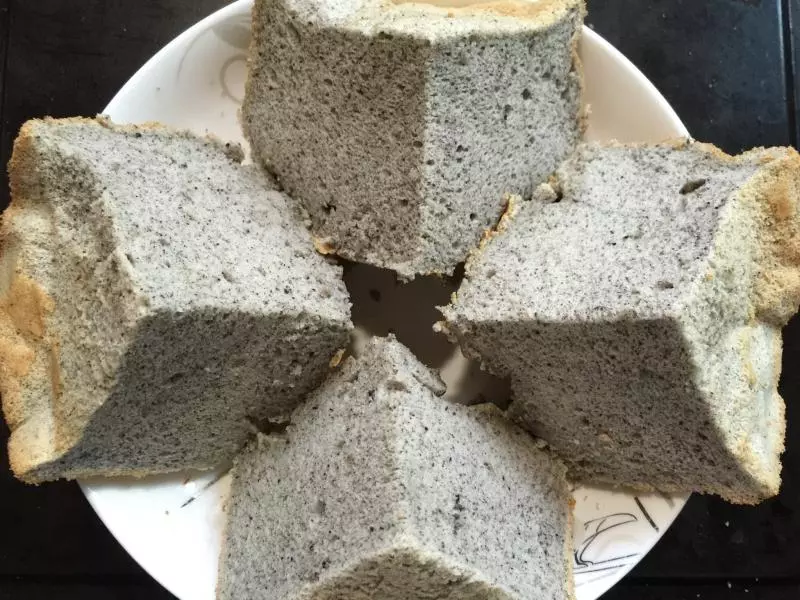
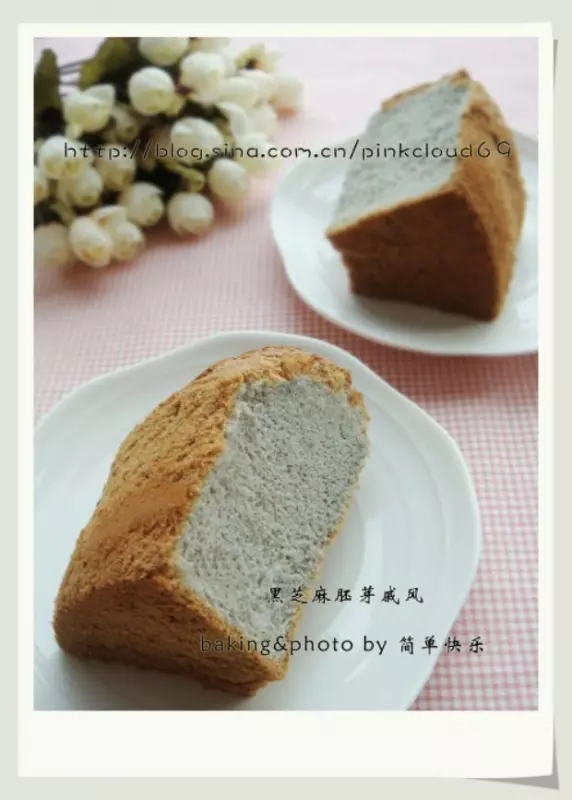
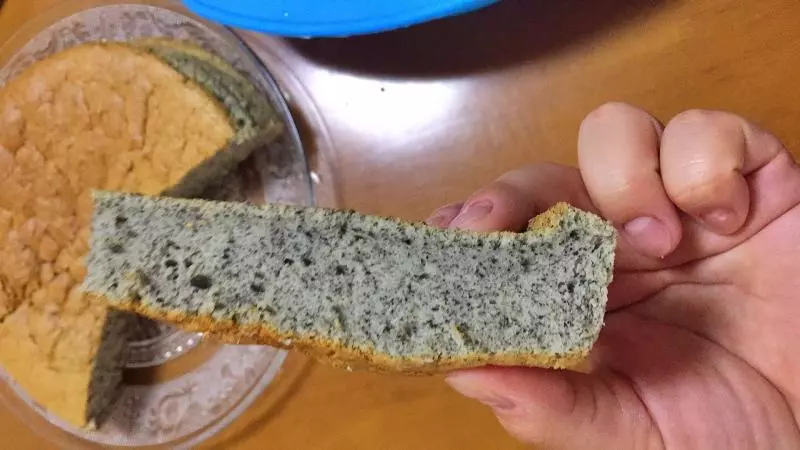
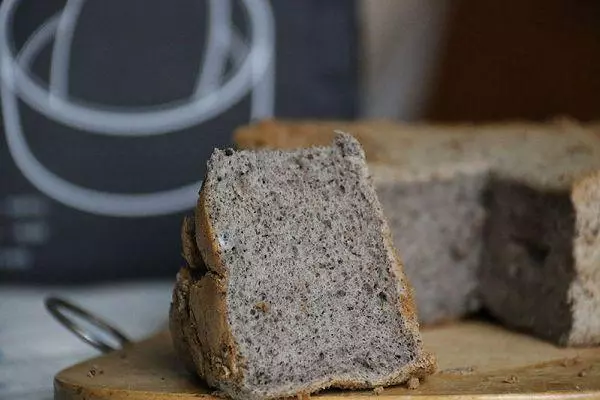
蛋黄糊: , 蛋黄(每个蛋大约50g光景): 6个, 牛奶(没有鲜牛奶可以用奶粉兑,脱脂全脂奶粉都可以): 110ml, 无味山茶油: 20g, 绵白糖: 10g, 低筋粉: 125g, 黑芝麻粉: 30g, 蛋白糊: , 蛋白: 6个, 绵白糖: 45g, 柠檬汁: 数滴
步骤
1我是先把110ml牛奶、10g绵白糖和20g无味山茶油倒在不锈钢盆里。
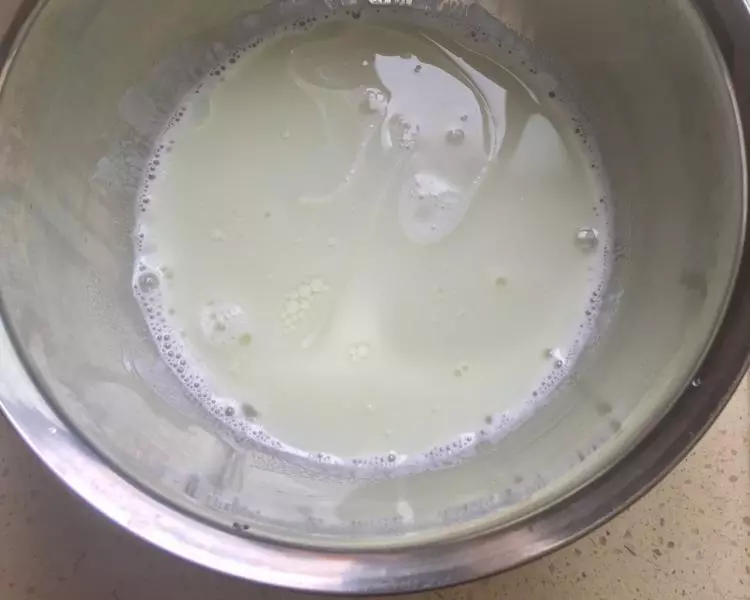
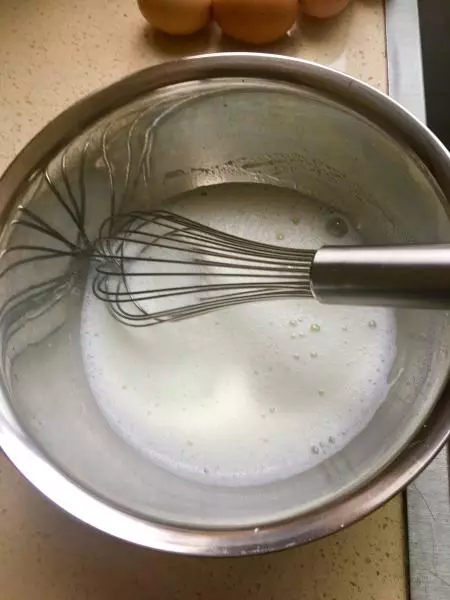
2用手动打蛋器把牛奶、糖和无味山茶油抽打均匀。
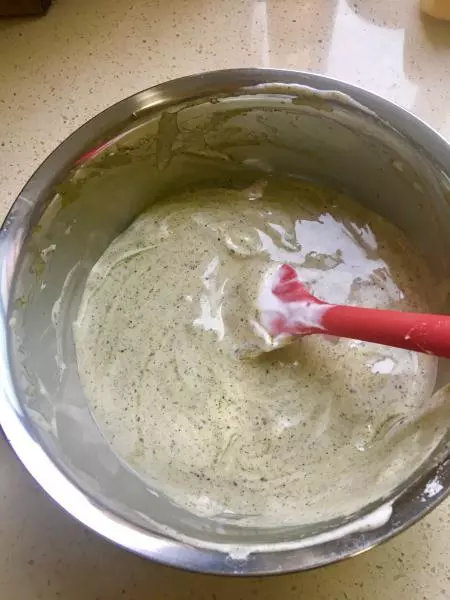
3然后把过筛的125g低筋粉和30g用手捏成均匀颗粒的黑芝麻粉倒入盆中,用J字型或Z字型搅拌均匀。
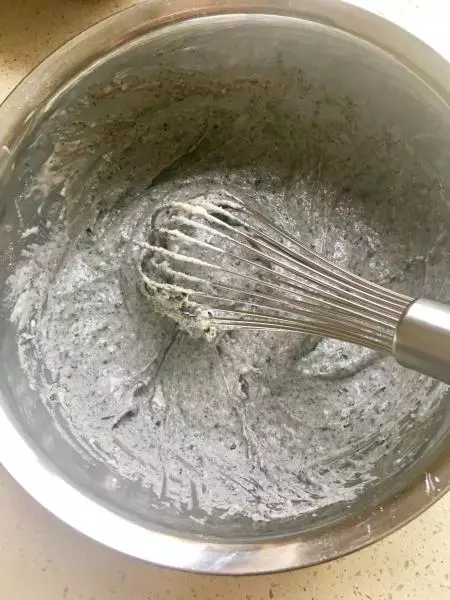
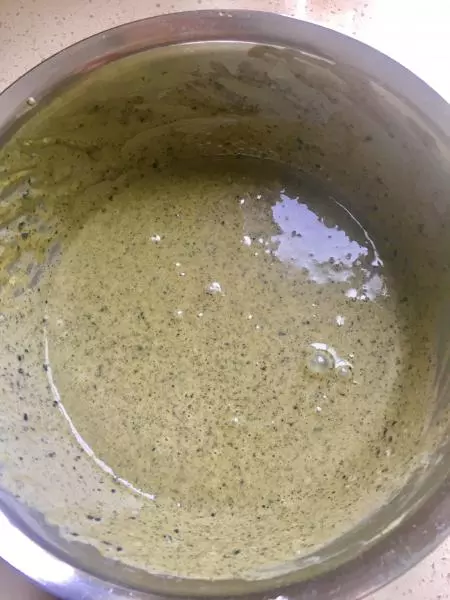
4这时再把6个蛋分成6个蛋白和6个蛋黄,把6个蛋黄加入黑芝麻糊中以Z字或J字搅拌成光滑细腻的面糊。(我发现先把面粉搅拌好再加蛋黄搅拌比先加蛋黄再加面粉搅拌能更快更容易搅拌成细腻光滑的面糊)
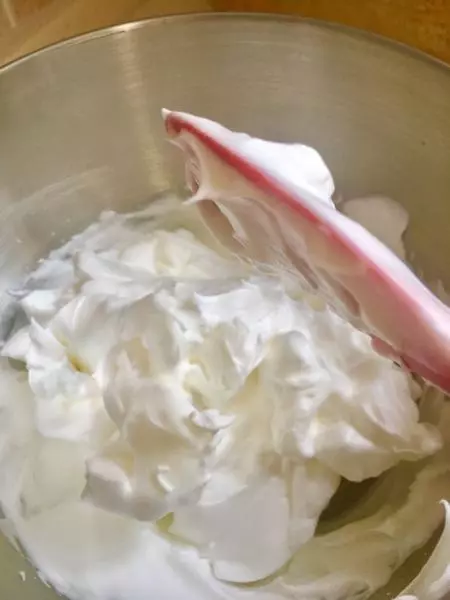
5准备打蛋白时开始预热烤箱到160度(我用的是西门子烤箱)蛋白打到有鱼眼泡时加入1/3绵白糖和1滴柠檬汁,再打到有粗泡时再加入1/3绵白糖,最后打到有粗纹路时加入剩余的绵白糖和柠檬汁,打到蛋白霜有小尖角出现即可。
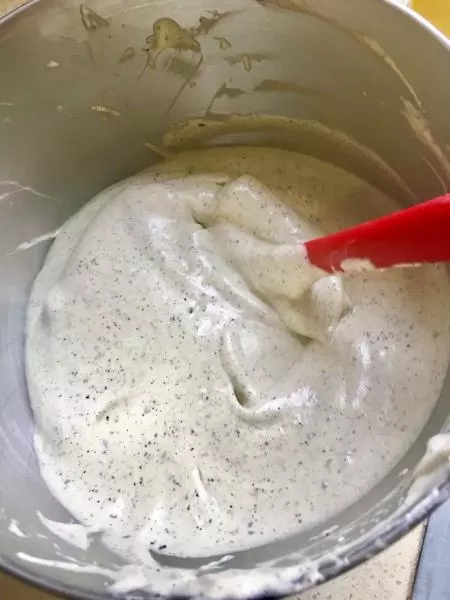
6取1/3蛋白霜到蛋黄糊中以J字或Z字型搅拌均匀。
7再把搅拌均匀的蛋黄蛋白糊全部倒入蛋白霜中切拌翻拌均匀。
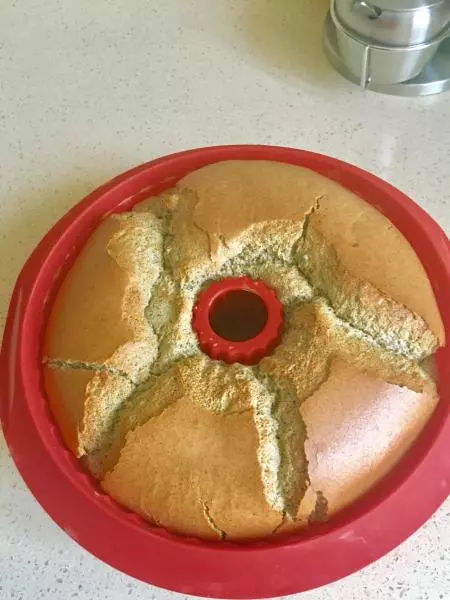
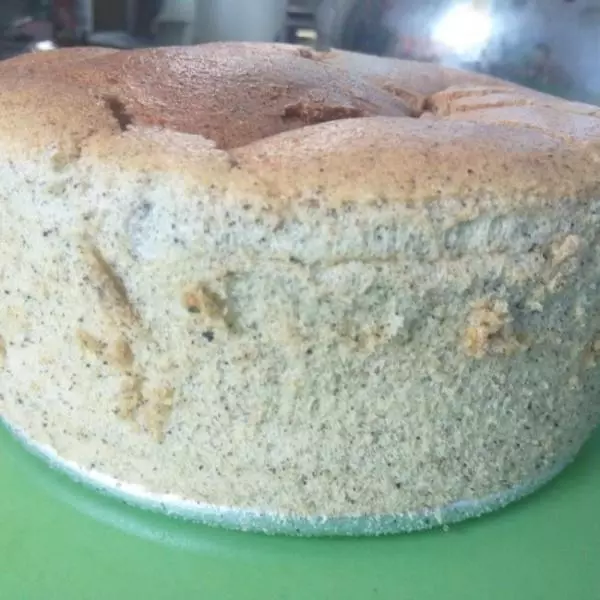
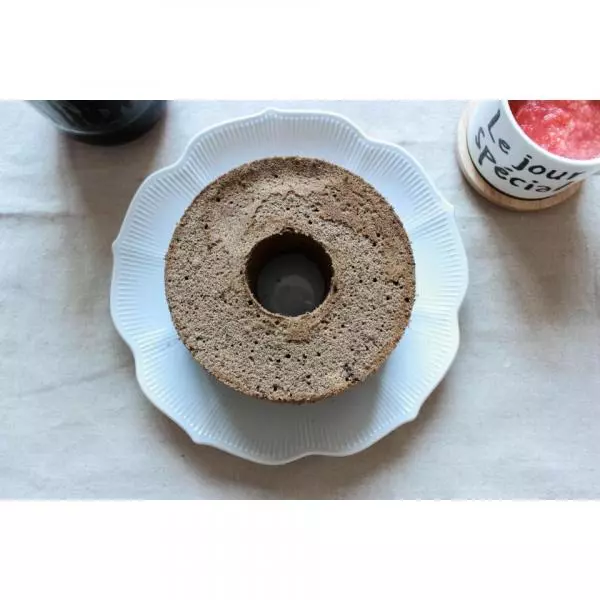
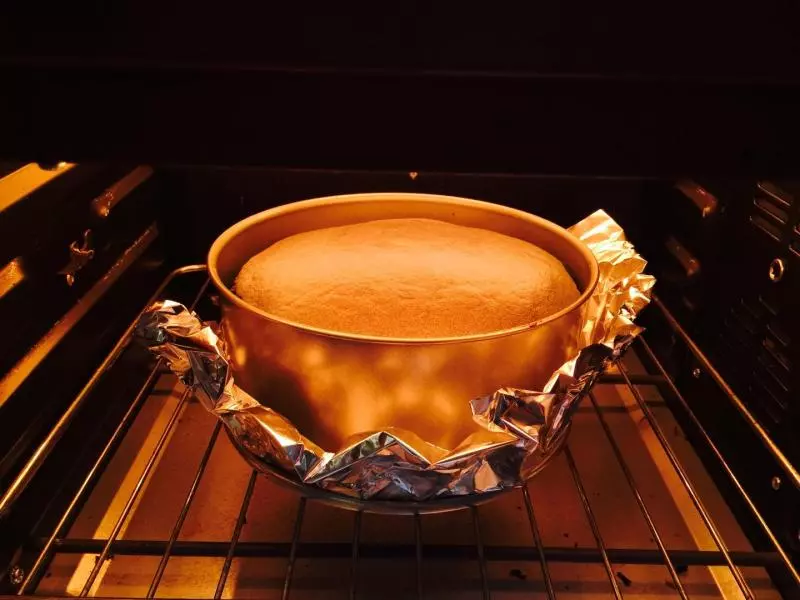
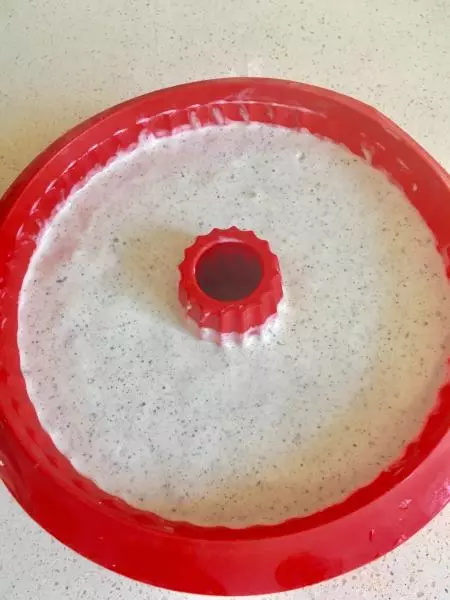
8慢慢旋转模具把面糊均匀倒入模具中,然后轻振几下模具把大气泡振动出来,最后放入预热160度的烤箱中下层上下火烘烤55分钟。
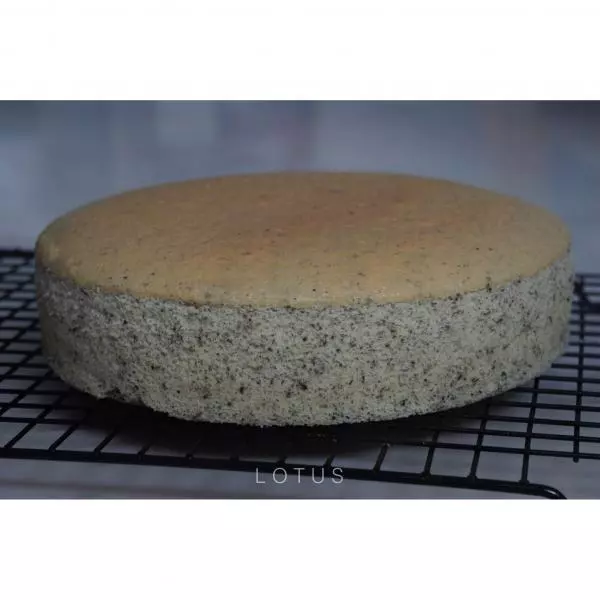
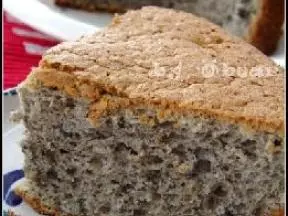
9出炉的后倒扣在晾晒网上5、6分钟,然后脱模。