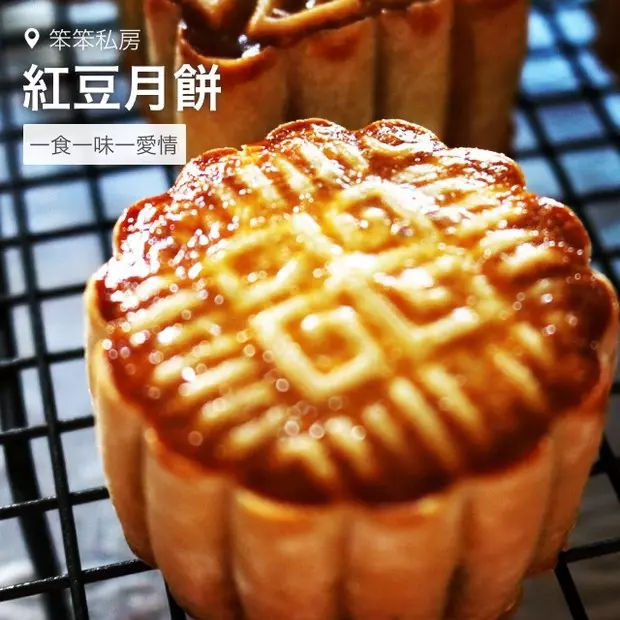
原料
高筋面粉: 90g, 低筋面粉: 10g, 奶粉: 5g, 转化糖浆: 75g, 花生油: 25g, 枧水: 1g, 红豆: 500g, 细砂糖: 200g, 花生油: 50g, 细砂糖: 300g(糖浆), 水: 200g(糖浆), 柠檬汁: 50ml(糖浆)
步骤
1新鲜柠檬对半切开,取柠檬汁备用

2锅中倒入白砂糖

3搅拌均匀

4中火烧开,加入柠檬汁

5中火加热至再次沸腾

6转小火熬一小时左右,直至糖浆呈金棕色,其间不用搅拌,冷却后密封保存两天后使用

7红豆用清水浸泡过夜

8浸泡过的红豆放入汤锅,添冷水

9大火烧开后小火煮两个小时

10取一个大盆倒多半盆水,使筛网的底部浸在水中,舀一勺红豆放到筛网上,用勺背按压,使豆沙沉入水中

11豆沙水沉淀一夜,倒掉表层的水,剩余的豆沙用细筛网过滤

12滤掉水分的豆沙放入纱布中

13用手充分挤干水分

14将挤干水分的豆沙放到一个干净的盆中

15准备好炒豆沙用的糖和油

16过烧热,放入豆沙用小火炒一会儿,分两次加入花生油

17炒匀后分次加入白砂糖,充分炒匀

18小火炒到水分渐渐收干

19准备好所有材料

20将枧水倒入转化糖浆,调和均匀

21分次加入花生油,一边加一边搅拌

22充分搅拌均匀

23将高粉低粉和奶粉混合,加入糖油混合液

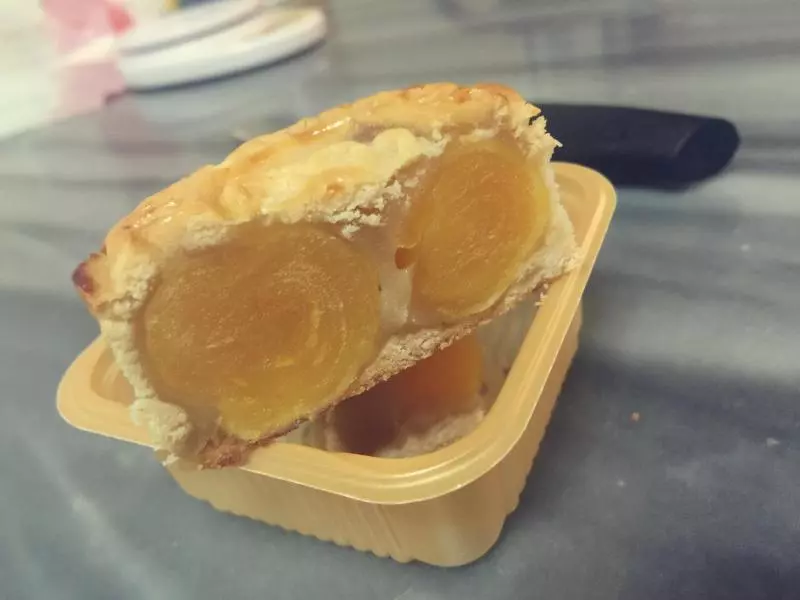
24用手揉成光滑柔软的面团,盖上保鲜膜,室温下松弛一到两个小时

25蛋黄中倒入少许白酒和黄酒,腌制十五分钟,烤箱190度预热,放入腌制好的蛋黄烤5分钟

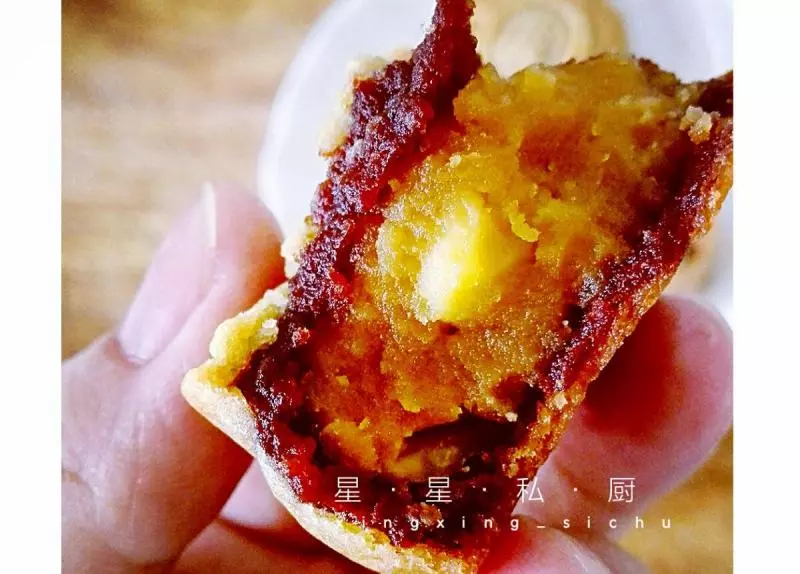
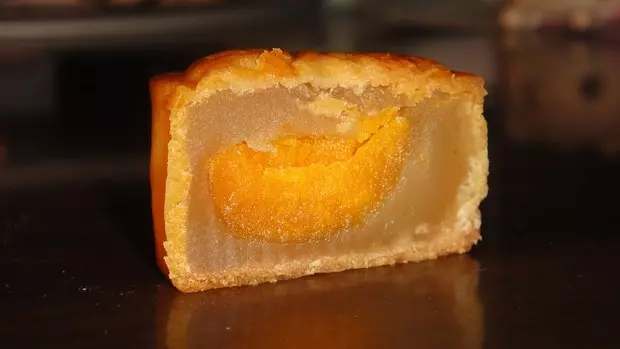
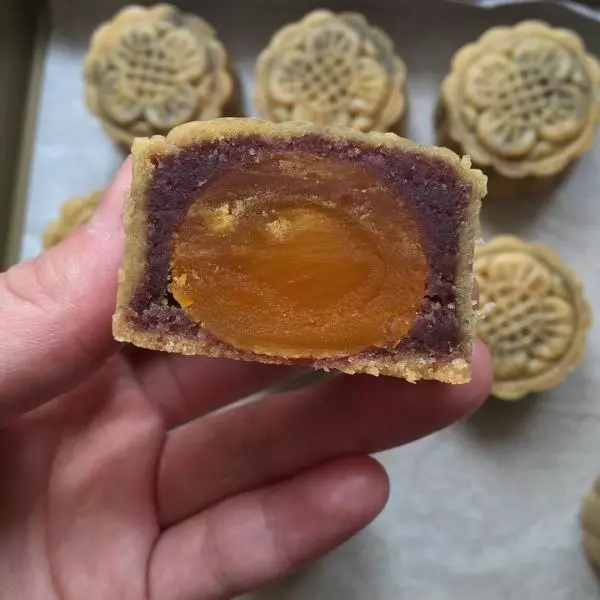
26烤好的蛋黄一分为二

27松弛好的面团分成每个10g

28称取蛋黄和豆沙馅共重40g

29将豆沙分成两份,先取一份放在掌心按扁

30将蛋黄放在豆沙上

31覆盖剩余的豆沙

32用手压实,揉成球状

33取一份饼皮按扁

34将馅料放在饼皮上

35用手指慢慢向上推饼皮,使其包裹馅料

36

37直到将饼皮覆盖整个馅料,小心收口

38使饼皮均匀包裹馅料,做成月饼初胚

39将月饼初胚上拍少许面粉

40月饼模具中洒少许面粉

41再将面粉倒出,使模具中沾有一层薄粉

42小心将月饼生胚捏成圆柱形,以方便放入模具

43将月饼生胚放入模具,注意不要刮到边缘
44将手按住月饼模具,在铺好油纸的烤盘上压实
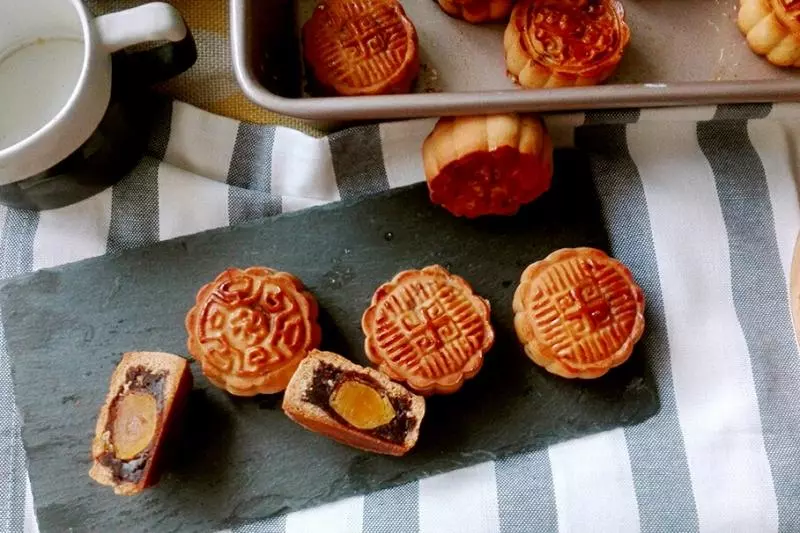
45推动模具活塞,使月饼生胚脱模
46每个月饼之间保留一定空隙
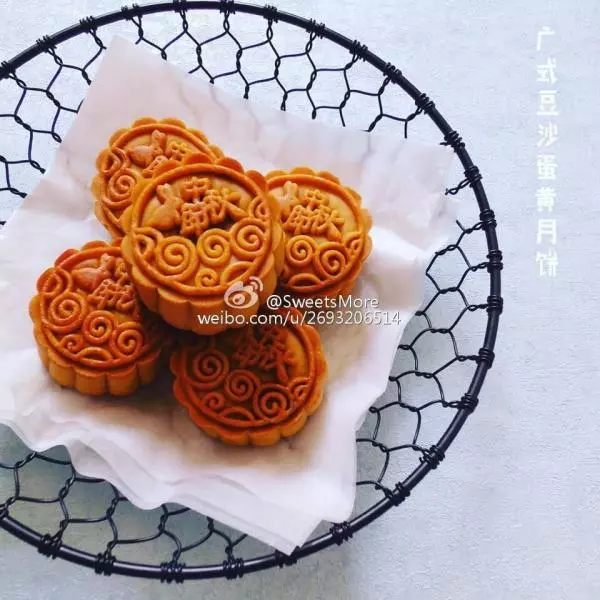
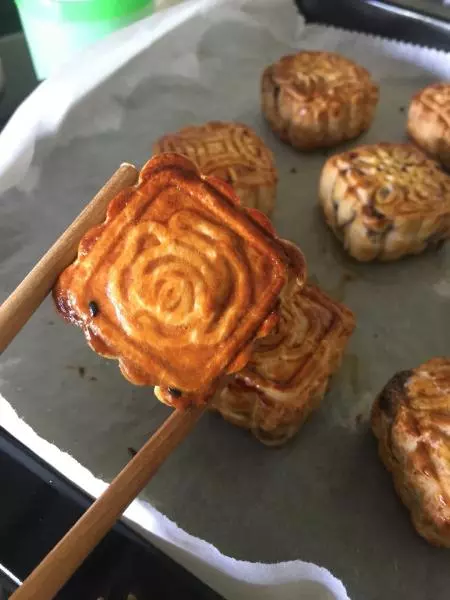
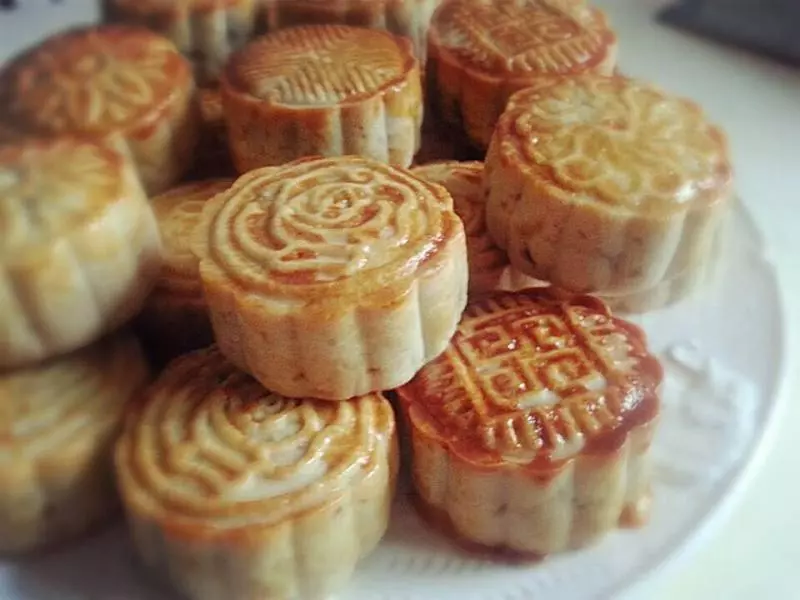
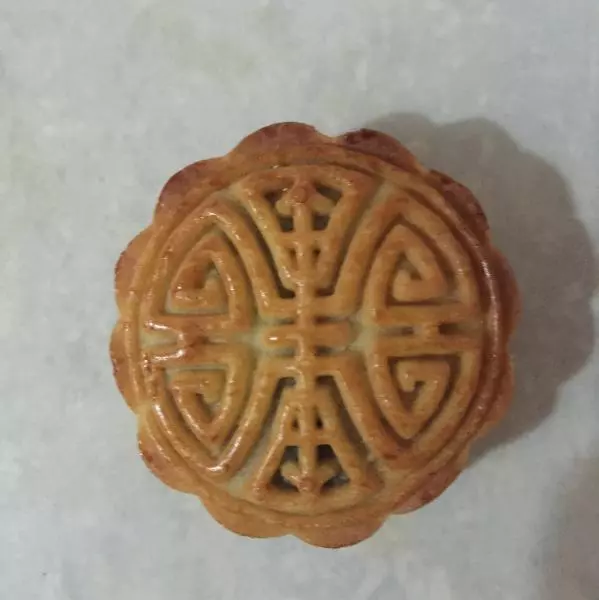
47月饼生胚表面喷少许水,烤箱180度预热,放入月饼生胚烤5分钟定型后取出
48一个蛋黄和一大勺蛋清打散,用毛笔蘸取蛋液
49在月饼有花纹的一面小心的刷一层蛋液,送回烤箱继续烤15分钟
小技巧
1.熬转化糖浆最好不要用电磁炉,因为一般的电磁炉很难调节火候大小,火比较急,容易造成水分的过度蒸发; 2.糖浆呈现金棕色,浓度与蜂蜜相似就可以关火了,因为糖浆冷却后浓度会更稠,颜色会更深,如果熬太久,糖浆在冷却后就有可能凝固; 3.熬制糖浆的时候尽量不要盖锅盖,盖上锅盖后锅内的热气无法散出,导致锅内温度过高,照成糖浆糊锅; 4.如果不加枧水或者加的太少,月饼在烤制的过程中不易上色,但也不能加得太多,否则会使面团偏软,导致烤出的月饼穿裙子; 5.馅料一定要炒干,而且要加足量的糖和油,这样才能打到很好的防腐效果; 6.饼皮要用手指一点点的推,保证均匀包裹住馅料。千万不能心急,如果用力太大,会导致饼皮薄厚不均匀,容易出现破洞; 7.月饼入烤箱之前一定要喷水,否则迎接你的将是一锅开花裂瓣、眉开眼笑的月饼; 8.过多蛋液会使月饼的花纹模糊,建议最好用毛笔代替刷子,因为毛笔截面小,刷这种精细的花纹更合适。