原料
酸奶蛋黄糊: , 酸奶: 125g, 蛋黄: 2个, 低筋面粉: 65g, 蛋白霜: , 蛋清: 2个, 柠檬汁: 3-5滴, 盐: 0.5g, 糖粉: 50g, 6寸活底模1个:
步骤
1制作酸奶蛋黄糊 准备材料,酸奶回温,分蛋

2蛋黄加入酸奶搅拌,再加入低粉搅拌

3酸奶蛋黄糊完成

4打发蛋白霜 蛋清中加入柠檬汁和盐,打发至体积增大

5加入糖粉打发至如图状态,烤箱130度预热,烤盘放烤箱下层,上面紧贴着搁网架

6将蛋白霜与酸奶蛋黄糊搅拌均匀

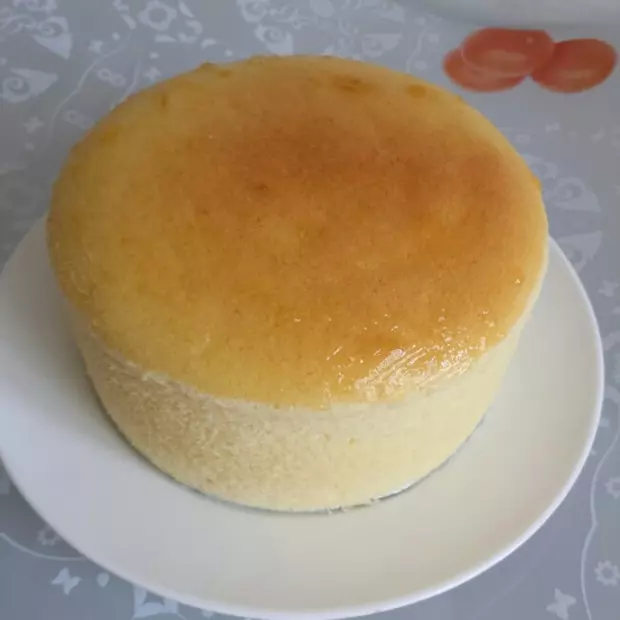
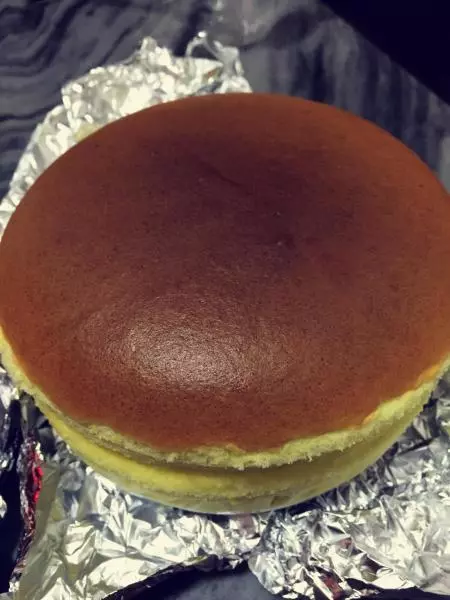
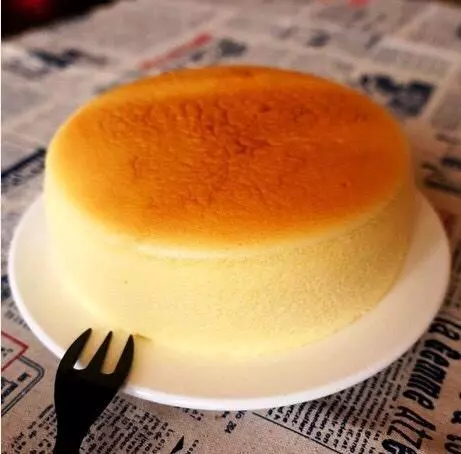
7搅拌均匀的酸奶蛋糕糊盛入模具

8烤盘中加热水,蛋糕模搁网架上隔水蒸烤1小时,焖1小时或40分钟

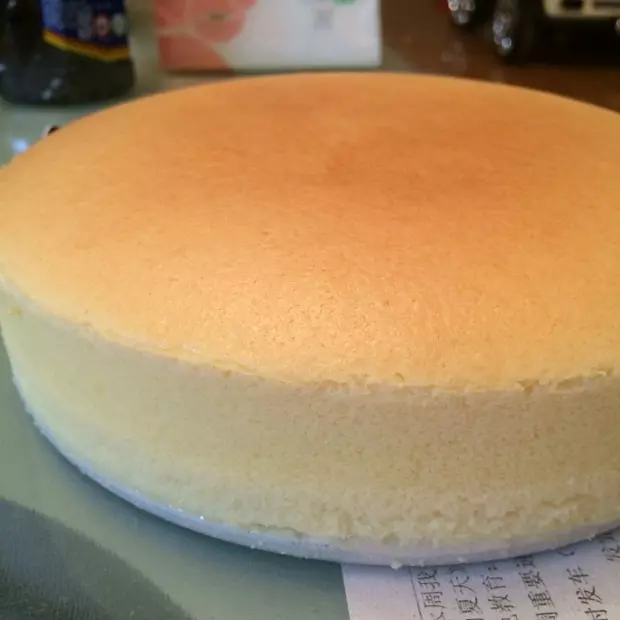
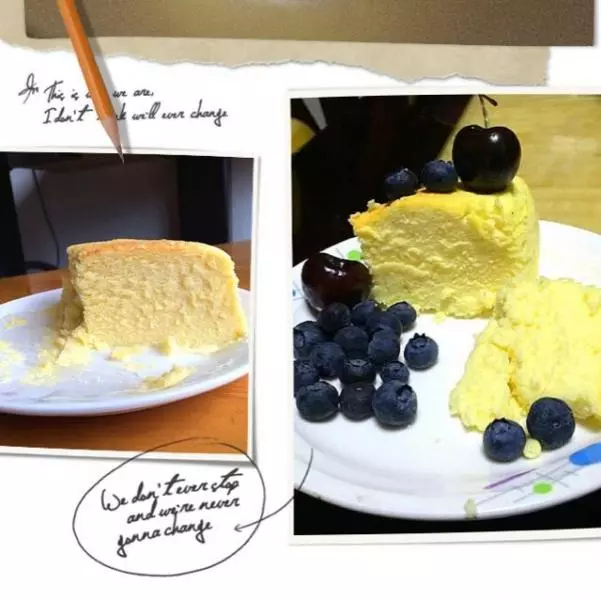
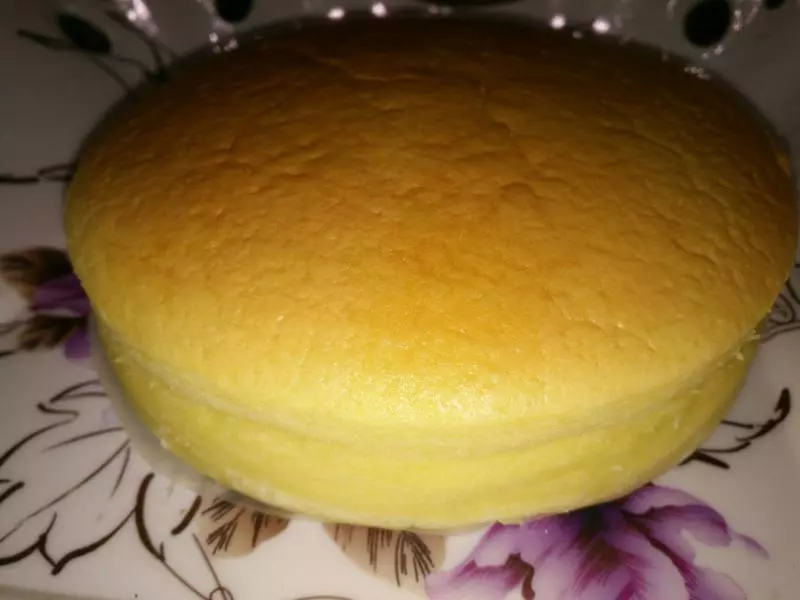
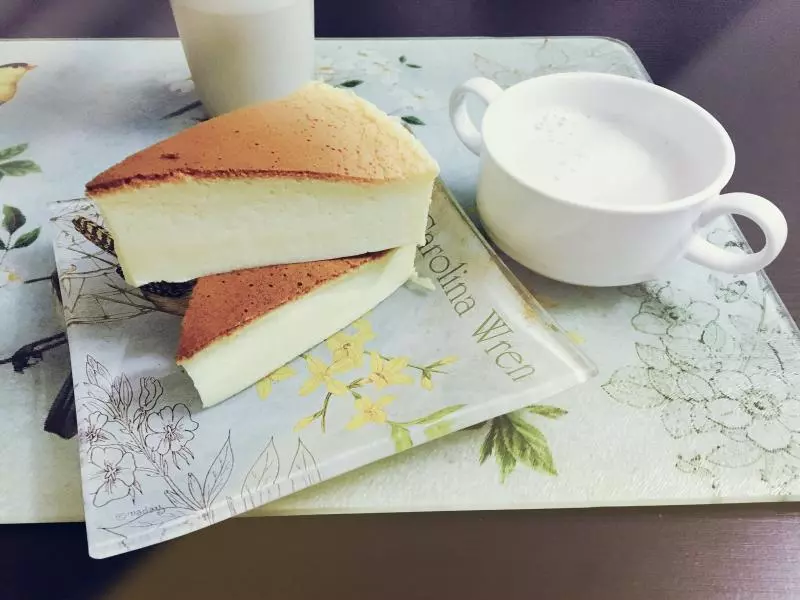
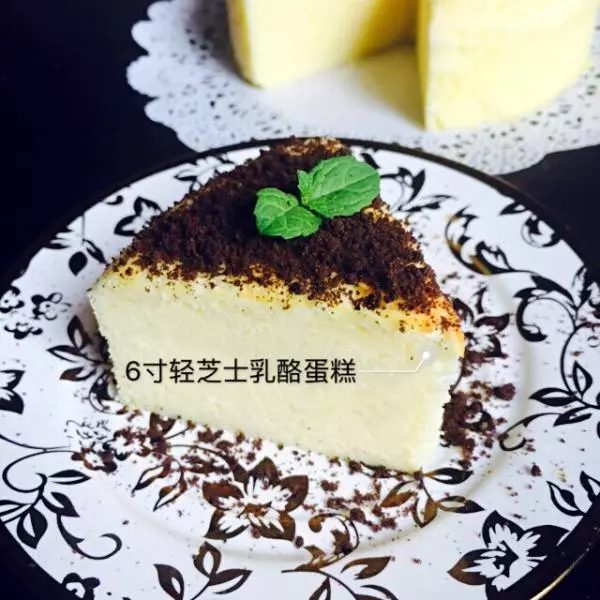
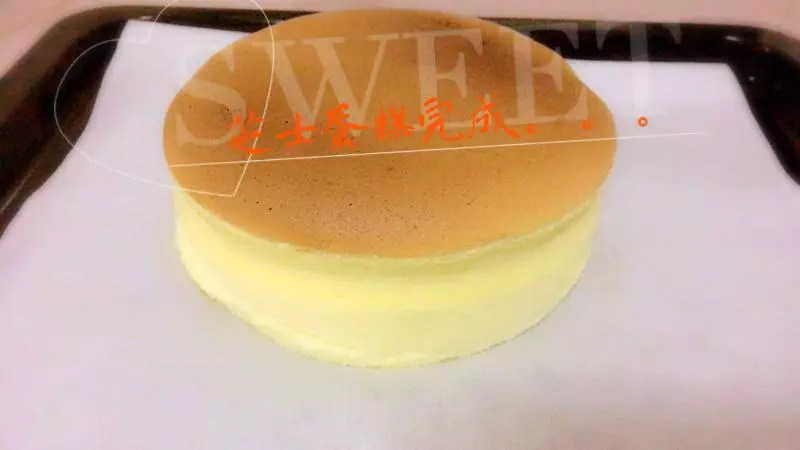
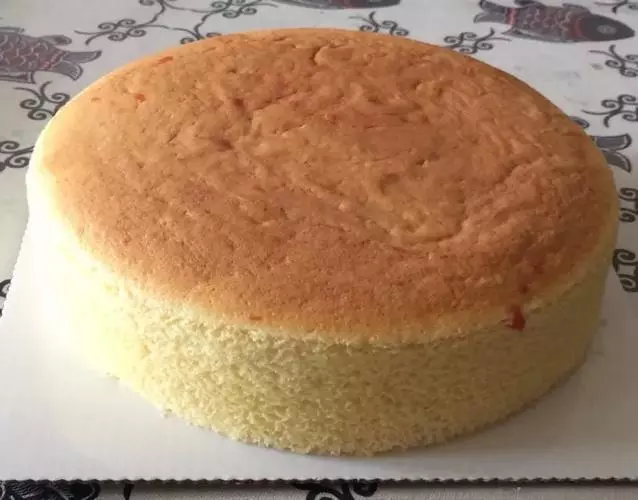
9出炉,不塌陷不开裂,冷藏之后口感更好