原料
黄瓜: 根, 虾仁: 适量, 猪肉: 适量, 葱: 适量, 盐: 适量, 面粉: 克, 生抽: 适量, 油: 适量
步骤
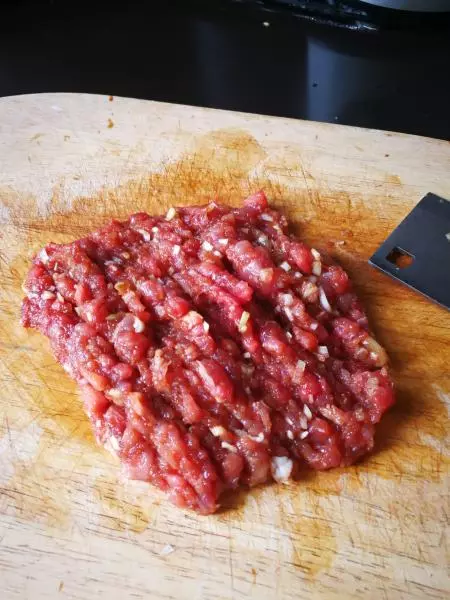
1剁肉 只放入葱 生抽 因为小孩不喜欢姜末
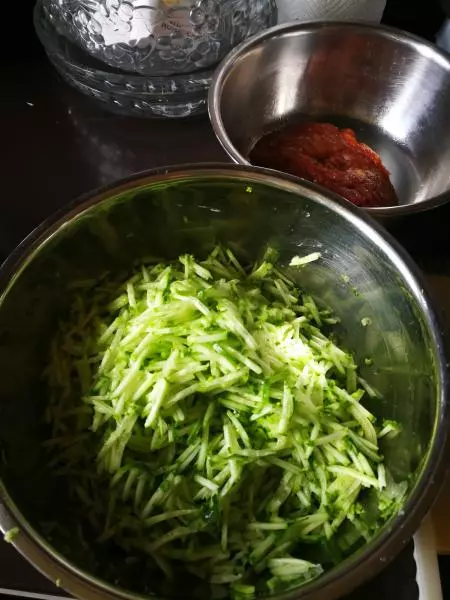
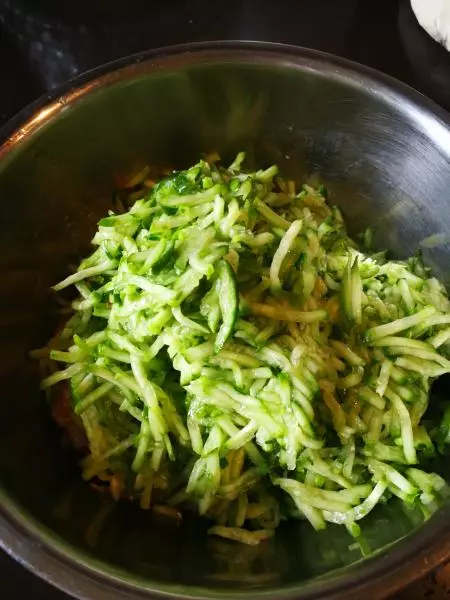
2黄瓜擦成丝
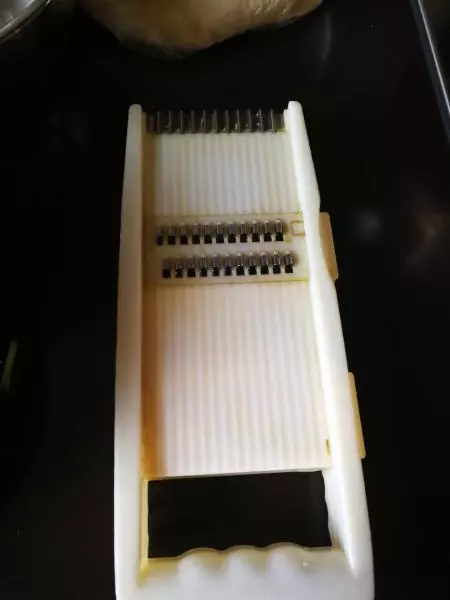
3用这个工具
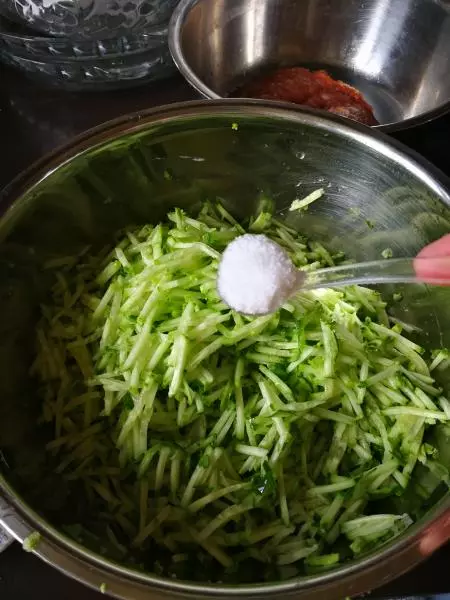
4放入2勺盐 拌匀 腌10分钟左右
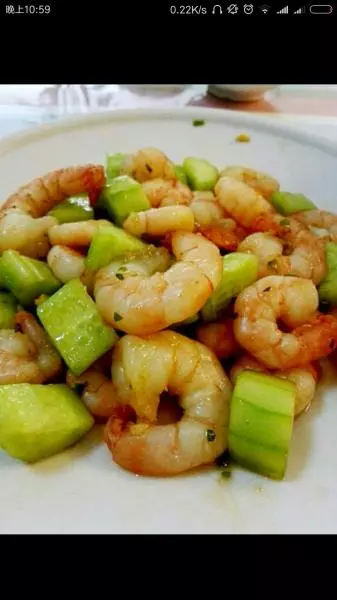
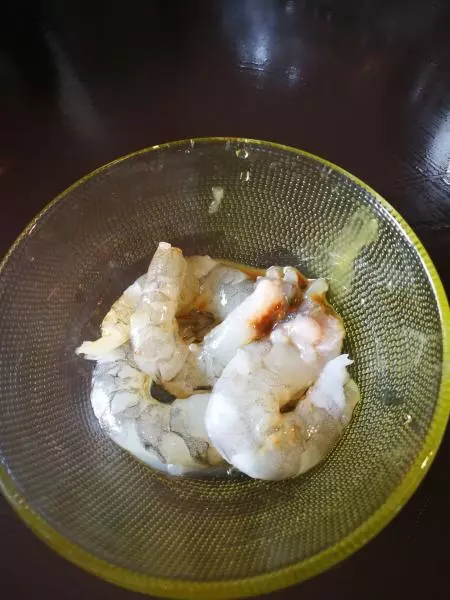
5虾剥皮 去虾线 磨成丁
6去掉水分
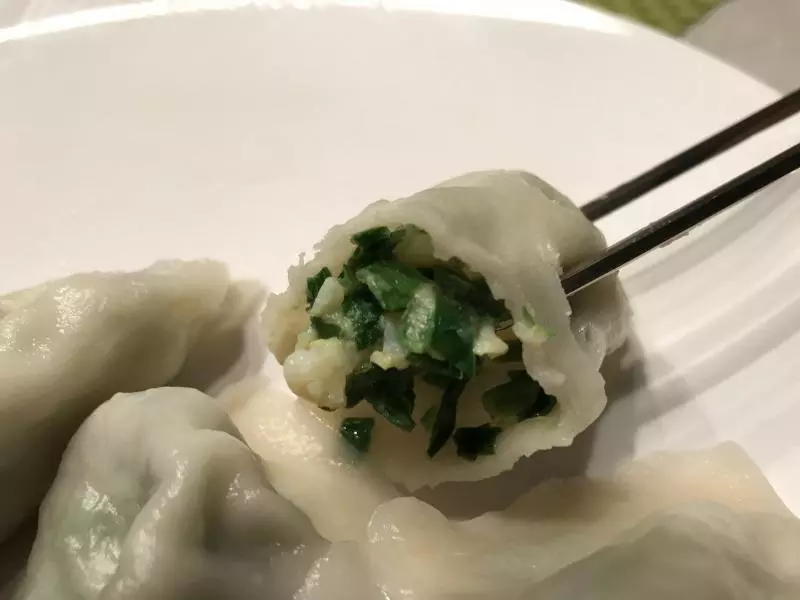
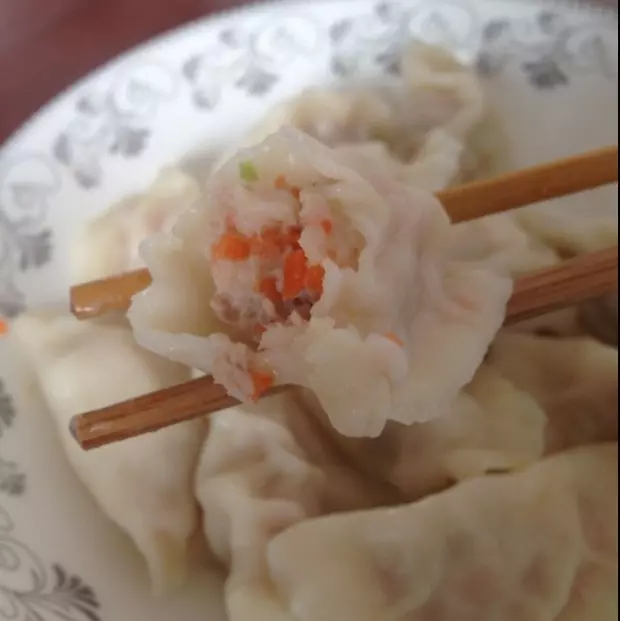
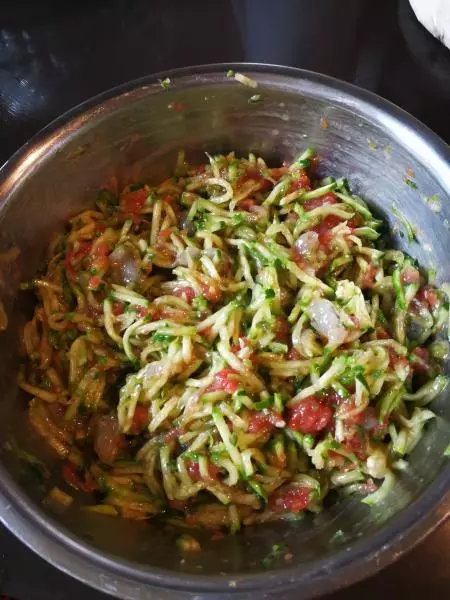
7把肉 黄瓜 虾仁 所有材料放到一起 先放入油顺时针搅拌均匀 最后再放一点盐(要少放 因为黄瓜用盐腌过)
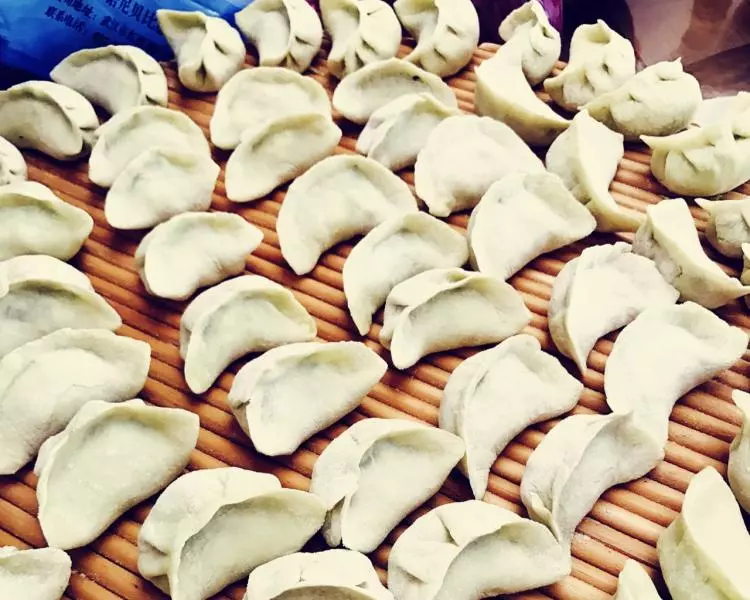
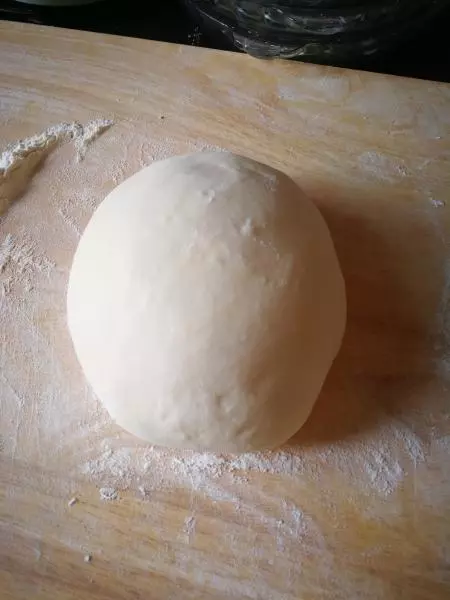
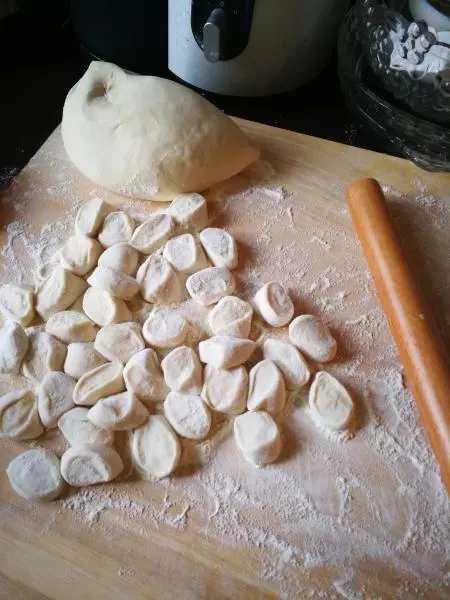
8面团提前做好
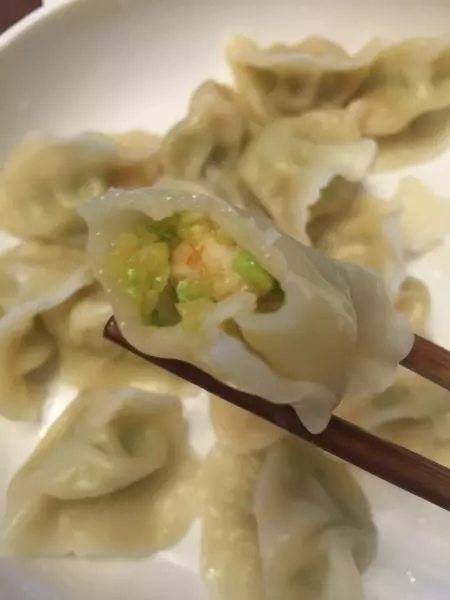
9擀皮包饺子
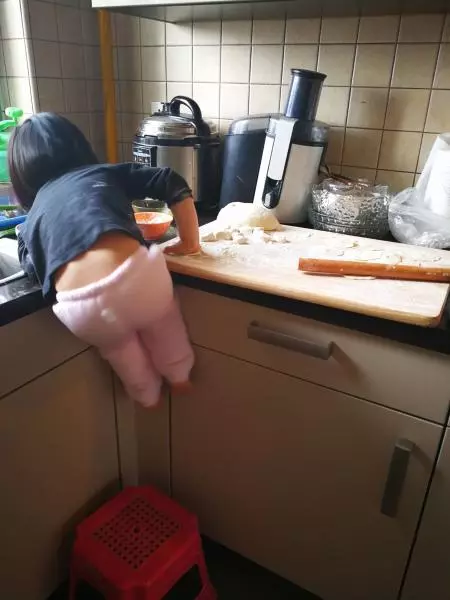
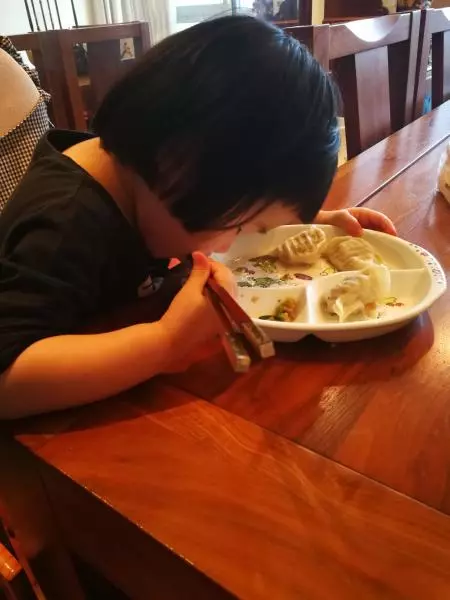
10还有个抢着按皮的
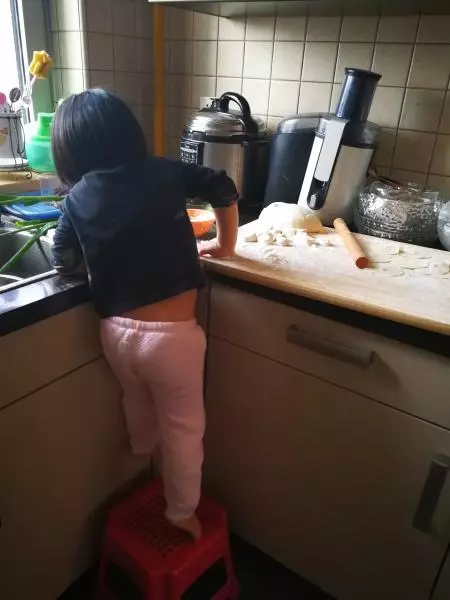
11用力按!笑是我了!
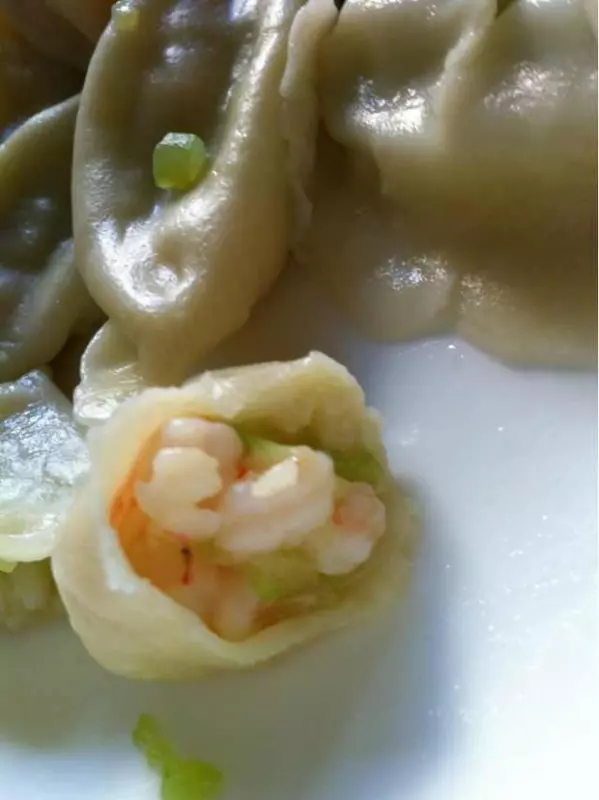
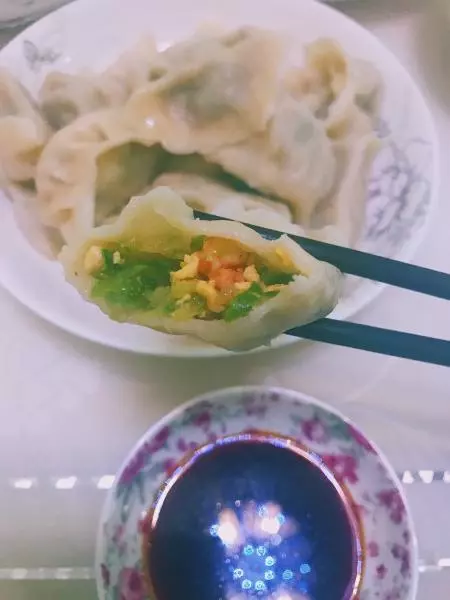
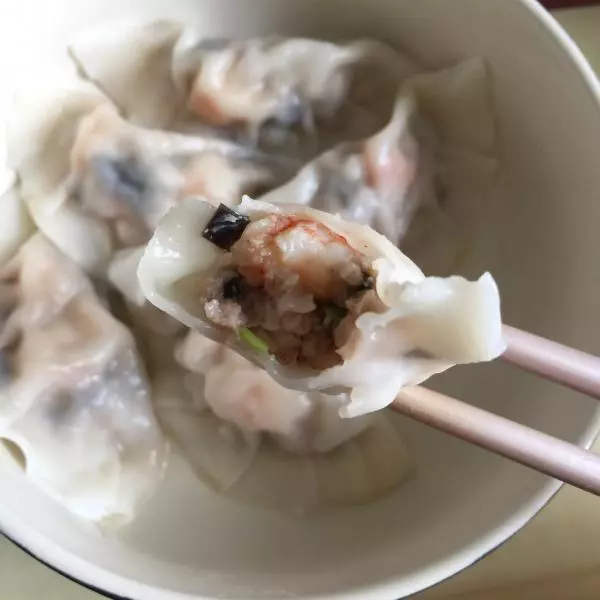
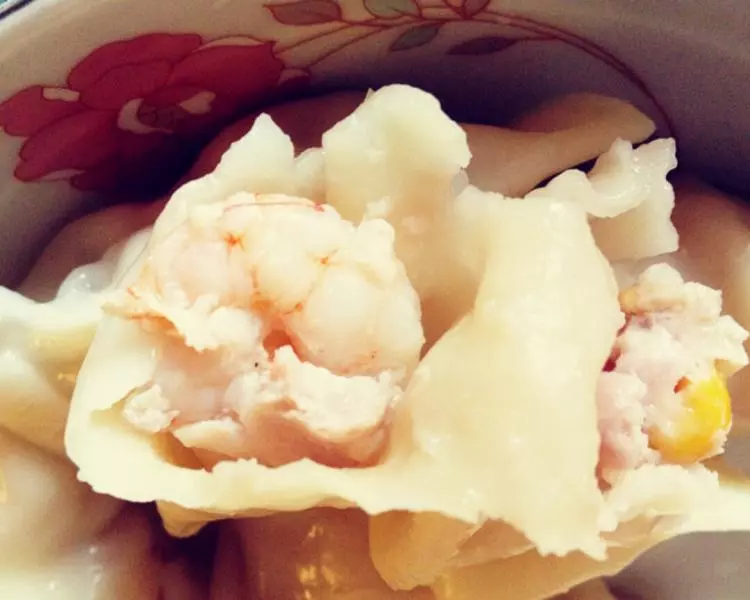
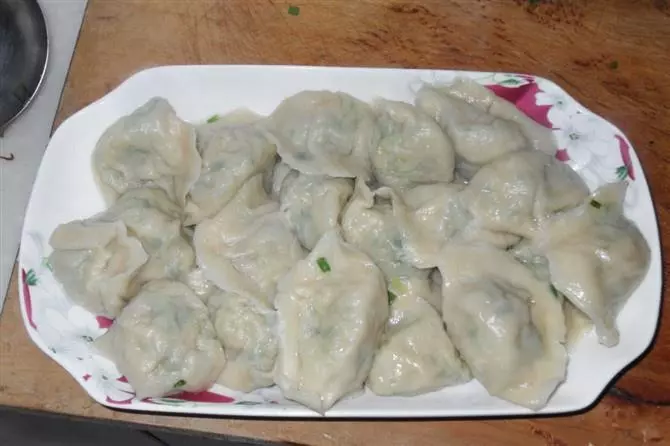
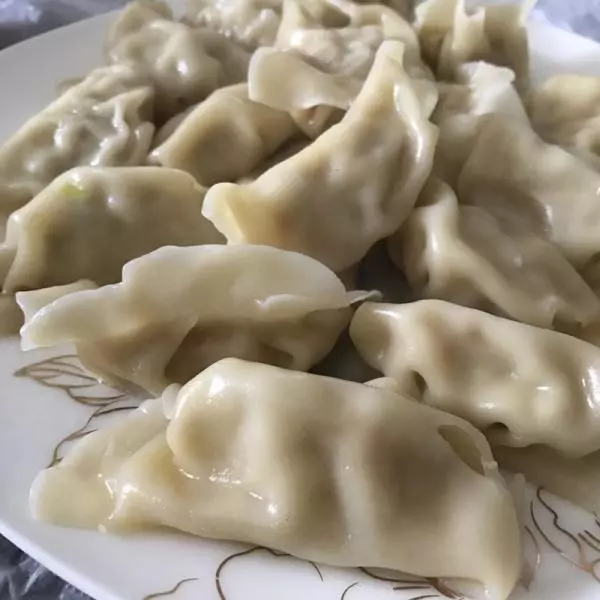
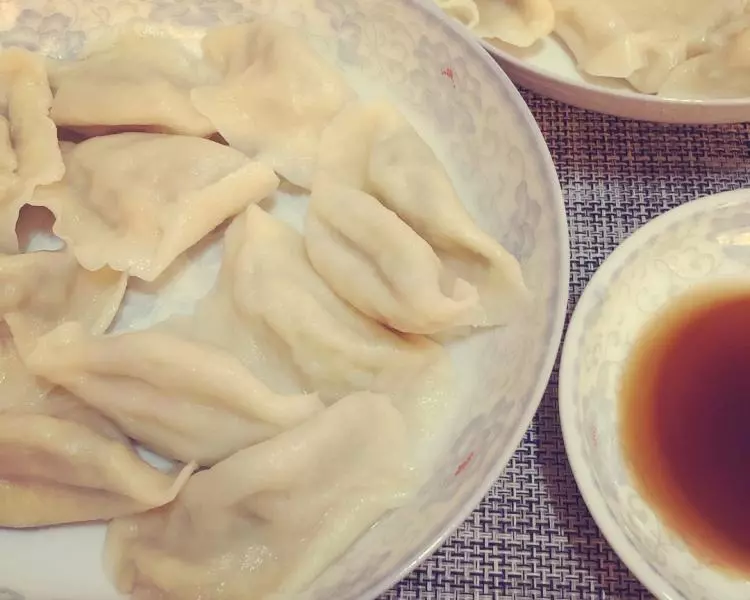
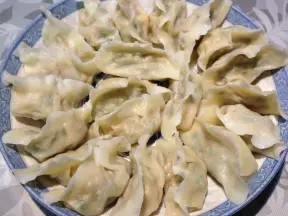
12出锅
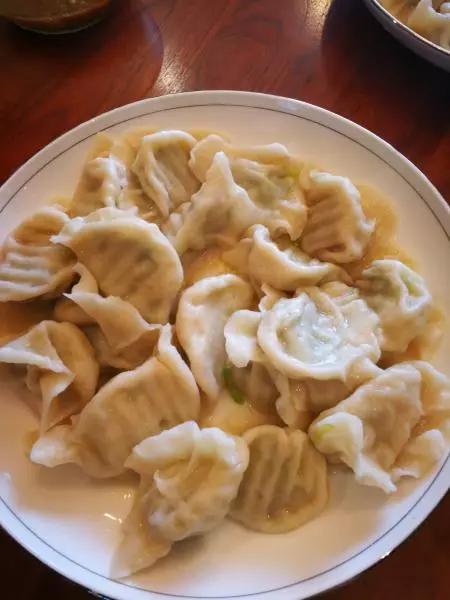
13美味无比
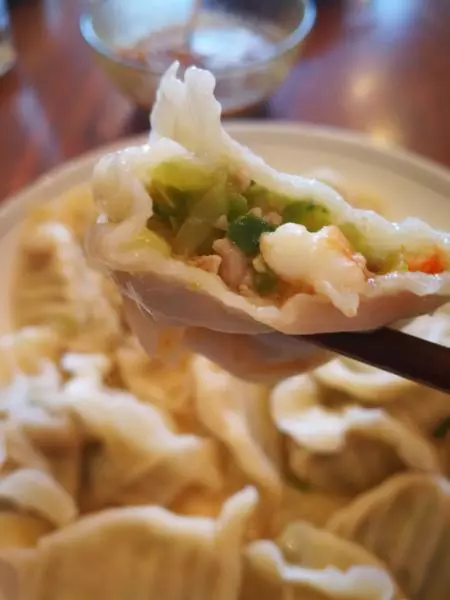
14好吃!
小技巧
小技巧:最后拌馅的时候先放油搅拌 最后再放盐 这样 黄瓜可以少下水