原料
光鸡: 一只约2斤, 粗盐: 适量, 盐焗鸡粉: 适量
步骤
1先把粗盐炒热(盐是白色的,我这个是做了2次剩下的盐。焗好鸡后锅底部的盐因有鸡油流下去会有点焦和油油的,这些第二次就不能用了。把上面干爽的盐可拿出来下次用,但隔的时间不能过长,长时间留着不用也会有味道就不能用了)

2锅还是选铁锅或沙锅没那么心疼,我这是不锈钢锅,弄了一次就洗不干净了。

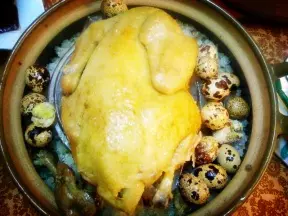
3在准备的锅中底部先平铺一些炒好的粗盐

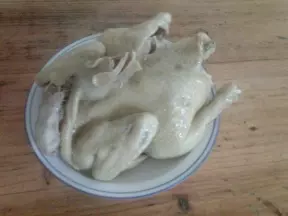
4放入沥干水的鸡(鸡沥干水后要在鸡肚子里放入适量盐焗鸡摸均)

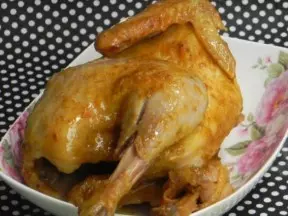
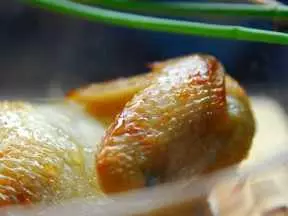
5把炒好的粗盐把鸡全部盖住,先调中火焗2分钟后再调小火焗16分钟后关火焖10分钟。这个时间要根据鸡的太小来调整的哦。

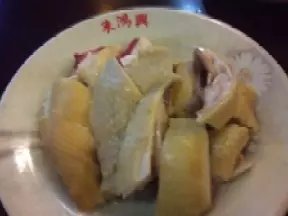
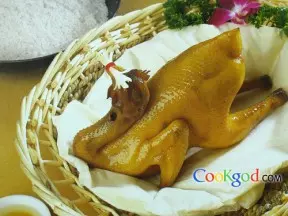
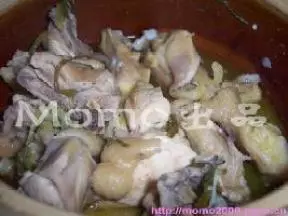
6斩块装盘