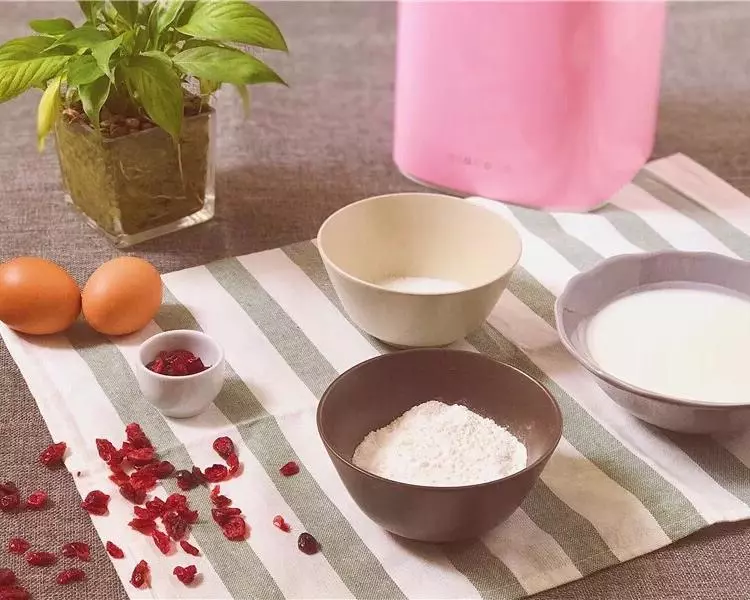
原料
酸奶: 240g, 鸡蛋: 2个, 低筋面粉: 60g, 白糖: 30g, 蔓越莓干: 适量, 椰子片: 适量
步骤
1酸奶240g|鸡蛋2个|低筋面粉60g|白糖30g|蔓越莓干适量|椰片适量
21、120g酸奶+两个蛋黄+低筋面粉60g。

32、拌成酸奶糊。

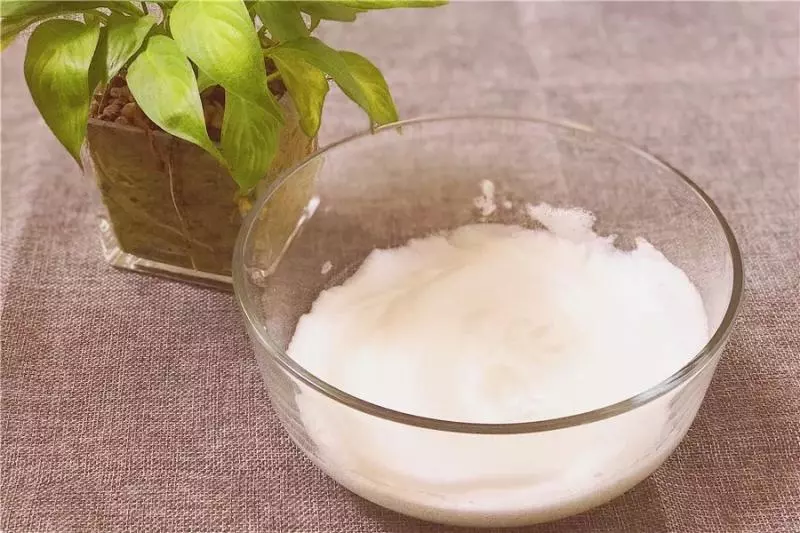
43、无水无油的碗中打发2个蛋白,30g白糖分三次加入。
54、分三次将打发的蛋白拌入酸奶糊。

65、倒入蛋糕模具,模具在包一层锡纸。

76、烤箱170度预热20分钟,模具放在烤盘上,烤盘中加满水,放入烤箱烤50分钟。

87、出模放凉。

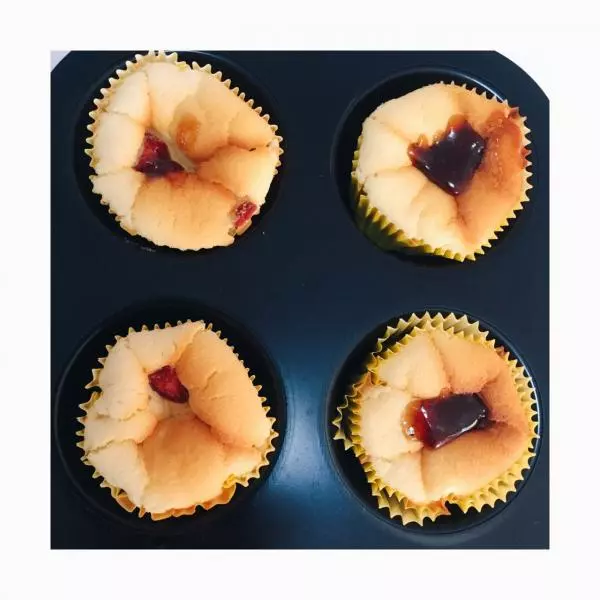
98、再抹或淋层酸奶。

109、拆开每日早餐包,撒蔓越莓。

1110、撒上椰片。

1211、enjoy下午茶时光。