原料
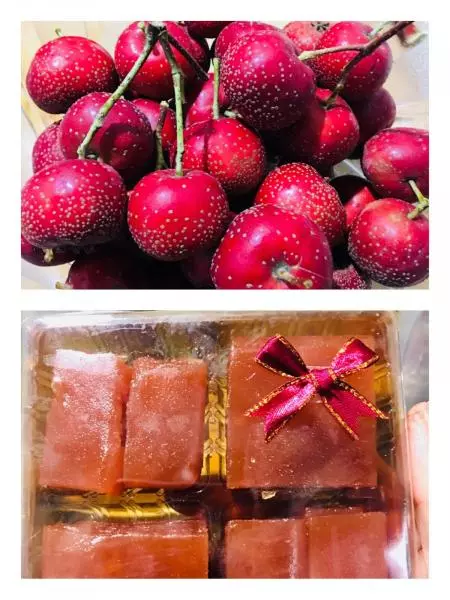
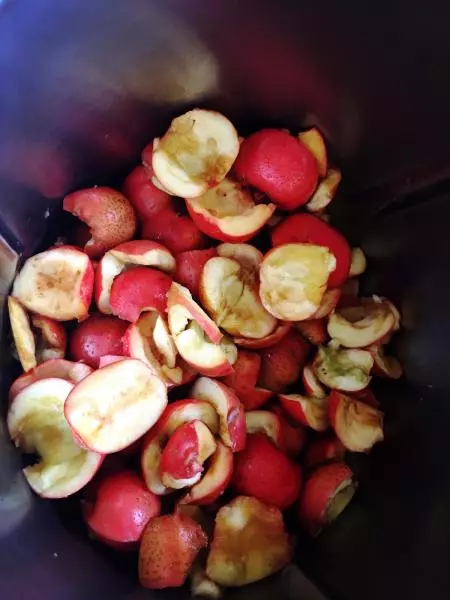
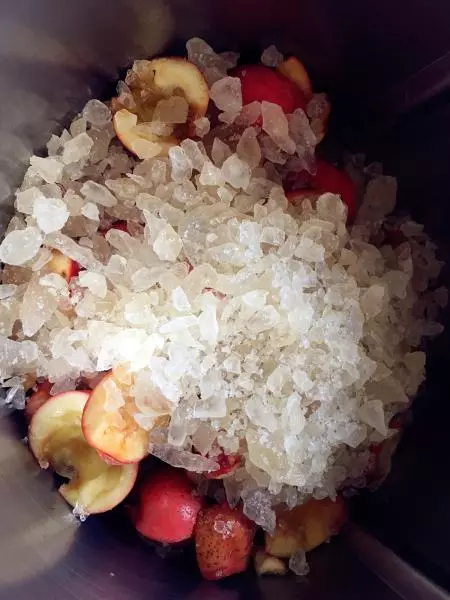
山楂果肉(去蒂去核后): 720克, 冰糖: 360克
步骤
1山楂分两次或者三次,放入网锅,加一勺盐,水与山楂差不多平齐,5分钟-50度-速度5,全部分批清洗干净…

2洗净后的山楂去蒂去核,放入主锅…
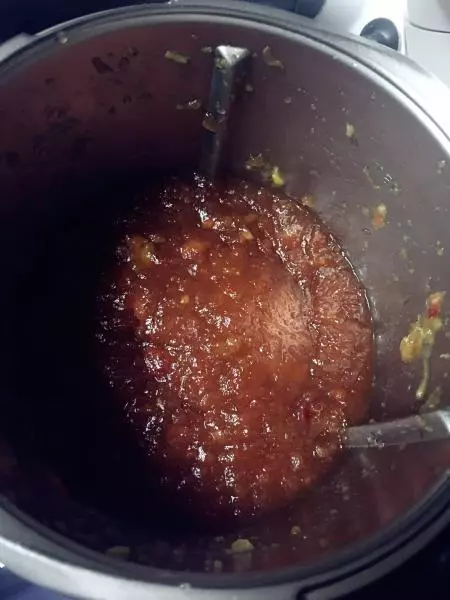
3加入冰糖,20分钟-Voroma-速度1烹煮,(如果量大,十分钟后可以调到速度2)…不要盖量杯盖…
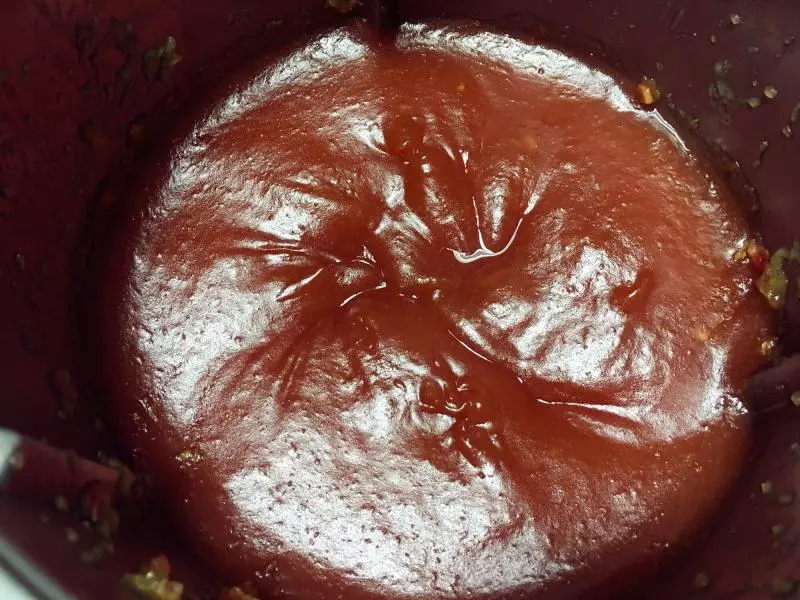
4煮好后,2分钟-速度10打磨…
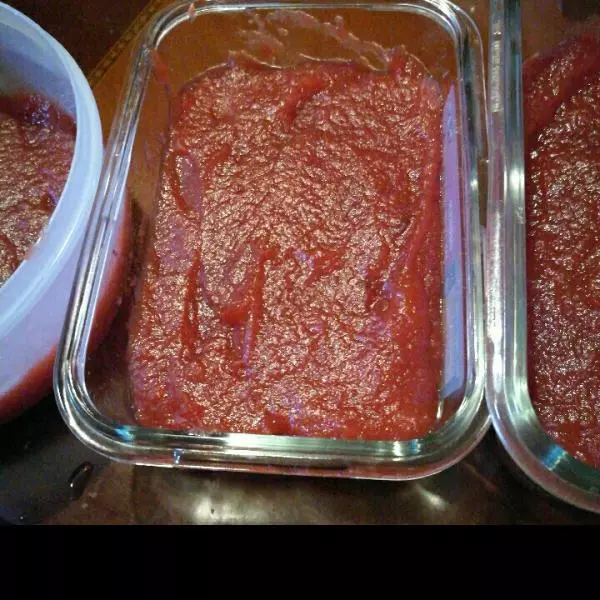
5打磨好的山楂果浆…
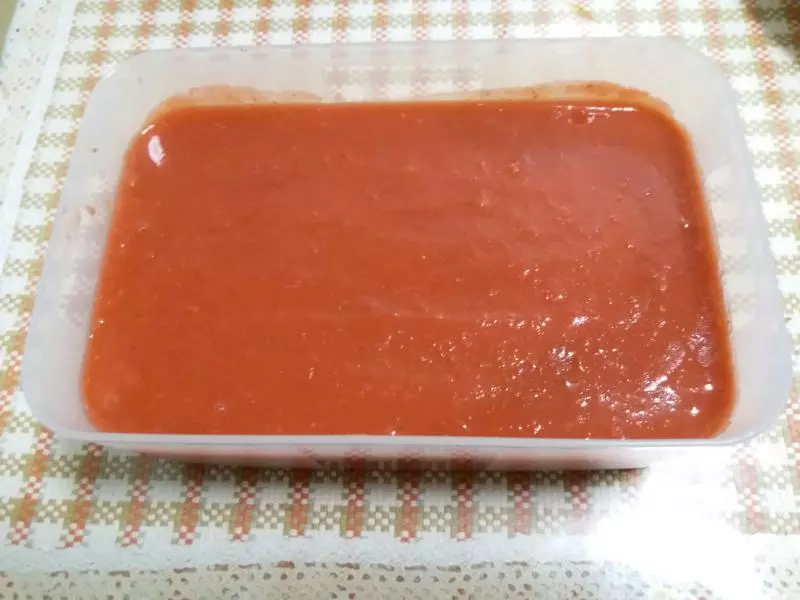
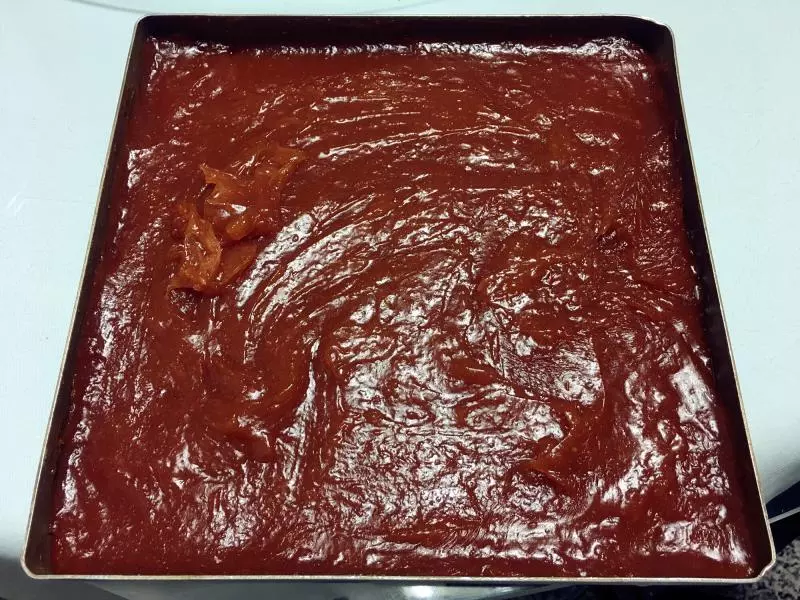
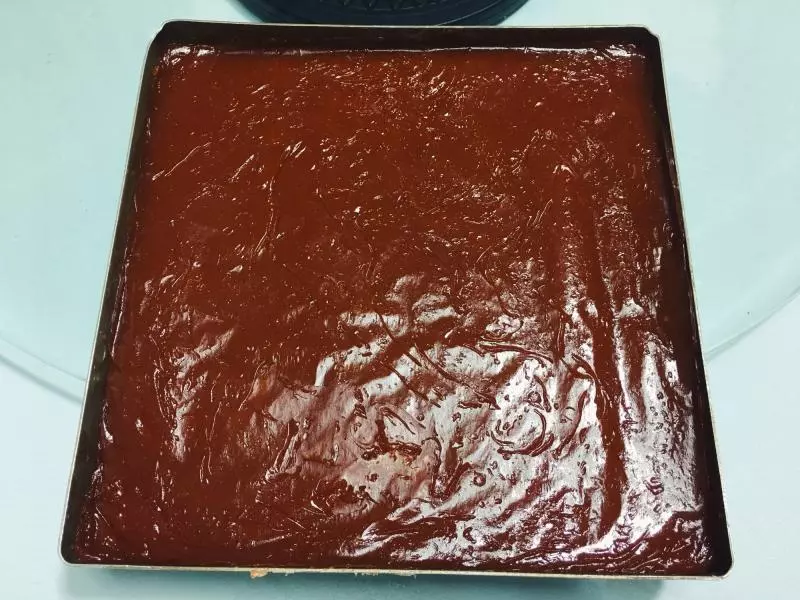
6趁热倒入不粘烤盘…
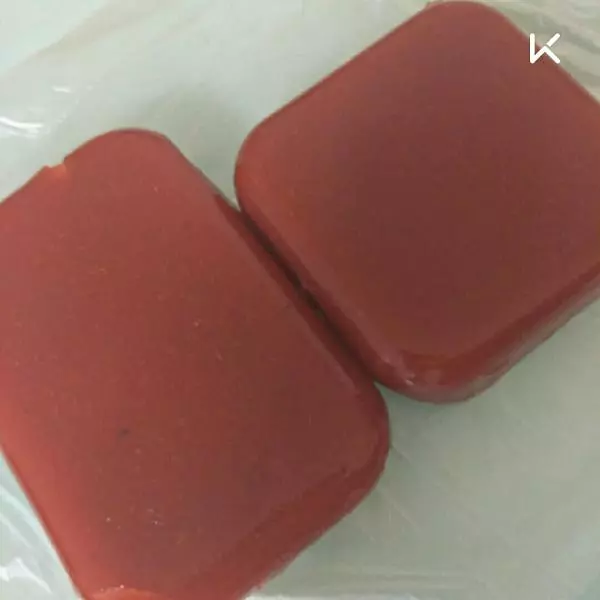
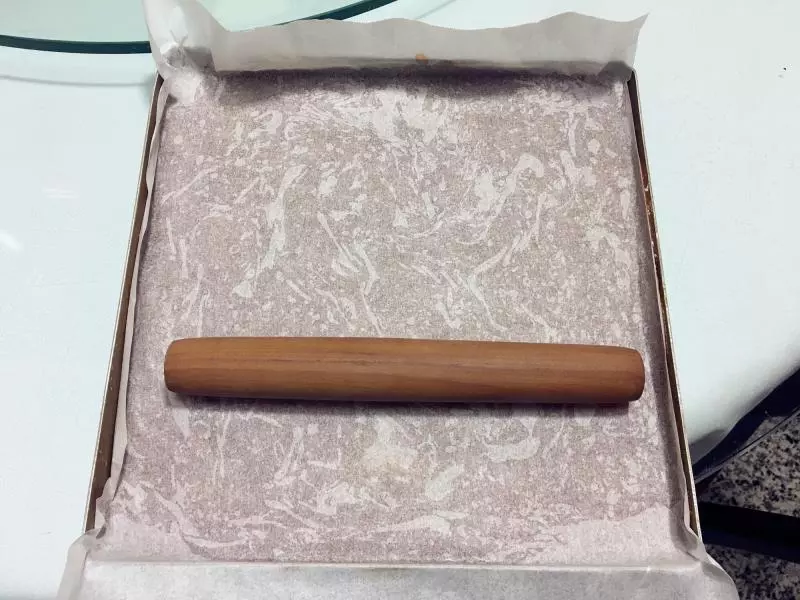
7上面盖一张油纸,用擀面杖擀平…待不太热的时候送入冰箱冷藏…
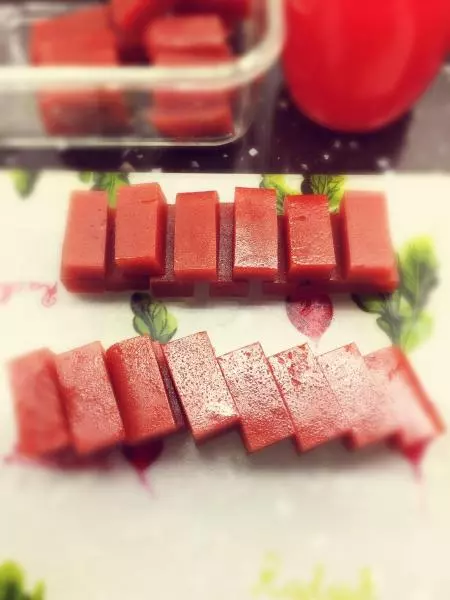
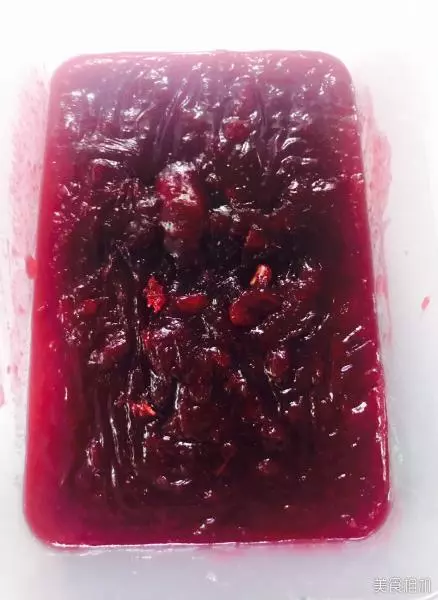
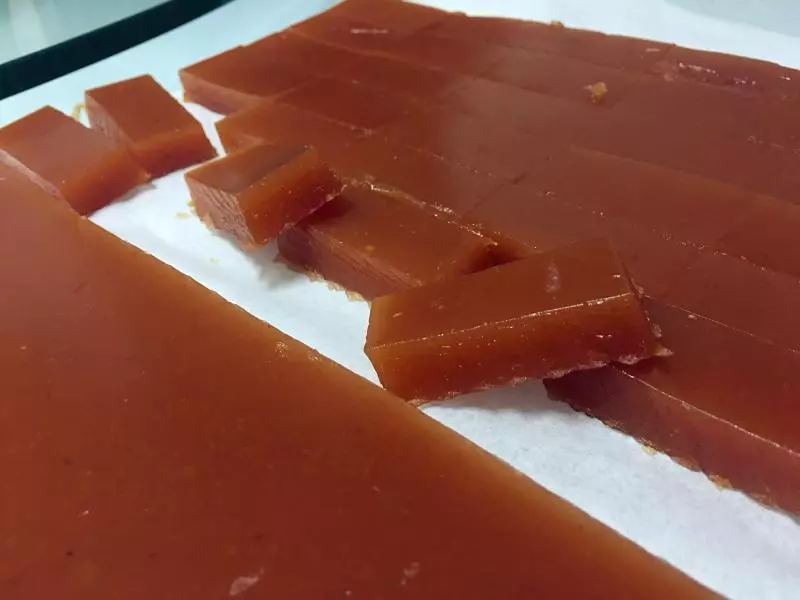
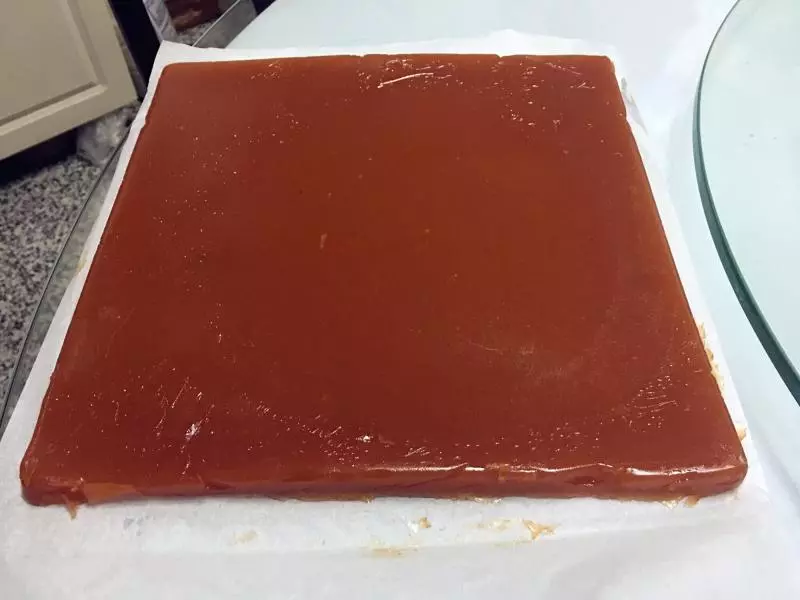
8冷藏后山楂糕凝固,撕开油纸,用塑料小刀划一下四周,倒扣脱模…
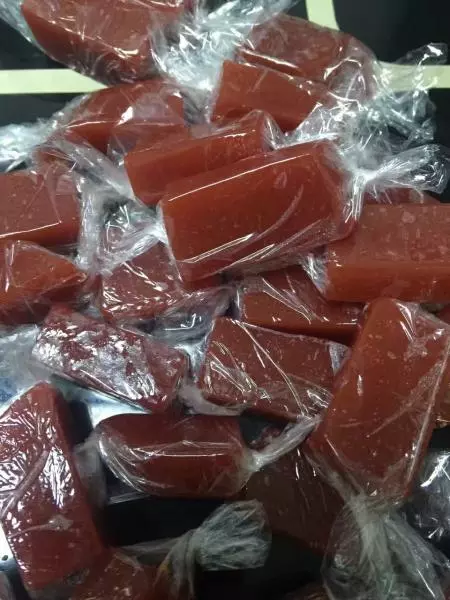
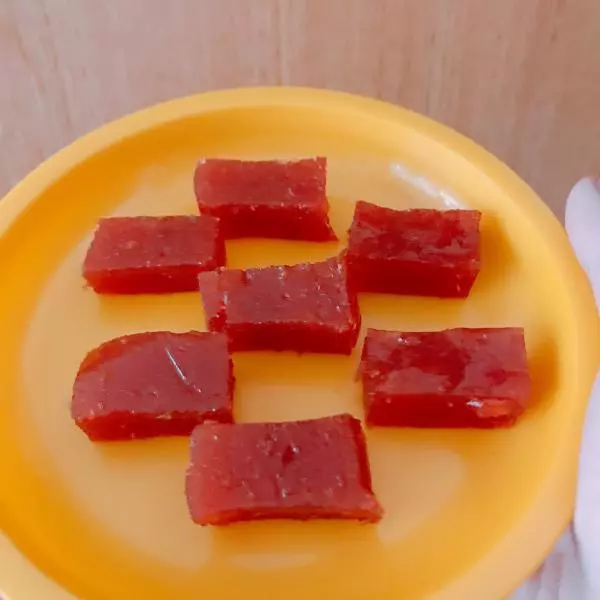
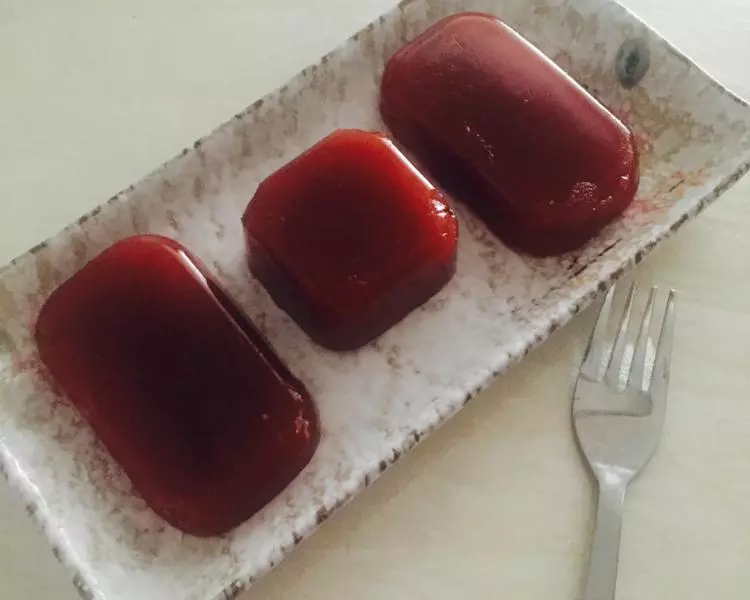
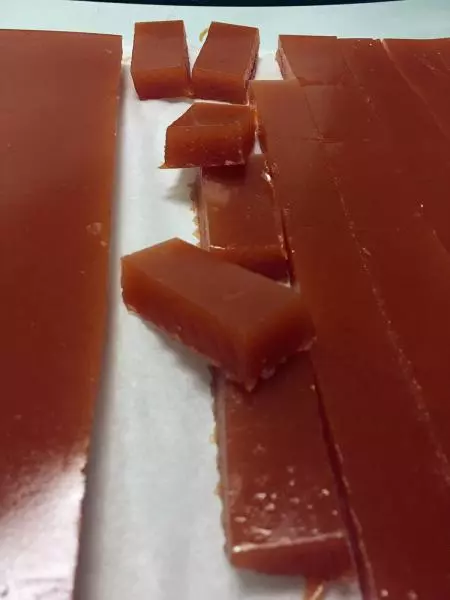
9切成适当大小即可……
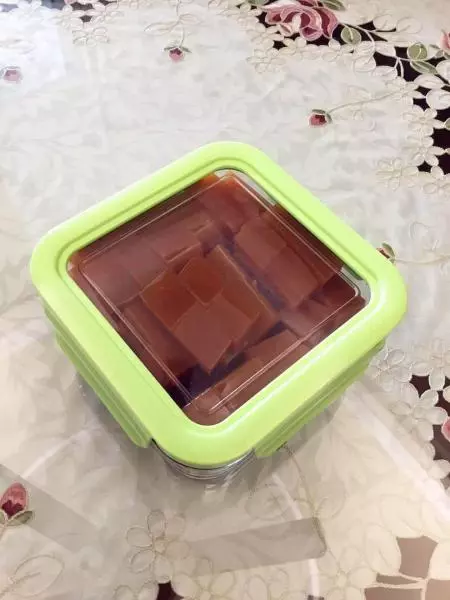
10还不错哦……直接自然风干就好,如果长时间不吃就放入保鲜盒存放放冰箱冷藏…
11好了……
小技巧
如果做一半的量,熬煮17分钟-voroma-速度1,打磨1分半钟即可……