原料
高筋粉: 310g, 川秀儿童菌自制酸奶: 130g左右, 鸡蛋: 1个(50g左右), 黄油: 30g, 奶粉: 10g, 白砂糖: 50g, 温水: 30g, 酵母: 4g, 盐: 4g, 椰蓉: 适量, 蛋黄液: 适量(刷表皮用)
步骤
1首先准备好所需的材料,我用的酸奶是我自己用川秀儿童菌粉发酵的酸奶,椰蓉和盐忘记拍了。(其他的牌子的酸奶也可以,超市买的那种也可以,但是建议买那种比较浓稠一点的)

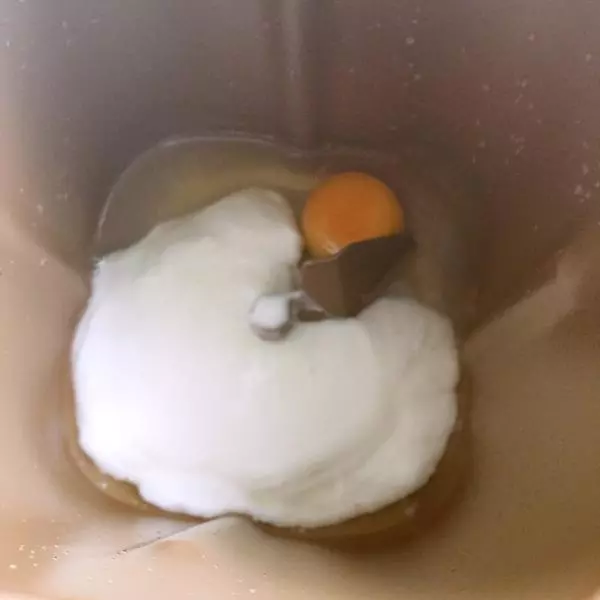
2把材料按照先液体后分类的顺序放入面包机桶内(酸奶可以先不倒完,因为个人的酸奶浓稠度不同,面粉吸水性也不同)酸奶可以先留少许。
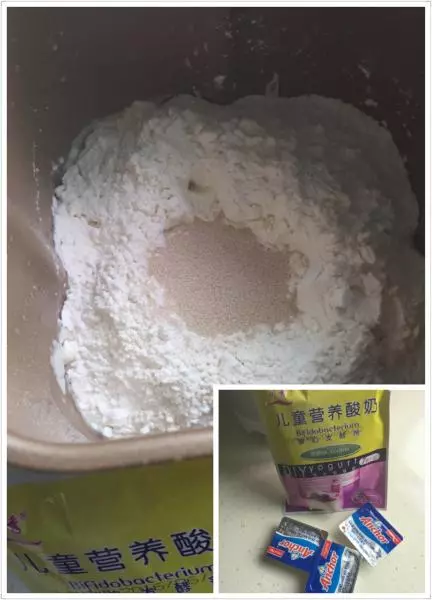
3然后再依次放入称好的盐,糖,奶粉,高粉,高粉的表面挖个坑把酵母倒进去埋上。(主要是为了酵母接触不到盐,因为盐会影响到酵母的功效)
4放入所有的材料后,面包机选择揉面功能20分钟左右,揉到面团表面光滑,用手能拉出比较粗糙的有扩展性的状态就可以加入黄油了。
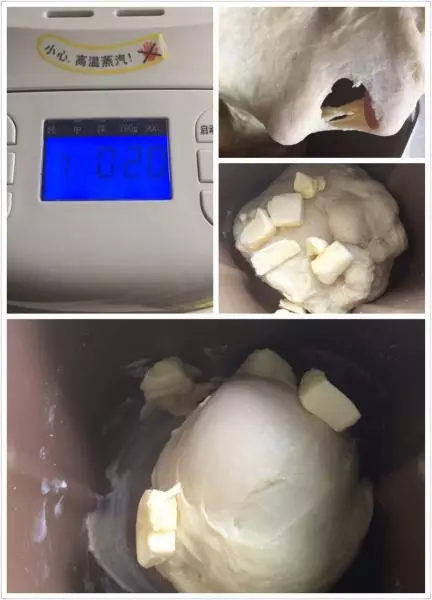
5加入黄油后继续揉面,揉至面团到能用手拉出一片光滑的透明的手套膜即可拿出来进行第一发了,发至面团到2倍大左右就可以了。(出手套膜的照片忘记拍了,有很多朋友说不出手套膜可以不,其实也可以,因为这种面包出膜并没有吐司那么严格)发好以后,用手指蘸点粉戳一下面团,不回弹,不回缩即可。
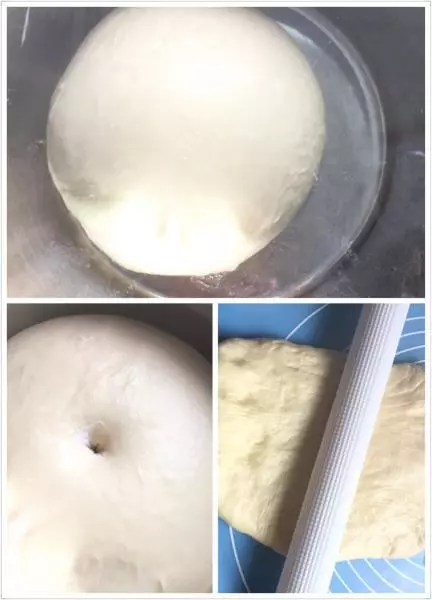
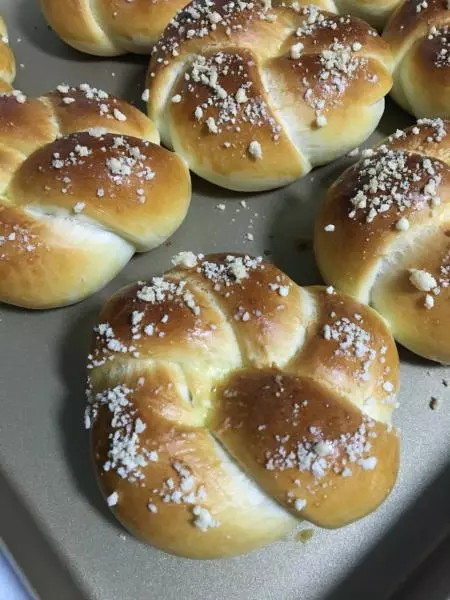
6一发好的面团排气好以后分成八个小面团,静置松弛15分钟左右,再造型滚圆,放入模具内。(如果不是不粘模具要把模具先抹少许油)
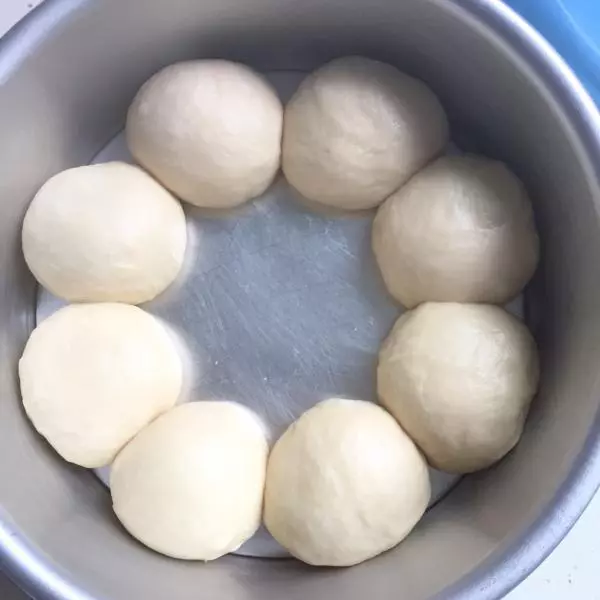
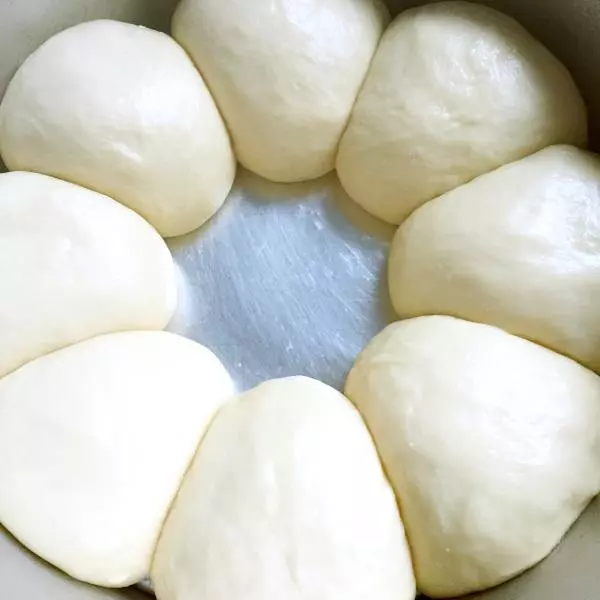
7模具内的面团进行第二次发酵到体积增大1.5倍就可以了(冬天有发酵箱的可以放进发酵箱,没有的可以放入烤箱,烤箱先预热40度左右然后再进行发酵)
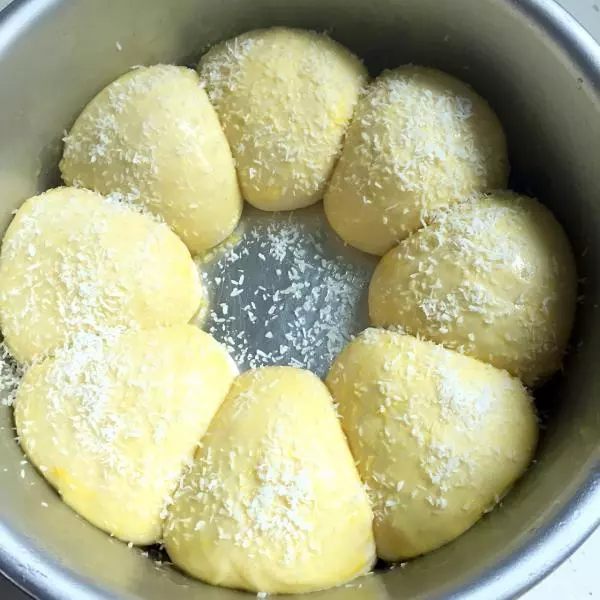
8发酵好的面团表面刷上一层蛋黄液,然后再撒上一层椰蓉(椰蓉也可以烤好以后刷蜂蜜水的时候撒)趁这个时候烤箱调到200度预热十分钟。
9把模具放入预热好的烤箱中层上下火180度20分钟左右(这个要根据自己的烤箱来,如果温度偏高可以调低十度左右,时间在长一点)
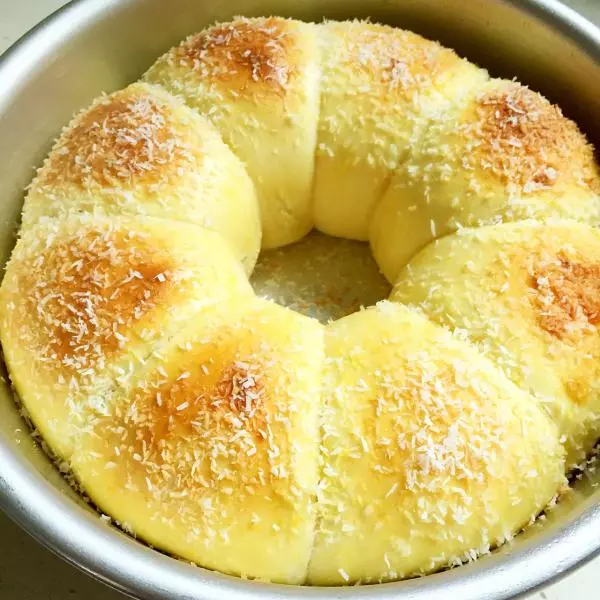
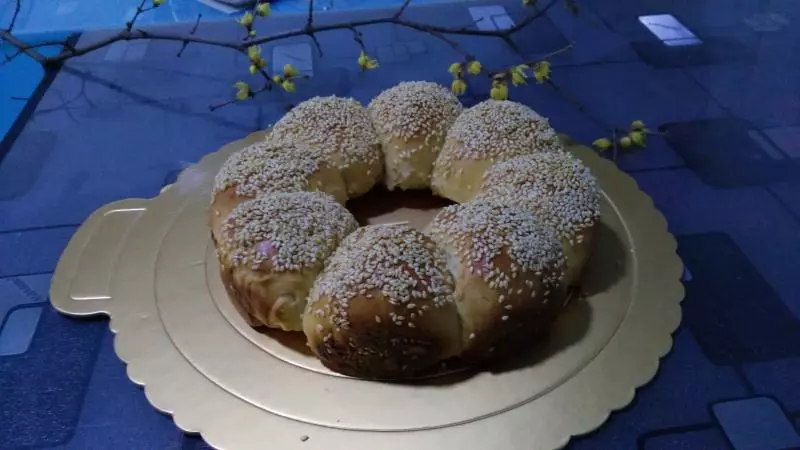
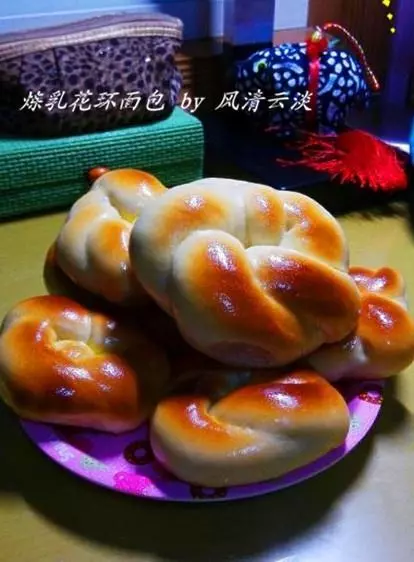
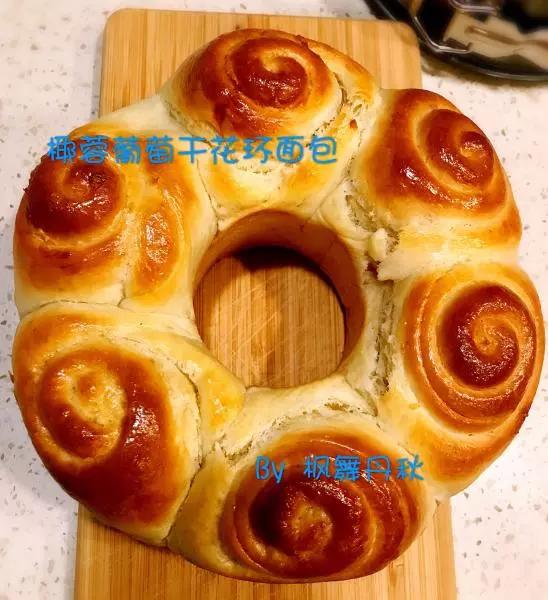
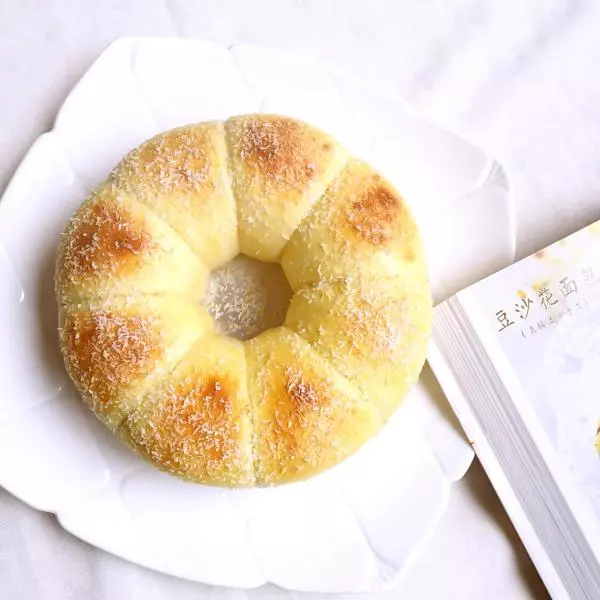
10烤好后的面包很好脱膜哦!浓浓的奶香味,再加上浓郁的椰蓉味,口感很不错哦!

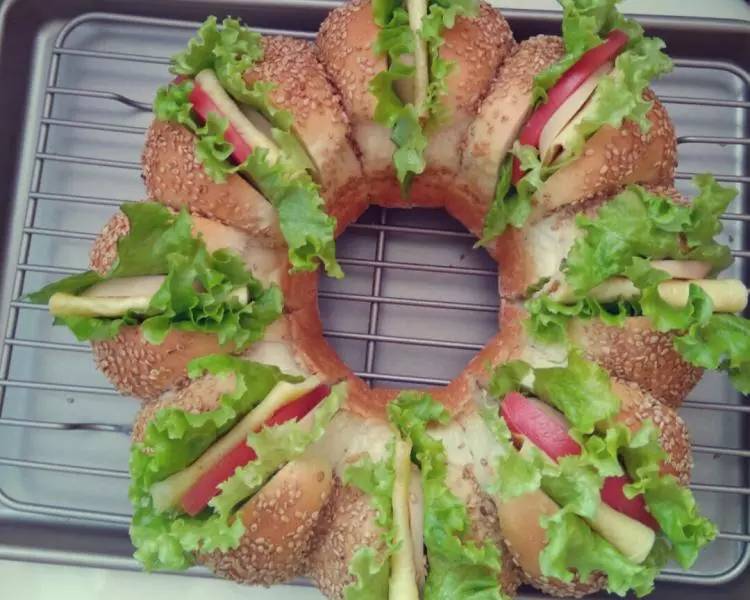
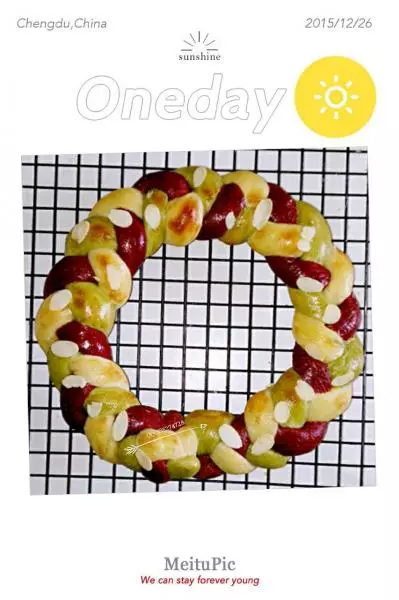
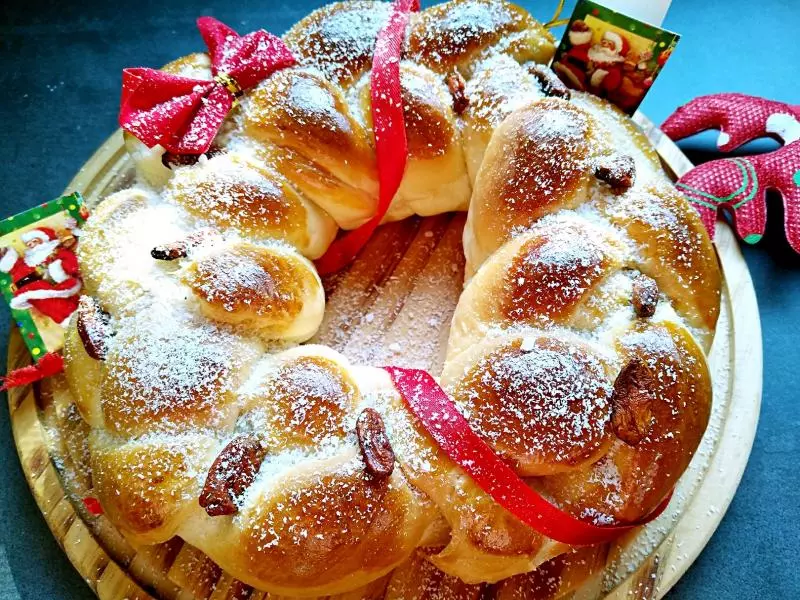
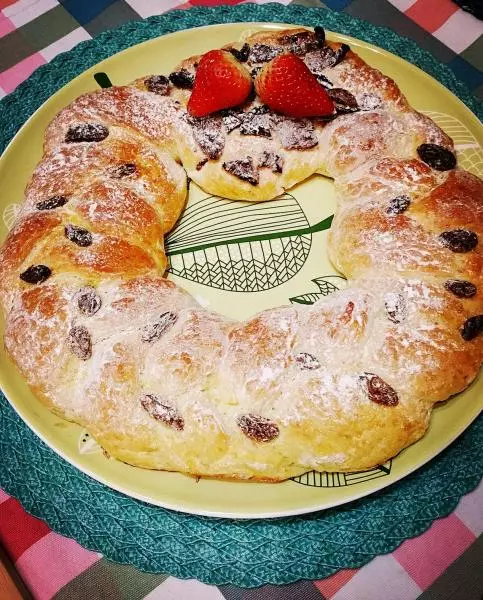
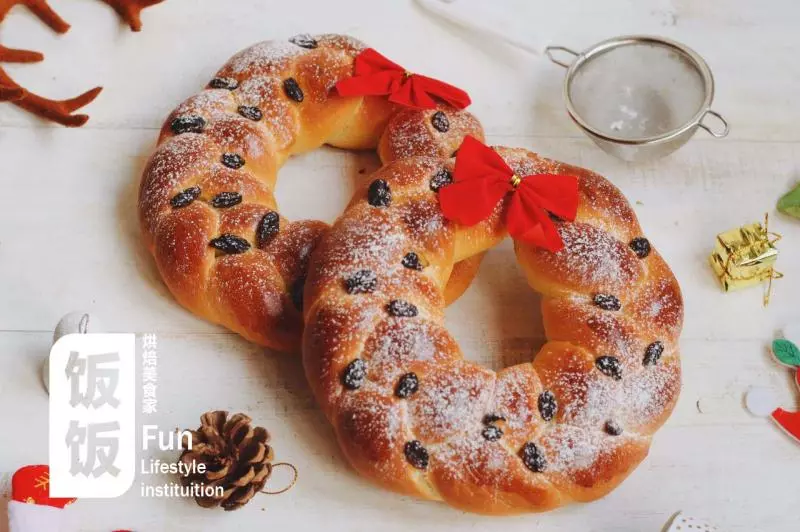
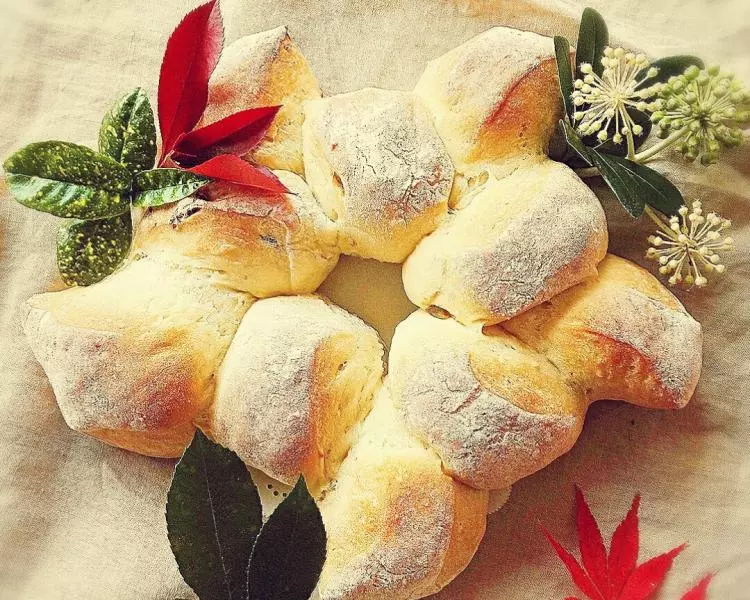
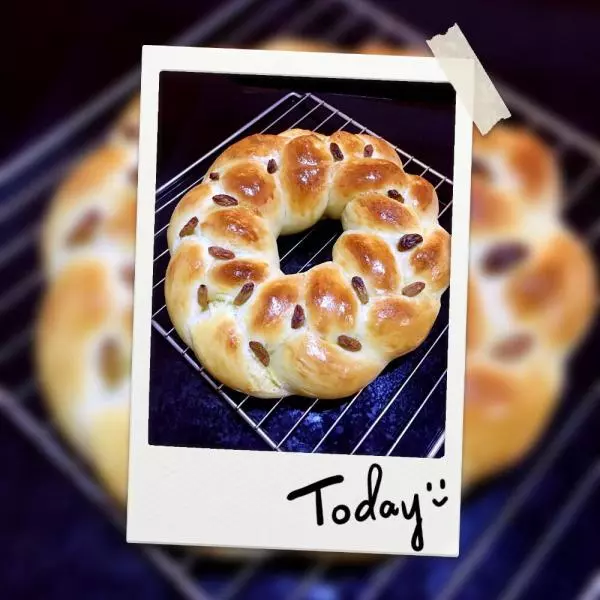
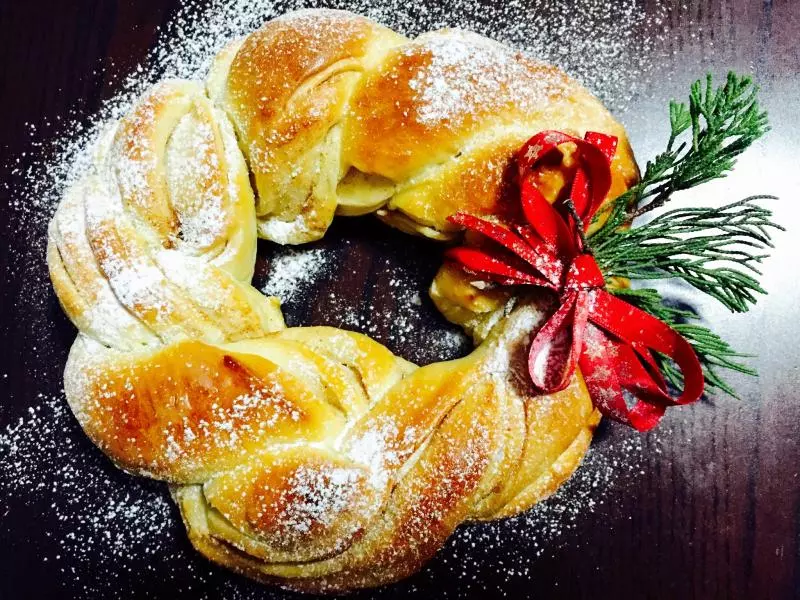
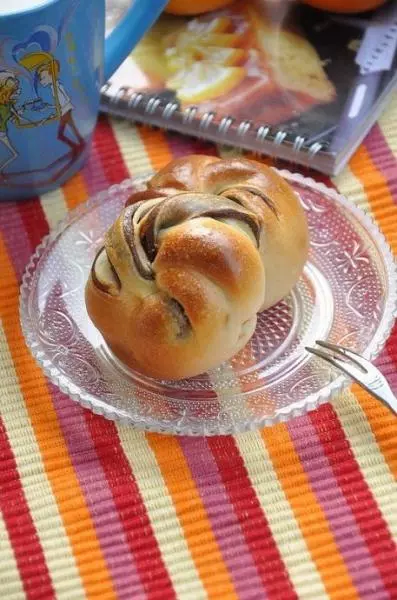
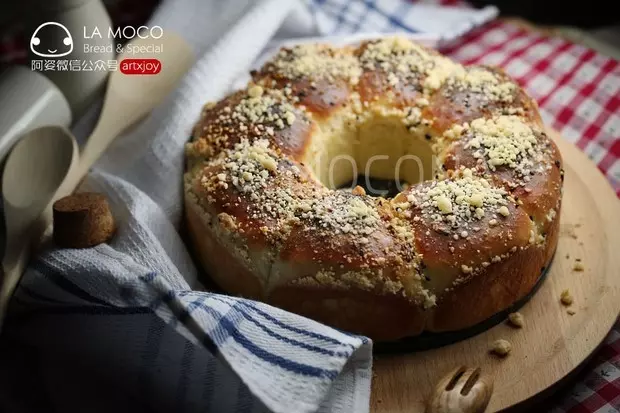
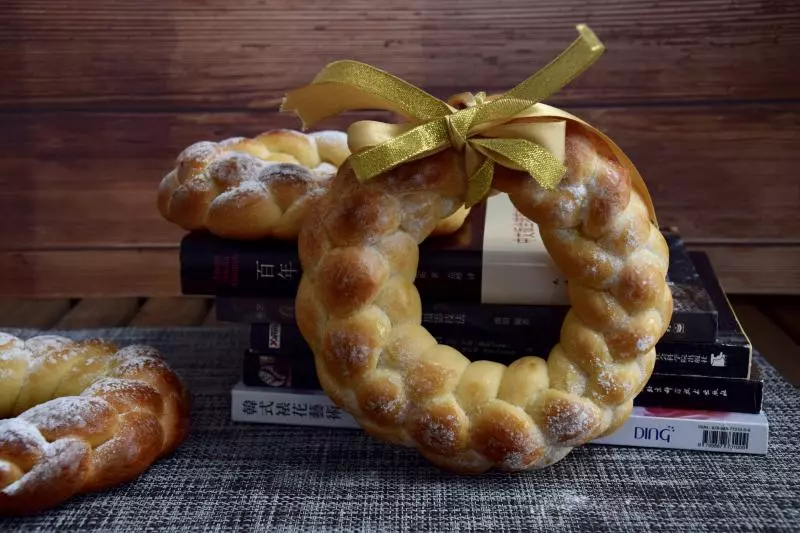
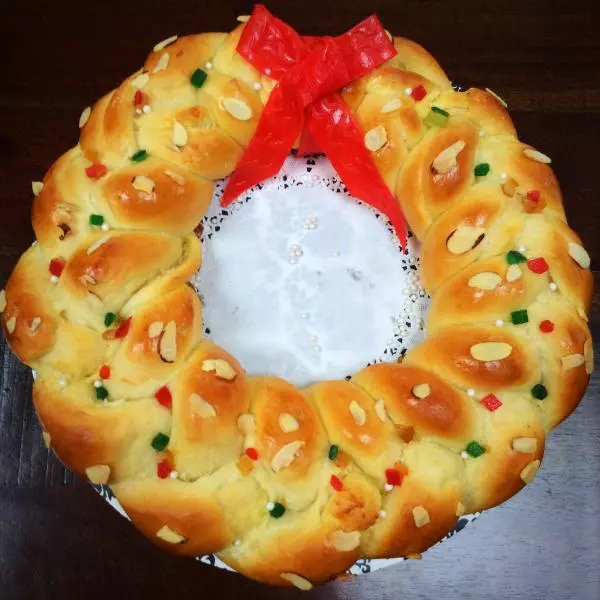
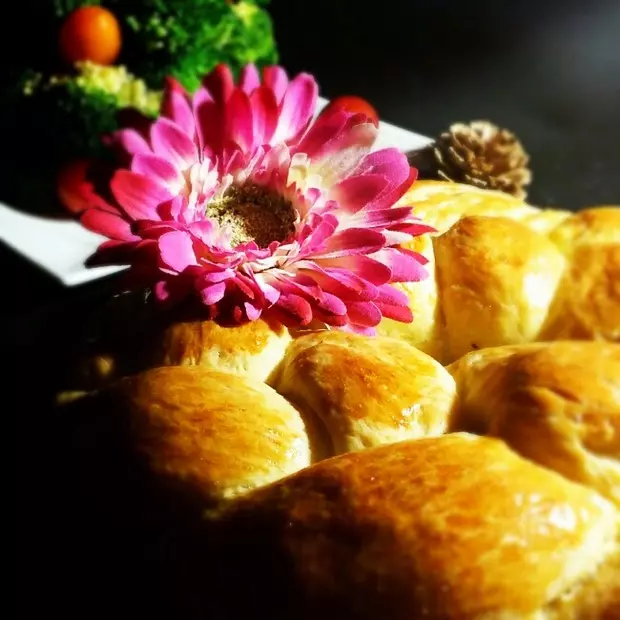
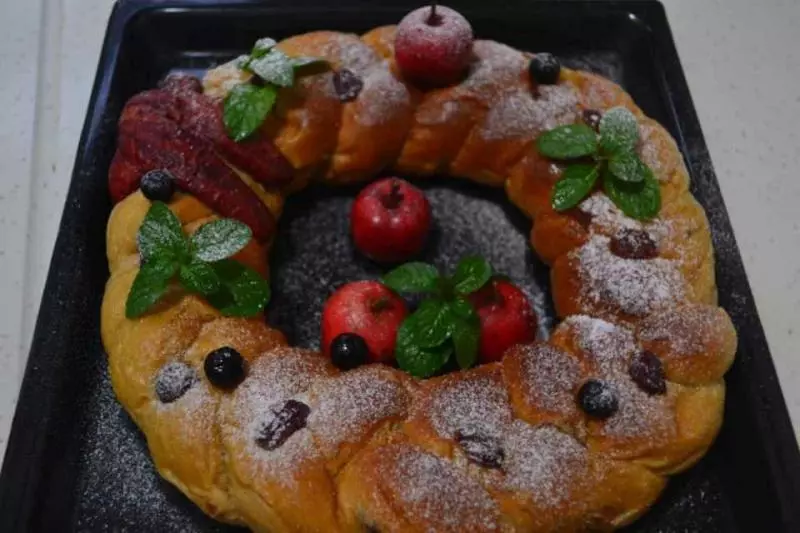
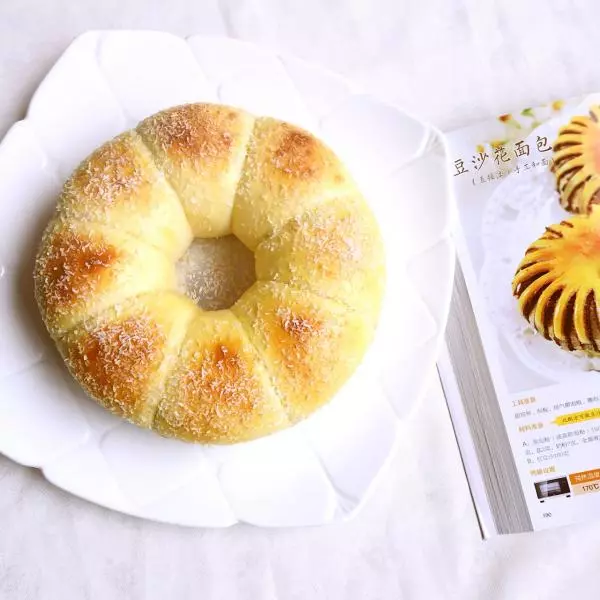
11成品图
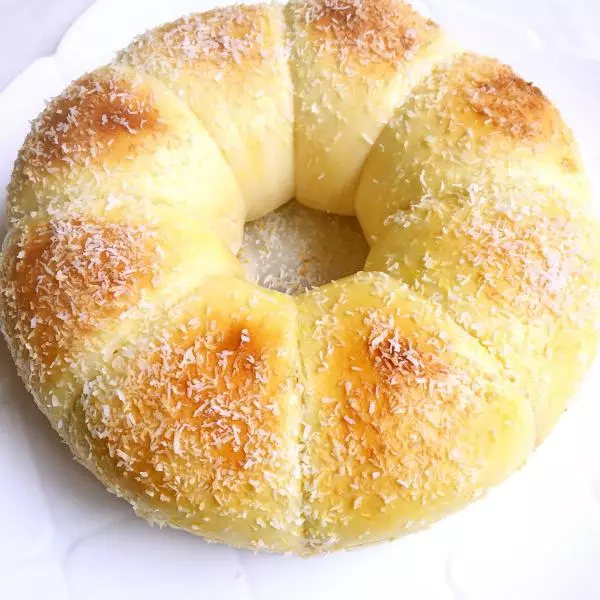
12成品图

13成品图
小技巧
如果追求更加好的口感的朋友可以揉至面团到出手套膜,酸奶根据自己的面粉吸水率来增减,不要一次倒完,温度只是一个参考值,个人家的烤箱性能不同,温度也不同,要注意观察。模具我用的就是八寸的戚风蛋糕的活底模具。