原料
A:无盐黄油: 50g, A:低粉: 65g, A:蛋: 5个, A:牛奶: 65g, A:糖: 75g, A:盐: 少许, B:低粉: 3g, B:清水: 适量, B:色素: 少许
步骤
1A部分为蛋糕配方材料;B部分为图案材料 烘焙纸手绘上自己喜欢的图案

2有画的那面朝下铺在烤盘里,烤盘底先抹少许油让纸更贴合,大家操作的时候注意有图的地方尽量不要沾到油,否则图案会看不清楚,我的就是这样,后期填色时比较困难;

3分离4个蛋白和蛋黄,1个全蛋加入蛋黄,蛋黄液打散;

4黄油加热至开始冒泡关火,加入过筛后的低粉拌匀;

5分次加入牛奶拌匀;

6分次加入蛋黄液拌匀;

7搅拌好的蛋黄糊顺滑无颗粒;

8取一勺蛋黄糊加少许红色素拌匀,另外用面粉加适量水,调成跟蛋黄糊差不多的稠度;

9蛋白液分次加入细砂糖打发至湿性发泡,取一勺蛋白糊与调色素的面糊拌匀,取二勺蛋白糊与纯白面粉糊拌匀,动作要快,不要怕消泡,然后分别装入裱花袋;

10按颜色挤在手绘的图案上,更红的部分可以剩余的红面糊中继续加入少许红色素,拌匀再挤好,这一步动作一定要快,否则大盆的蛋白一定会消泡。比较保险的做法是先打发半个蛋白,把图案部分处理好后再打发步骤9中的大盆蛋白;

11入预热好150度的烤箱上下火约2分钟;

12这个时候分次将蛋白霜和蛋黄糊翻拌均匀

13将蛋糕糊倒入烤好图案的烤盘中;

14入预热好150度的烤箱上下火约30分钟;

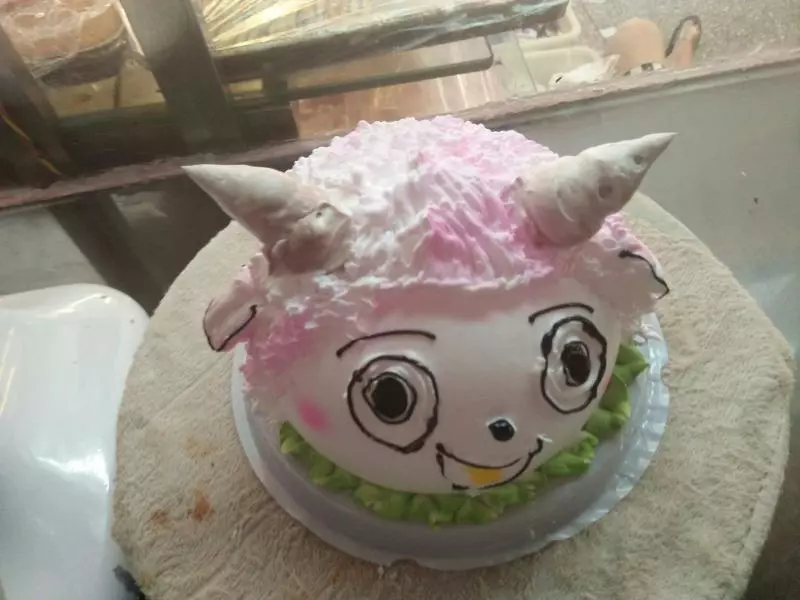
15取出倒扣后撕掉烘焙纸,用巧克力粉加水调成糊状,描出图案的边,等冷却后将四周的边修整齐即可,图案也可用巧克力溶化后描边。

16关注COUSS官方微信(微信号:couss1918),获得更多美味食谱。

17淘宝扫一扫,了解该款烤箱信息。