原料
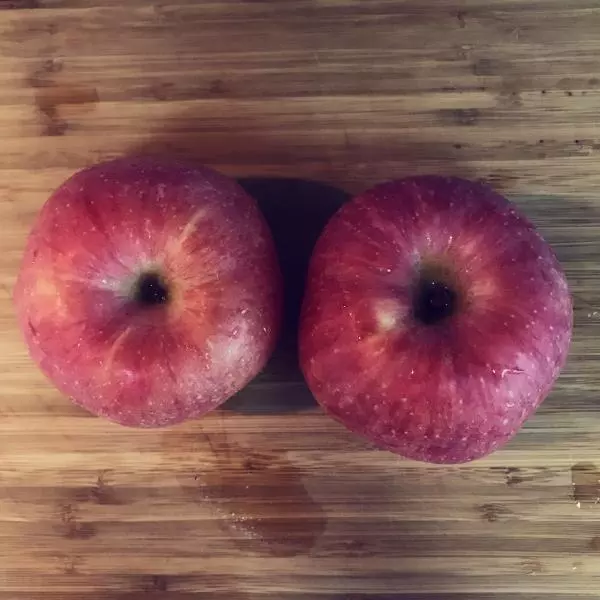
苹果: 2个, 黄油: 80克, 低筋面粉: 210克, 鸡蛋: 2个, 细砂糖: 30克, 玉米淀粉: 10克, 水: 20克
步骤
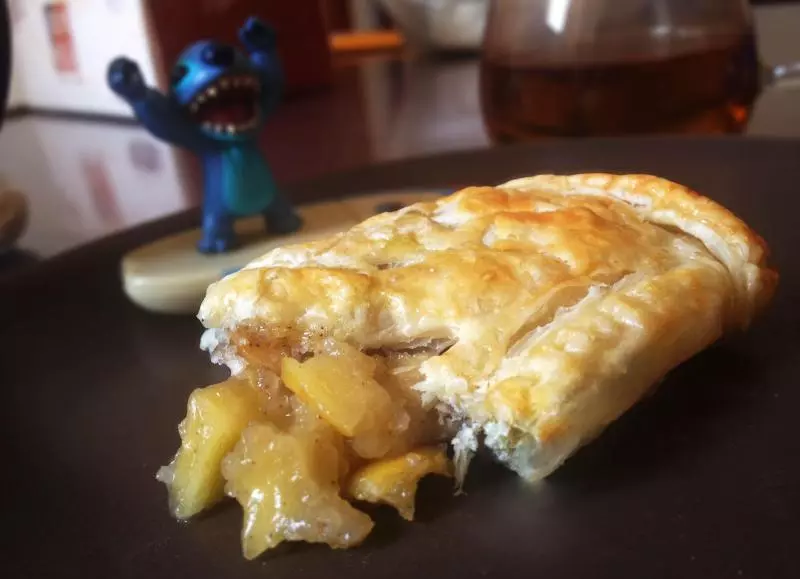
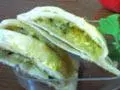
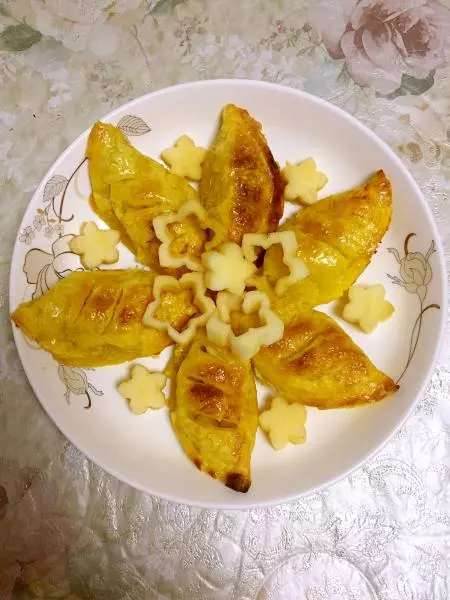
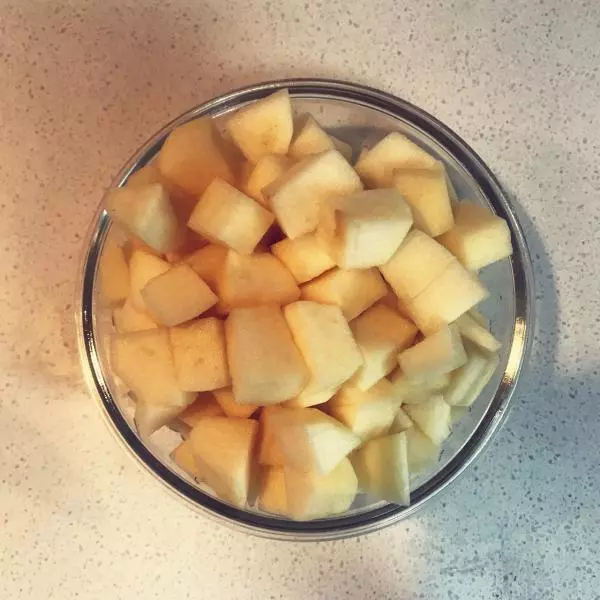
1苹果馅儿的制作:用2个苹果,约300g左右。削皮去核,切成小丁。苹果派的灵魂所在,一定要挑好食材。
2苹果丁建议不要切太小,咬下去的时候能有糊中有块,软中有硬的口感会更好吃。一口咬下去只是糊,那就太单调了一点啦。
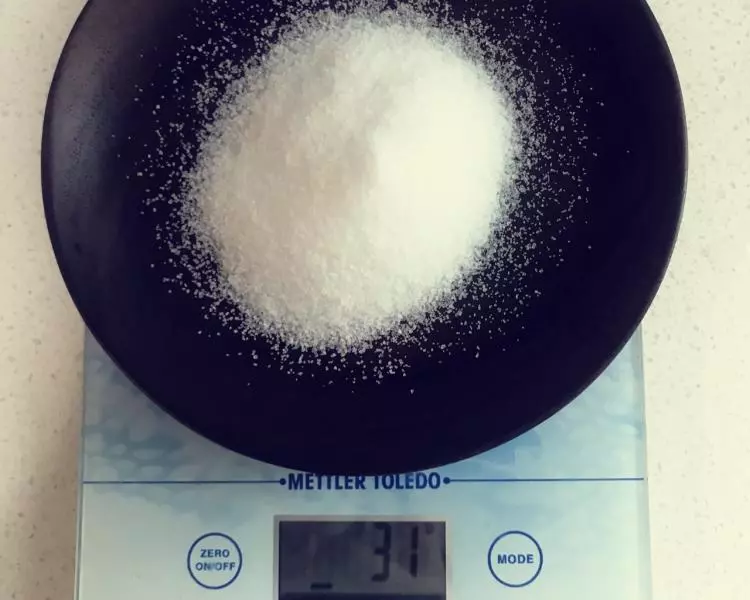
3称好30g白砂糖备用。
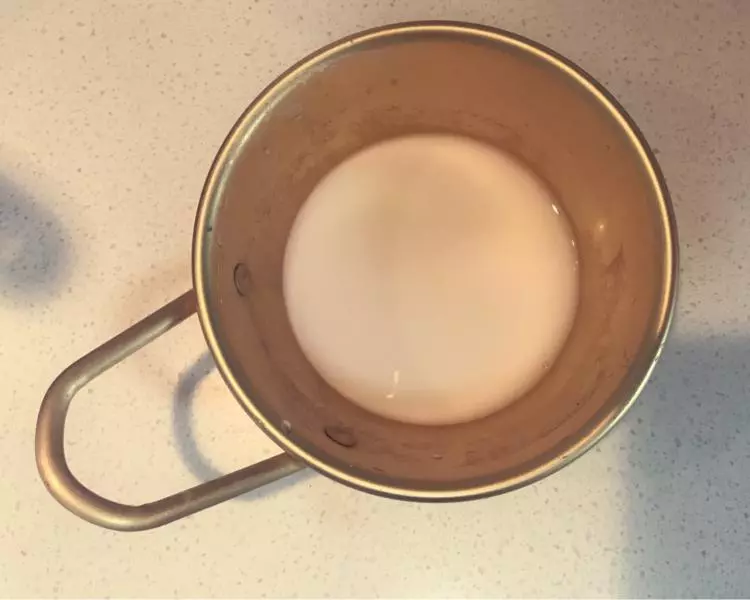
410g玉米淀粉,用20g水化开备用。
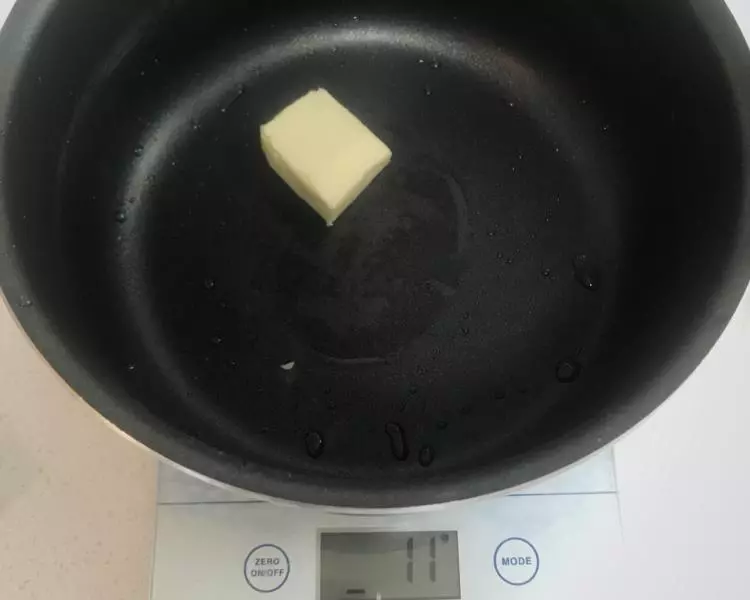
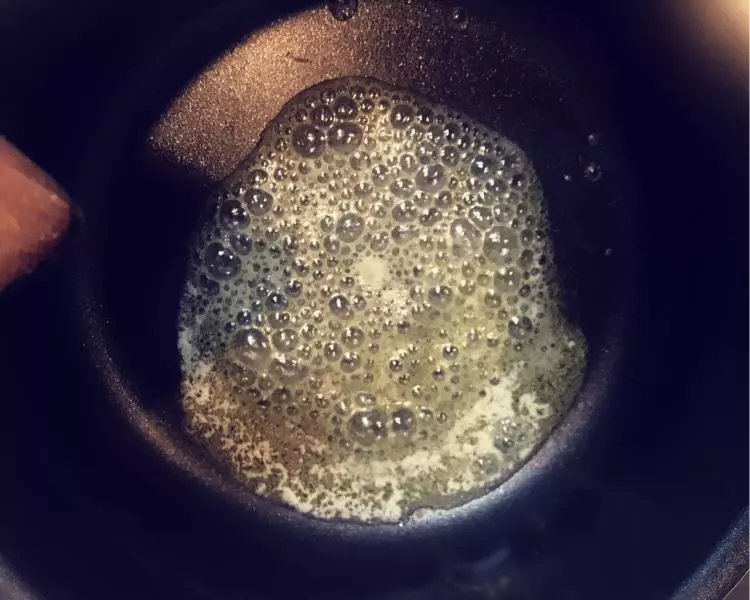
510g黄油,用小火化开。温度控制到不会冒烟的那种小火。如果火太大呢,得到的就是一锅黑油。??♀️
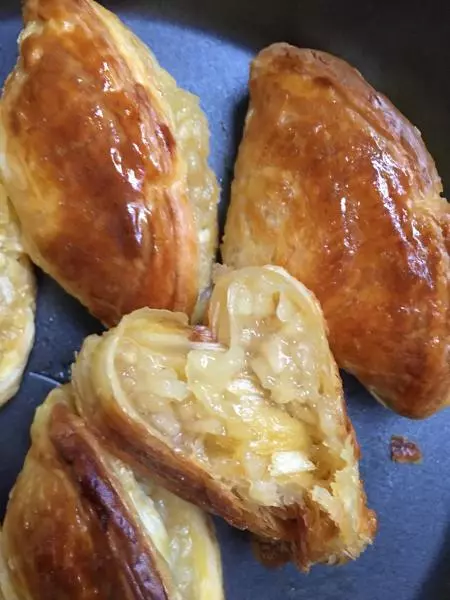
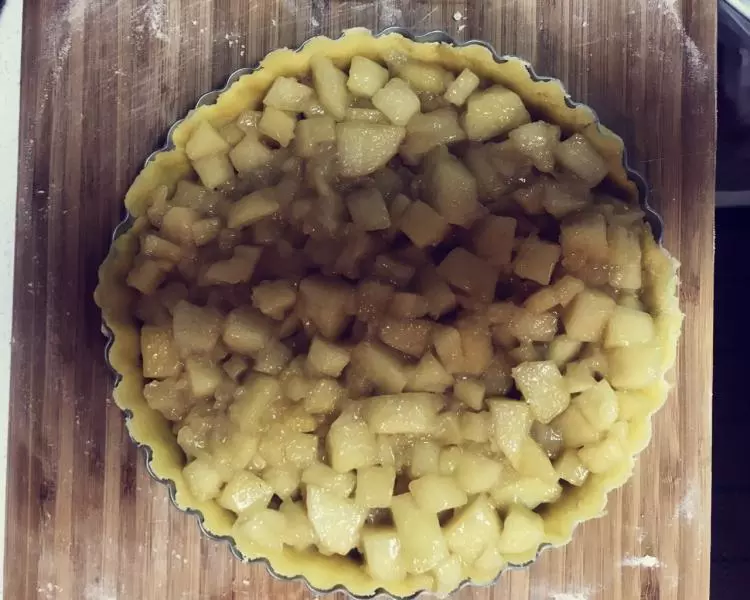
6像酱紫。然后将切好的苹果丁放入锅中,中火翻炒至苹果出水,加白糖翻炒至均匀,放入玉米淀粉糊。炒至苹果丁粘稠金黄(说这么多就是因为忘记拍照片了....)
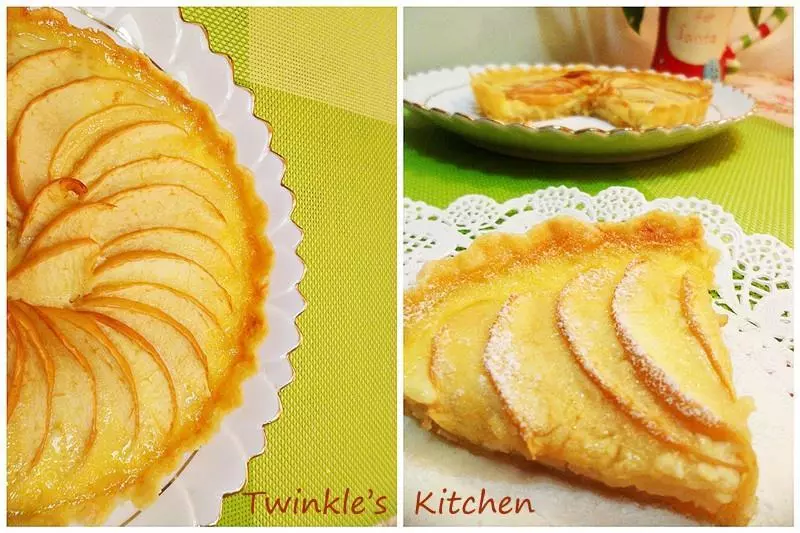
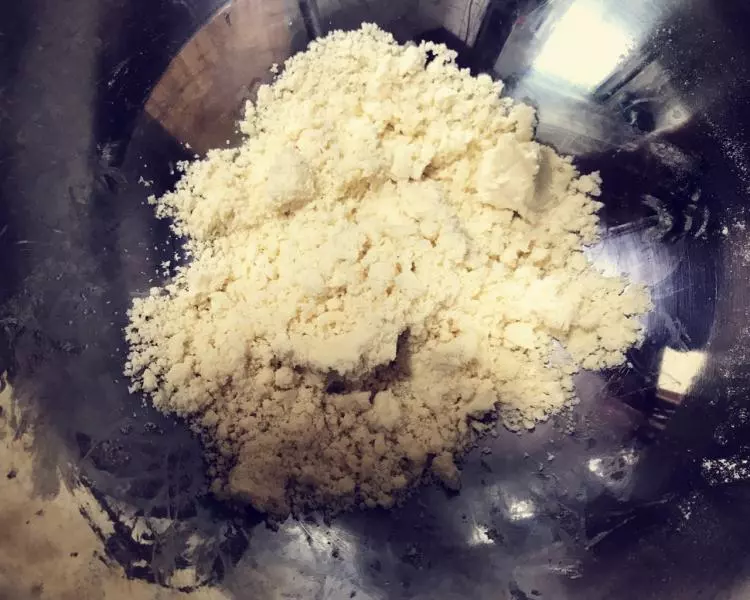
7派皮的制作:将70g黄油室温软化后,加入210g面粉,将黄油和面粉混合至粒状。
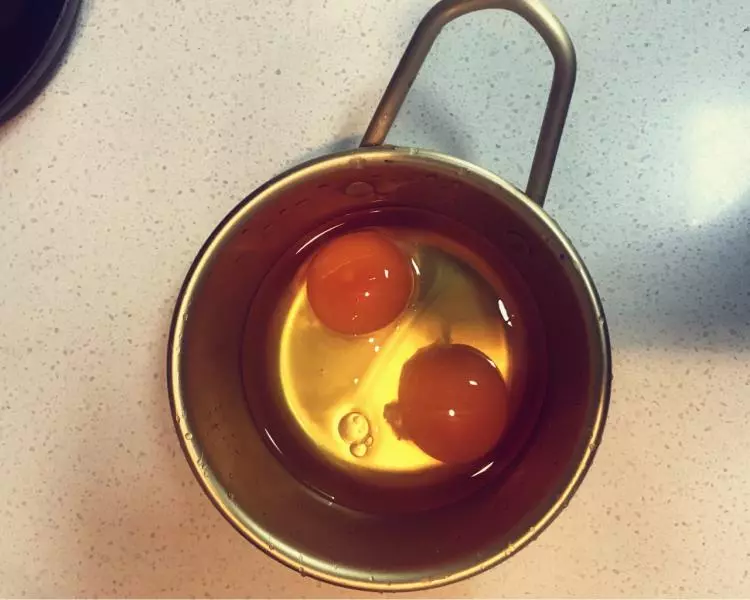
8将两个鸡蛋打成全蛋液,将4/5加入到面里,慢慢揉。可以视情况加水。揉成面团,用保鲜膜包好,在冰箱里冷藏1个小时。
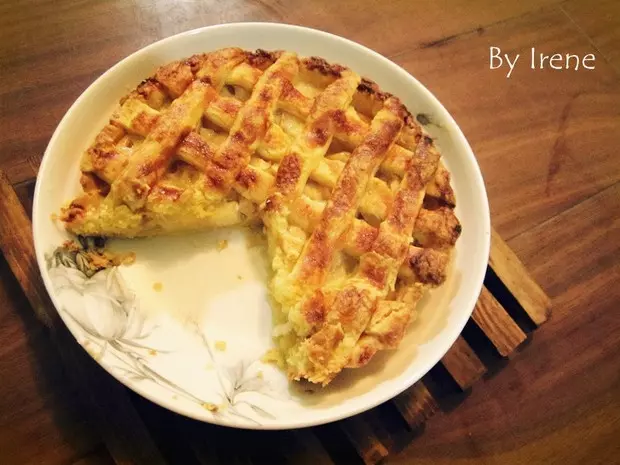
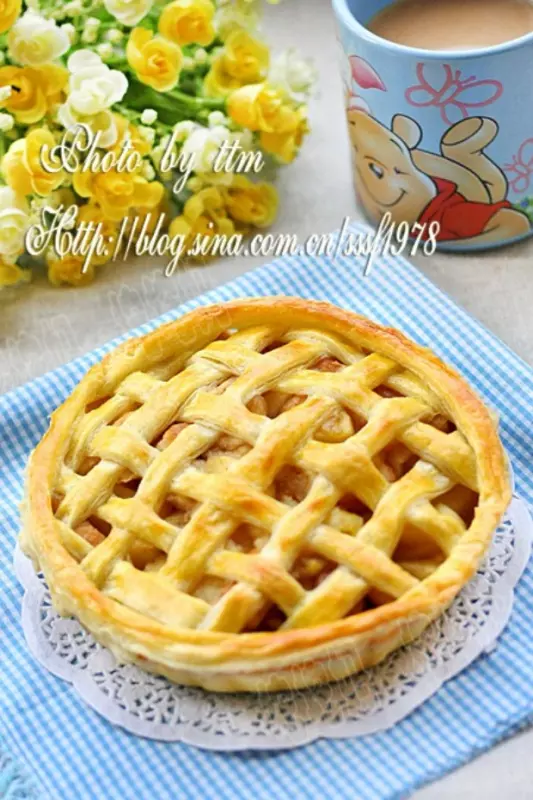
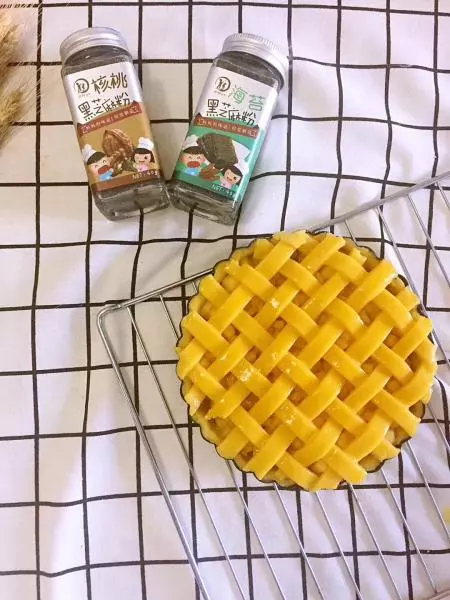
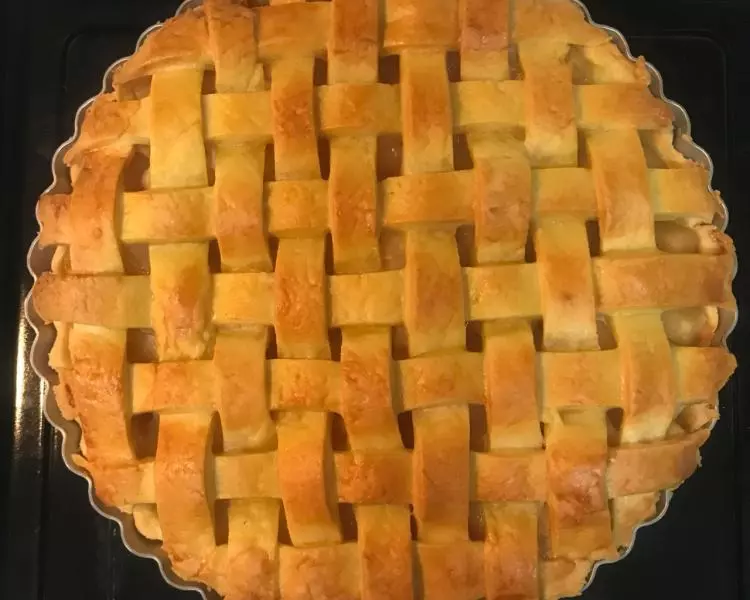
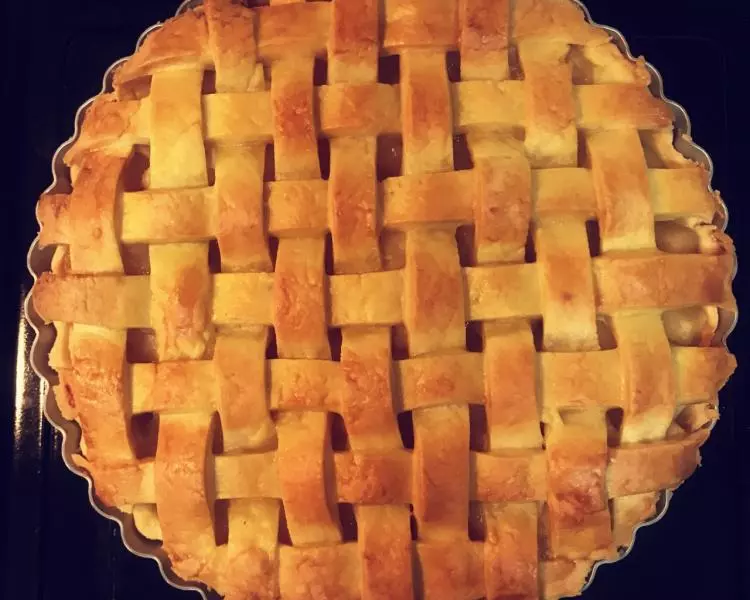
9忘拍好多照片。。有机会慢慢补吧。接下来呢,面团取一半擀成皮,放在派盘中,用擀面杖把多余的部分切掉。再把苹果放入盘中。剩下的一部分面团擀平,切成粗细均匀的条状,开始编派网。当然也可以用拉网的工具。编网有方法,但忘记拍照片了。回头再补吧~ 亲试后觉得厚皮派比薄皮派好吃。你们试试?
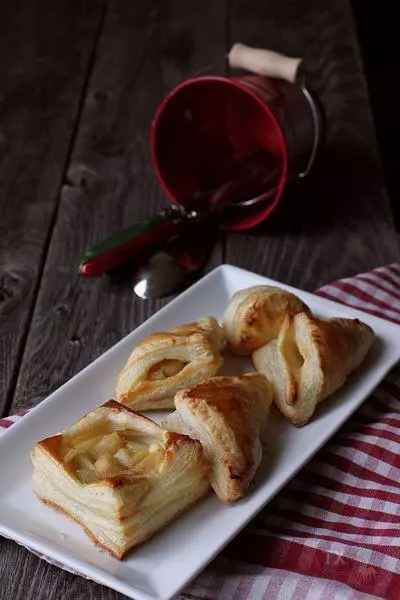
10以上所有食量,针对我的六寸派盘。派编好后,将剩余的蛋液均匀涂在网上。烤箱预热170度。我的烤箱有蒸汽烤功能,所以程序设定是170度蒸汽烤15分钟,170度纯烘培15分钟。这样出来的派是里嫩外酥的口感。纯烤会觉得有点干。每家的烤箱脾气秉性不同,所以,适合自己烤箱的时间可以慢慢研究一下。
小技巧
此菜谱有待完善。