简介
孩子喜欢吃巧克力,爱屋及乌的喜欢所有带巧克力的食物,做完牛轧糖还剩下一点蔓越莓,就来个混搭的土司吧,烤出来以后这个口感倒是让我惊艳,蔓越莓的酸甜正好解了巧克力的甜腻,真的很好吃
原料
面包粉260克, 水120克, 鸡蛋1只, 白砂糖40克, 黄油15克, 酵母4克, 盐1克, 蔓越莓30克, 耐烤巧克力20克
步骤
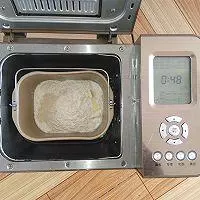
1 主配方中所有材料放入面包机,选择发面程序(发面包括和面和一次基础发酵)
2 准备好耐烤巧克力,蔓越莓切碎

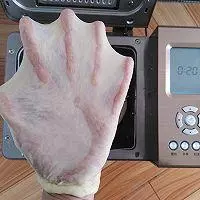
3 28分钟后和面完成,拉一个手套膜(不同的面包机出膜的时间也不同)
4 稍微收圆一下面团,继续发酵
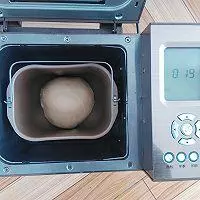
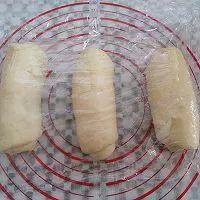
5 面包机显示时间0的时候面团发酵完成

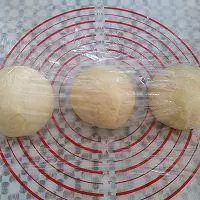
6 面团取出平均分成3份,排气滚圆,盖上保鲜膜室温下松弛15分钟
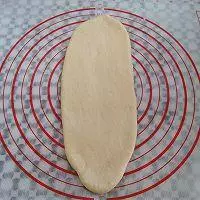
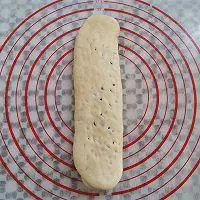
7 取一个面团擀成长的牛舌状
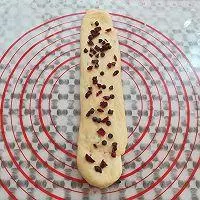
8 在面团上撒上适量的蔓越莓和巧克力豆

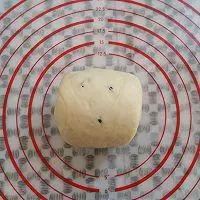
9 面团从下往上卷起来,收口处捏紧,盖上保鲜膜再次松弛10分钟
10 取一个面团按扁,擀成长的细长条状
11 在面团上撒上适量的蔓越莓和巧克力豆
12 面团从下往上卷起来
13 所有的面团放入土司盒,进烤箱中进行二次发酵

14 发酵到土司盒的8分满取出,预热烤箱165度

15 土司盒放入底层165度烤35分钟

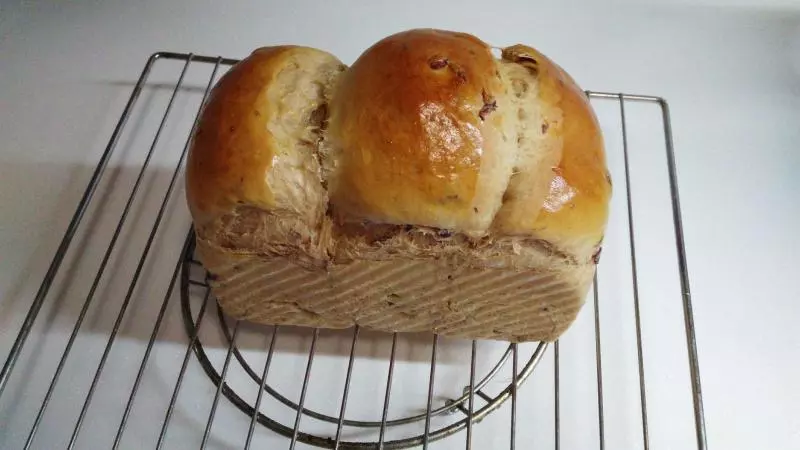
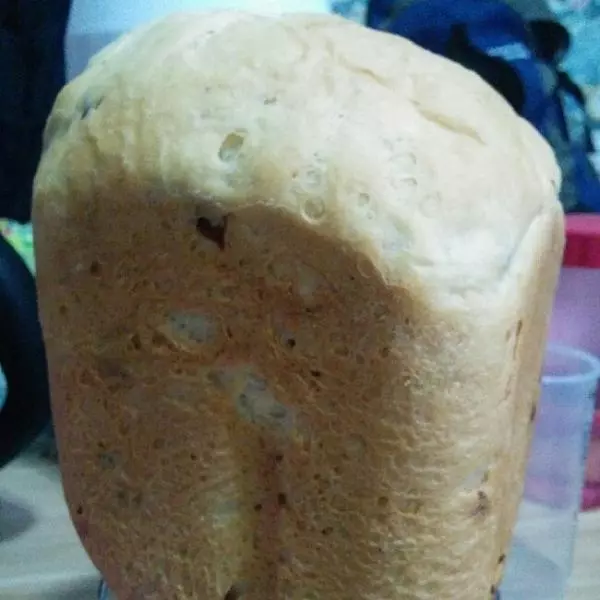
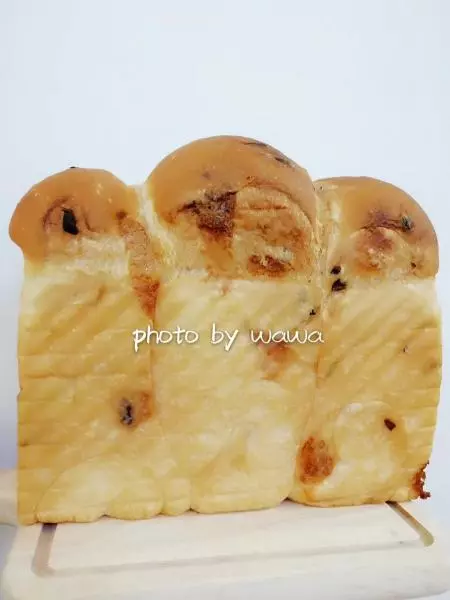
16 土司烤熟出炉后脱模放凉

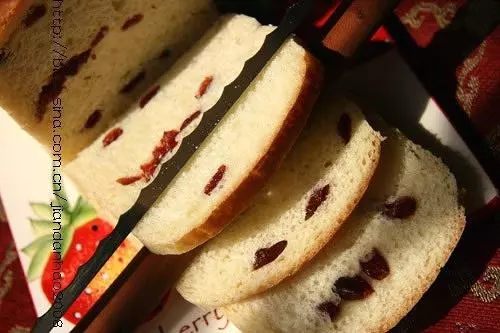
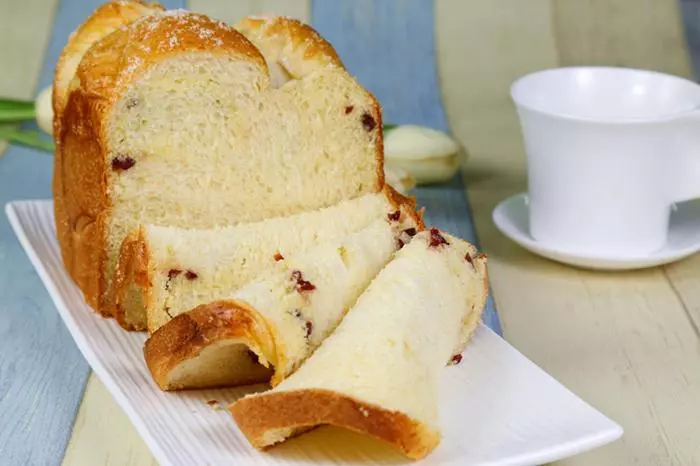
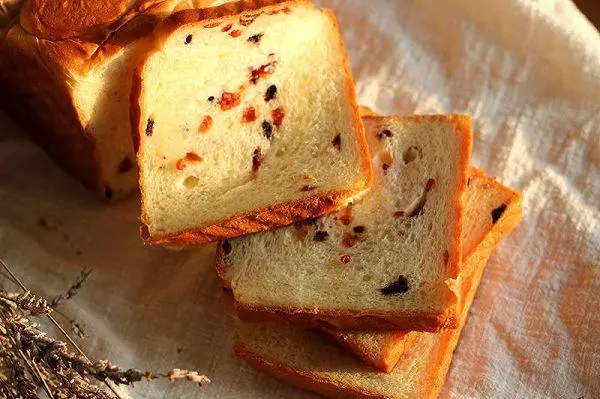
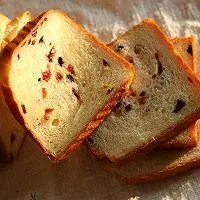
17 切开的土司,组织很不错,有嚼劲
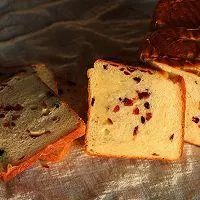
18 土司很软,看图片就知道了
小技巧
1.不同季节,不同品牌的面粉的吸水性不同,可以预留5%的水分后面再放 2.不同品牌的土司盒烤的温度和时间也不同,根据各自土司盒灵活调整 3.根据各自烤箱的脾气灵活调整土司的放置烤层,设置时间和温度