简介
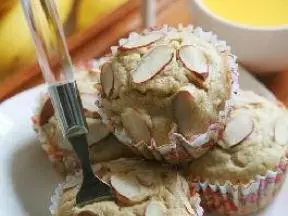
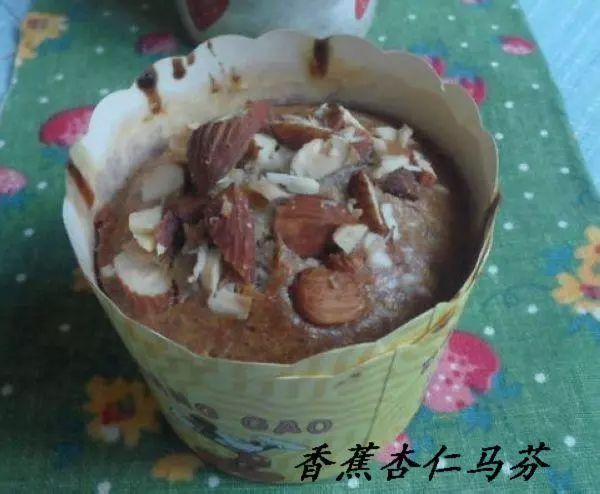
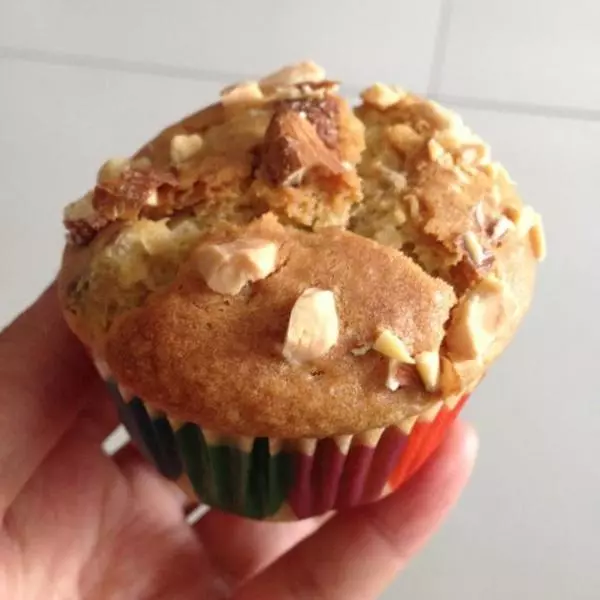
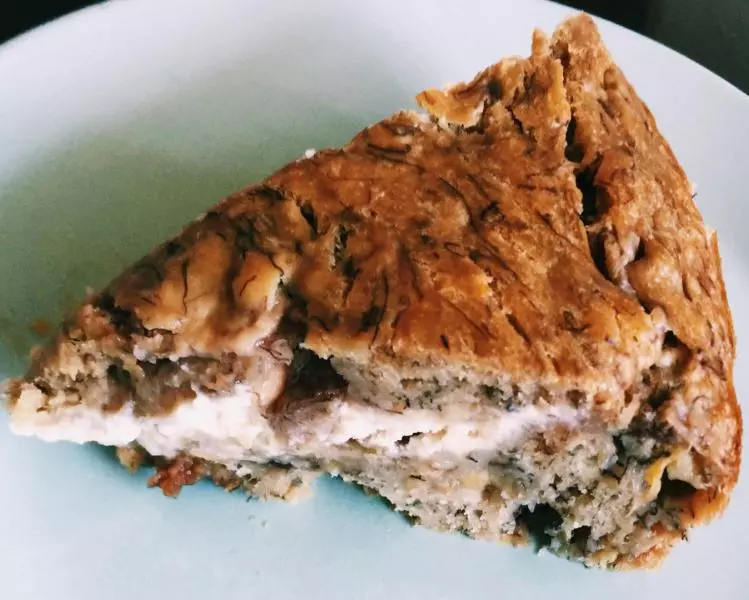
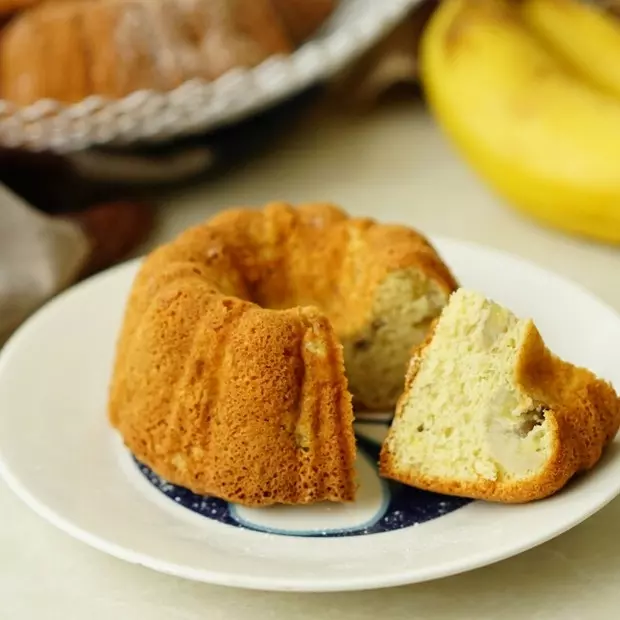
大量香蕉泥和香蕉块的存在,使得这款小蛋糕充满了浓郁的香蕉味道。进口杏仁粉代替了较大比例的面粉,不但能够增加香气,蛋糕体也更疏松。
原料
蛋黄 45克, 细砂糖(蛋黄用) 25克, 蜂蜜 15克, 蛋白 105克, 细砂糖(蛋白用) 45克, 低筋面粉 60克, 进口大杏仁粉 75克, 玉米油 20克, 香蕉泥 100克, 香蕉块 120克, 涂抹模具用 黄油20克+高粉1小勺
步骤
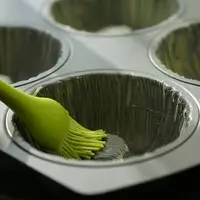
1室温下软化的黄油+高筋面粉混合均匀,用刷子涂满模具,放冰箱冷藏备用。
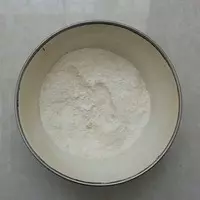
2低筋面粉+大杏仁粉混和待用。
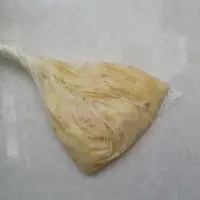
3香蕉放保鲜袋里,碾压成泥,密封待用。
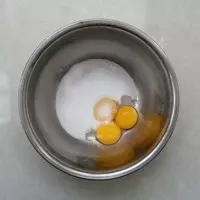
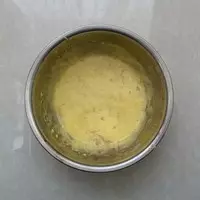
4蛋黄与细砂糖
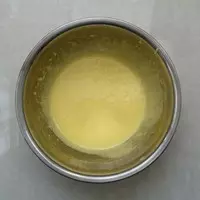
5打发至蛋黄变白。
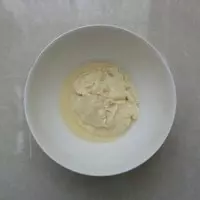
6加入蜂蜜,香蕉泥,混均匀。
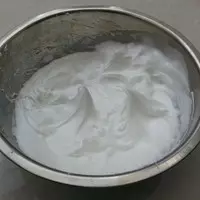
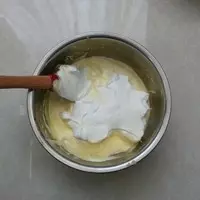
7细砂糖一次全部倒入蛋白,打蛋器高速搅打,打发至能拉出微弯的小尖角,基本接近干性发泡状态。
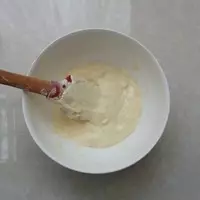
81/3量的蛋白霜加入到步骤6中。
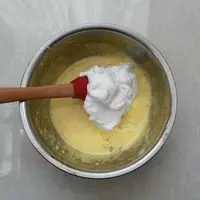
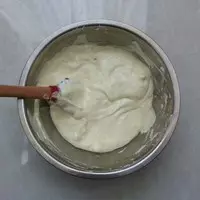
9用刮刀翻拌均匀。
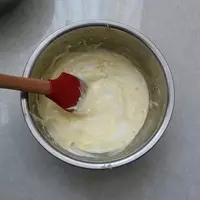
10再加入剩余的蛋白霜。
11同样迅速翻拌均匀。
12粉料分两次加入。
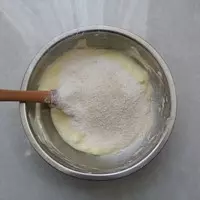
13每次都是翻拌均匀后再加下一次。
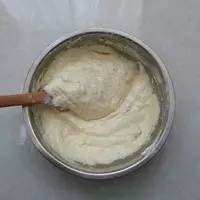
14将少量蛋糊和预先秤重好的油混和。
15用刮刀迅速切拌均匀。
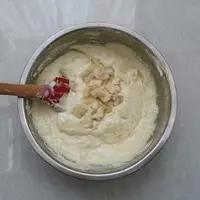
16加混好的蛋油糊倒入步骤13的蛋糊中,稍混匀,加入香蕉块。
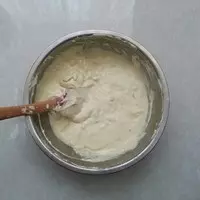
17继续快速用刮刀翻拌均匀。
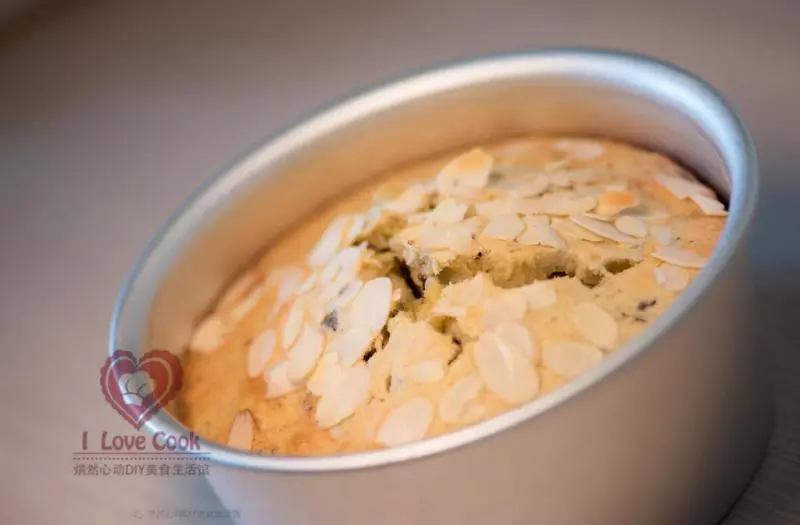
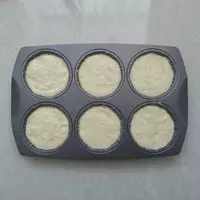
18将制作好的蛋糊倒入模具,震模。预热好的烤箱,165℃30-35分钟。牙签插入无蛋糕体带出就是熟了。
小技巧
1.配方中用的玉米油,只要是无味的植物油包括色拉油都可以。这样蛋糕放冷藏也不易变硬。喜欢用黄油也可以,融化好 到步骤加就可以。 2.香蕉容易氧化变黑,可以加少许柠檬汁,加工和待用过程注意好密封,防止氧化。 3.为防止消泡,要尽量缩短操作时间,减少翻拌次数,快速拌匀即可,不要重复不必要的操作。 4.烤箱必须充分预热,因为预热初期温度不稳定,我一般至少预热10分钟。